


New Look for a Bookshelf: From Pine to Pink

It’s usually easy to create a new look for a bookshelf. They’re also a good starting piece for a new upcycler as the shape is quite basic.
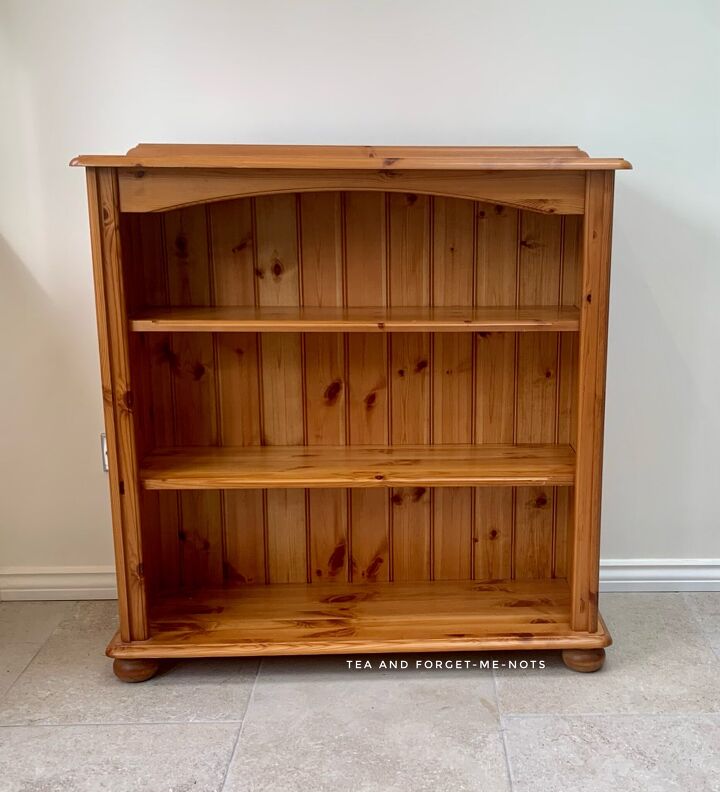
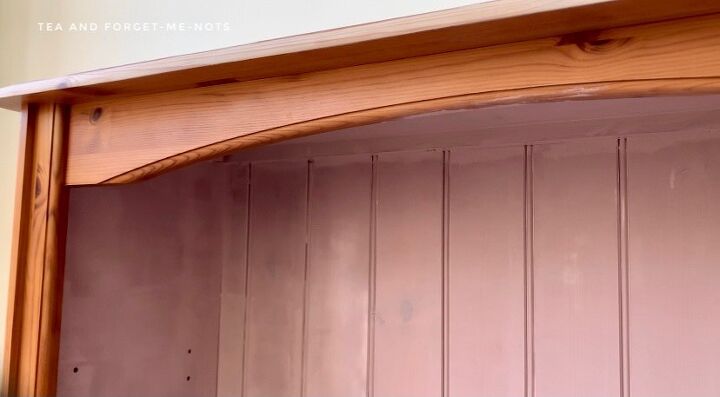
So that led me to this bookshelf on Facebook Marketplace for £15. It was in good condition other than a couple of dents on the sides and top.
The prep
I began by cleaning the shelves with White Lightning which needs diluting with warm water.
The instructions say to dilute it in one gallon of water. In case you also need to work out the conversion, that’s about 4 litres or 7 pints. I used my 1-pint milk bottle to measure it.

Due to the ridges along the back, it was particularly important to get into all the grooves, otherwise, any paint won’t stick. Not once it’s dry, anyway.
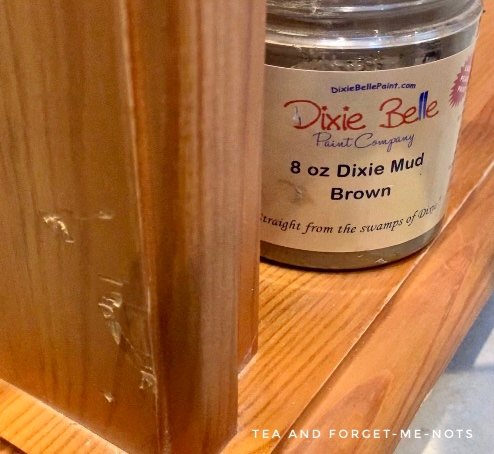
I also filled a couple of dings with Dixie Mud in brown. I filled the hole above the surface level and then sanded it back when it was dry.
Then I scuff-sanded the whole piece with 180 grit sandpaper and removed the dust with a tack cloth.
Finally on to the fun bits!
Starting with paint
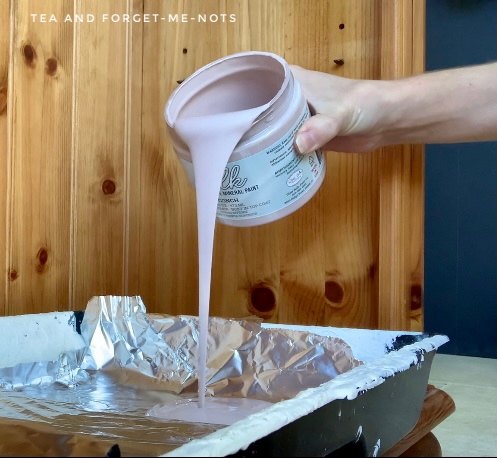
I chose the beautiful soft pink, Conch, for this bookshelf. As usual, I wrapped the paint tray with foil for easy cleanup.
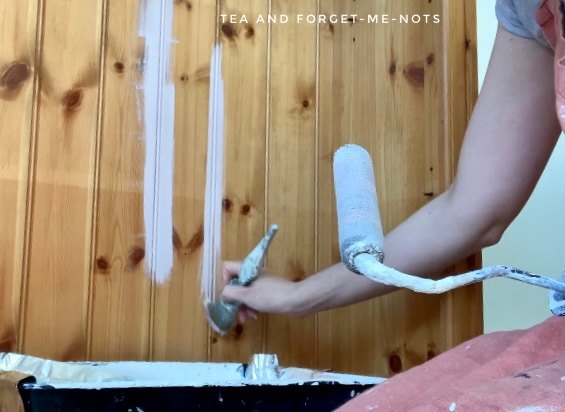
To get a smooth application, I brushed the paint into the ridges and then rolled the excess out, using my favourite roller. It’s important to do this as you go along otherwise if the excess dries, you’d have to sand it smooth.
After one coat of paint, you can still some of the knots in the pine. Priming first would avoid the risk of seeing them as you never know how many coats of new paint it will take to get solid coverage.
Some paints need more coats than others often because of the base colour. The base is the bulk of the paint before the tint of colour is added.
Some bases are clear and others are white. One use of a clear base is to not dilute the vibrancy of the colour but that means they’ll often need more coats to get good coverage.
I used two coats of Conch on the bookshelf and that was without a primer.
Here’s a completely different makeover on a similar bookshelf.
The new-look top and shelves
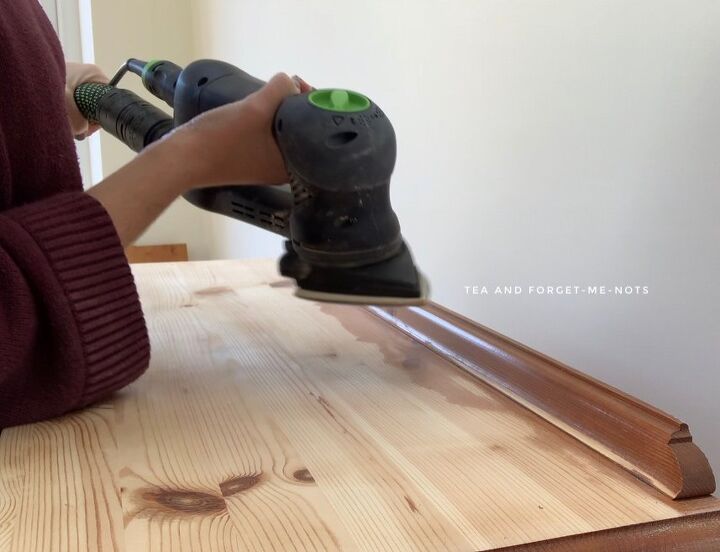
My original plan was to get a whitewashed look on the shelves so used my sander to take it back to the raw wood.
I used an orbital sander for the majority of the sanding and the triangular attachment to get to the edges.
After several coats of both liming wax and white wax, I didn’t like the result and admitted defeat. Time to cut my losses.
I used white spirits (mineral spirits) and a microfibre cloth to remove the wax which fortunately came away easily.
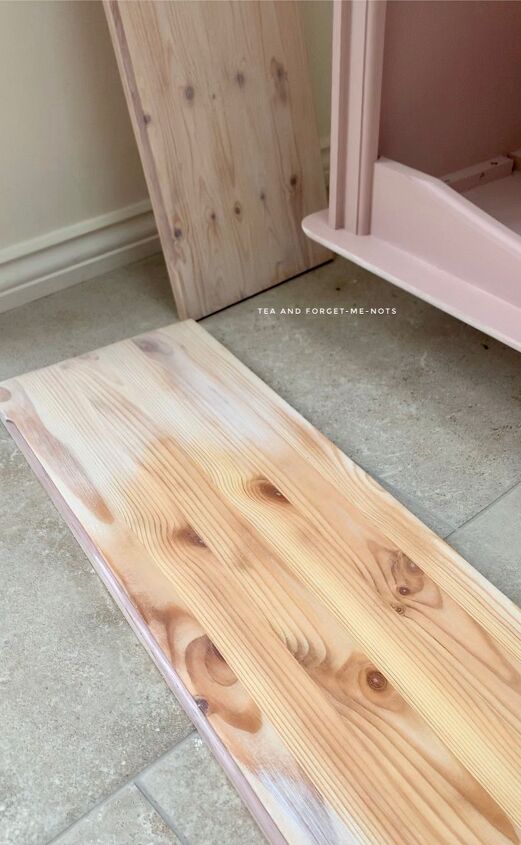
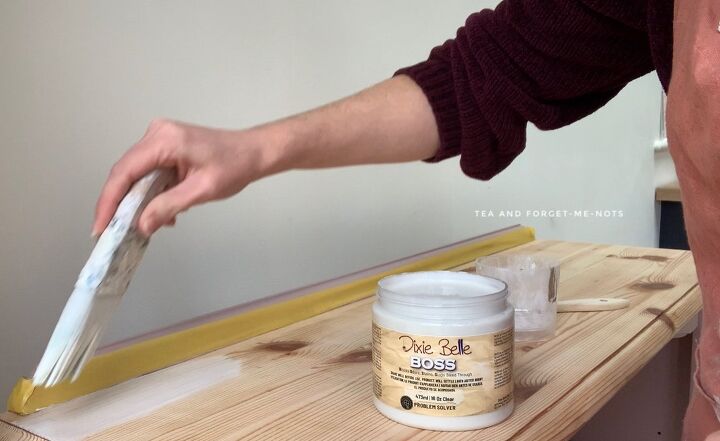
As I’d gone back to raw wood, it was important to use a primer to stop too much paint being absorbed into the wood and needing a lot of coats of paint.
I used Dixie Belle’s BOSS primer in clear and mixed it with some white paint to help cover the knots.
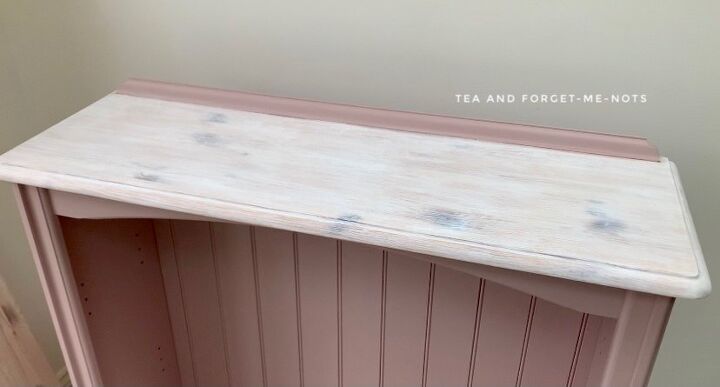
I decided to paint the top pink to match the rest of the unit. I then painted the shelves with two coats of Salt Water, which is a warm white.
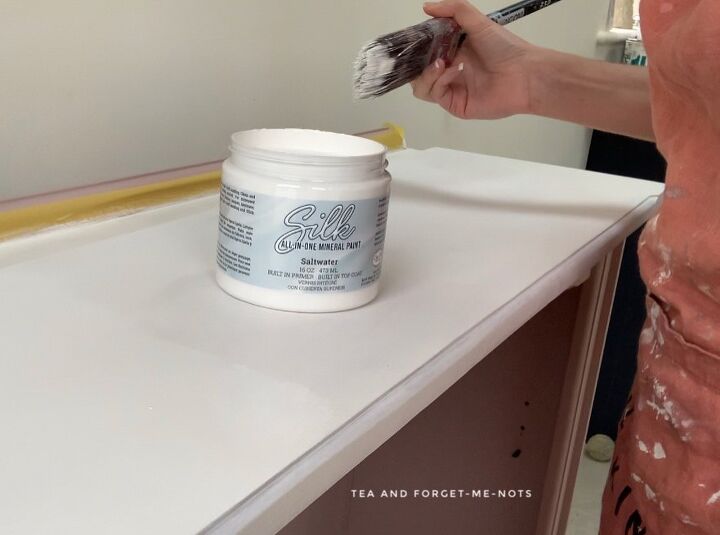
I was glad that I primed it first because it meant that I didn’t need as many coats of white to get it to cover evenly.
White typically takes a lot of coats to get it to look even, as was proven with my 5 or so coats in my previous white cabinet makeover.
To seal the piece I used a satin clear coat. I often use matte for a flat look so I like the difference of the slight shimmer as it catches the light.
New look for a bookshelf
While the top was a bit of a labour of love and didn’t take it easy on me, I think the final pink and white combination is really sweet.
I do have to wonder whether the colours were secretly inspired by the zebra cuddly toy. They’re certainly a good match for each other.
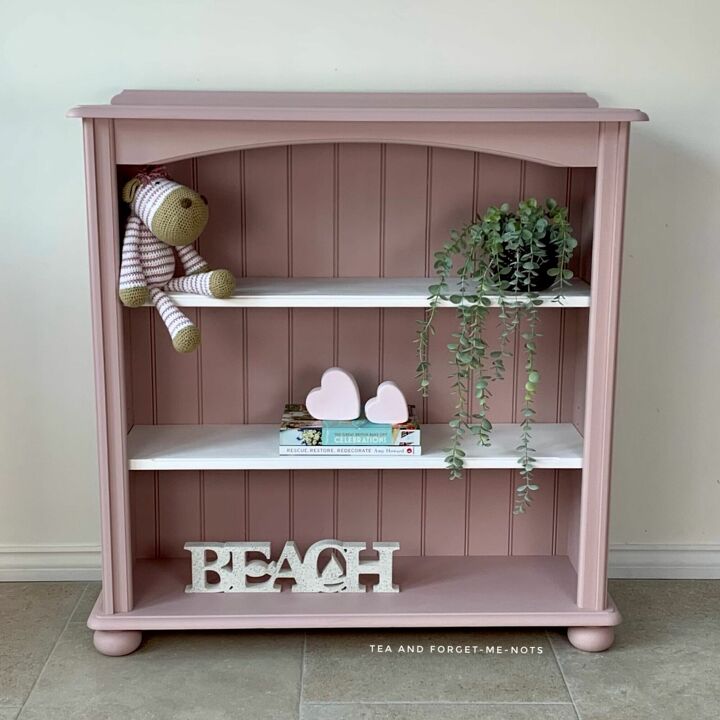
The white shelves particularly break up the solid colour and make it more interesting. It’s almost a candy cane!
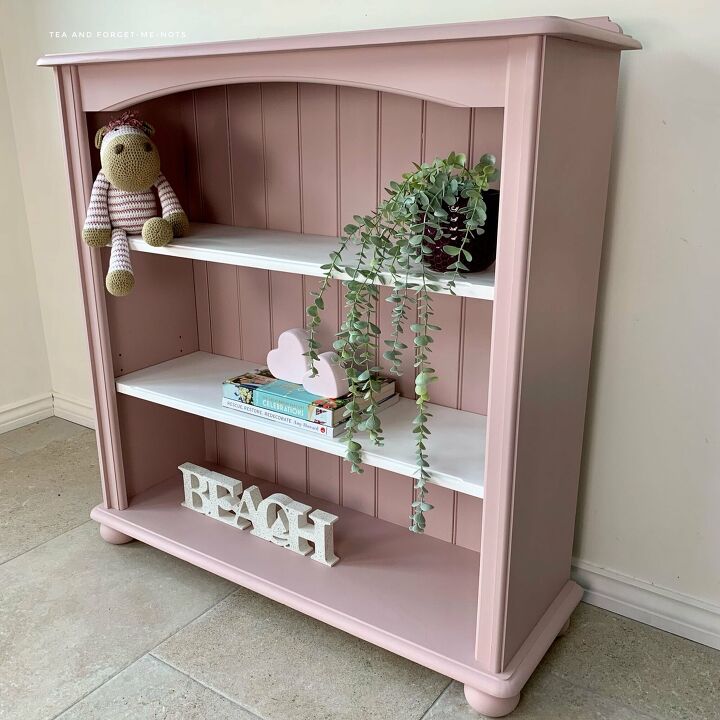
It’s pretty easy to get a new look for a bookshelf. This is my first pink one but I don’t think it will be the last.
Please subscribe to my blog for weekly DIYs, tips and the 5 tools under £15 that will make your life easier.
Many thanks to Dixie Belle for sponsoring this project. All opinions are my own.
Resources for this project:
See all materials


Comments
Join the conversation
-
I love the pink and white. Good job
-
Love the color with the primer first, then paint . It was like a light rose color.. brings great ideals ..thanks


Frequently asked questions
Have a question about this project?