How To Make A Large Weekly Chalkboard Calendar
Functional home decor is the best…especially when you are a busy family! I am a huge fan of large pieces of decor that not only makes a statement, but also makes life easier. This DIY weekly chalkboard calendar was the best addition to our mudroom!
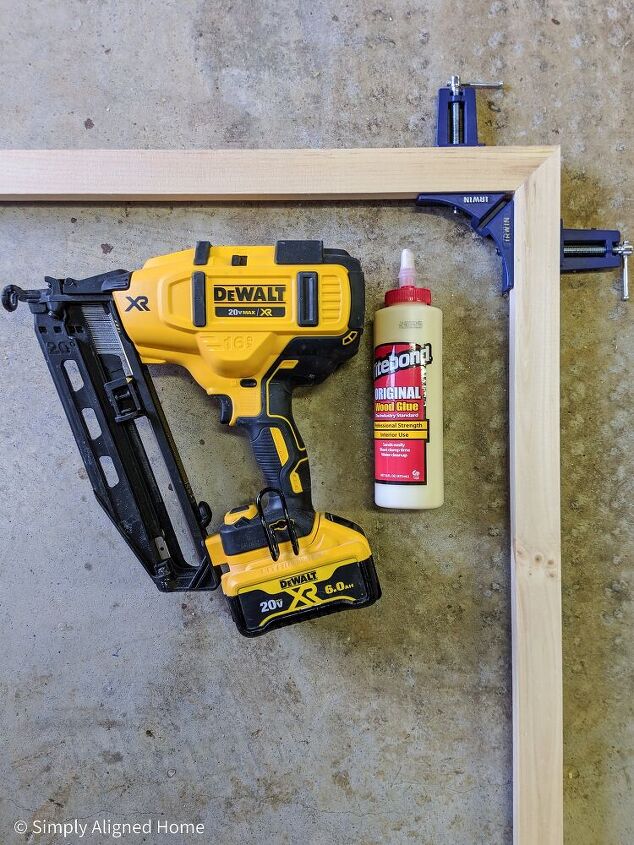
I used 1″ x 2″ Pine Common Board for the frame. To make it look nice and clean, I mitered the corners (cut them on a 45 degree angle). I used wood glue and finishing nails to secure the wood together at the corners.
For the lines to separate the days, I used 1/4″ x 3/4″ Solid Pine Screen Molding. I cut them the same length as the inside of the frame.
I decided to stain the frame and lines…you could easily change it up by painting them instead. I stained them using special walnut color stain.
The plywood will be used as the chalkboard. I applied one quick coat of primer to the plywood before I painted it black. Instead of buying chalkboard paint, I chose to use flat black paint that I already had on hand! I’m all about using materials that I already own. Just two quick coats of the black paint and I had a chalkboard!
I used my Cricut to cut out the days of the week for the weekly chalkboard calendar using a white adhesive vinyl. I considered using a white paint pen to write them instead, but this was much easier.
The first step to assembling the calendar is to attach the frame to the chalkboard. I did this by applying a small bead of construction adhesive to the back side of the frame. I then laid the chalkboard face down on the frame. I used some small nails and a hammer to secure the chalkboard to the frame.
Once the frame was attached, it was time to add the lines to separate the days. I spaced them evenly on the chalkboard and secured them using construction adhesive.
The final piece was adding the days of the week to the chalkboard calendar. I used transfer paper to put them on the chalkboard.
Since I knew we would constantly be touching the weekly chalkboard calendar, I did not want to hang it with any standard picture hanger. Instead, I decided to use four screws to secure each corner to the wall. I just screwed straight through the chalkboard (not the frame) into the shiplap. I used black screws so they would blend in with the chalkboard. That's it!
Be sure to check out how to easily make the modern wreath that I have hanging from it as well!
Enjoyed the project?
Resources for this project:
See all materialsComments
Join the conversation
-
 Heather Ruiz
on Nov 30, 2020
Beautiful job. Im not usually a big fan of chalk/white boards. But yours is one i love and will definitely make. Tyfs
-
-


Frequently asked questions
Have a question about this project?
Do they have a magnetic chalk paint?