


Shutter Makeover: To Do List
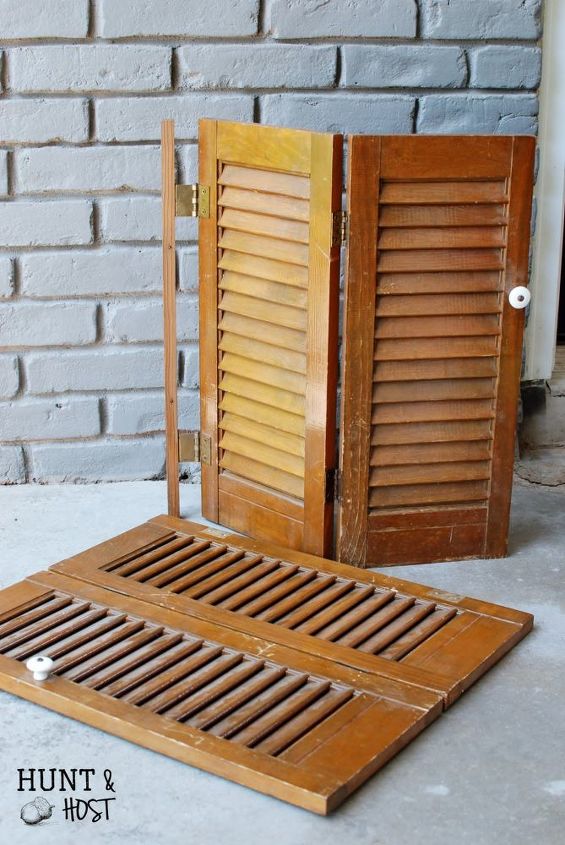
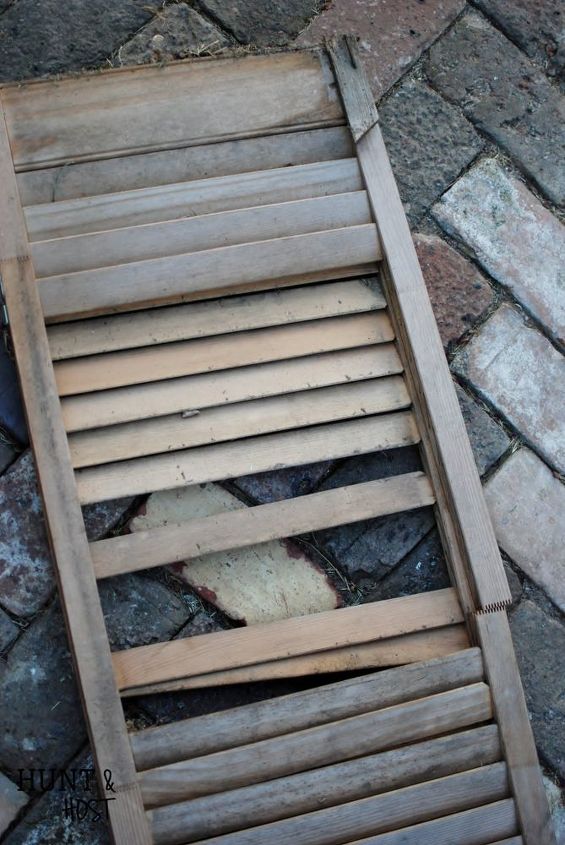
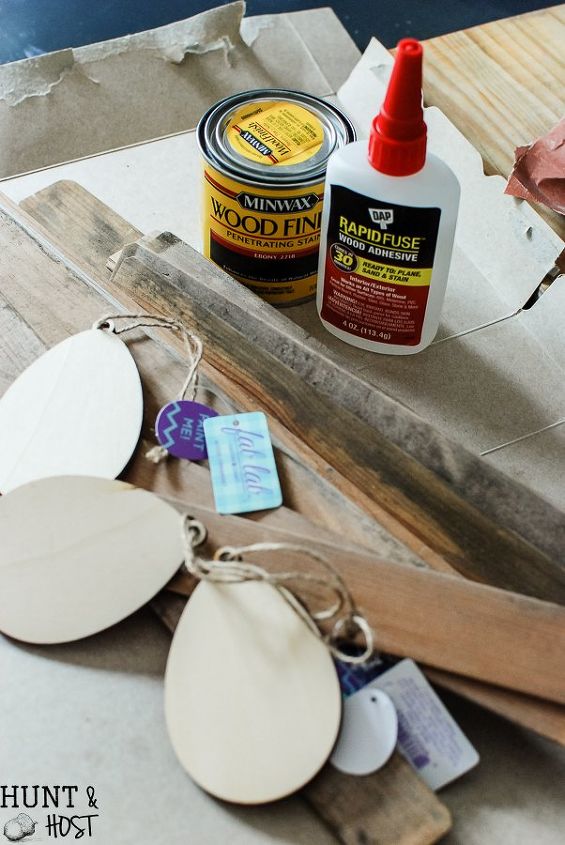
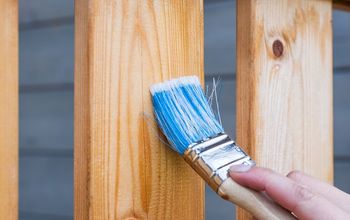
I started by taking the shutters apart and painting them the same white as in my kitchen, using my homemade chalky paint recipe! . Next I rescued some slats from another shutter I had on hand (a curbside find). These extra slats come in handy for multiple projects, they are great to have around!
For a richness and depth I stained the slats and some clothespins a dark wood stain.
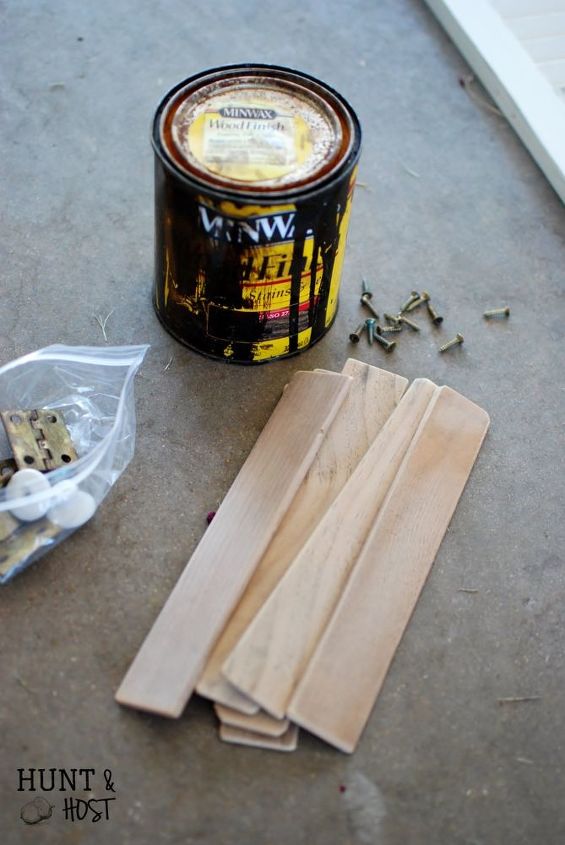
I glued the slats and clothespins to the shutters with wood glue. Here is the difference in this project...I needed to use the shutters end to end instead of side by side as you would typically think of a shutter! Next, using the hardware previously removed I hinged the shutters together end to end. Perfect for the small wall space in my kitchen...
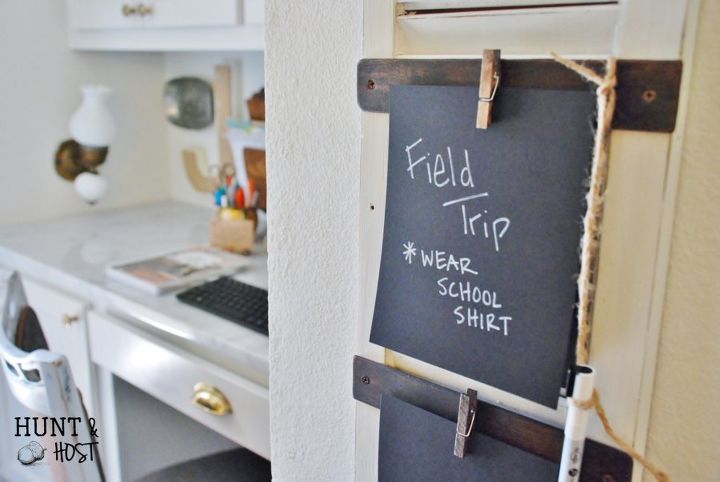
I added black cardstock trimmed to fit and a white chalk marker for my reminder notes.
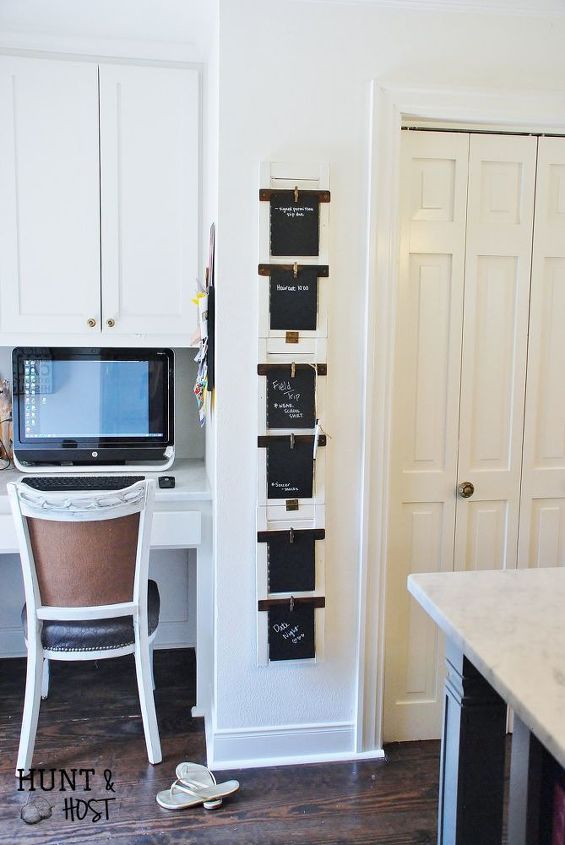
Now it hangs in my kitchen, for all my daily to do's in plain sight. Gone are the days of forgetting field trips, crazy sock day and classroom award ceremonies. If you want to check out another project made from these shutter slats...
check it out here! I hope you'll hop over and visit the blog for more fun upcycles and easy DIY with a side of Christian inspiration!Thanks for hanging out with me today!
{
"id": "3813008",
"alt": "",
"title": "",
"video_link": "https://www.youtube.com/embed/JsAoxjtqohs",
"youtube_video_id": "JsAoxjtqohs"
}
{
"width": 634,
"height": 357,
"showRelated": true
}

Want more details about this and other DIY projects? Check out my blog post!
Comments
Join the conversation
2 of 20 comments
-
Love it!
-
years ago we lived in a Pittsburgh, PA suburban area. Once each year the had a "swap" day when folks put items they were willing to give away on the curb....first come, first served..... We walked through the neighborhood to choose anything we could use. Fun thing to do.


Frequently asked questions
Have a question about this project?