


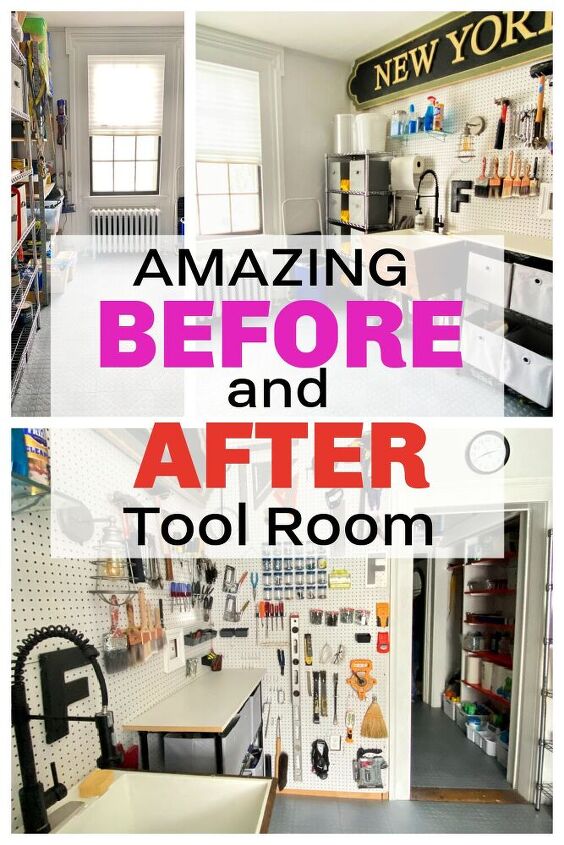
Before And After Tool Room Reveal
Who doesn’t love a really good before and after?! I’ve got one today that just could make your jaw drop with our before and after tool room reveal.

Disclosure: This post is in collaboration with RaceDeck Garage Floors. Please see my disclaimer page for details.
Before we moved into the 1820, the house was a two family home. On the right was a three bedroom, eat-in kitchen and formal dining room, and on the left consisted of two bedrooms, a living room and a little kitchenette.
Of course, when we moved in, we made the house a single family home, and we’ve been working on all kinds of adaptations ever since. That little kitchenette was dubbed a tool room, but really became a catch-all / junk room. We tried to keep it organized, but it got to the point where there was stuff everywhere.
It. Was. Embarrassing.
We’ve had a few rooms like this; ones that have needed so much work that I couldn’t bare to even admit. Then there’s the ones that became a pigsty, the tool room in particular, because we were rushed or simply uninterested in putting anything back where it belonged. Too harried to keep any sense of order. I blame this on two things: 1) the room wasn’t set up to house tools as it had a small stove and kitchen cabinets and 2) there was no respect for the room itself and how to utilize it for how and what we needed.
Just keeping it real here, I got to a point where I just couldn’t take the mess anymore. I’m someone that requires order. You know Monica from the sitcom Friends? She liked everything in its place, even down to the fringe on a rug.
You could say I’m a little like her.
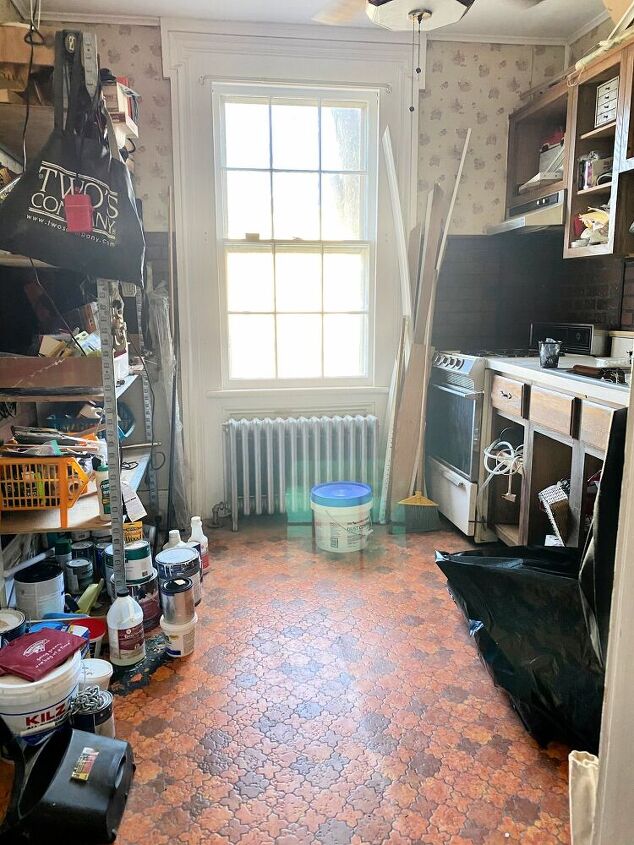
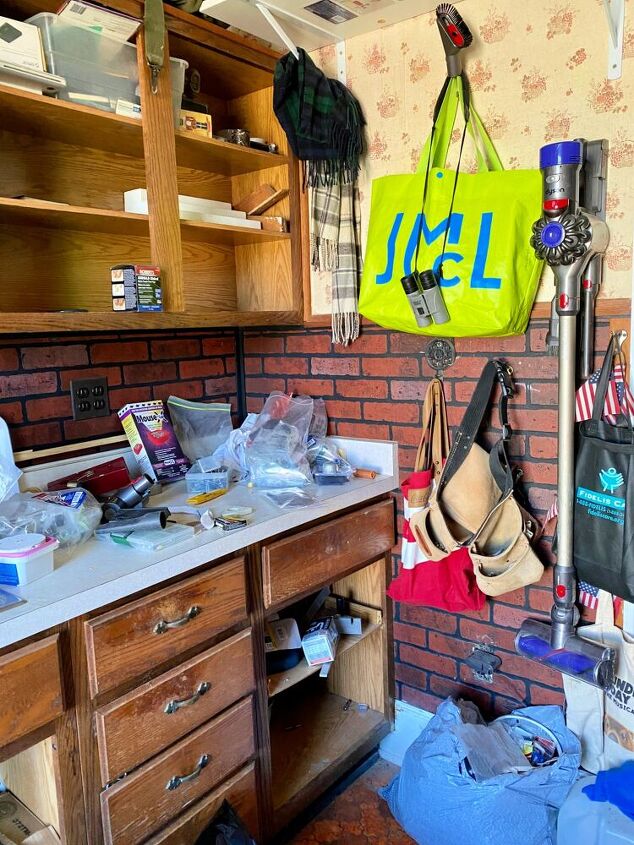
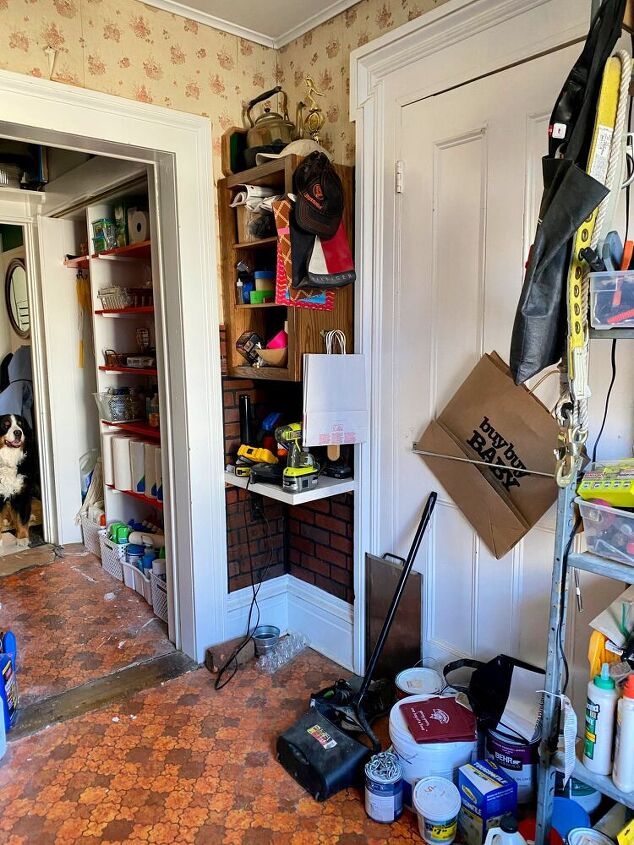
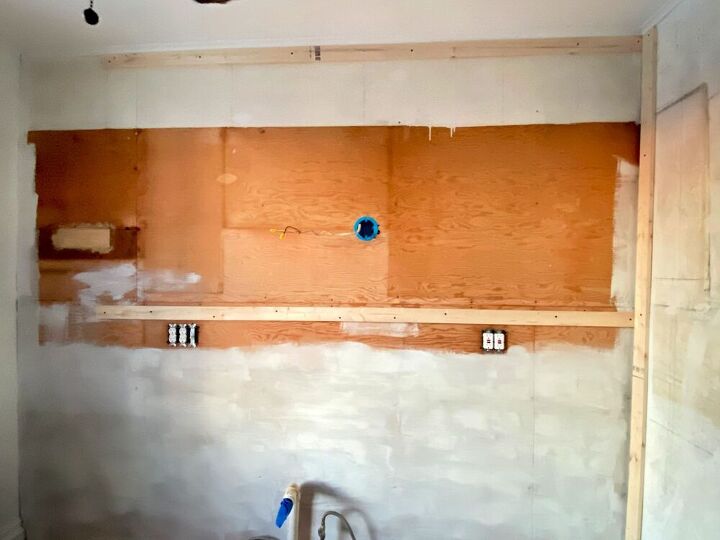
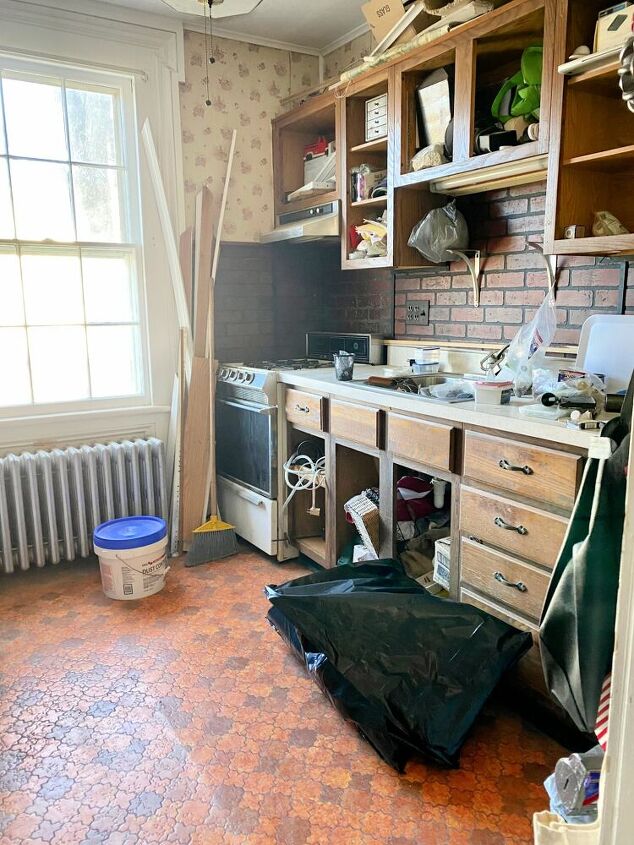
I mean, check out the before of this room. How wicked sad does it look?!

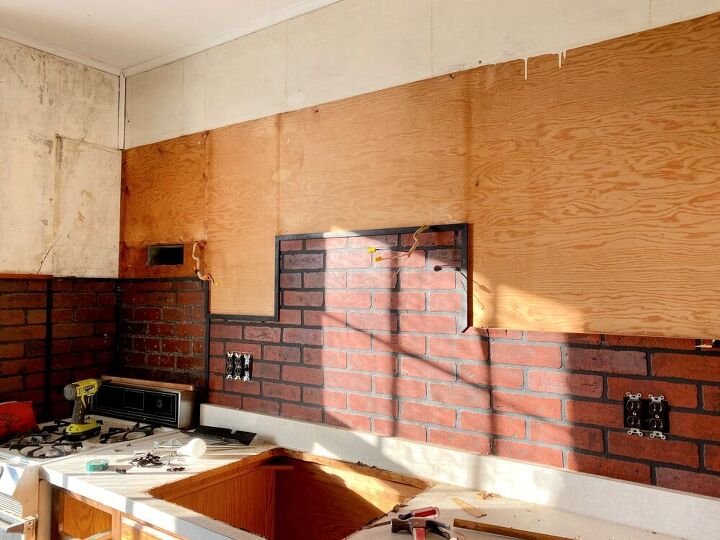
Faux brick paneling on the walls, particle board cupboards and nasty dirty wallpaper were among the flaws. The little gas stove was donated to the Rehab store, leaving the only redeeming quality about current condition was working plumbing for a future slop sink.
Just looking at these photos weighs heavy, doesn’t it?!
Cleaning out and redesigning the tool room has been on my to do list, and January 1, 2021, it to moved to my short list. This room was going down, and I was getting my Monica on, and made it my mission to design the most efficient and organized tool room ever, right down to the last nail. When RaceDeck Floors agreed to collaborate with me on my tool room remodel, it was game on!
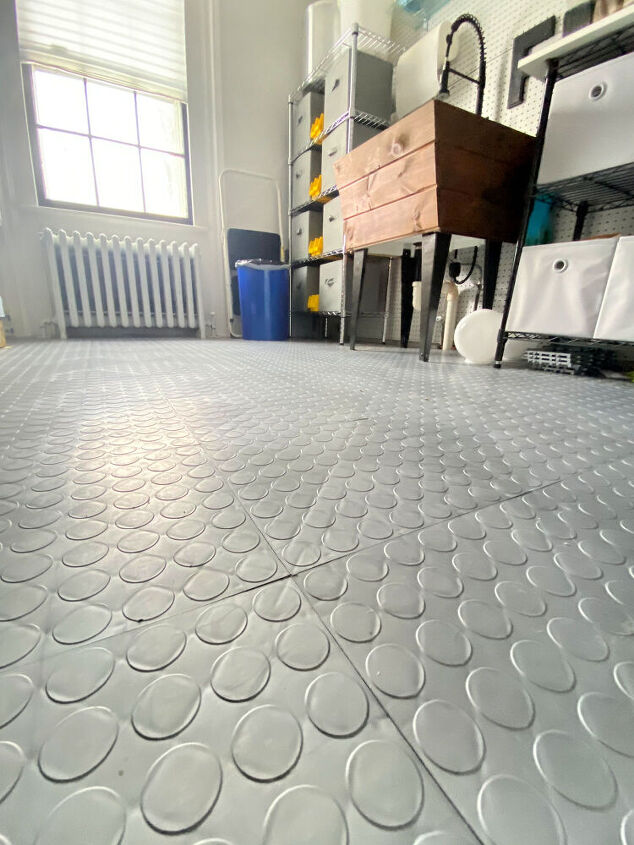
Of all of the rooms I’ve designed, I’m not sure any of the designs have started with the floor, but with this tool room, everything bowed to the floor. I had the grey coin-top pattern floor in mind, and once I had that in place, I’d design the rest of the room.
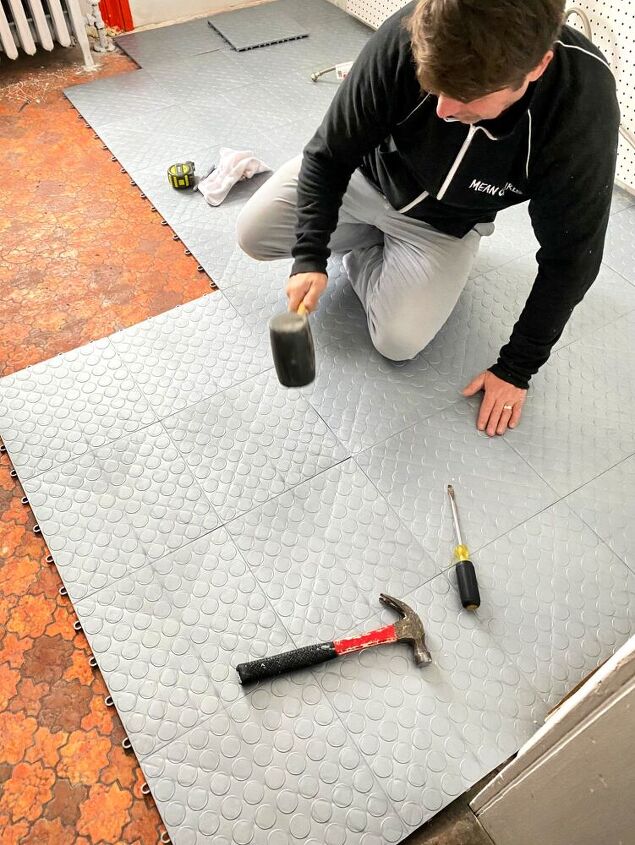
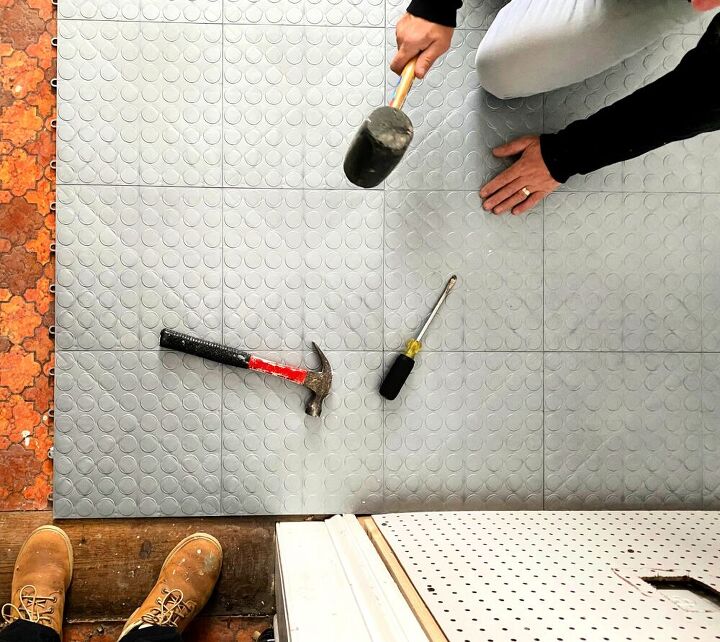
There was a nasty outdated linoleum on the floor that needed to get covered up, and since it’s a tool room, I needed a super durable floor that could withstand the wear and tear. I needed an easy installation, and I needed instant gratification. A floor that could install over the top of the old, no ripping out the old would be necessary.
What is so great about the RaceDeck floor is that it snaps together. It floats right over the old floor and if a cut is necessary, a jig saw does the trick. The floor installation took roughly two hours to complete, and I’ll go on record and call it an easy DIY.
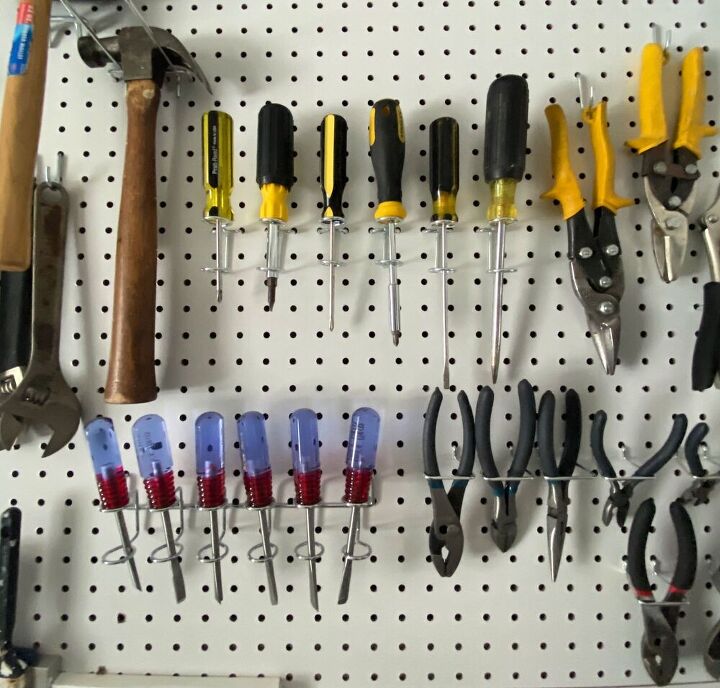
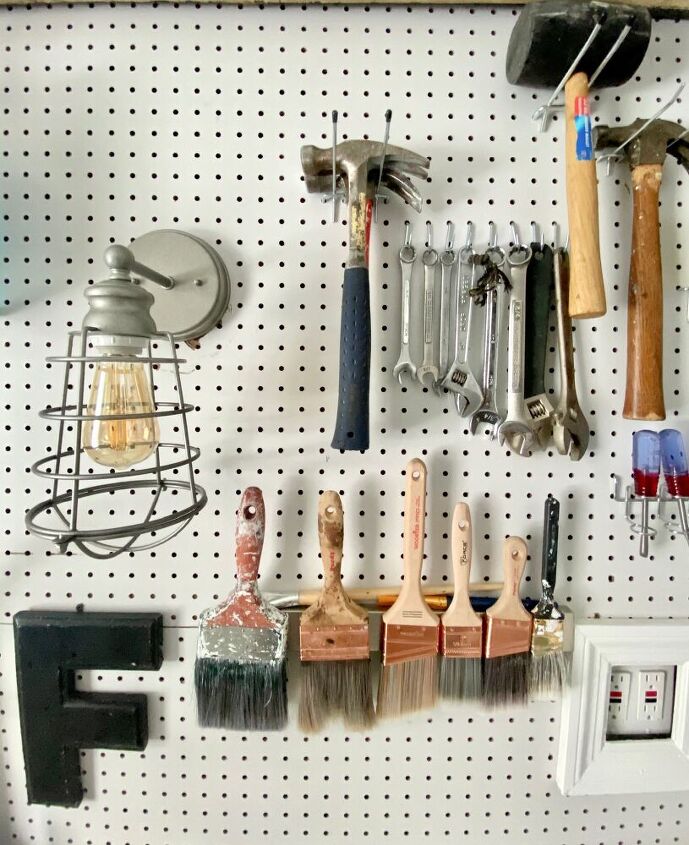
Now that I had the floor taken care of, I needed to dive into the organization. We have a lot of stuff to put into a small room, so a well thought out plan was necessary. Utility racks were an obvious decision, and I decided to use the now blank walls to my advantage and attach peg board to two of them.
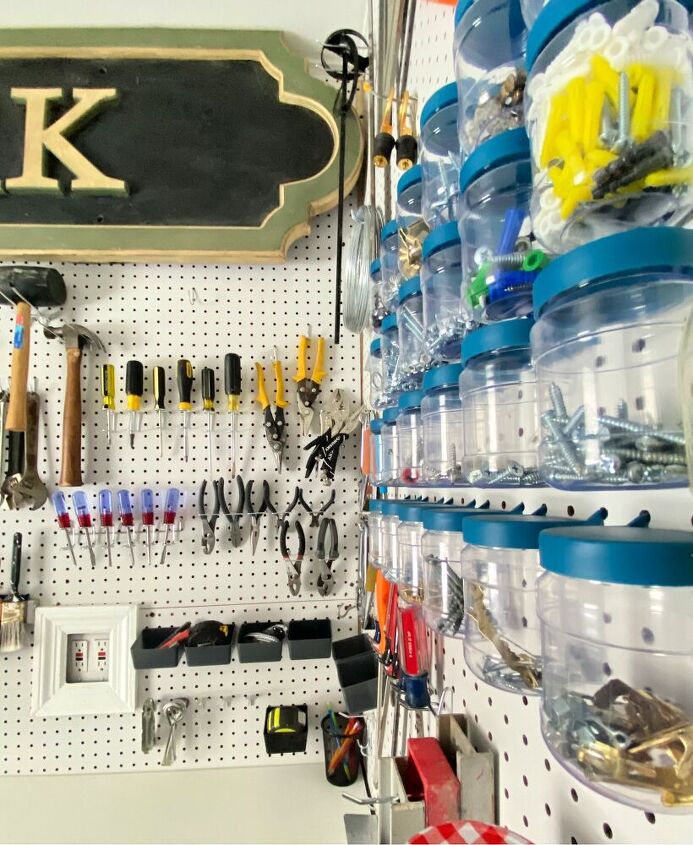
With all of those hooks and loops, this girl was in her glory. I was organizing those little bitty screws and whose-y-whats-its until my eyes were crossing. I was weirdly enjoying myself with all the busy work. Figuring out what went into each jar. Which hook was the right fit for this tool and that. Repurposing some jelly jars that fit perfectly in peg board hoops, and deciding what to fill them with. This quirky gal was in her glory.

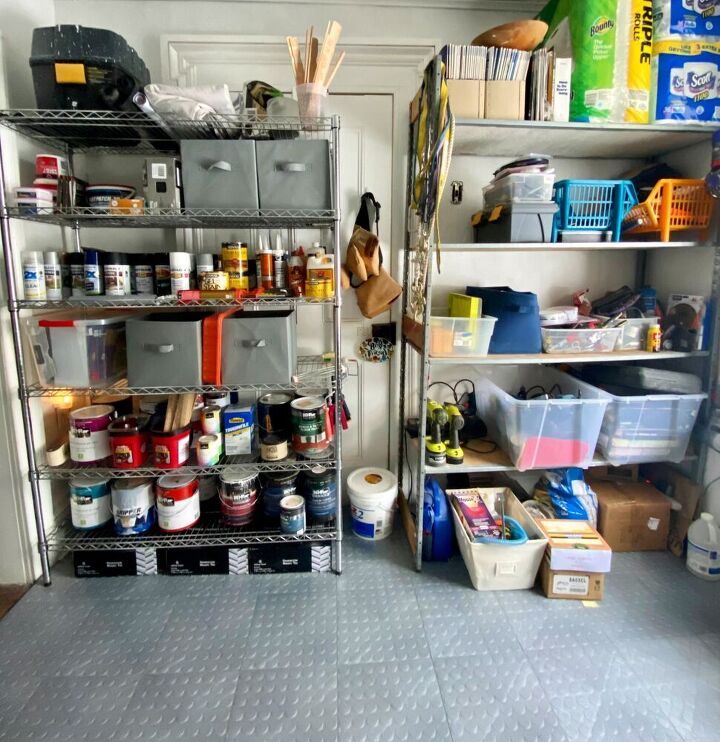
To keep the utility racks organized, I brought in a few canvas storage bins to sort everything out and keep like tools together. Light bulbs were divided by watts, and all the various tapes are now all together in one bin. I mean, if I was organizing light bulbs by watts, then I was realllllllly sucked into this project. Here is my utility rack recommend..
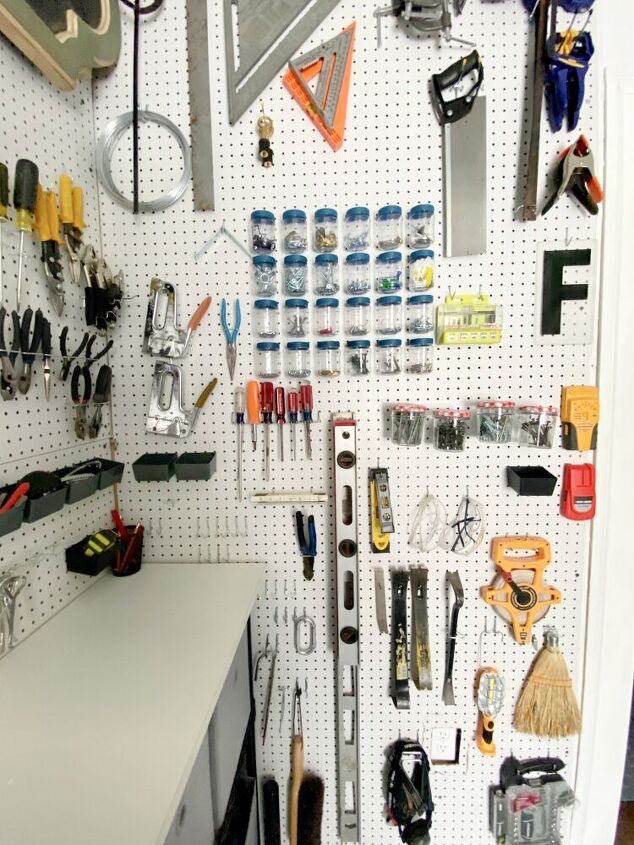
My goal here in this room was to be able to see everything. I wanted everything to have a place, and not be tossed wherever. Most of all, this room needed to make sense, and I needed to come up with a design where everything would stay organized; where putting a tool back was just as quick and easy as taking it out in the first place. No excuse for mishaps and time poor nonsense.
This may be the first room I’ve designed that centered around the floor, but I guess sometimes you’ve just gotta look down before you can look up. And in this case, the coin pattern of the floor is what brought me to the peg board organization on the walls. Circles with circles.
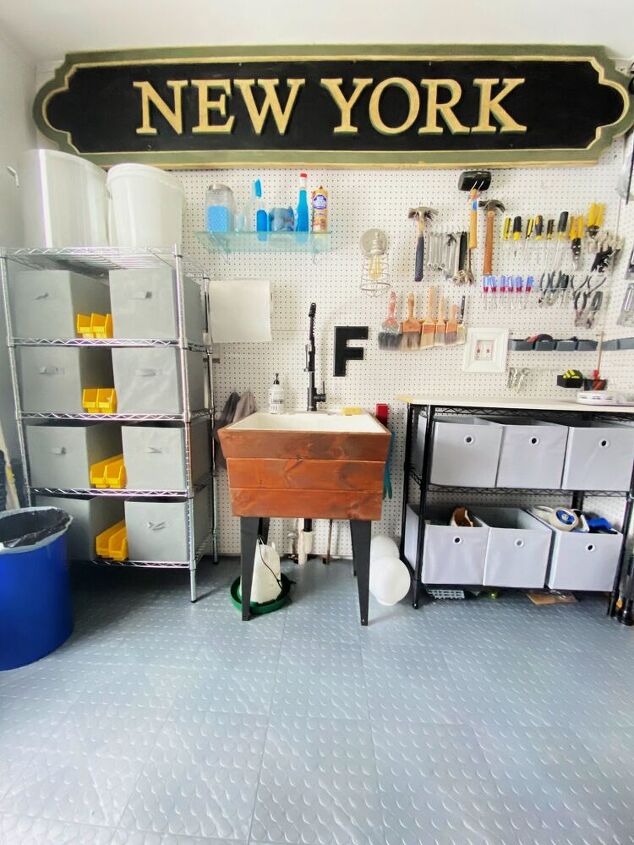
And that big New York sign?! It made its Broadway debut in the musical Ragtime and then made its way to our tool room. Being at the right place at the right time and an epic dumpster dive, this sign fits perfectly on the wall hanging above the sink.
So let’s review. Here is what the tool room looked like before…..
And here’s what it looks like now!


Mic drop.

Comments
Join the conversation
-
never heard of the stuff but the make over is amazing . great job . I may look it up for my basement but been busy redoing the whole house
-
What an amazing make over! Looking at the "before" pictures I wasn't sure there was a way to salvage that room without demolishing the entire thing! Great job! You are an inspiration!


Frequently asked questions
Have a question about this project?
Just curious, but did you actually cover a door on the other side of the room? I thought I saw door molding behind the racks. If so, what are the future plans for that?
I would love to do this project in my art studio. My question is how easy is this flooring to keep clean? It looks like it could trap dirt around the raised portions. Thanks!
How did you hang the Jelly jars on wall?