


Easy-to-Reach Measuring Cup and Spoon Organizer

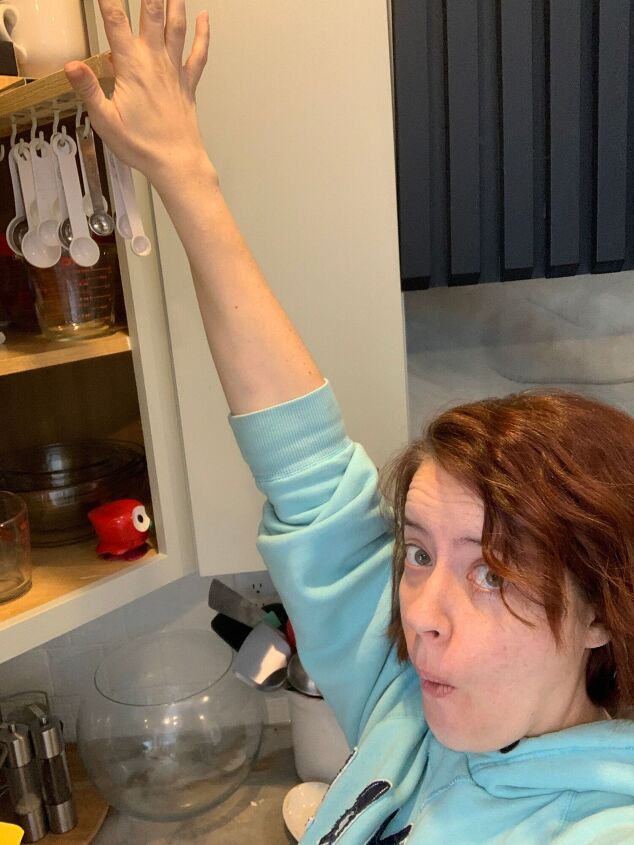
I’m short. Or at least that’s what my husband likes to tell me whenever I can’t reach something in our upper cabinets. And reaching to the back of corner upper cabinets? Forget about it.
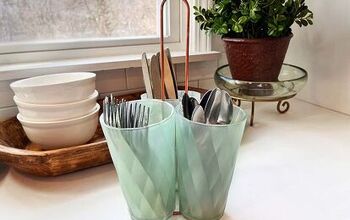
A second common kitchen problem is never being about to easily find the right measuring cup or spoon when you’re in a hurry. Personally, I tried the old “keep them in the same bowl” method. Still had to rummage. I tried using hooks on the inside of a cupboard door. This worked for me, but apparently the noise of clanking cups and spoons whenever you opened the cupboard freaked out my forgetful husband and visitors, who apparently thought everything was falling out of our cabinet.
So.
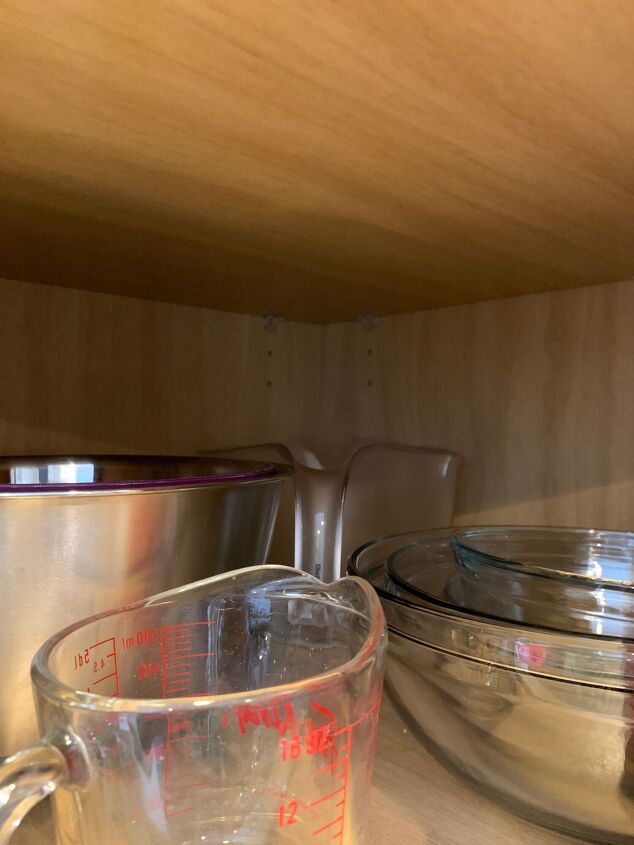
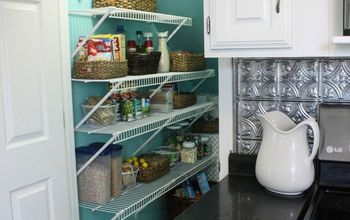
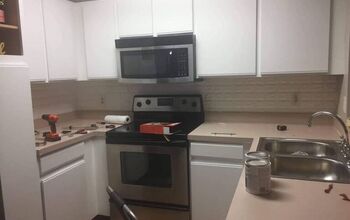
When we first organized our current kitchen, I stood staring at my open corner cabinet and thought long and hard about how to solve my reaching problem. My first idea was to take off the door and make open shelving with our prettier, seldom used dishes. But I had glass doors on cabinets in our pantry (see here), so I didn’t really need more display shelving. Besides, corner cabinets allow for a LOT of storage, and it seemed like a good idea to put mixing bowls and measuring cups/spoons in this cabinet since it’s right next to our stove and prep area.
That’s when I remembered seeing a pull-out pot hanger during my shopping research. I thought it looked cool and handy at the time, but it also seemed like a waste of space for our bottom cabinets.
But. What if I could use something similar to put in my unreachable upper corner cabinet? I could hang measuring cups and spoons on hooks for easy organization (ooh, and label them!), then pull the hanger out to reach easily!
Since I couldn’t find exactly what I wanted anywhere to buy, of course I decided to make them. I made one for cups and one for spoons. (The process below was the same for both, although I mostly picture the spoons organizer.)
Supplies:
(As an Amazon Associate, I earn from qualifying purchases. But it doesn’t cost you anything extra and helps me keep up my site!)
- 1×3 boards (or whatever scrap wood fits) length a little shorter than the depth of your cabinet
- Drawer slides, mine came in a 2-pack
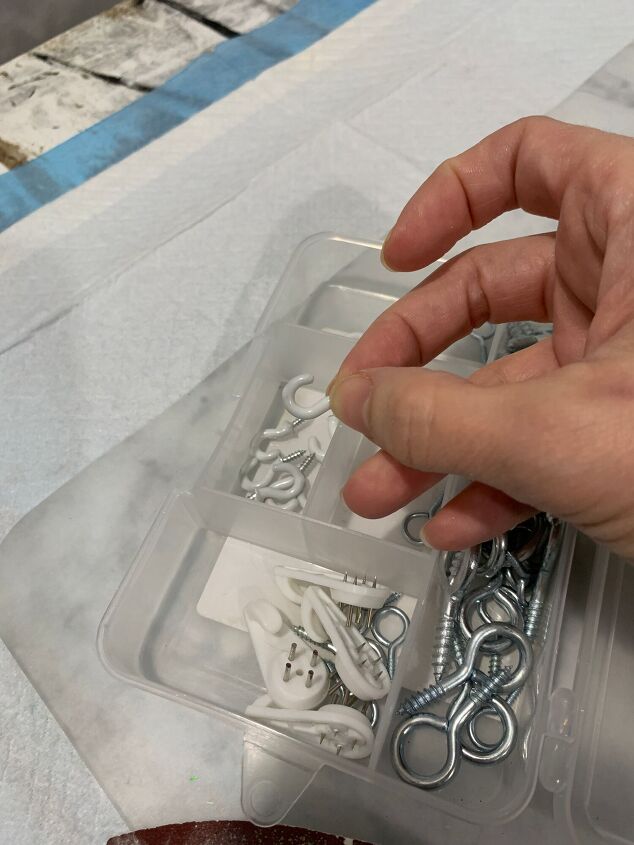
- Hooks, mine were part of a pack
- Measurement labels, mine came from Etsy
- A few screws
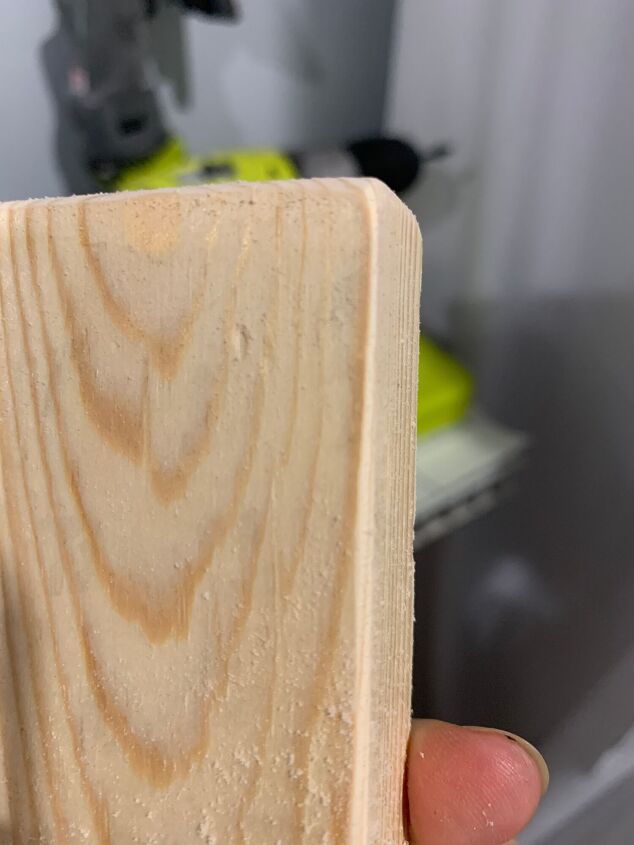
Step 1: First I cut my boards and sanded them so the front ends and edges wouldn’t be rough to the touch.
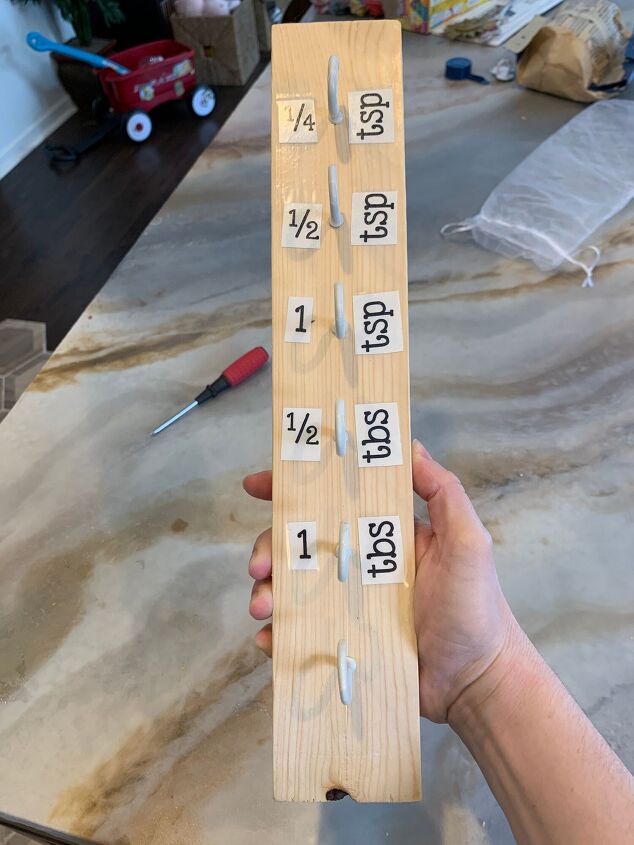
Step 2: Screw in hooks. I spaced mine pretty evenly along the board, but you can space them however you want. I was going to use different sizes for different spoons, but it ended up looking better to use all bigger hooks. Plus, the bigger hooks make it easier to hang everything quickly.
Step 3: Labels. I ordered mine off Etsy, but you could probably find labels anywhere or just write on the board with a marker, if you want. I had to doctor mine a bit to get the sizes I wanted. I also ripped one on my first attempt so chickened out with the rest and taped them on. But here’s the final result:
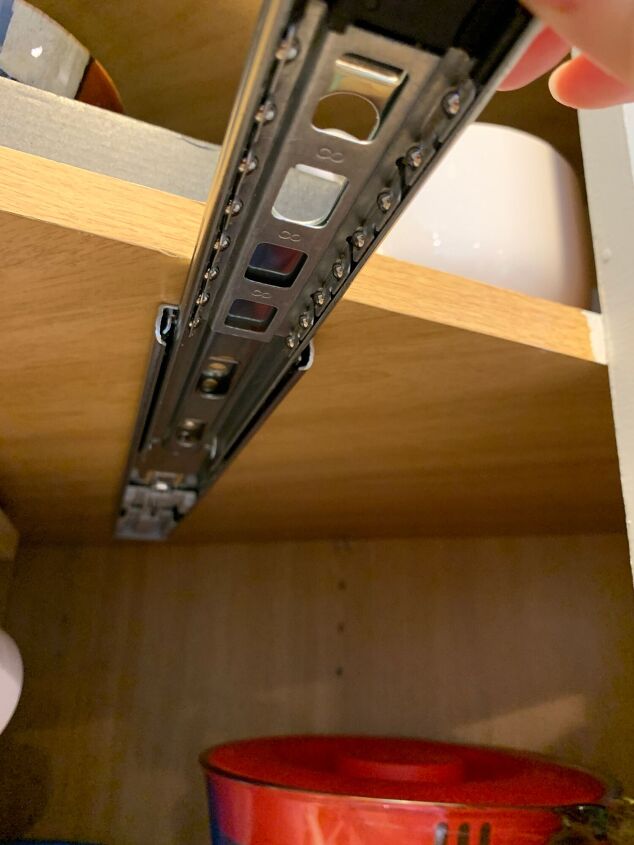
Step 4: Installing the drawer slides. How to attach these might depend on the kind you get, but mine were easy to attach to the underside of my cabinet shelf with 2 screws. MAKE SURE your screws aren’t too long, or else they’ll pop through to the shelf above. Also make sure you attach the base of the slide, not the part that does the sliding.

Since I was doing all this in a corner cupboard, I positioned my slides at an angle so that they’d extend straight out from the open cupboard. If you’re doing this in a normal cupboard, just make sure everything is squared so the slides go out straight.
As for how deep into the cupboard to install the slides, make sure that the front end doesn’t extend farther than the shelf it’s attached to, or else it might stick out too far for the door to close. You might want to test by holding your board in place to see how far out everything should go. (I realized all of this later but got very lucky with how I’d installed the slides.)
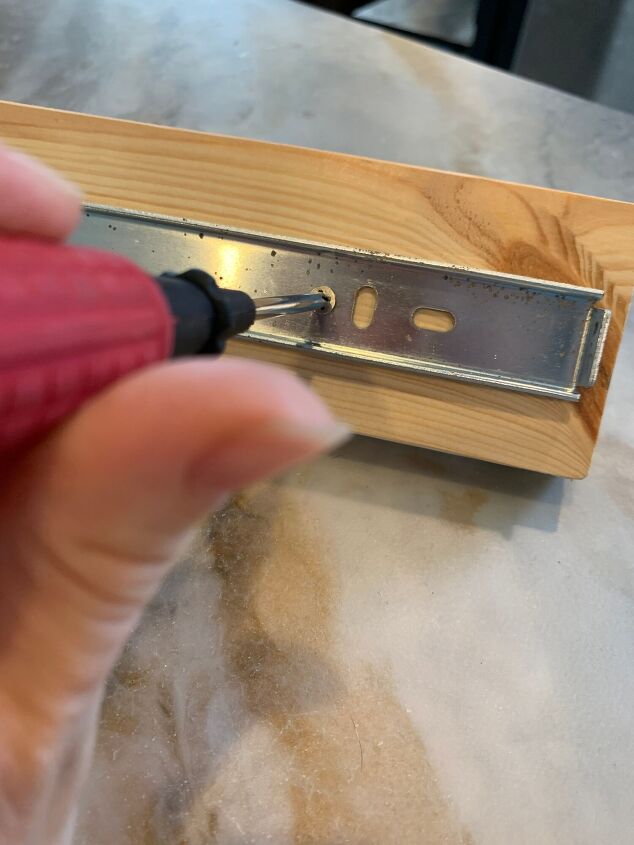
Step 3: Attach the wood. I suppose you could do this with the slide parts still together, but I took off the slide part by switching over the little flap thing (not technical name) to disconnect the two parts.
Then I flipped my board with the hooks and labels and attached the slide with 2 more screws. Make sure the slide is in the middle of your board – I eyeballed it, but you could measure and make a line to be sure. Also make sure which end is at the front and which end is the back.
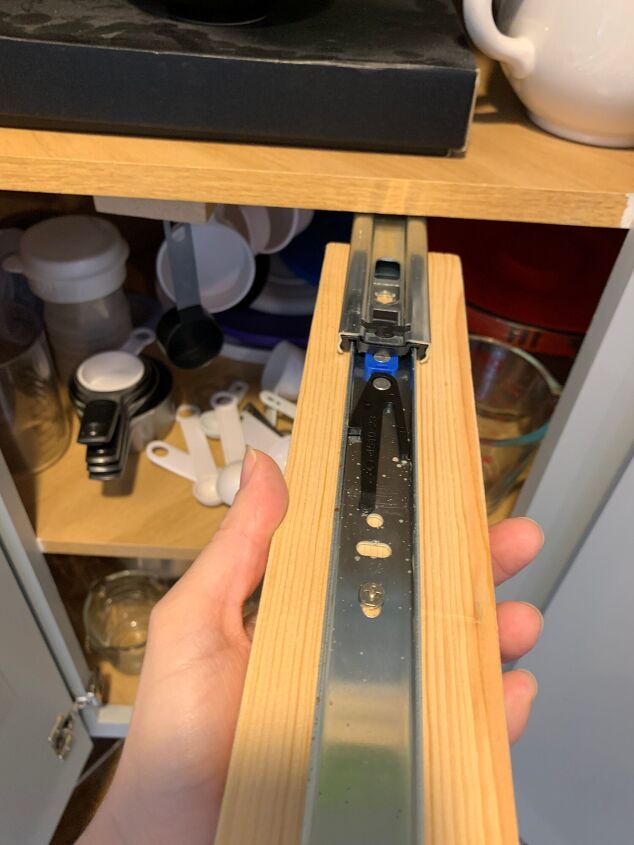
Step 4: Connect the slide parts back together. Mine simply clicked back into place. (Again, if you’re nervous about disconnecting the slides, you could attach the wood with the slide part extended. But most slides I’ve used disconnect and reconnect just fine.) I did a few test runs, pushing and pulling them in and out, and everything held really well! Mine are soft-close slides, so that’s an added perk.
That’s it! Your organizers are installed! Now hang your cups and spoons on those empty hooks!
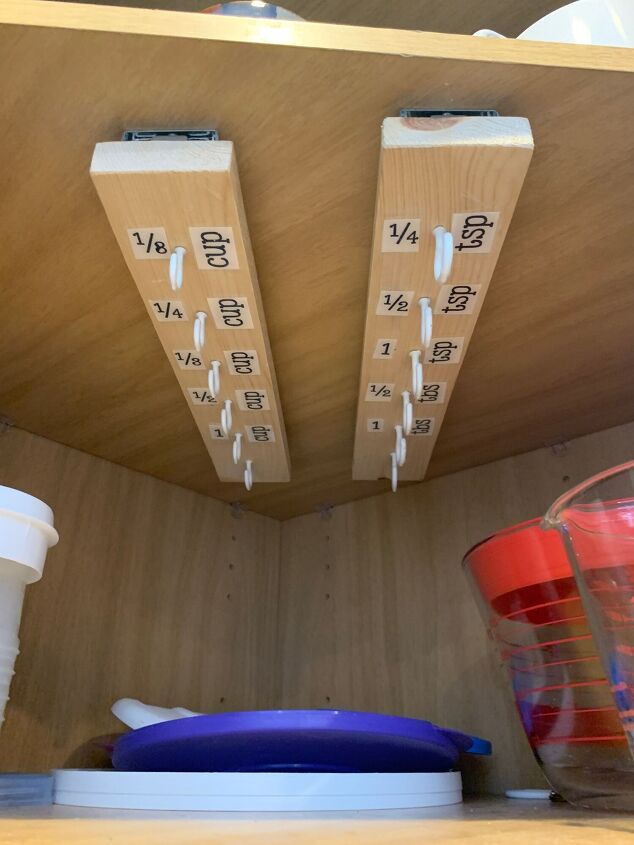
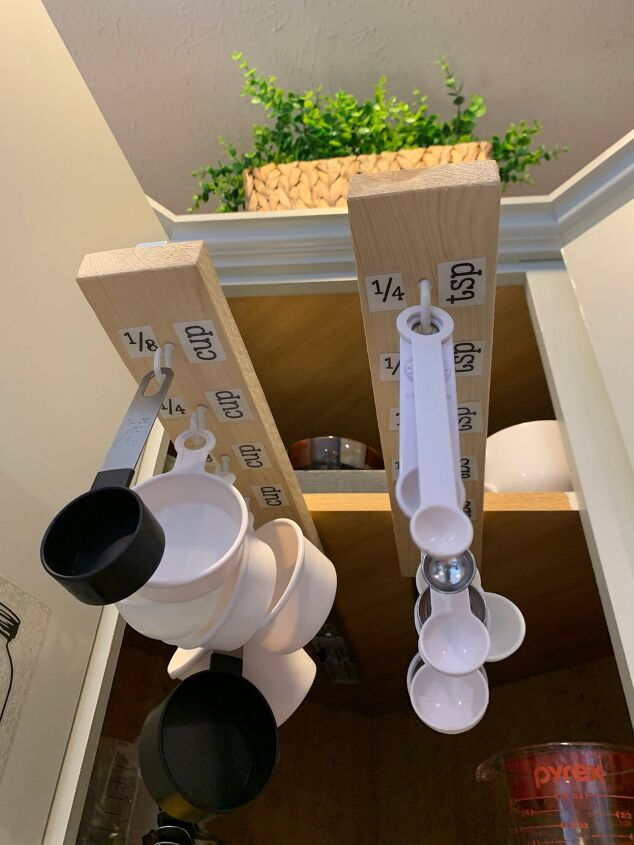
No more rummaging. No more struggling to reach. I even put glass measuring cups in the space between where these slide in and out so that the shelving space below the hangers isn’t totally wasted. And some mixing bowls fit on either side. Now I can reach everything in the corner cabinet, and the hanging stuff in the deep part comes to me!


Comments
Join the conversation
-
Nope. I like my stainless set & brightly colored set of measuring spoons on their own rings, the measuring spoon section of my utensil tray in a drawer. They take up 4”x 1.5 “ of space in my life & a lot less space and time in my head and in my life.
-
Love this idea. I put hooks above my plates and bowls to hang cups and hooks under a cabinet to hang soup cups. I have an old 70s house with homemade pine cupboards, wood ceiling and copper farmsink and backslash in tin.


Frequently asked questions
Have a question about this project?
Neat idea but why not put these on the underside of the cabinet instead of inside? Measuring utensils come in a wide array of color and material choices if I choose to do this project, I’m not wasting cabinet space.
But do you have to stand on your head to see the messurements?
Great idea! I am going into a co-op apt and would need approval to do anything with nails or screws. Could the slides.be attached with velcro?