


Boat Cleats Make a Great Towel Hanger

One of my customers asked me to make a beach towel hanger for her. She was pretty specific about what she wanted. Wait until you see the wood I used. I think it’s genius!
Lets get started…

This is a piece of wide molding. My customer wanted the wood to look like a picture that she saw. It almost looked like bead board. But look at the back side of this piece of molding. It will give the finished item so much character. I used a jigsaw to cut curves on the ends and then sanded the wood with an orbital sander.
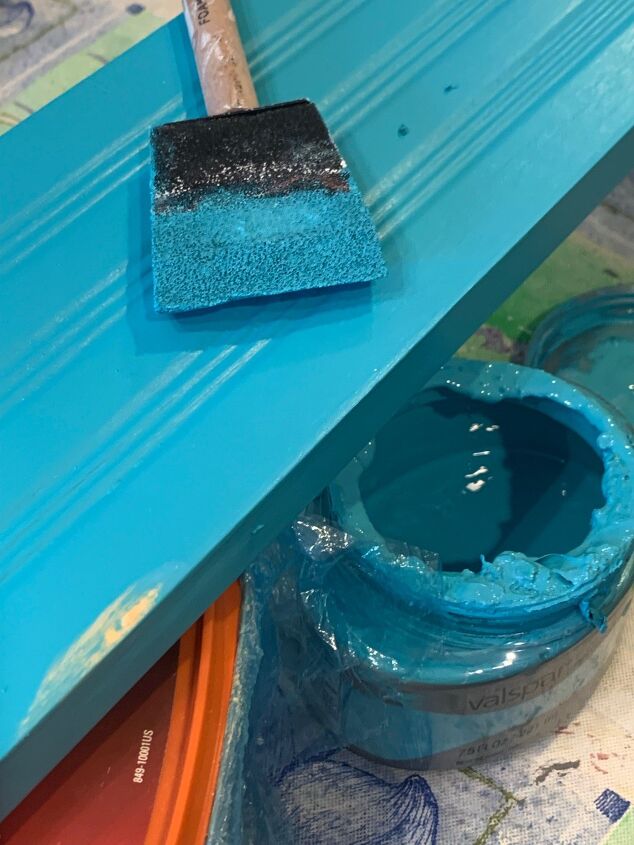
Time to paint. Since I use a lot of paint I typically purchase the sample size paints at local hardware stores.
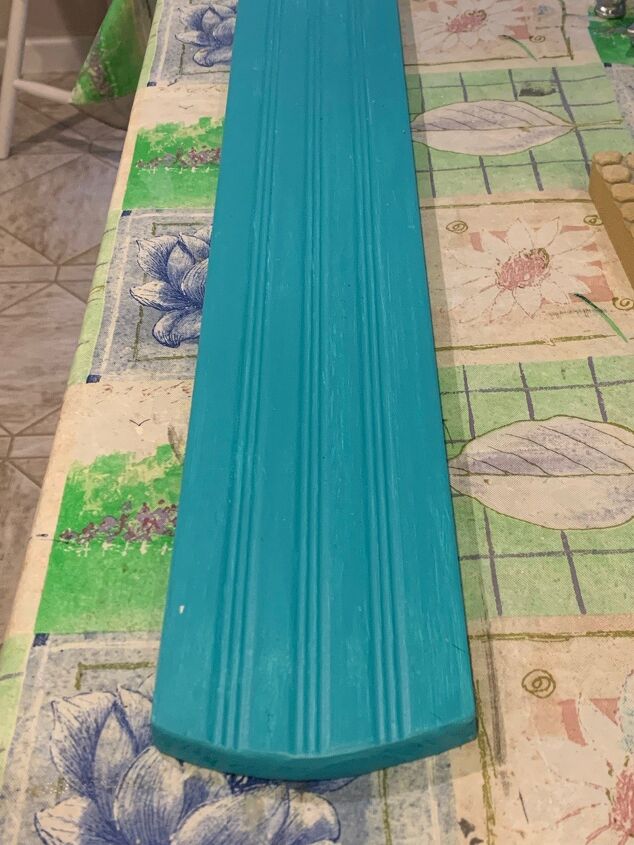
In keeping with her request I painted the board this teal color.

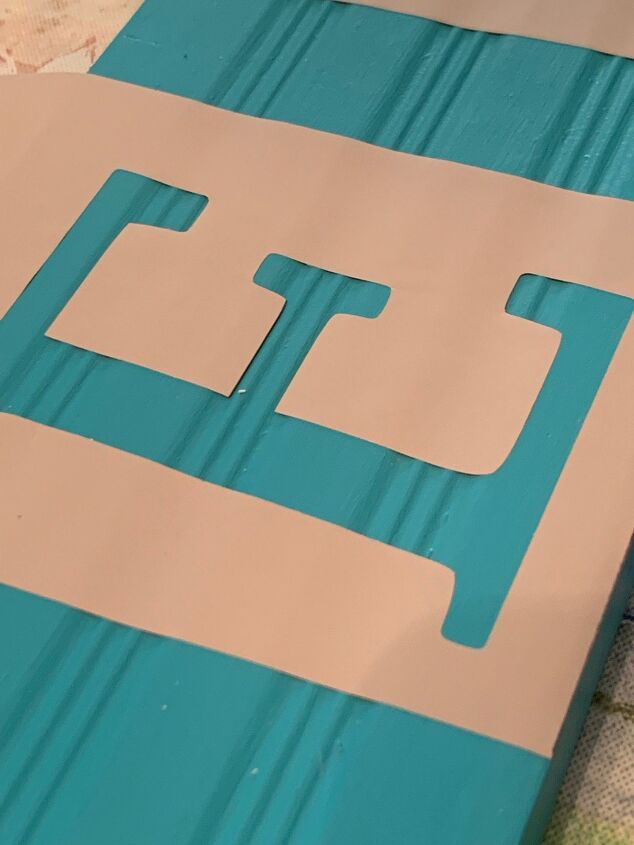
I make my own stencils using the Silhouette program on my computer. Then I can cut the stencils out using my Silhouette Cameo cutting machine. I use very inexpensive shelf liner for my stencil material.

This beach towel hanger is going to use boat cleats for the hooks. And it’s gonna say the word BEACH with each letter in between the boat cleats. I want everything to be sized out perfectly so before I paint each letter I determine where everything needs to go.
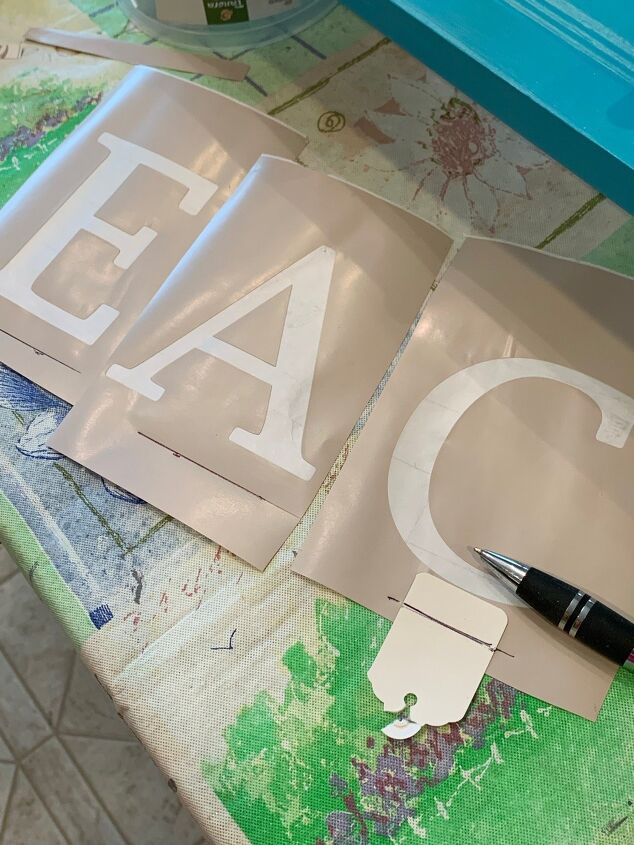
To help me position everything correctly I decide how far up from the edge of the wood each letter needs to be and draw a line on a piece of paper. I use that paper to mark the line on the stencil.
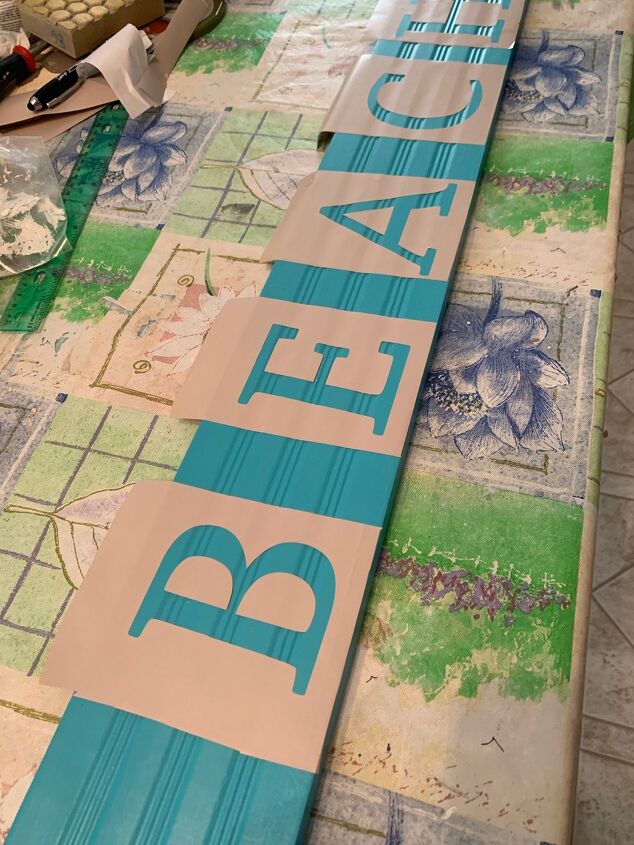
Then using that line on the bottom of each letter I place the stencil. I make sure the stencil is centered between the little marks that I made for each of the boat cleats.
While holding each letter in place, I peel the back of the stencil off little by little. And then it sticks into place.
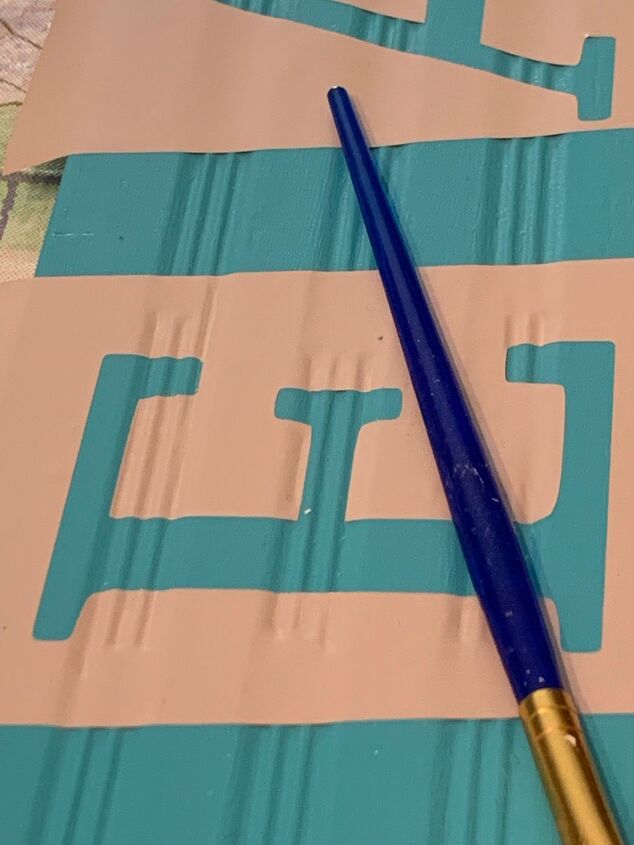
I know ahead of time that the gaps on the ridged wood is going to cause a problem when I paint. So I use the end of a paintbrush to wedge the stencil into the grooves.
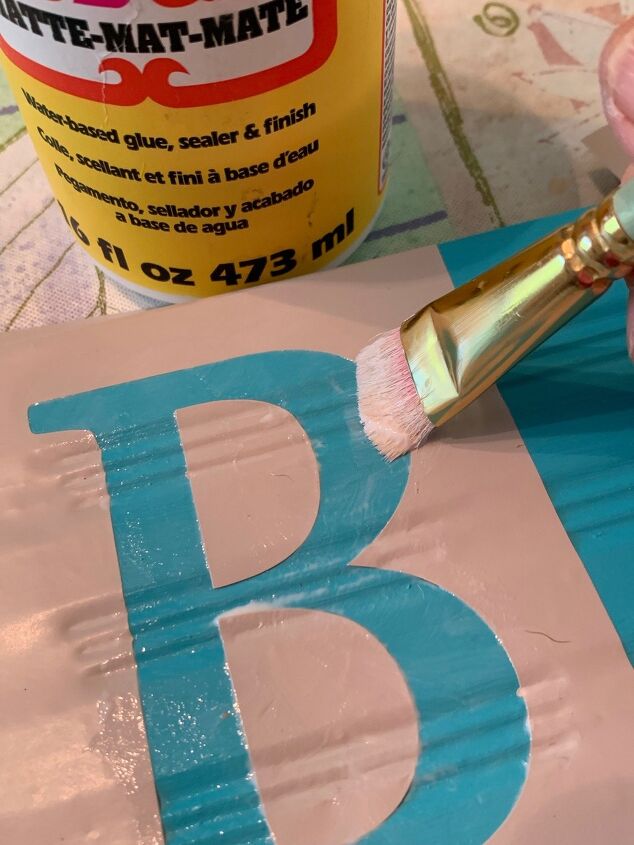
Then I put a coat of mod podge on each letter helping to seal those edges before I paint.
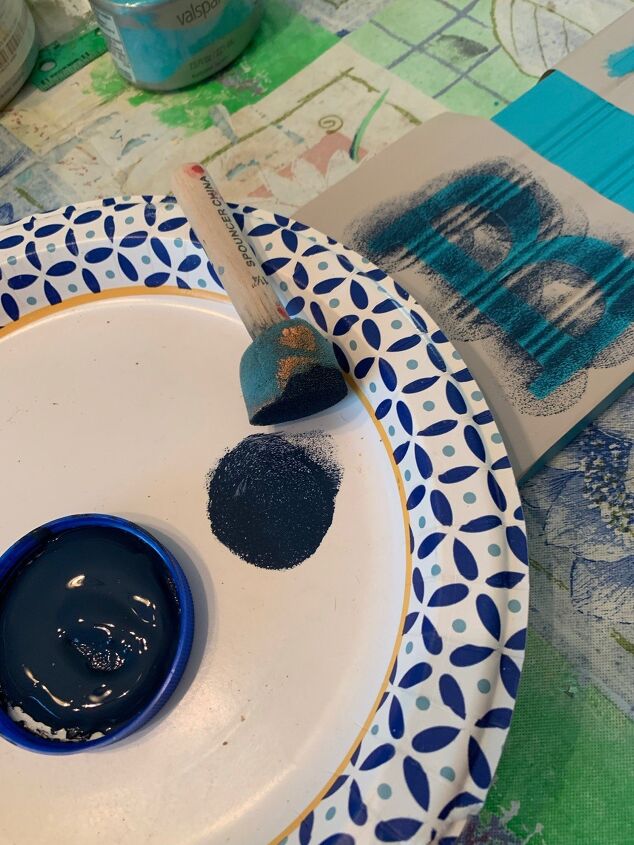
I’m using a nice dark navy blue and use a pouncer sponge applicator. The key is to load the sponge and then offload some of the paint before you pounce it onto your stencil. If it’s too wet it will definitely seep under the stencil.
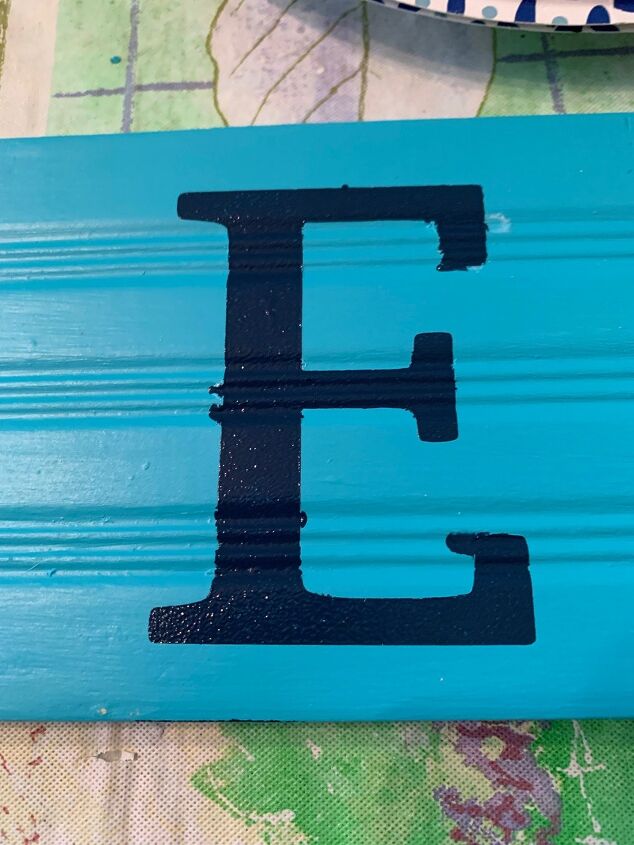
Some did seep under. Not to worry. I just used the teal colored paint to touch it up.
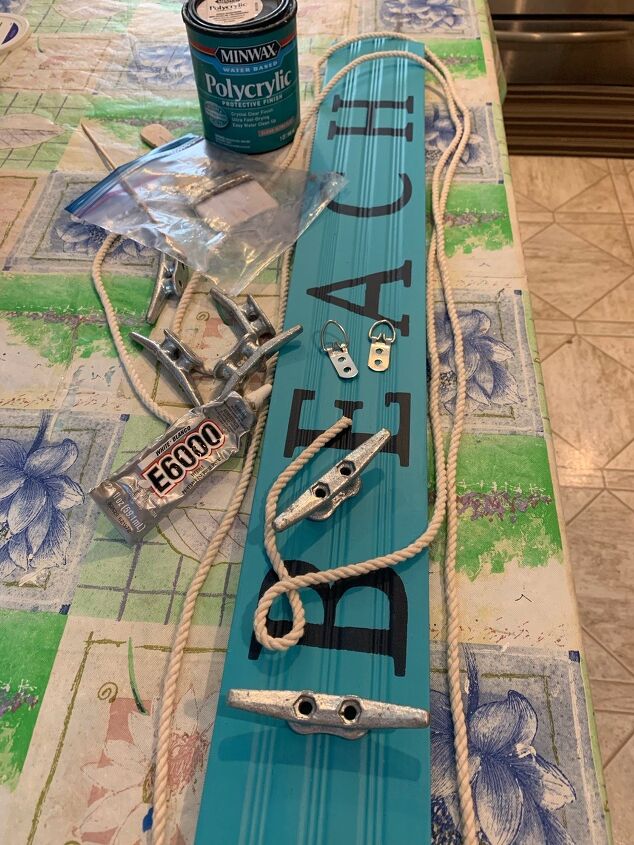
Here are the goodies that I need to finish this project. I’m going to add some white cotton cord around the outside edge to give it a little razzle-dazzle.
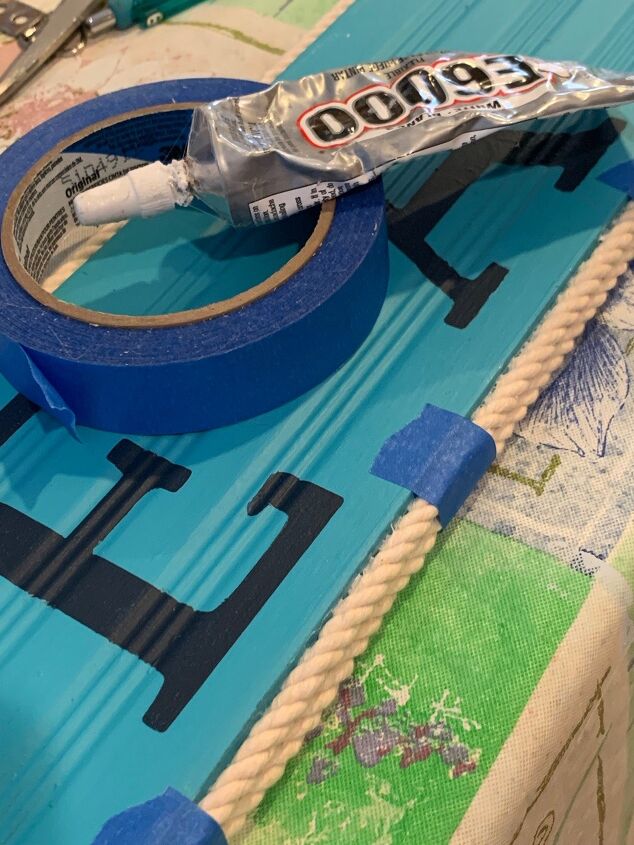
I placed the cord using painters tape. Then I used E 6000 glue to glue it into place. E 6000 glue will keep it there permanently!
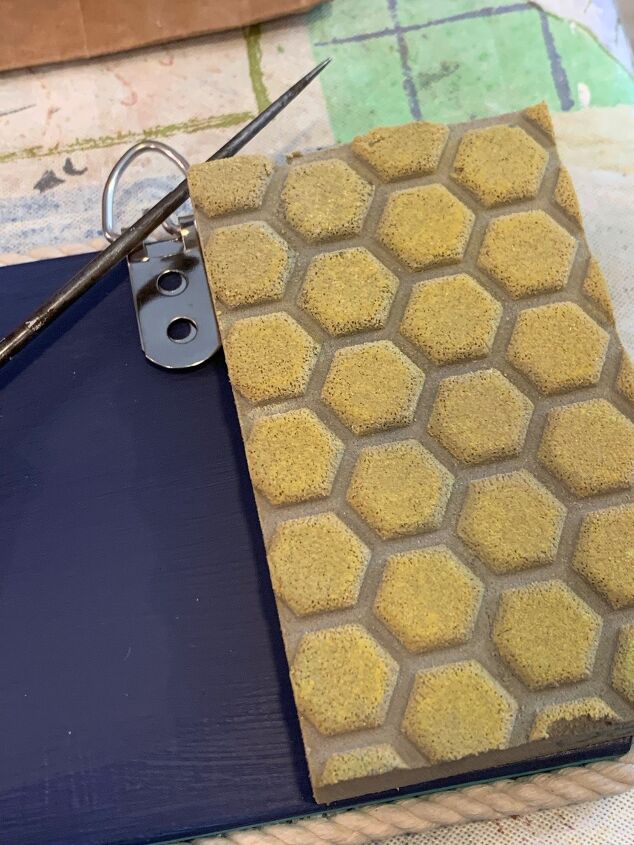
I painted the backside of the wood navy blue and now you can see that I’m adding a heavy duty D hook so my customer can hang this on the wall very easily. The sander block comes in handy to measure the placement of the hooks on each side.
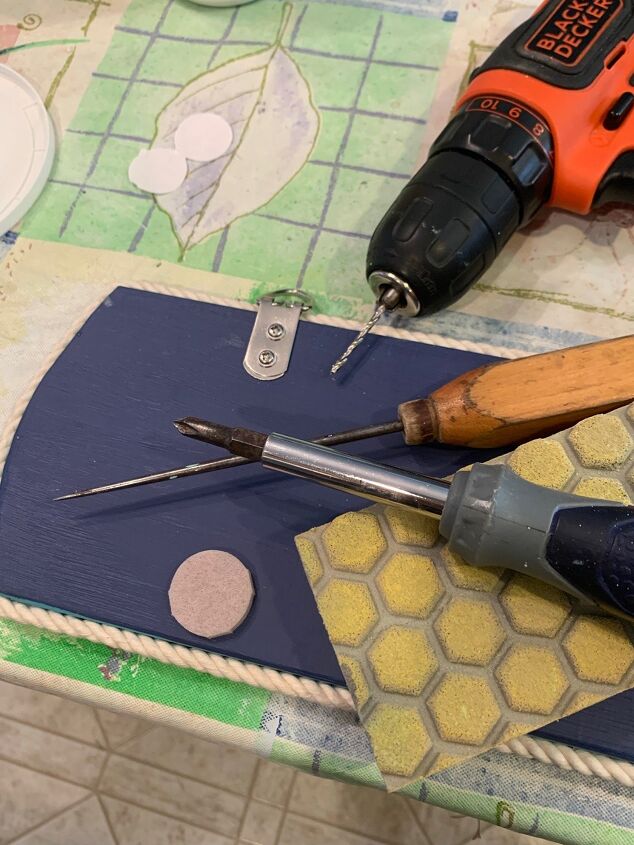
I marked the location with the ice pick. Afterwords I drill a very tiny starter hole. After that it is very easy to add the screws. I like adding a felt pad on the bottom corners too.
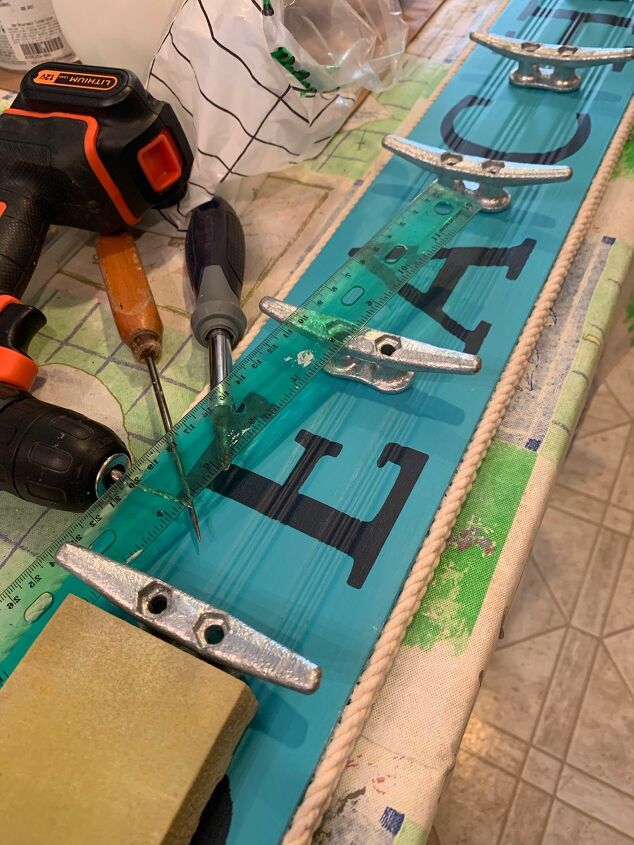
Next I install the boat cleats using a ruler to make sure everything is placed where it needs to be.
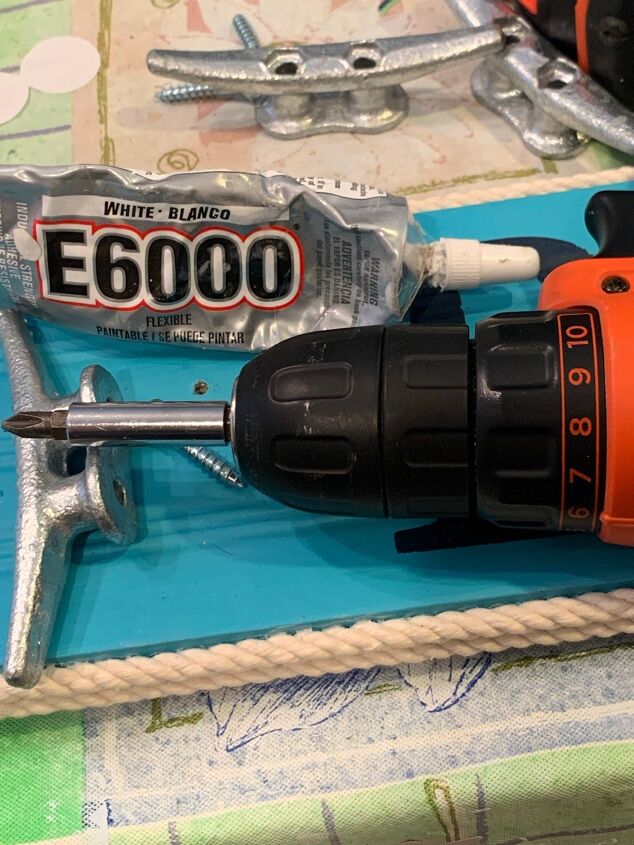
I put a little bit of E 6000 on the bottom of the boat cleat just to make sure everything stays in place. Then I screwed them onto the board.
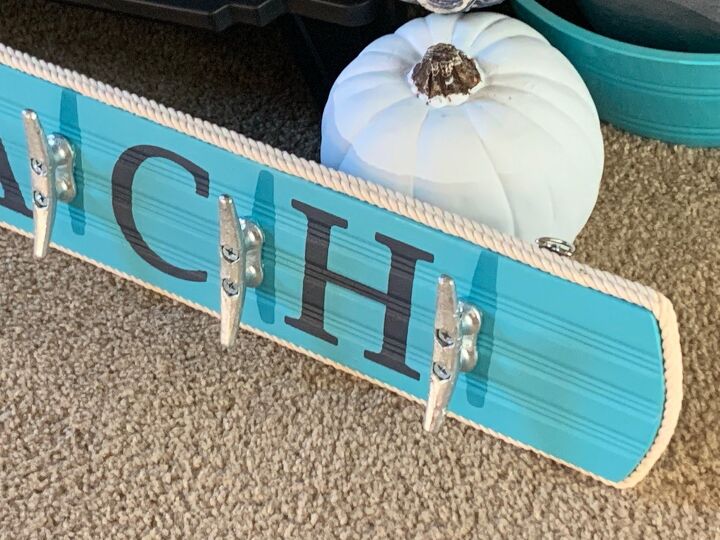
And here it is. I forgot to mention that before adding the rope and the hardware I finished off the piece with two coats of polycrylic. Then there should be no problem hanging your wet beach towels.
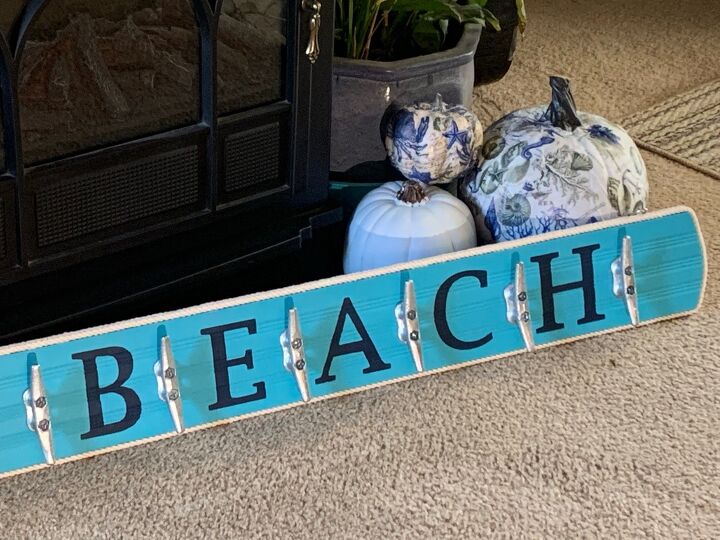
And here is a final look. My customer was very happy. I think she did an excellent job describing exactly what she wanted! For sure I’ll be making more of these.


Frequently asked questions
Have a question about this project?