


DIY Window Box Planter - No Brackets, No Nails, No Screws - Magical!

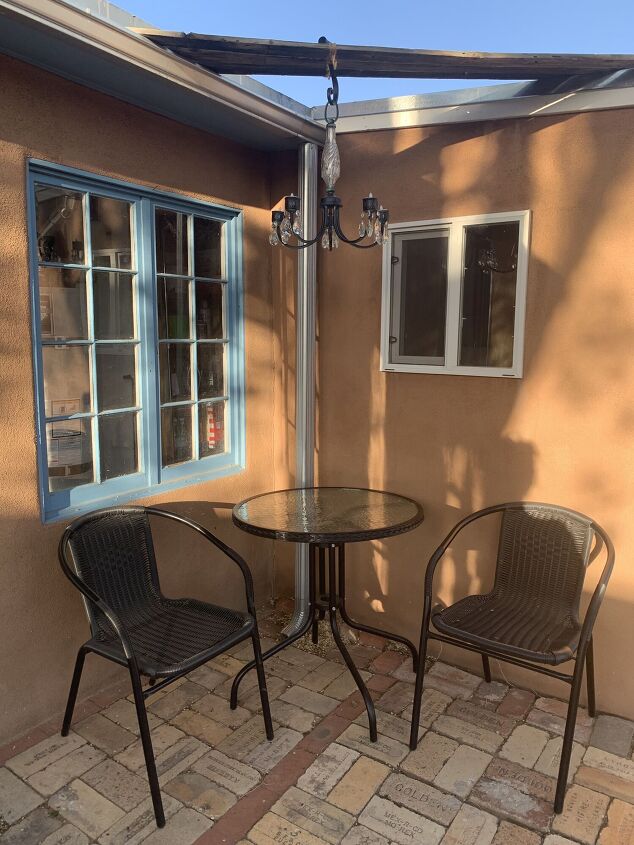
My French Bistro Garden Seating...Cute, but a tad dull. The space needs a Window Box spilling over with Flowers! Yes!
But, there is a problem...drilling holes in the stucco to hang the Window Box compromises the Stucco.
Hmmm...then I figured out another way to Hang the Window Box!
Hello Baling Wire!!!
This Project is So Simple...I surprised myself...And the Best Part - It Works!
The Magic of Baling Wire!!!
HOW TO HANG A WINDOW BOX WITHOUT BRACKETS:
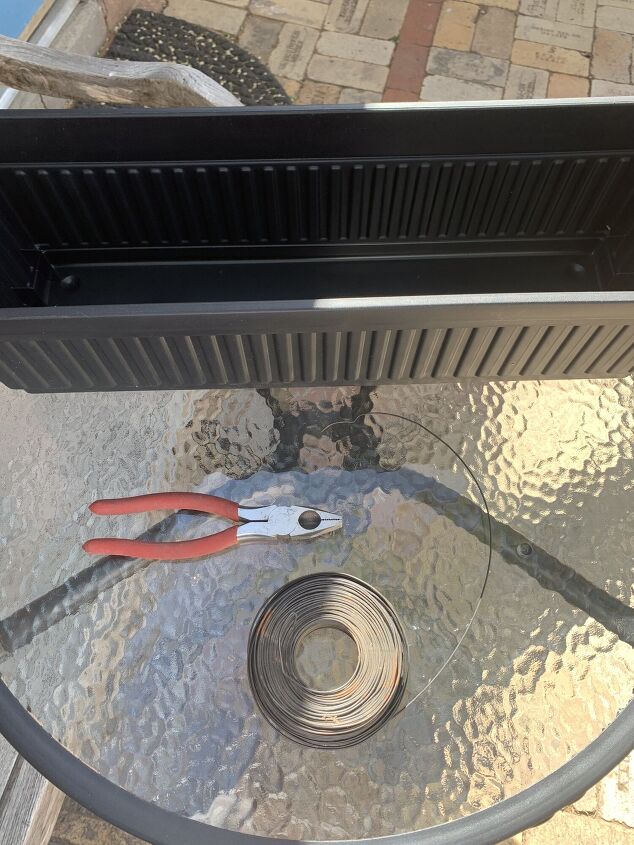
Materials:
- Baling Wire - enough to go around the window and attach the window box.
- Wire Cutter.
- Plastic 24-inch Window Box Planter - the plastic box is lightweight and will not add extra weight to stress the wire hanger. The Window Box is the width of the Window.
- Flowering Plants for the Window Box Planter.
Plastic 24-inch Window Box Planter...Amazon LINK.
Baling Wire...Amazon LINK.
Wire Cutter...Amazon LINK.
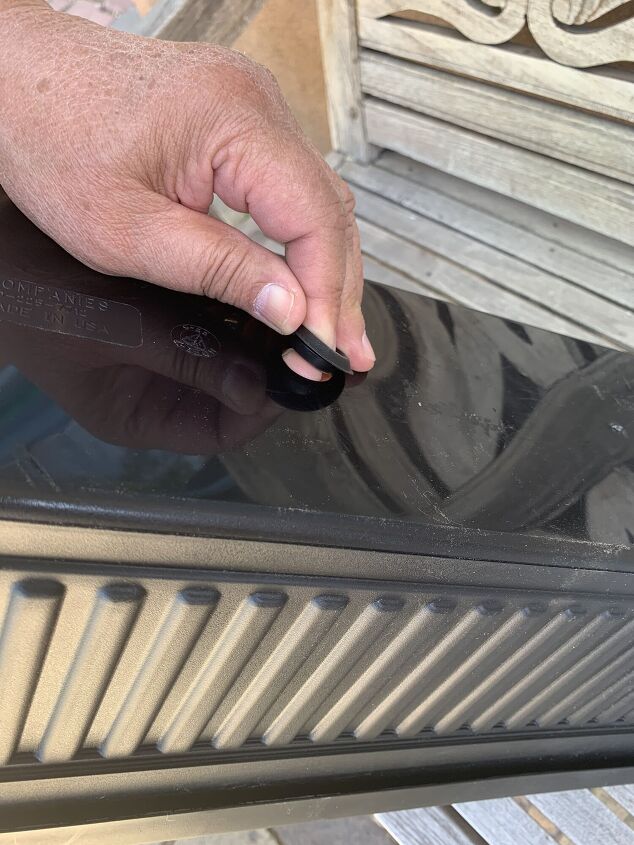
Step 1: Remove the drainage spout from the Window Box Planter.
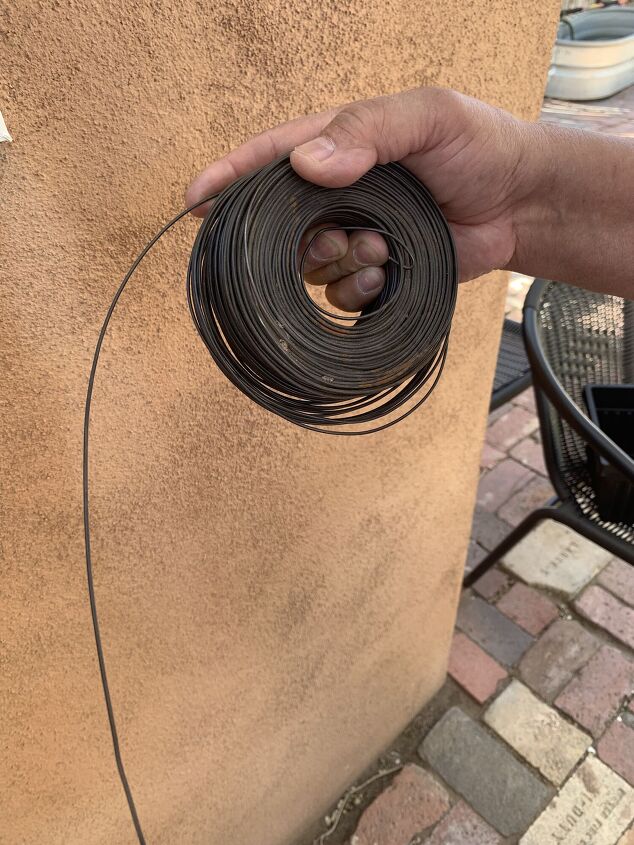
Step 2: Unroll the baling wire to fit the circumference of the window and the Window Box.
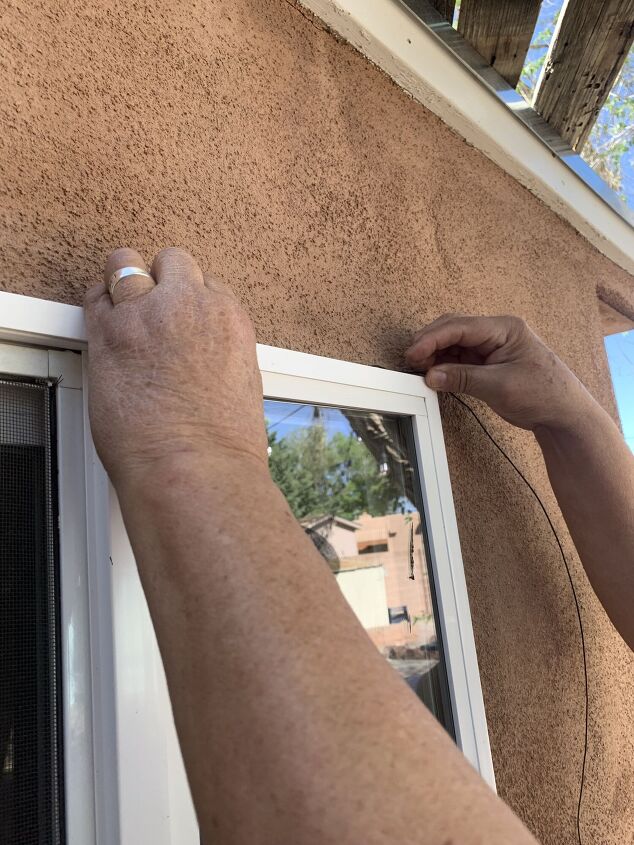
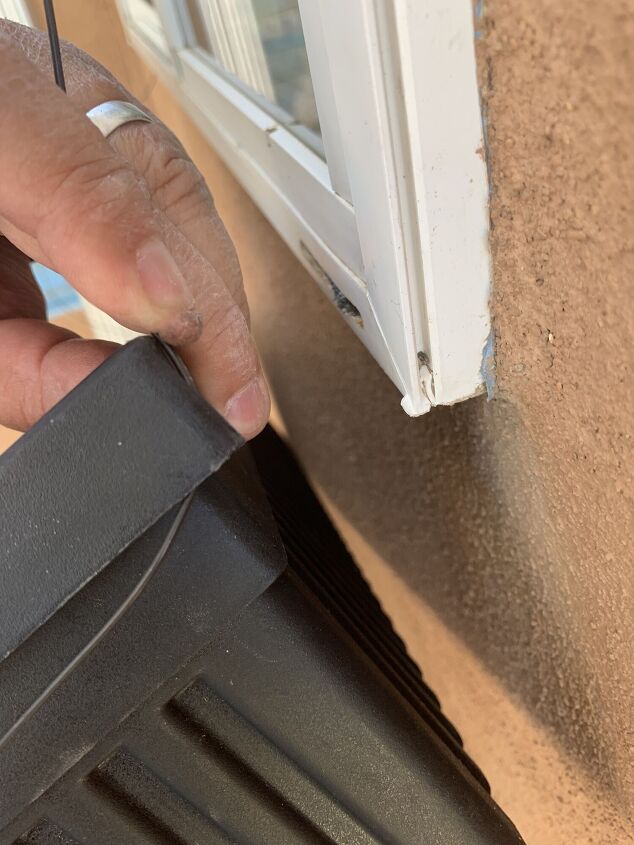
Step 3: Starting at the TOP of the Window, take the MID-POINT of the piece of wire and slowly secure the wire around the top ledge of the window.
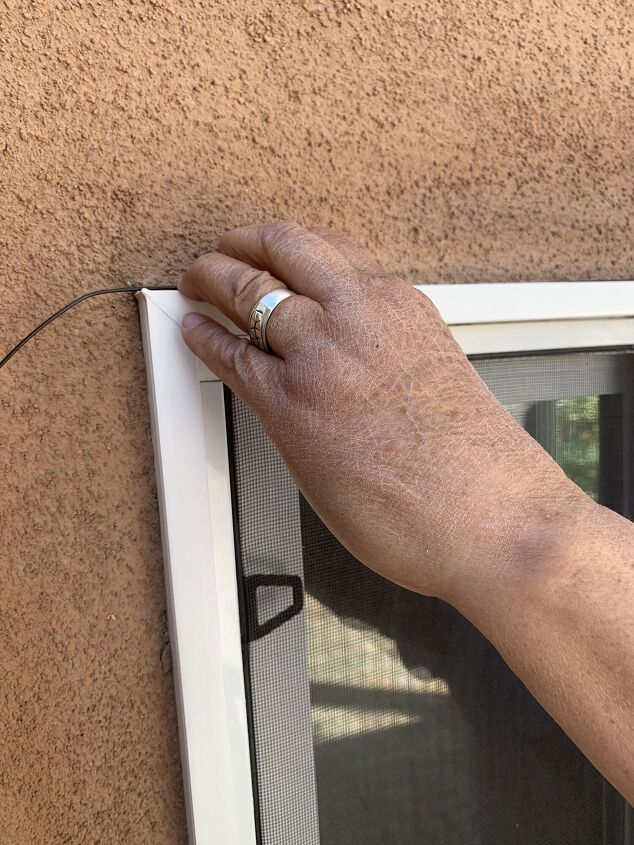
Step 4: On each side of the window, Pull the wire to fit snugly against the window frame....
Step 5: Hold the Window Box Planter UNDER the window ledge to make sure there is enough wire to wrap around the front of the Window Box Planter.
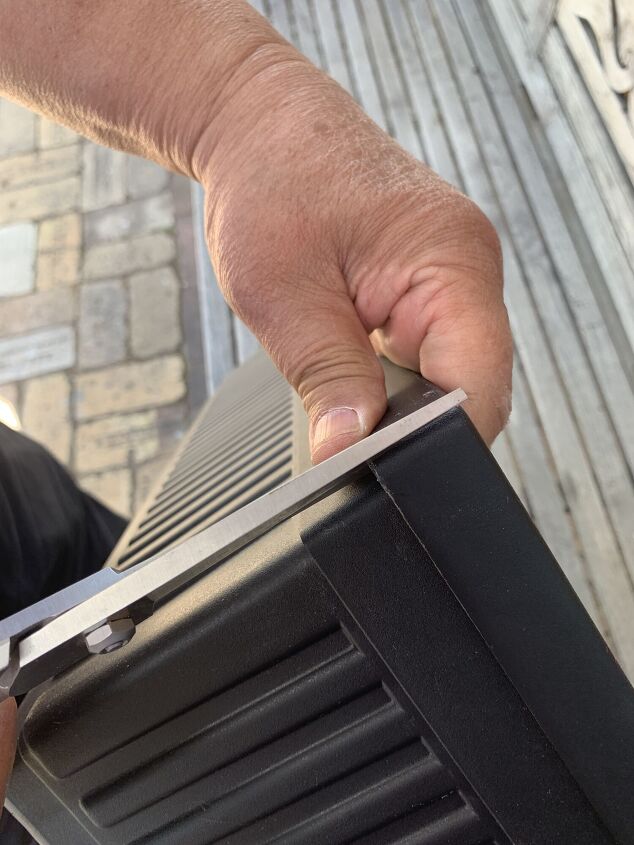
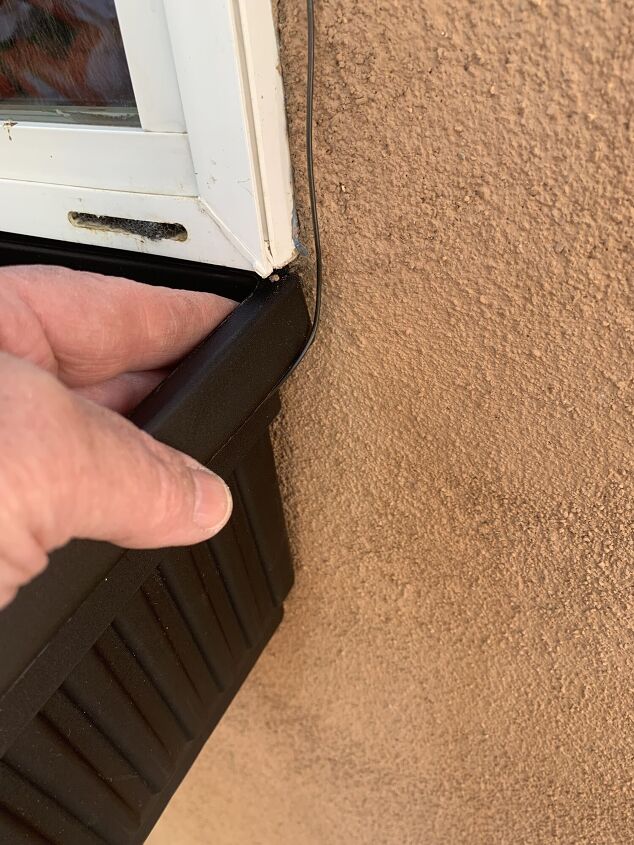
Step 6: With a Sharp Scissor, CUT the 2 corner lips on either side of the Window Box that will be against the Wall - this will allow the wire to slip under the lip of the Window Box...
Step 7: Tuck the wire under the Lips of the Window Box...Pull the Wire across the sides of the Window Box and Join the ends of the wire at the Front of the Window Box...
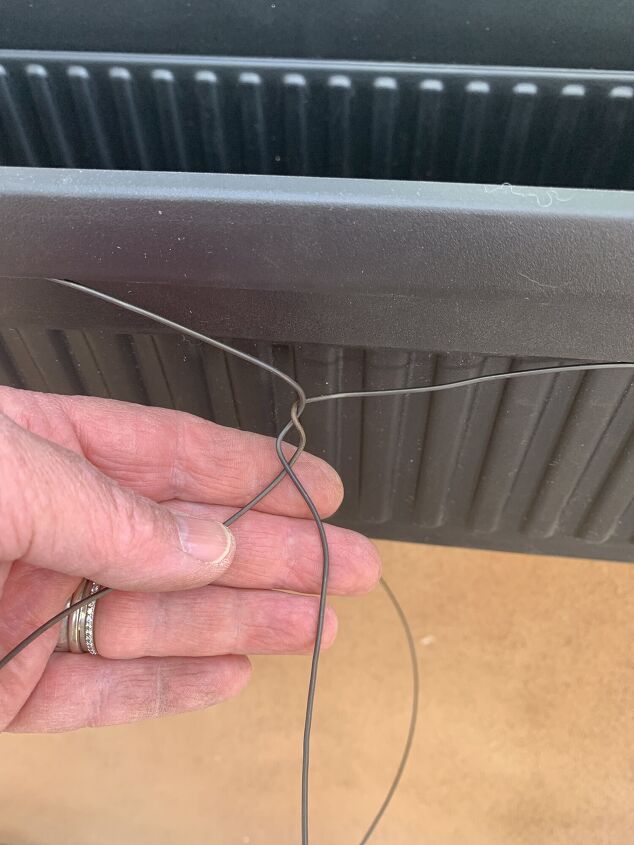
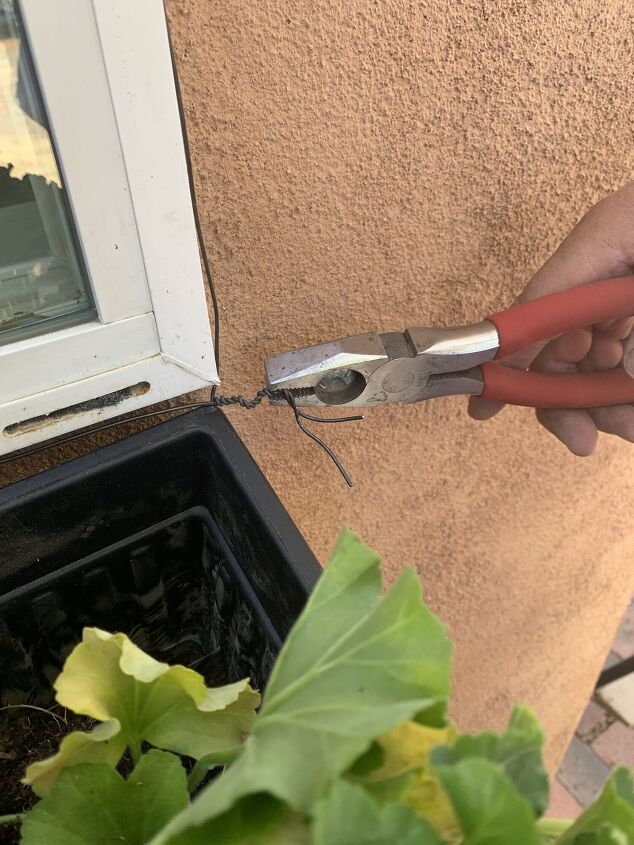
Step 8: Twist to Tighten the Wire...First with your Hands...
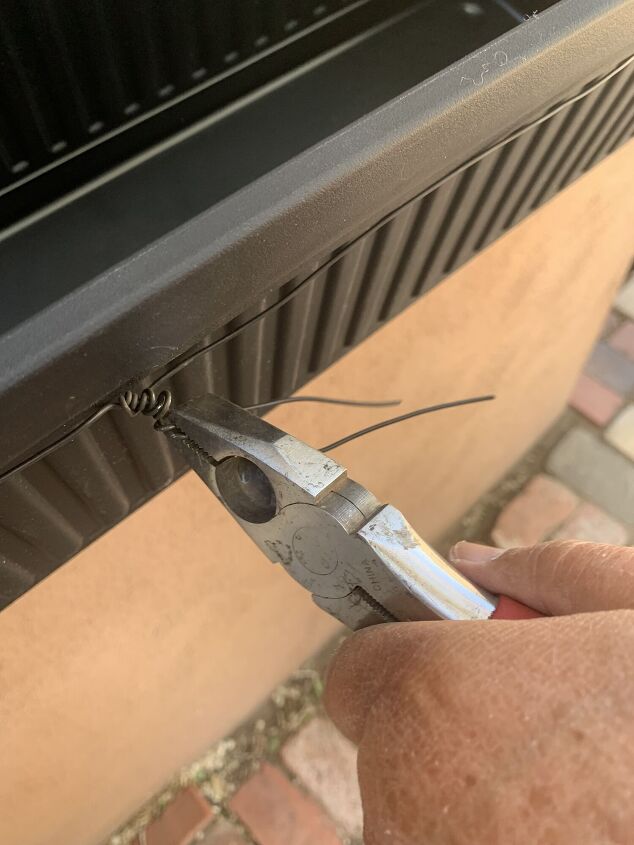
Then with the Wire Cutter...The Wire bracket that you have created to hold the Window Box needs Tension to hold it in place.
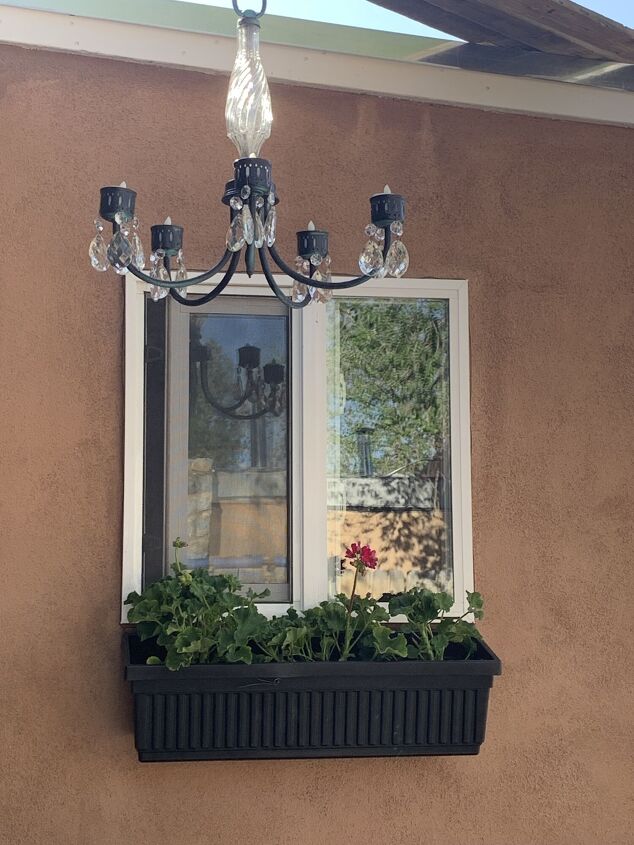
Looks Great...Now for the Fun Part...Plant the Flowers!
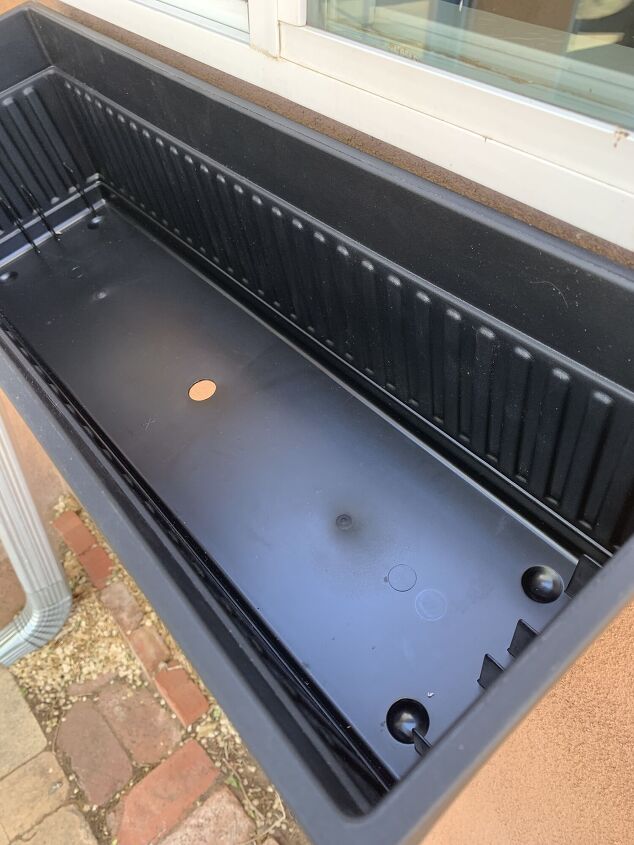
The drainage hole is ready...
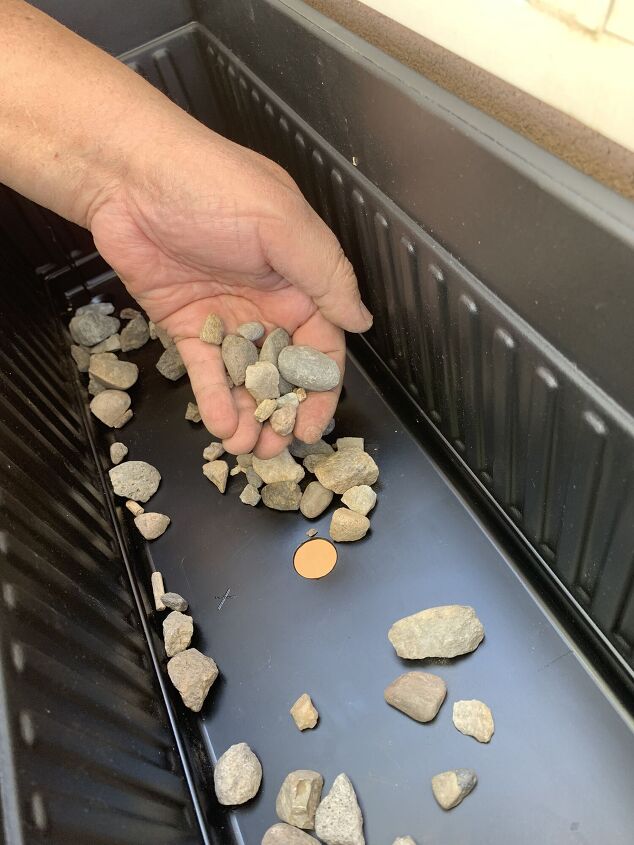
Step 9: Add gravel for drainage...
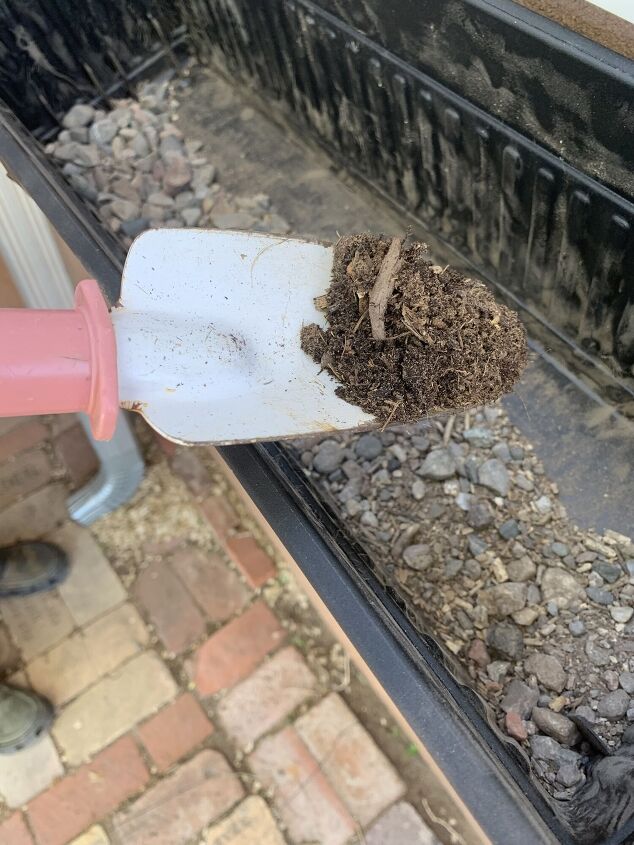
Now Add the Soil...
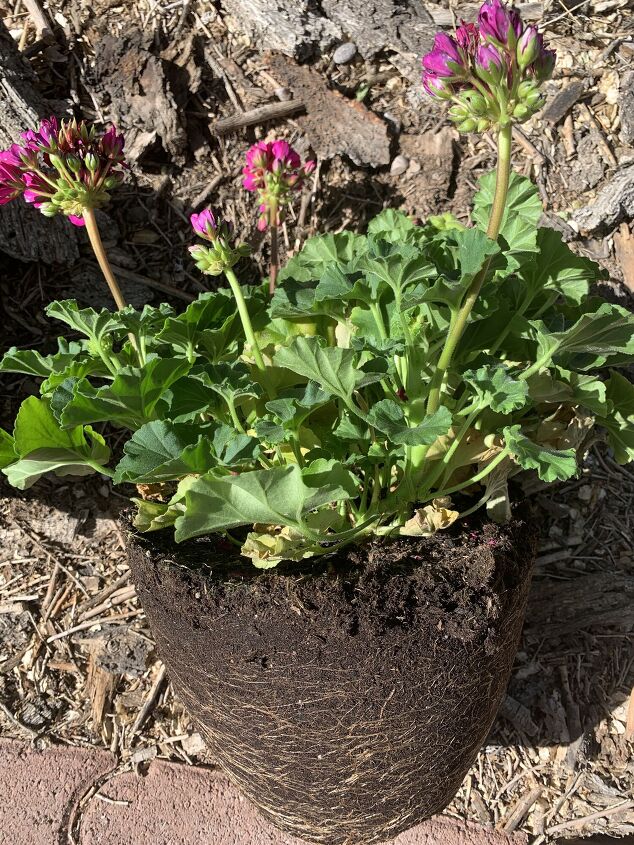
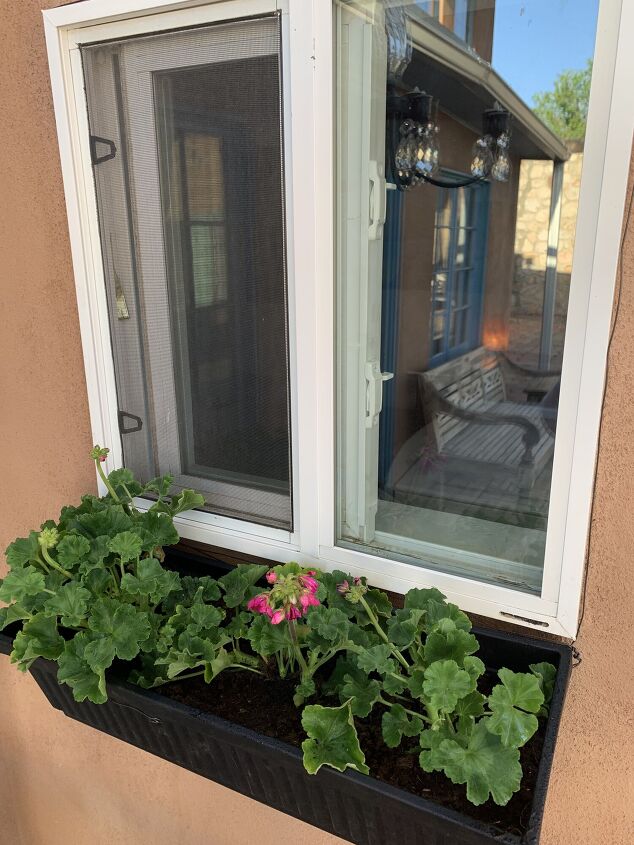
I love Geraniums...This pot of Geraniums contained 3 plants...perfect for the 24-inch Window Box Planter...
Geraniums from Costco - about $20/pot.
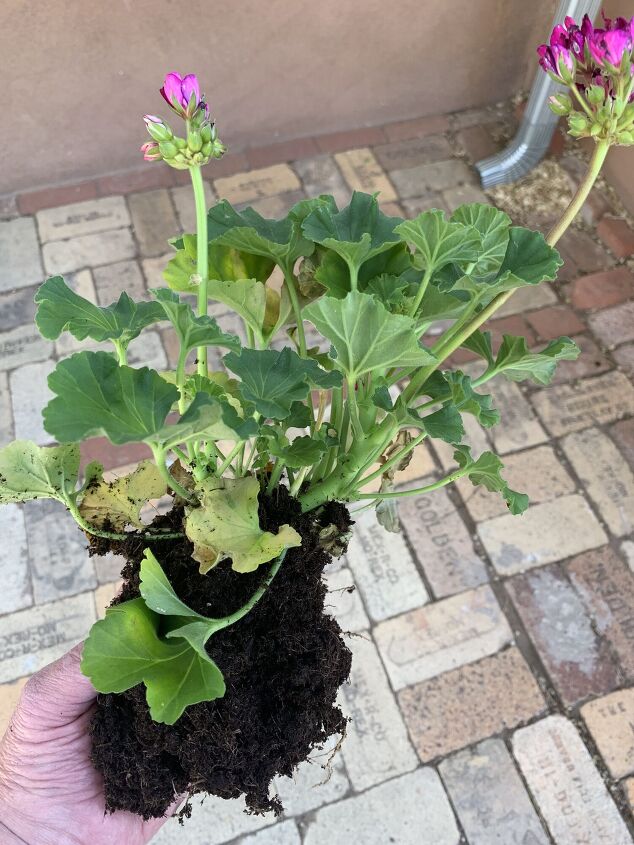
Geraniums Ready and Waiting to be planted...
Pretty...
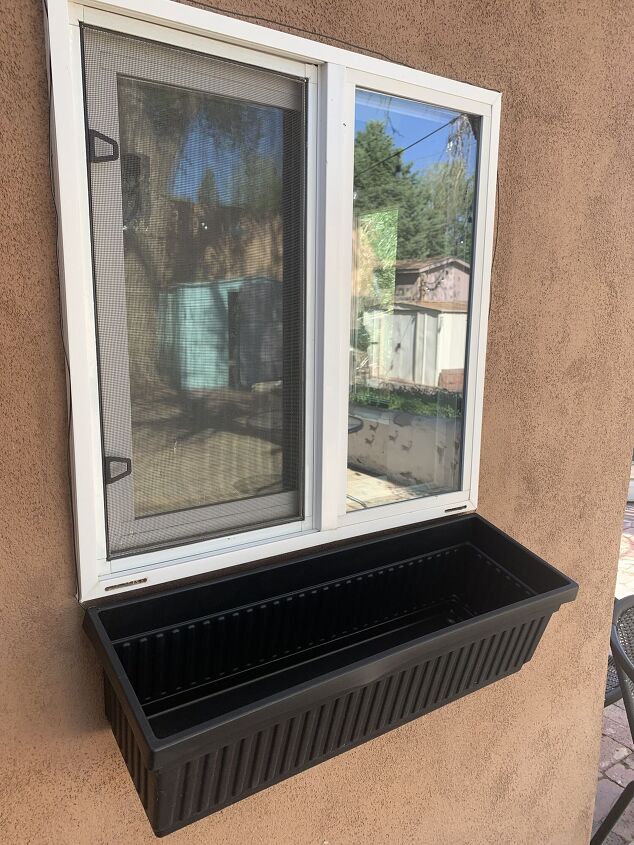
Step 10: This may be the most important step of all...Loop a new piece of Wire around the wire frame to run under the window and along the back of the planter...Tighten with the wire cutter.
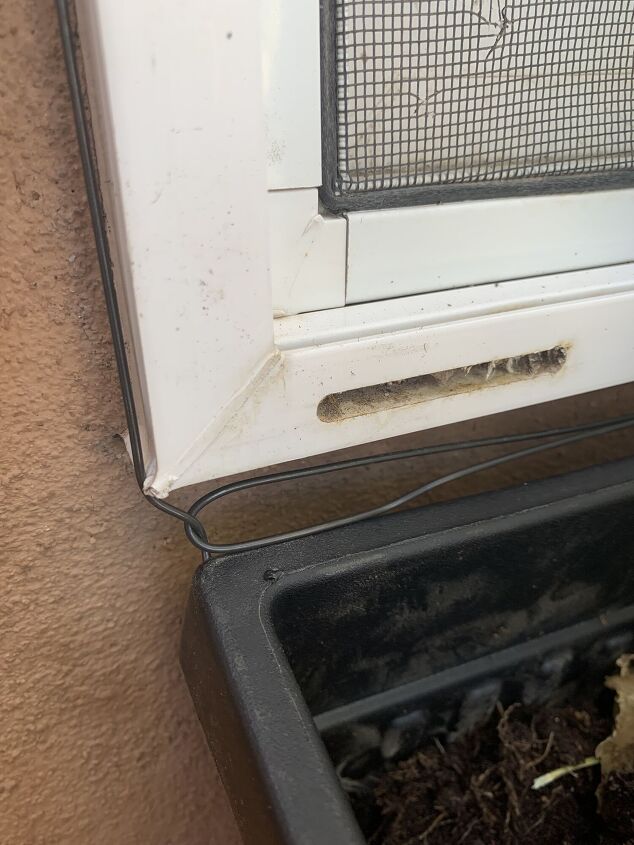
This photo shows the extra wire loop - This extra wire will give the right amount of tension to the wire bracket to keep everything secure...
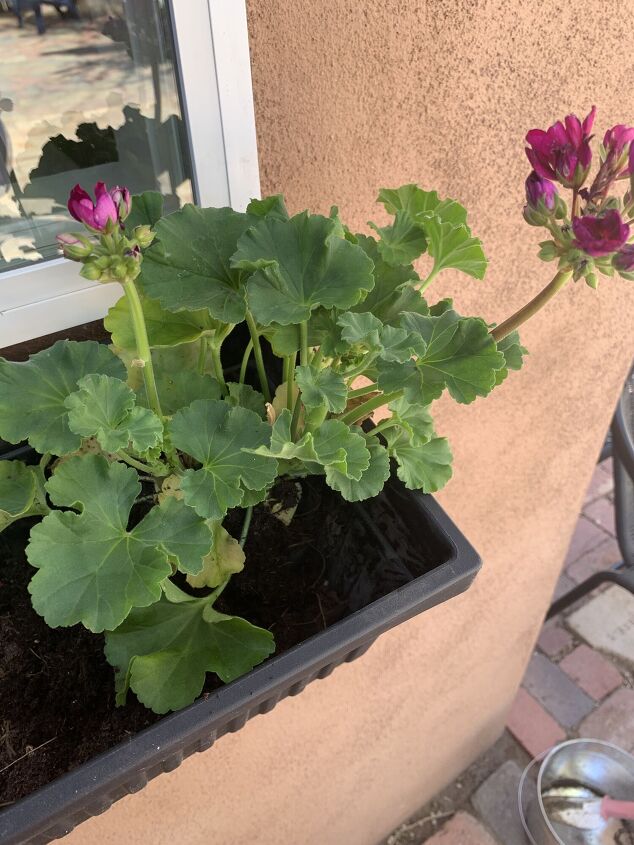
Perfect!!!
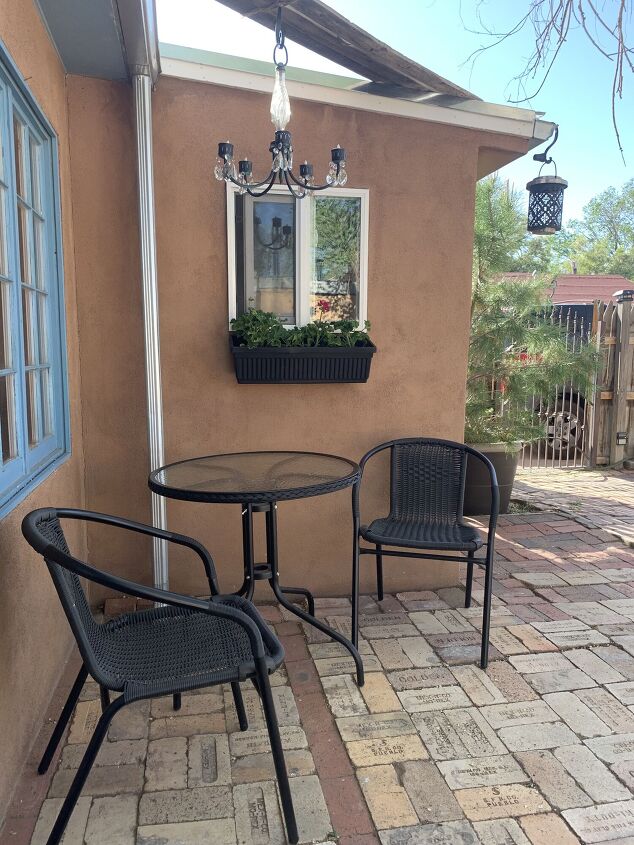
A cute French Bistro on the Patio...With No Drill Holes, Nails, Screws, or Brackets...Just Baling Wire!
Simply Magical!
For all the Magic - Jeanne of Doodle T and Me!
Comments
Join the conversation
-
Hi Tonya - Wonderful! So glad this project is a win for you! Jeanne of Doodle T and Me!
-
Great idea! That's thinking outside - um, around! - the box!


Frequently asked questions
Have a question about this project?
Wow! Totally amazing! I've got to ask: Is the window aluminum or other metal? I imagined the wire cutting into a wood window frame. Also: How did you assemble the chandelier?? Is it permanent? Is it electric? Is it crazy wonderful or what?? Thanks for sharing. 😃