


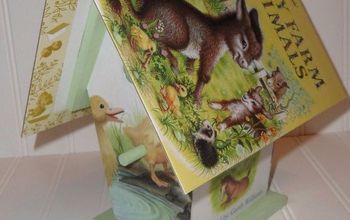
Decorative Bird House

I never thought there would be a day when I learned that my favoratite home decor store was closing due to a pandemic. Its a weird feeling not being able to jump in my car and drive to my favourite store and browse the aisle for that "perfect" decor piece. The world is so crazy these days.
So, since I don't foresee myself, or any of you for that matter, being able to shop for decorative pieces in a store anytime soon, it only makes sense to take you along for a simple DIY tutorial, and show you how to build a simple bird house.
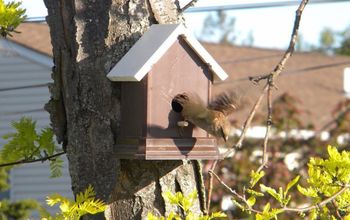
These bird houses are so cute, and with spring here, its the perfect time to build and display a few of your own. These bird houses look great in any space, inside or out.
So, lets take a step away from the craziness of the world these days and get to building...

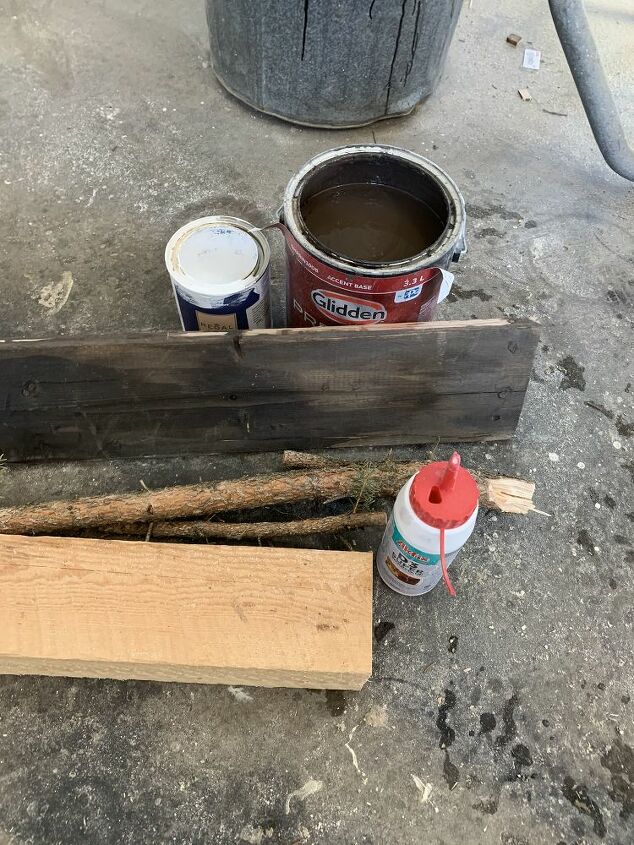
Materials
- 4X4 Spruce (if you don't have 4X4 lumber you can glue (2) 2x4's together
- Pallet board
- Wood glue (I use Akfix D3)
- white paint
- brown paint
- branches
- paint brush
Tools I used:
- mitre saw
- orbital sander
- Brad nailer
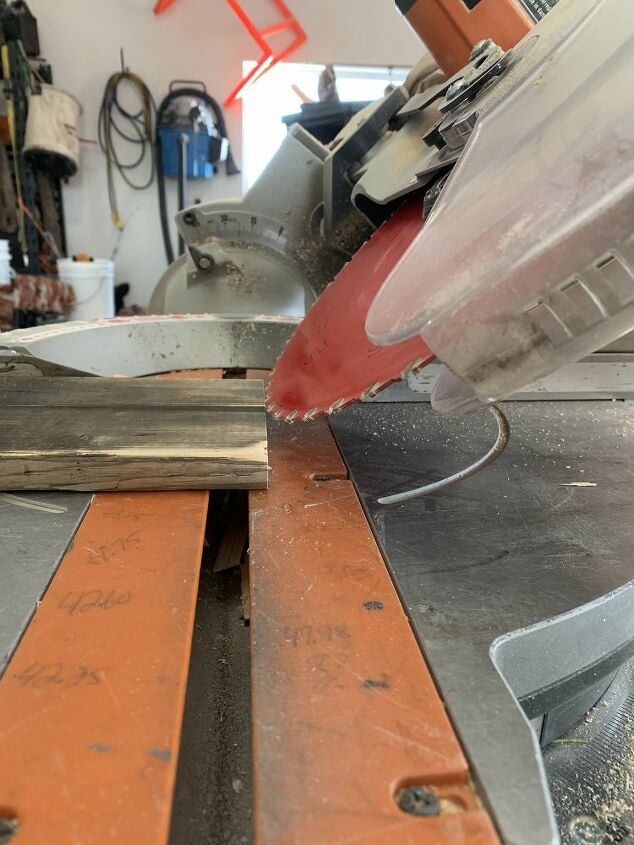
1) Mark centre on your 4X4 post. Mine was roughly 4" so I mark centre roughly at 2". This measurement does not need to be exact. As long as your are close to centre that's all that matters.
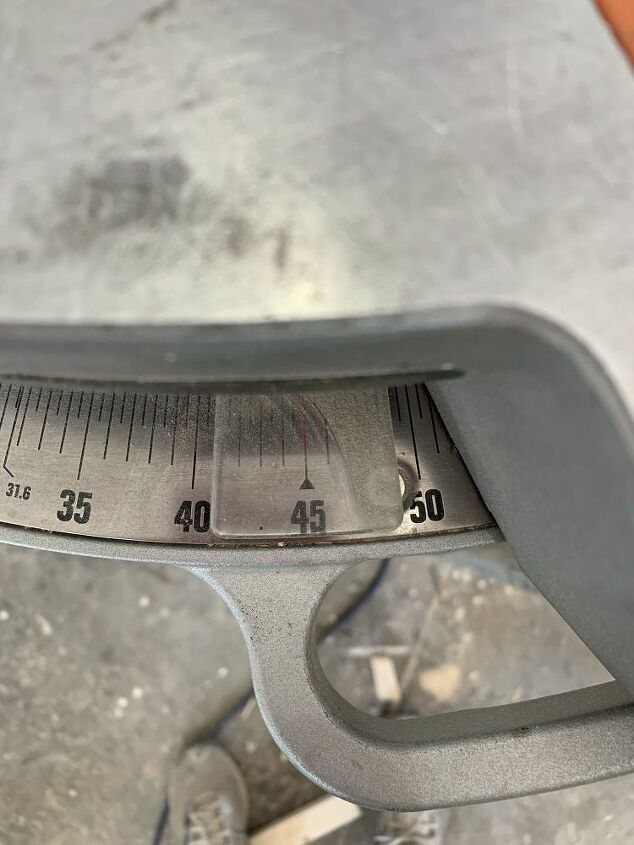
2) set your mitre saw to 45 Degrees angle.
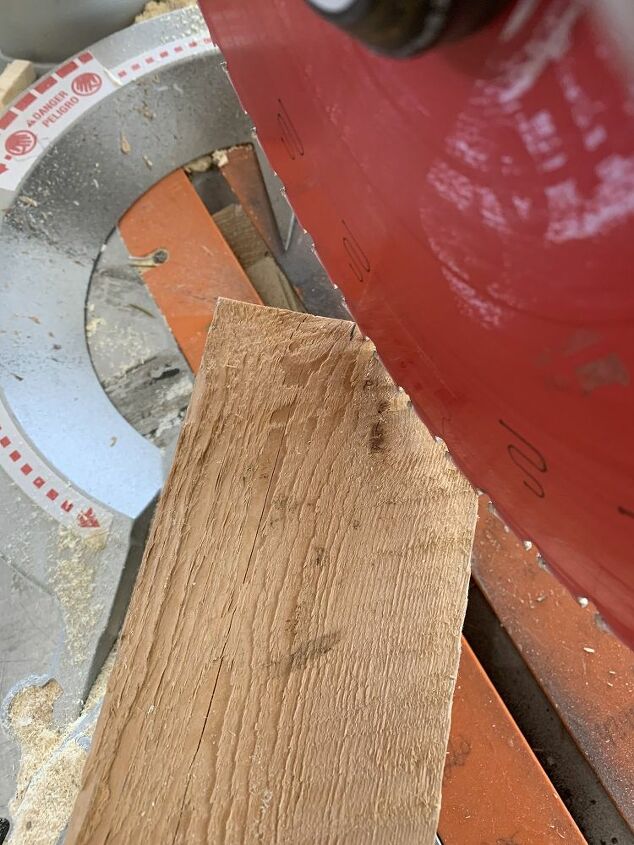
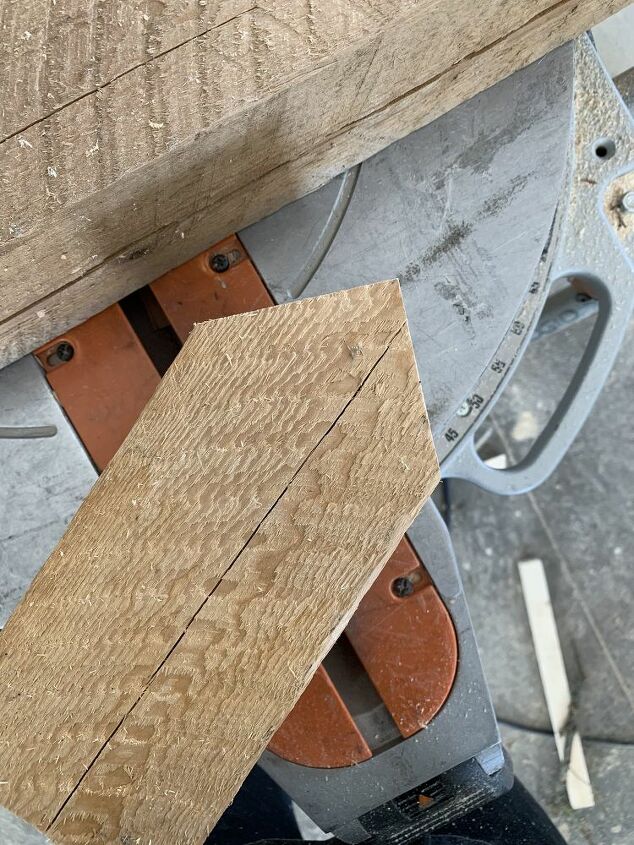
3) cut a 45 degree angle on either side of the centre mark you made on your 4X4
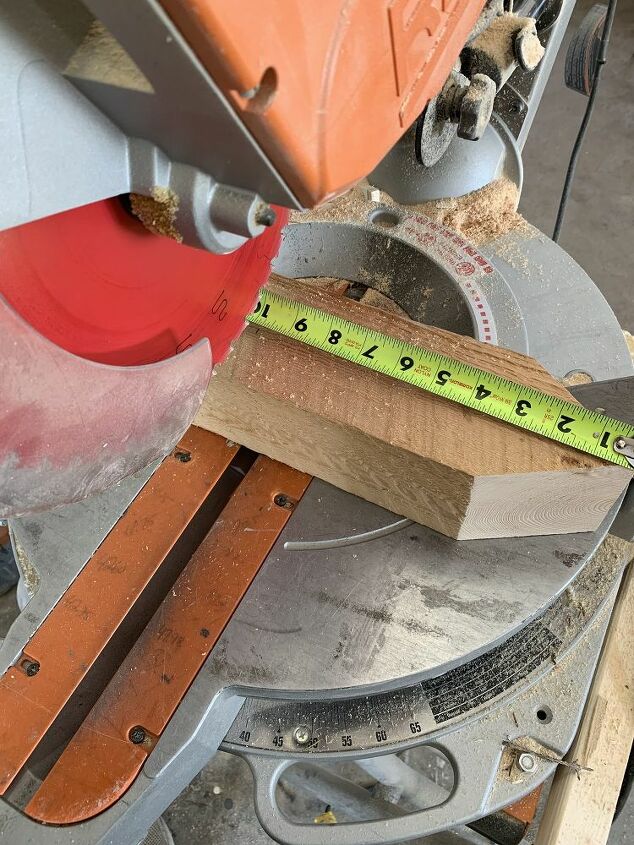
4) Determine the height you want your bird house to stand. I am choosing to make mine 10" tall so I will measure 10" from the peak and make a cut.
*you ultimately can decide how tall you want yours. If you are making multiple houses, and are choosing to display them close together, they look great if they vary in heights.
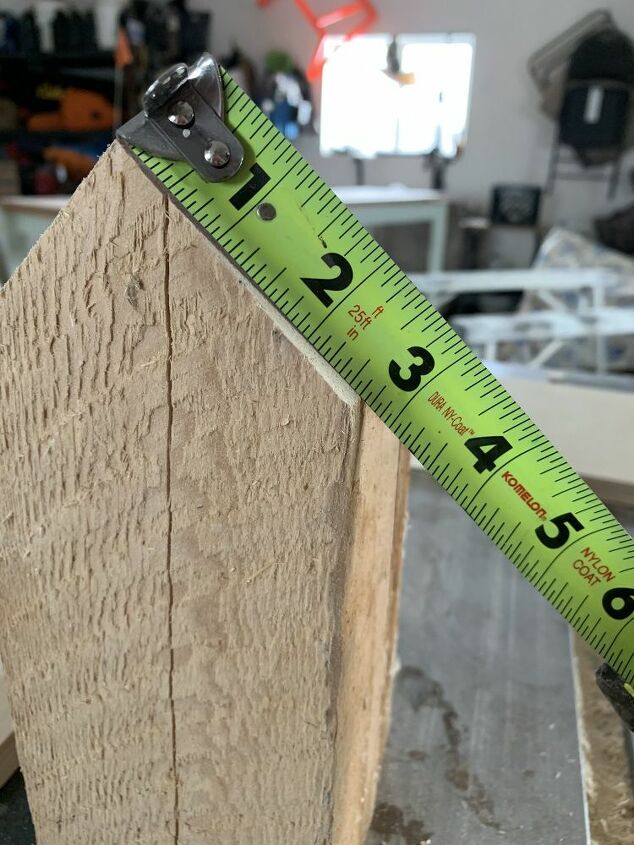
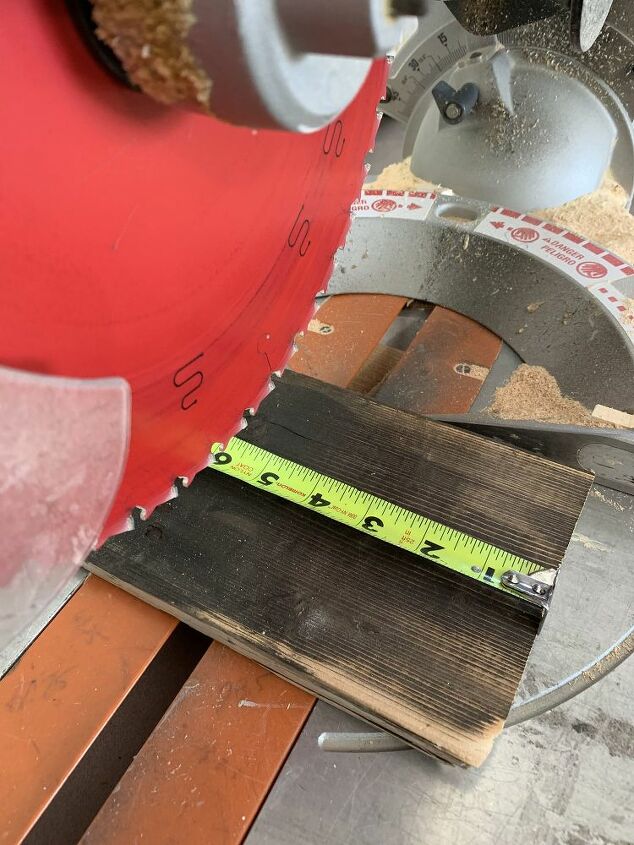
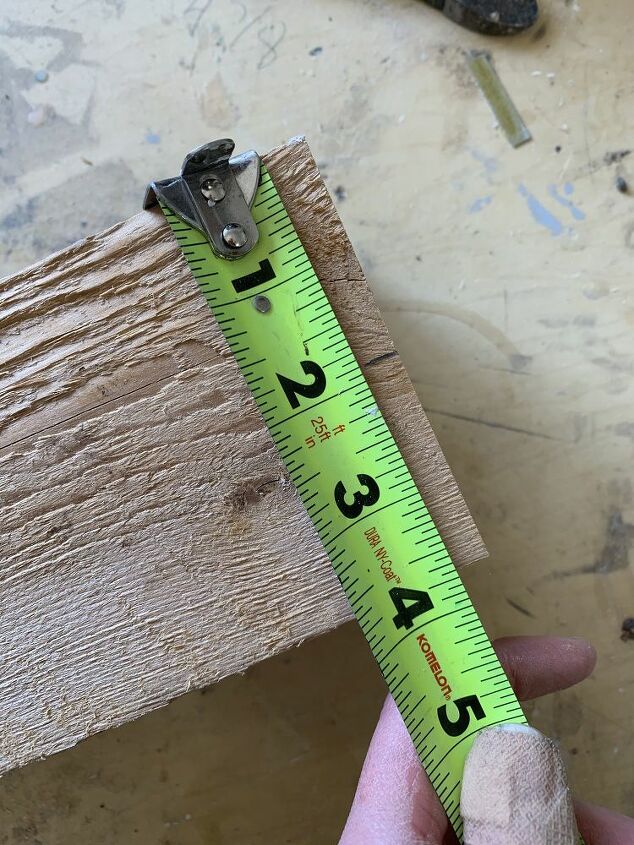
5) Now its time to cut the roof out of your pallet board. This is another step where you can determine the length of the overhang you want for your house. I measured from the peak along the roof life and determined I would like mine to have about 1.5" overhang, so I will cut my roof pieces at 4" lengths. You will cut 2 pieces at the length of your choice.
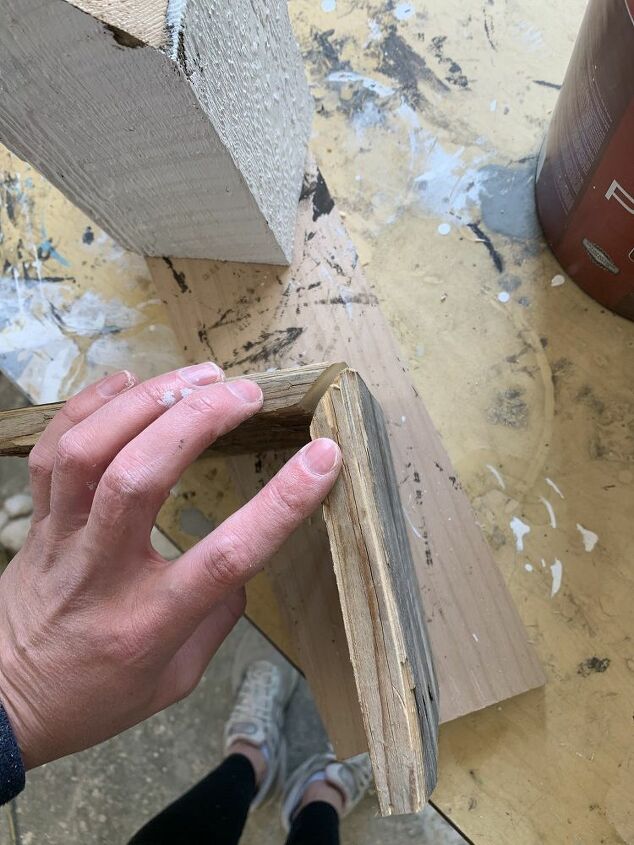
6) Once both pieces are cut, you need to set your mitre saw to a 45 degree bevel and cut one side of each roof piece to create the peak.

For my bird house, I chose to paint it white and distress it. However, you can chose whatever color you like. I always thought it would be beyond cute to make a few houses and paint them spring colours and display them outside on your front porch.
8) If you are going for a distressed look like me, you first need to paint the bird house with a brown or a black. I used brown. Paint all sides and let it dry. The painting job does NOT need to be perfect.
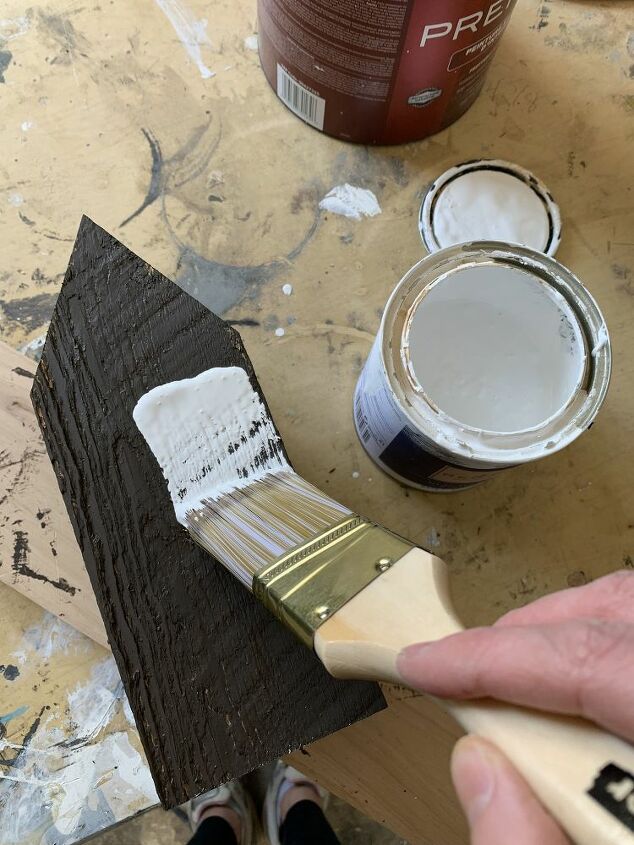
9) Once the brown is fully dry, repeat the painting process with white (or color of your choice) and let this fully dry.

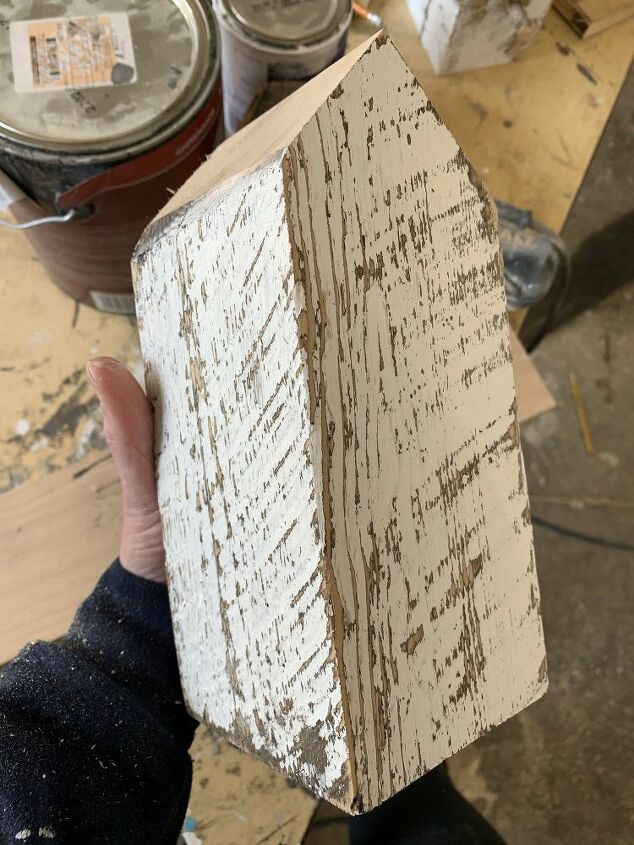
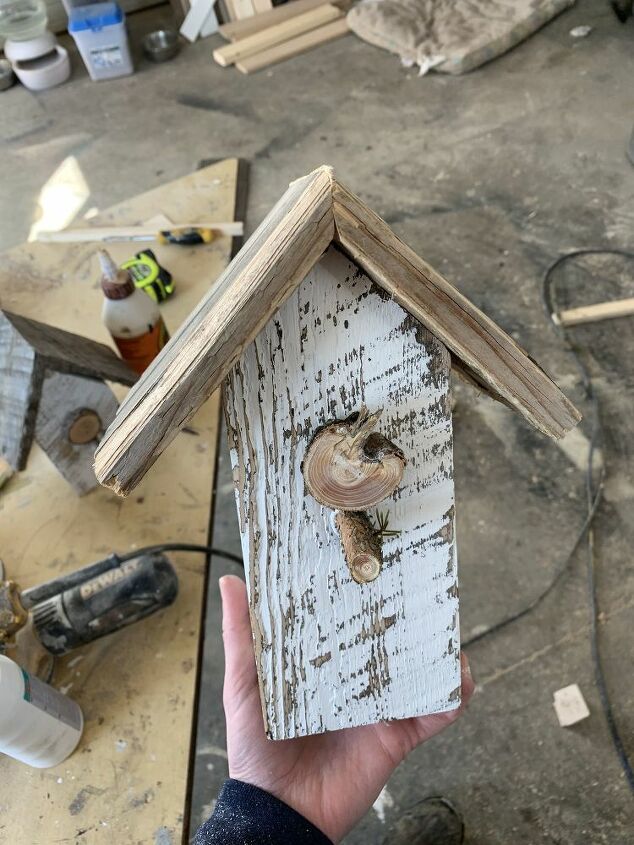
10) To create a weathered distressed look, I took a random orbital sander and went over the entire bird house. By doing this you reveal the dark base color through the white. You can distress as much as you want. All depends what sort of look you are going for. If you don't have a electric sander, you can distress by hand sanding as well.
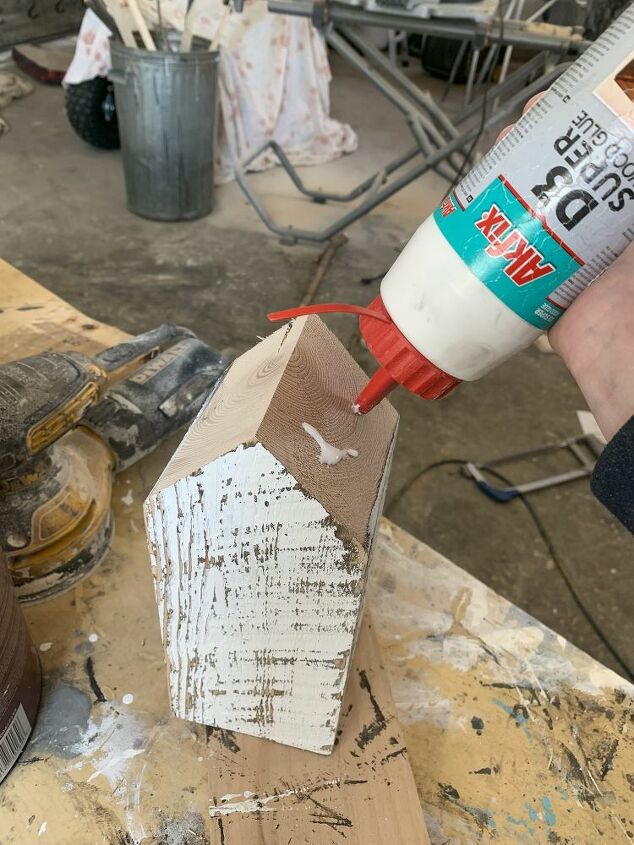
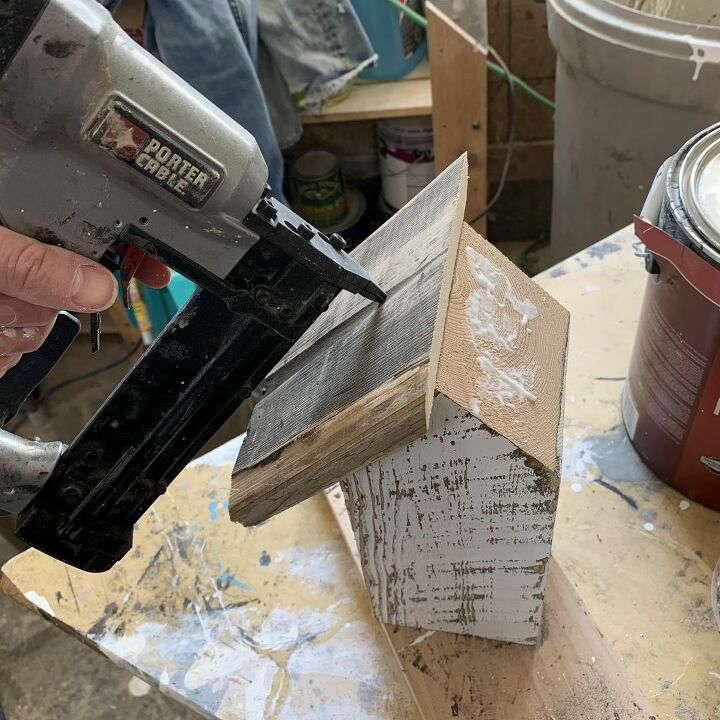
11) Its now time to install the roof. I used wood glue and a pin nailer. Simply apply glue to the roof and line up the cut 45 degree angle with the peak of the roof and nail on. Repeat for both sides.
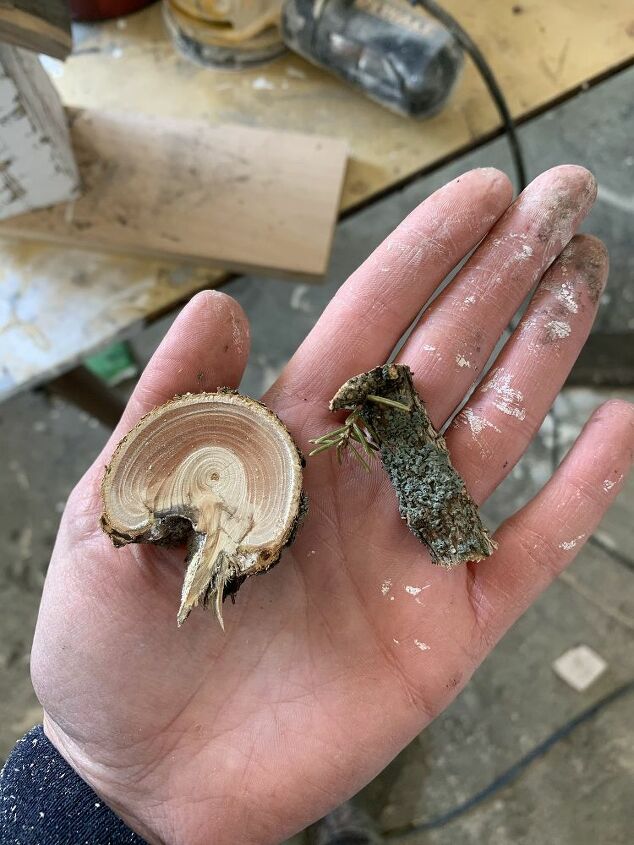
12) Now its time to cut the "hole" for the birdhouse and the perch from your branches. No need to measure. Cut about 1/2" piece off the bigger branch for the "hole" and about 1" off a branch smaller in diameter for the perch.
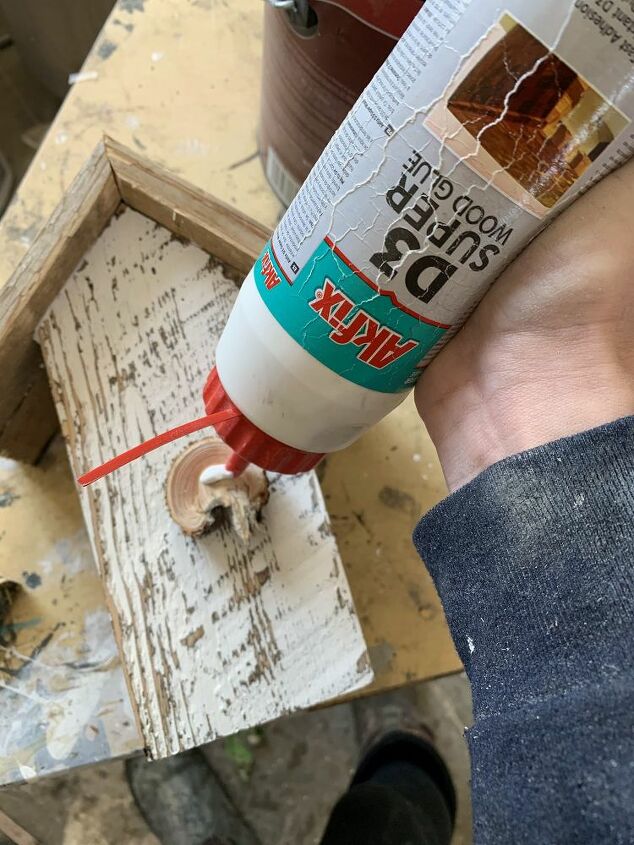
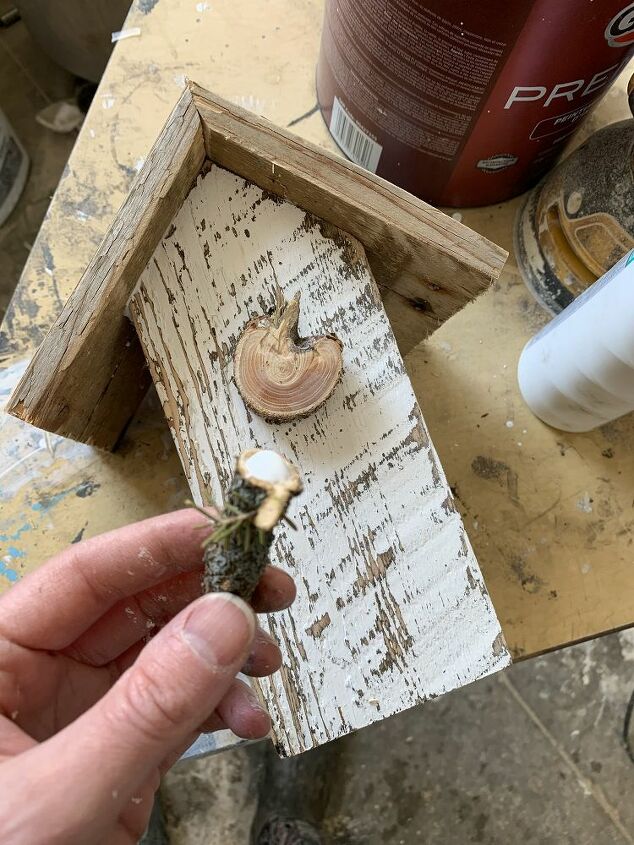
13) Glue on the "hole" and the perch with wood glue and let dry. I used my pin nailer to secure them as well, but this is optional.
Your bird house is now complete and ready to display in the spot of your choice. I think these are a perfect addition to any room.
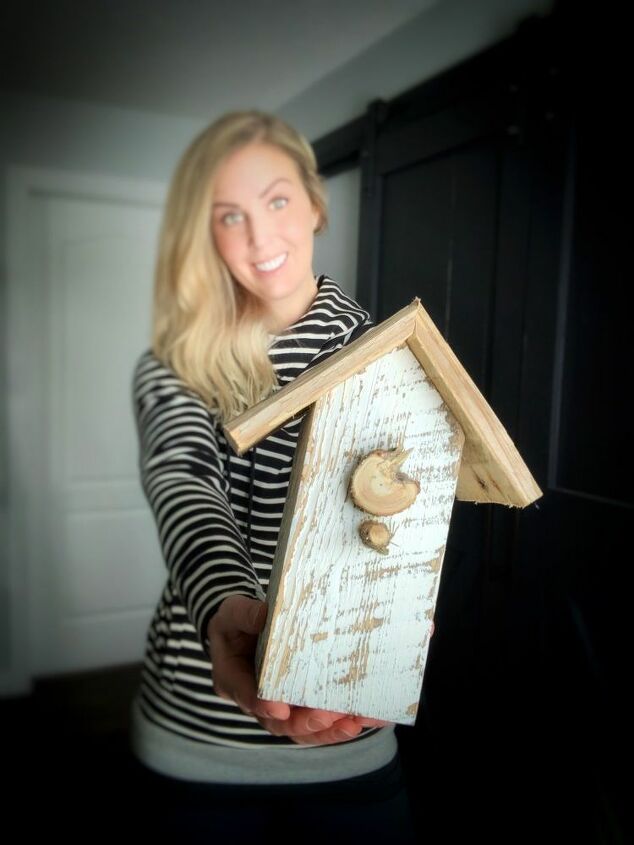
Thank you so very much for following along with me and building your own decorative bird house.
If you found this post helpful and easy to follow please be sure to save it and drop a comment and let me know your thoughts.
For a video tutorial follow along with me on Instagram and check out my highlights reel.
Also, be sure to follow along with me on Hometalk.
Cannot wait for our next DIY
xo
Amber


Frequently asked questions
Have a question about this project?