


How To Build A Birdhouse With Scrap Wood

Do you have a few pieces of old wood laying around? Are you looking for something to do with them? Come see how to build a birdhouse with scrap wood! With a little bit of imagination, you can turn that old pile of wood into something that your bird friends will love!
As you may know, I am a picker and lover of all things old and weathered! So, it should come as no surprise that we have an assortment of old wood planks laying around. I pick old wood planks and sections of weathered wood when ever I can find them (on the cheap) because it is hard for me to leave them behind. I know these old salvaged pieces have a story and a past – maybe they were once used long ago as siding on an old farmhouse … or as floors in a living room where families used to gather … or molding around an old door frame of someone’s bedroom … or even steps on an old staircase that were climbed by many. No matter where they came from, these old wood sections all have something that makes them unique: a worn weathered look! Whether it is the chippy paint color or the ornate woodworking, these old pieces have character and they deserve a second shot at life!
Over time, my collection of salvaged wood has grown. We have stacks in corners, short pieces in an old shopping cart and others scattered around here and there – my kids have even used them for bike ramps, stickball games and swords. In the past we used some of the salvaged wood on old pieces of furniture that needed a little extra support or a minor repair, but the supply has certainly exceeded the demand.
We have always wanted to do ‘something’ with these wood sections and recently we came up with the perfect project. Back in March my mom asked us to be on the lookout for a birdhouse. She was looking for something with character and did not want a mass-produced birdhouse from a big box store. So, extra wood + mother’s request = birdhouse. However, I am not the ‘wood worker’ in this family. That is my husband – so he is going to take over this blog post for a moment – ENJOY! Mark …. Take it away!!!!
Let me start by saying that woodworking for me is more of a ‘want to do’ than a ‘can do’. Our lives do not always allow time for hobby work and while building a birdhouse is not all that difficult, I certainly do not want to give anyone the false impression that I am the next coming of Norm Abram. I saw a birdhouse in an antique booth and thought, “I can do that” and that is how things got started. The extra wood in our garage provided the materials to let me play with the idea and make the birdhouse come to life.
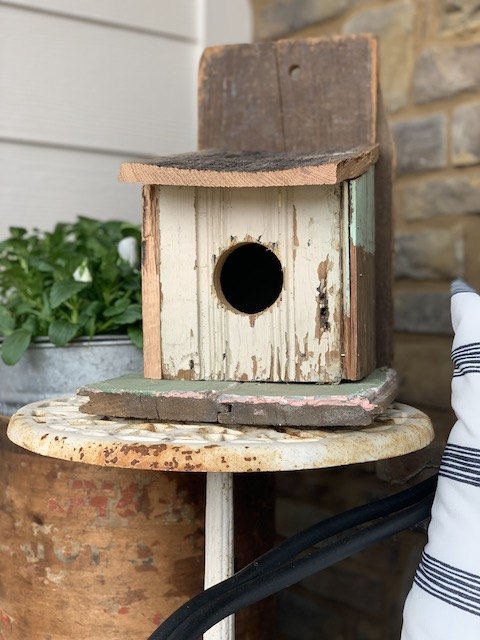
The concept I worked from was simple enough – a base for everything to sit on, a vertical piece to hang on a tree, two walls for the house and a slanted roof because we do not want our birds getting wet. A couple of nails, some wood glue, a hole for birds to enter and viola – birdhouse!
The reality was not too far from this. Working with old wood planks and wanting the birdhouse to look old allows for some leeway on the finished product – again, not Norm Abram. Other, more polished birdhouse builders, may be concerned with edges matching, consistent colors, smooth seams. Luckily for me, old birdhouses have none of those things!
- Old wood planks
- Nails
- Wood Glue
- Mitre saw
- Drill
- Nail gun
- Hole Saw and/or Spade bit
NOTE: The spade bit may not be necessary if you have a variety of hole saws. In the houses I built I cut two holes, one for the birds to enter their new home and another small hole on the vertical piece so the birdhouse could be hung on a nail. I found the spade bit was easier to use on the smaller hole.
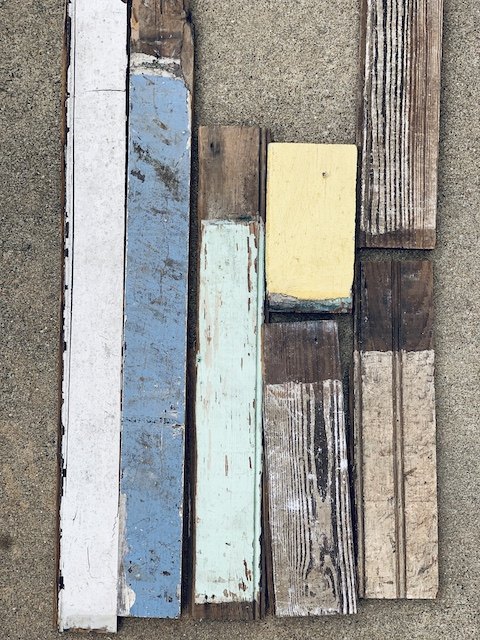
Picking the pieces of wood is both subjective and based on what you have available. In our case, I knew I wanted a solid piece for the base and the roof piece to be painted or sealed. Beyond that, the colors and sizes were picked based on what could fit the need. I even had a situation where I did not have a piece that was just the right size so I used glued two tongue & groove boards together which gave me the size I needed. It also added to the aesthetic.

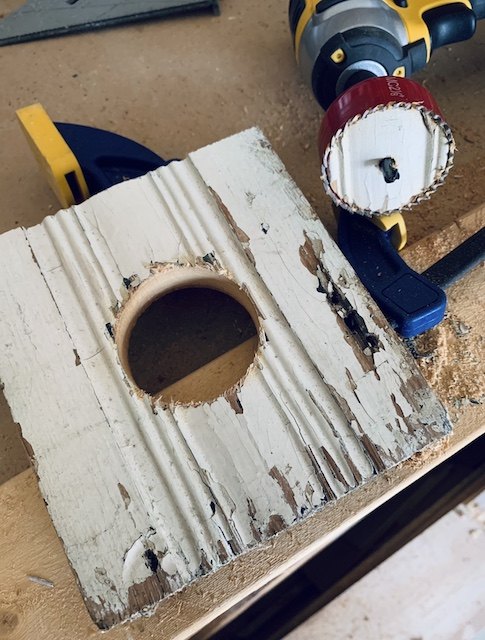
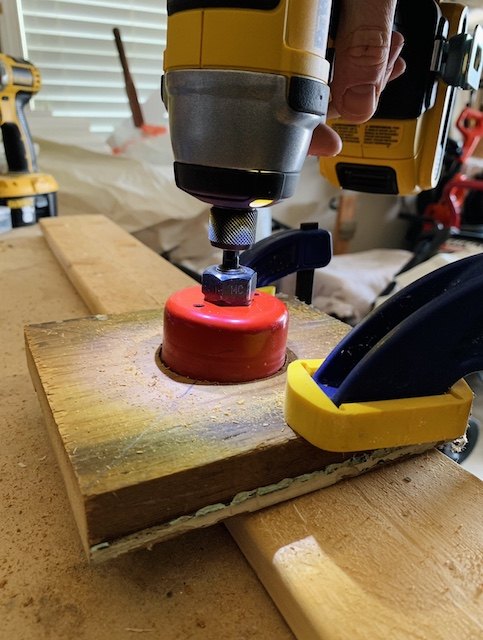
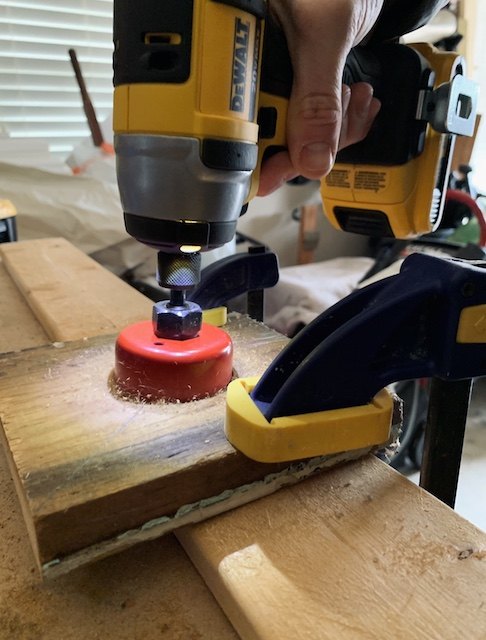
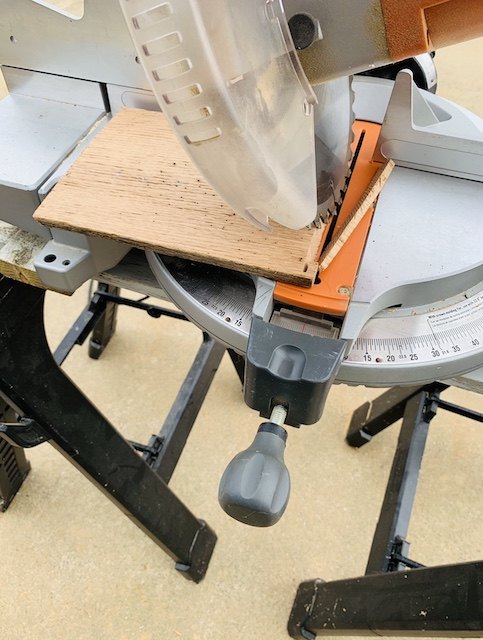
Once I have the pieces of wood planks chosen and general structure of the house in mind, I start cutting the pieces to fit. As needed, I’ll use the miter saw on the planks to cut them to the right length. I also cut the angled sides for the walls of the house. After cutting I dry fit everything together. This is my chance to see where I might need some minor adjustments. I am not trying to make the perfect birdhouse but I am wanting it to stay together and keep the inside dry. Some adjustments I have done include a miter cut on the roof so it sits flush against the vertical piece, a filler piece of wood if an original wood plank was warped, and a shortening of the roof or base to fit the look. Lastly, I use the hole saw to cut the door on the house and the spade bit to cut the hole on the vertical board.
Since my birdhouses are built based with the available wood planks in our garage, blueprints and measuring were not key components in the process. The size of the birdhouse was based on the size of the wood planks that we had on hand. Below I will share rough estimates for this project – but keep in mind that when working with old salvaged wood – you will have to be flexible.
Cut The Salvaged Wood For The House:
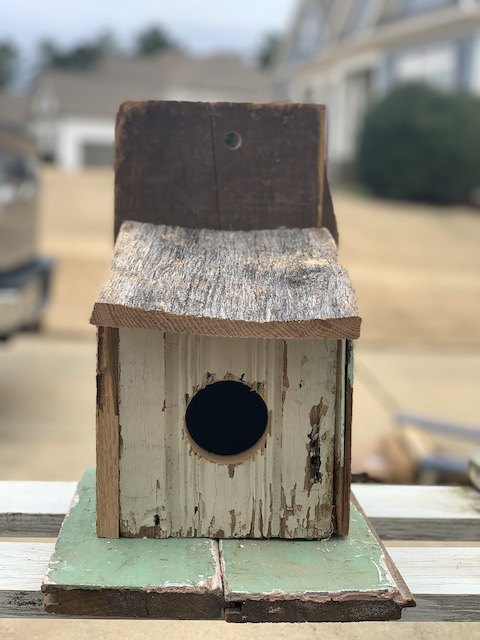
I cut a 6” square piece of wood for the front wall and used the hole saw to create an opening for the birds.
For the side walls, I cut two pieces of wood (with the miter saw) at such an angle that the front of the house was shorter than the back. This creates the angle for the roof. I made the front of my side walls 6 inches tall and the back of the side walls about 7 1/2 inches tall.
I tried to make the base of the birdhouse wider than the house and left enough for a small front ledge. I used a piece of wood about 9 1/2 inches long and 9 inches wide. Even birds need a nice front porch!
Ideally, your roof piece will be the same width as the base to provide a little coverage over the walls. I also left the roof long enough to provide a little cover on the porch. I used a piece of wood about 8 3/4 inches long and 6 1/2 inches wide.
The vertical piece on the back of the birdhouse needs to exceed the height of the sidewalls plus the roof, so after mocking up the house on the base, I looked for a piece to fit. I like to line up the base of the birdhouse with the bottom of the vertical piece. My back piece was 12 1/2 inches long. I used a spade bit to create a hole for the house to hang off of – if Emily chooses to hang it.
Remember … we are working with salvage wood: This is where the subjective part comes into play. I worked with the wood planks we had, almost like a puzzle, until I found pieces that fit just right. That is kind of how you have to do it when you are working with old scrap pieces that are all different. Sometimes it wasn’t just the size that I was worried about, it was the paint color or patina of the wood that mattered. Finally, the size of the wood you have and how much cutting you are interested in doing will determine the overall size of the house.
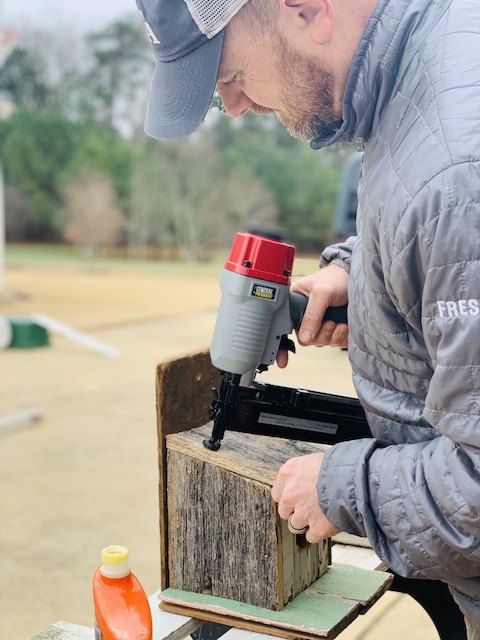
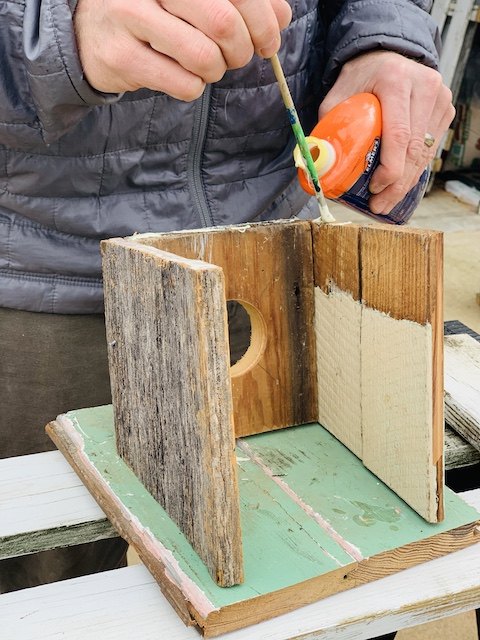
After completing the cuts and adjustments, it is time for assembly. I started by attaching the front and side walls of the house onto the base. I used wood glue wherever two pieces come together and then I nailed all the pieces together. Once sturdy, I attached the vertical piece with more wood glue and nails. I like to nail from the back of the vertical piece into the side walls and base to ensure a solid fit. It is important that your nails do not protrude into the inside of the house. What bird would want that in their house!? Some wood planks are thin and difficult to line up a nail on, so just be sure to remove any nails if you missed. The roof was last and followed the same glue and nail steps as above.
NOTE: We did not seal the wood – but sometimes (with chippy boards) you may want to. If that is the case, check out Emily’s DIY topcoat blog post here!
Mark’s Closing Remarks
Hopefully this post gives you some ideas for working with the wood planks you might have laying around. I purposefully did not provide detailed drawings or blueprints since the journey to making the birdhouse is part of the fun. You will find that matching the wood planks, their colors and sizes, their designs and character, and using them to create something new is a great way to get reuse something old to create something new.
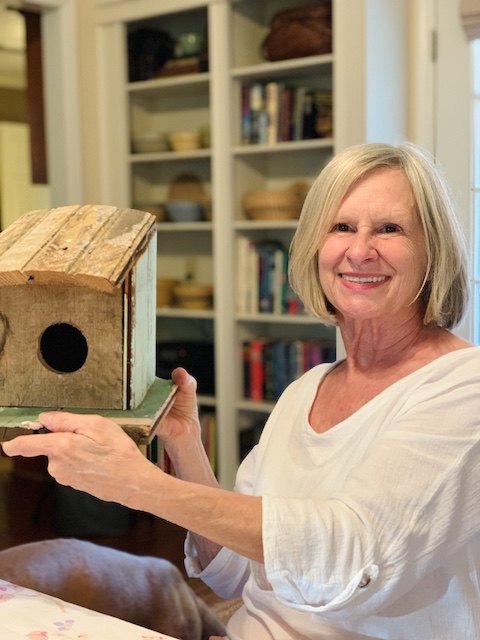
And of course, my mother-in-law loved her birdhouse!
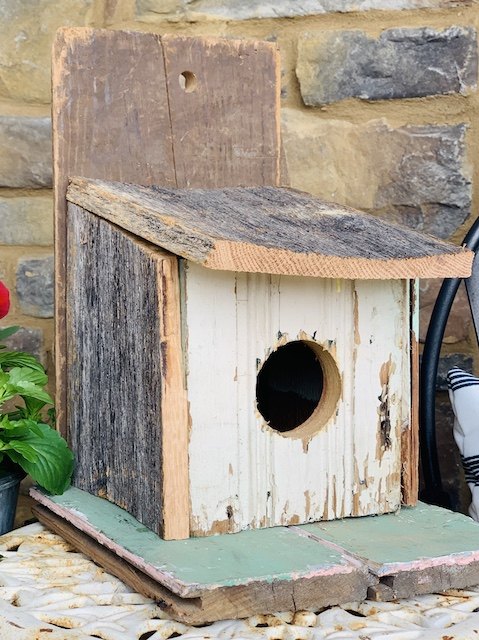
Didn’t Mark do a good job sharing his process on how to build a birdhouse out of scrap wood! And NOW …. after this … he is a certified blogger! And – now that he is done building this one, I get to style it out on the front porch! Yay!!!
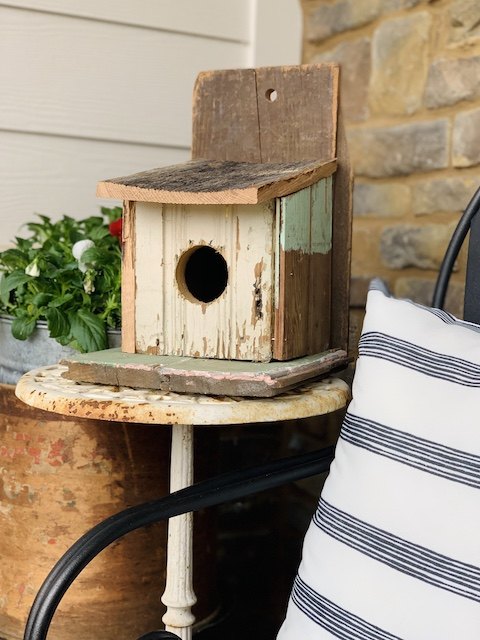
Stay tune this summer as Mark and I explore more outdoor DIYs – once it gets a little warmer that is! Thanks so much for being here!
Comments
Join the conversation
-
Very Cute. Love the rustic look. I add twig shingles and a perch.
-
Very cute! Did any birds move in?


Frequently asked questions
Have a question about this project?