How to Make Some Colourful Yard Art With a Plank of Wood!

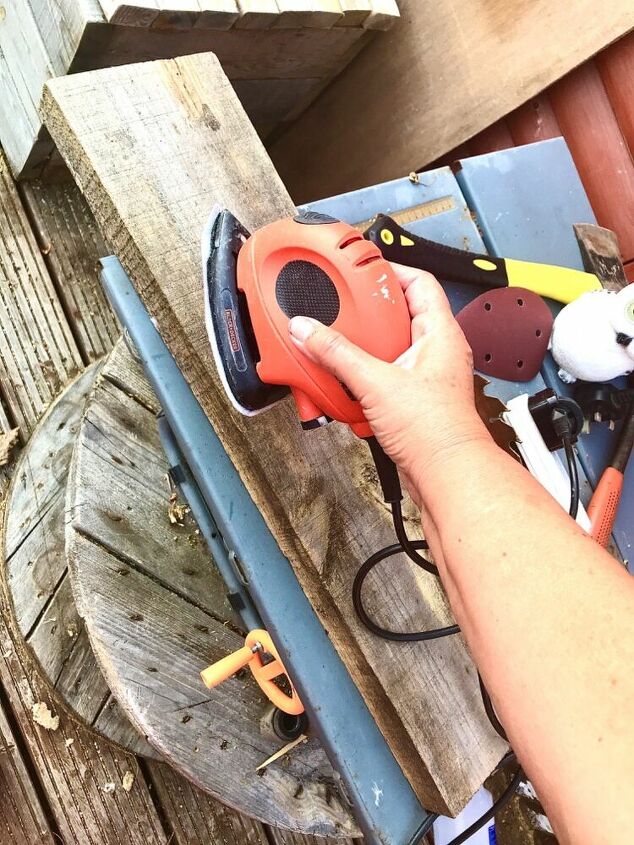
I had some chunky bits of wood laying around that seemed to cry out to me for a splash of colour and I had always wanted to experiment painting on wood, so I set to work on the transformation by sanding the plank.
Choosing the right paints and brushes for this project I decide on I acrylics both tubes and pens and various size brushes to cope with bigger areas and the details.
Next step is drawing a rough design on to the wood.
I begin from the base and decide to have patterns that are in sections and repeat on the reverse side too.
I begin painting from the base upwards and choosing colours I think compliment each other and will add. Bright pops of colour to this when it’s in my garden.
I work upwards with sections allowing time to dry before applying next coat. Some areas needed two coats.
I have same design on reverse so I am switching from back to front.
After it is dry it’s time to Add protective weather proof varnish.
I begin to build up four layers all over of yacht varnish spray as I find is much easier to apply than liquid painting. I use it in a well ventilated area letting each layer dry before re applying.
At last my colourful yard art wood is ready to add a pop of colour in my garden!
Enjoyed the project?
Resources for this project:
See all materialsComments
Join the conversation
-
 Lisa Bachman Takac
on May 06, 2020
Very nice. Is there a tutorial for the tie dye plant stand? My daughter would love to do that. It's fabulous! Thanks
-
-
 Smileyface
on May 21, 2020
Def Inspiring!!! Fab Job!!!😀👍
-











Frequently asked questions
Have a question about this project?