


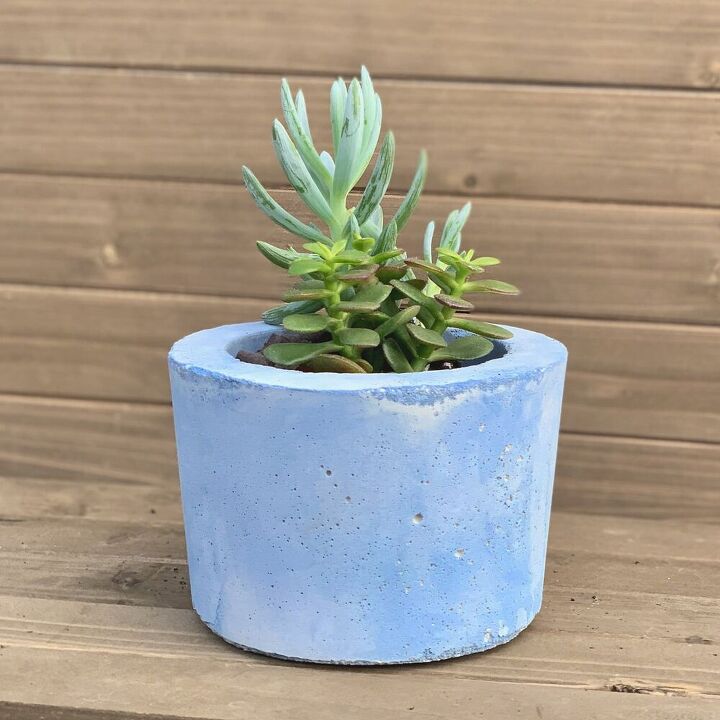
Make A Stained DIY Concrete Planter
Make a stained DIY concrete planter, by simply using a stain that’s made for wood. I’m asked often, about what type of color can be used on concrete after it’s cured.
And paint, either latex or acrylic is an obvious choice, but what about wood stains? Will they work.
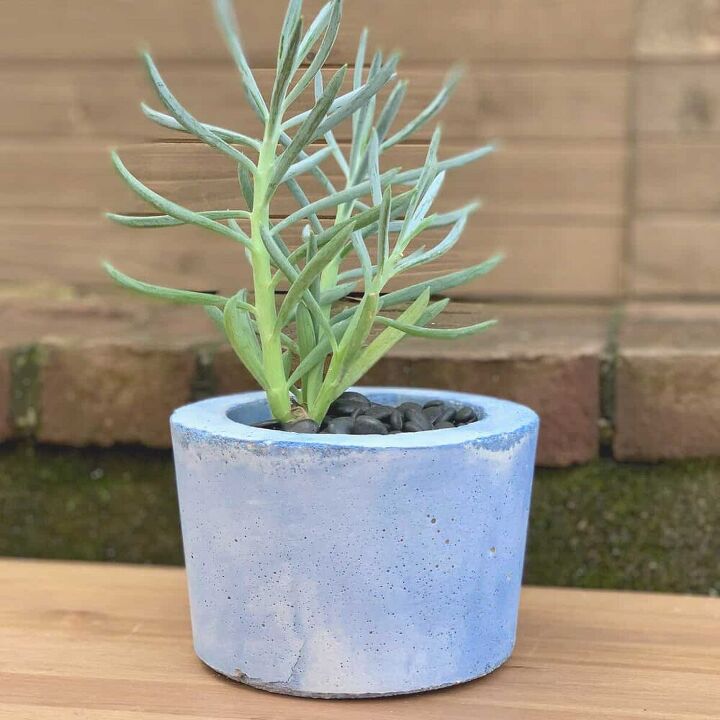
As you can see, the answer is yes!
You can color concrete planters- or other crafts with a stain that’s made for wood.
Now, I haven’t have been able to put this stained DIY concrete planter through the test of time yet, so in time, I’ll be able to report back on how the stain will hold up to the outdoors.
With anything that is concrete, a stain won’t be as durable as a colored concrete that gets its color integrally, from the colorant being mixed into the wet mix. However, the wood stain should hold up well.
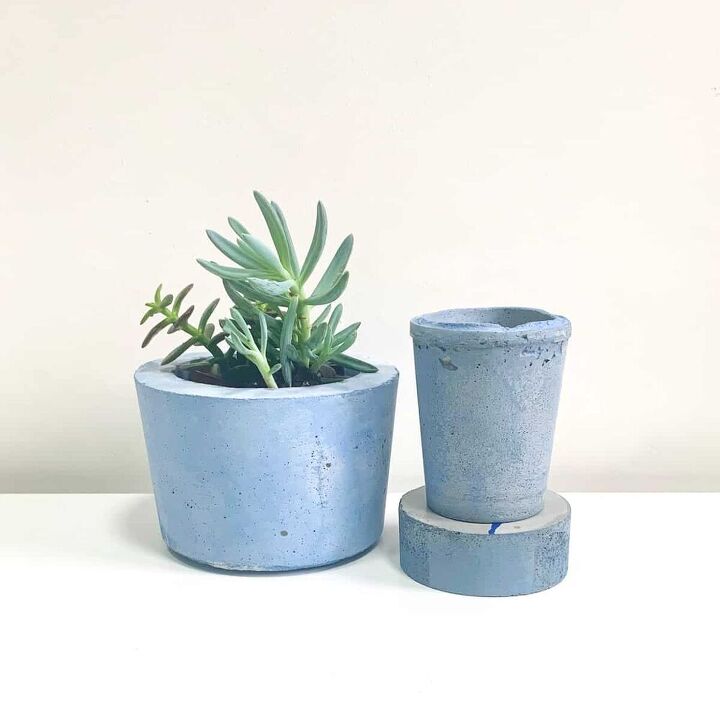
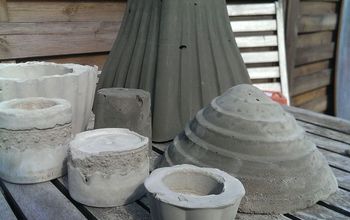
Here’s the difference between using a grey concrete mix and a white concrete mix.
The smaller planter on the left was stained with the same color stain as the planter made with the white mix on the right.
Before starting the tutorial, it may be helpful to read my post comparing the different concrete mixes- Cement & Concrete Crafts Tests!
Another important article is Making Cement Crafts Techniques & Tips with info on cement materials, mixture consistencies, demolding, safety and clean up!
Tutorial Steps For A Stained DIY Concrete Planter
STEP 1 | Prep The Outer Planter Mold
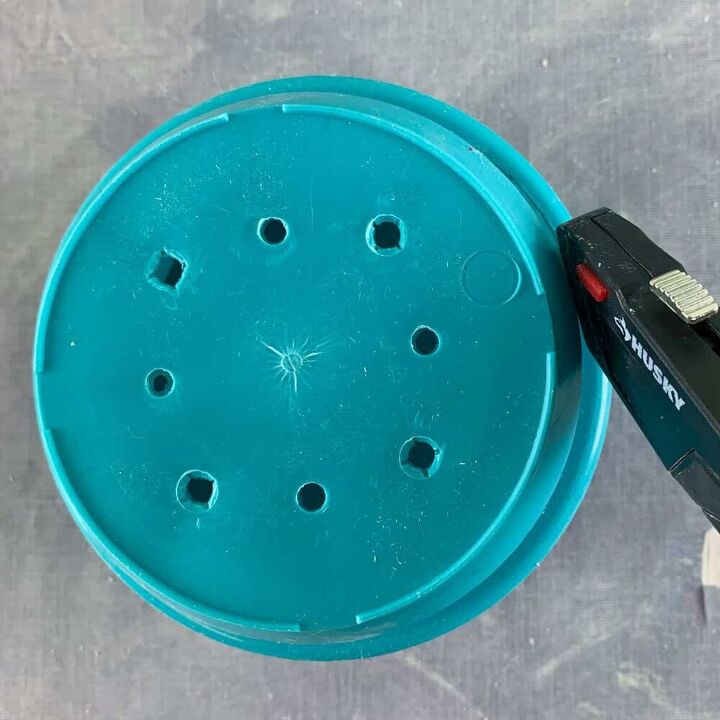
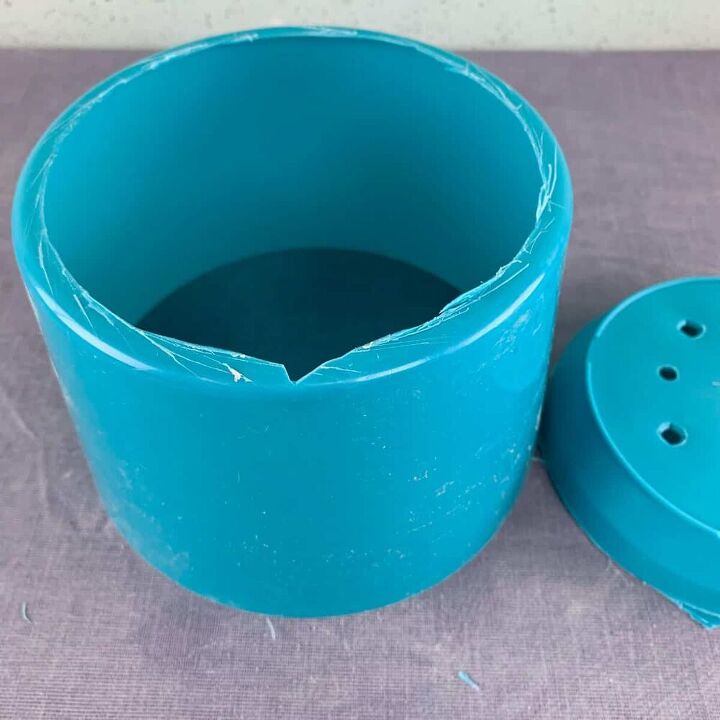
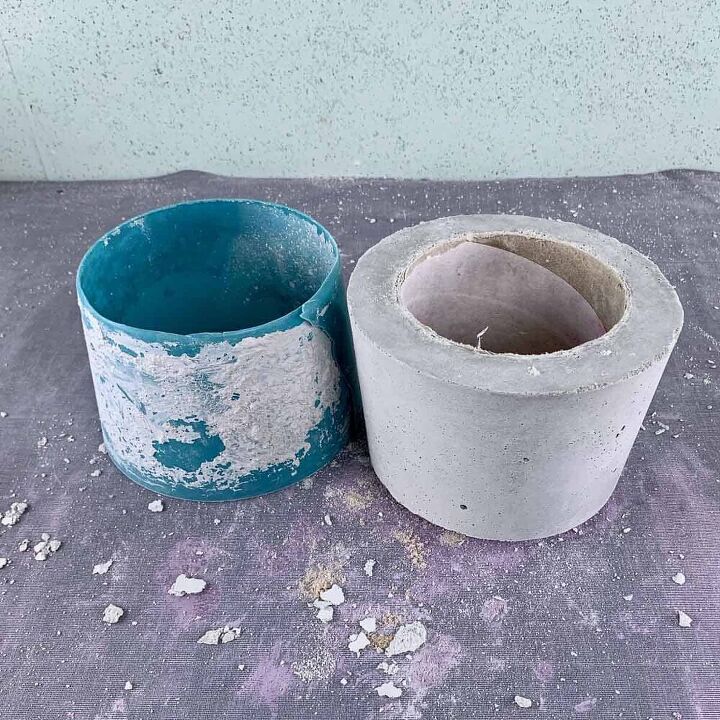
First, cut the bottom of the plastic pot off using a utility knife.
The plastic was soft enough that it didn’t give me much trouble, but the regular sized razor blade was a little short so cutting it was a bit awkward.
After I removed the bottom, I went back and trimmed it to make the opening wider so that I could more easily cast the cement.
To trim it, just hold the blade sideways- away from yourself and cut it in a similar way to peeling an apple.
STEP 2 | Make A Base For Holding The Molds
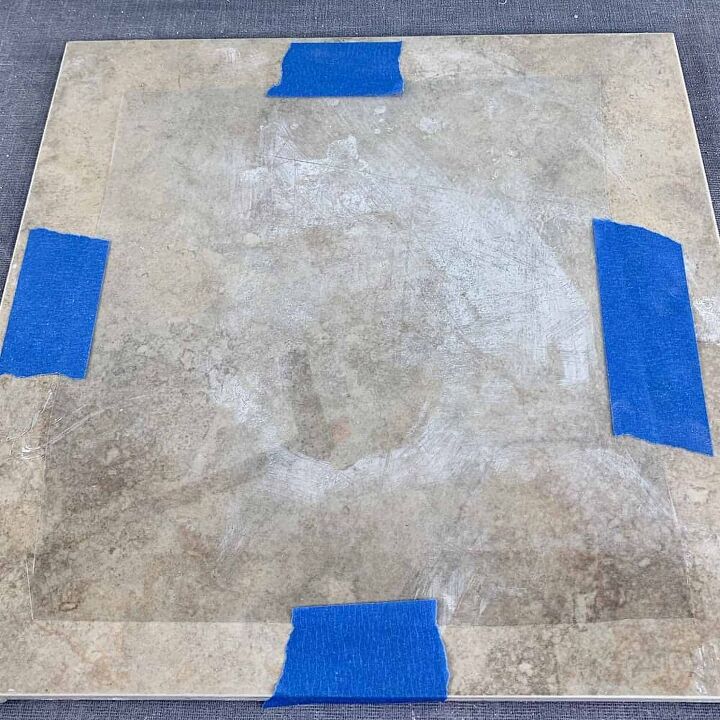
The concrete planter molds need to be glued to a base.
So take a tile or flat board and then cut a piece of acetate sheet that’s at least an inch wider than the plastic pots and tape it to the tile.
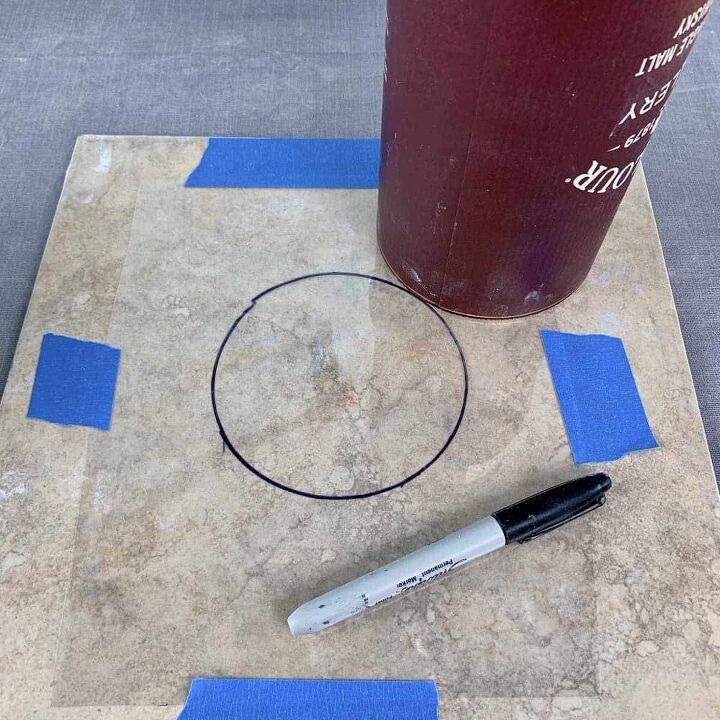
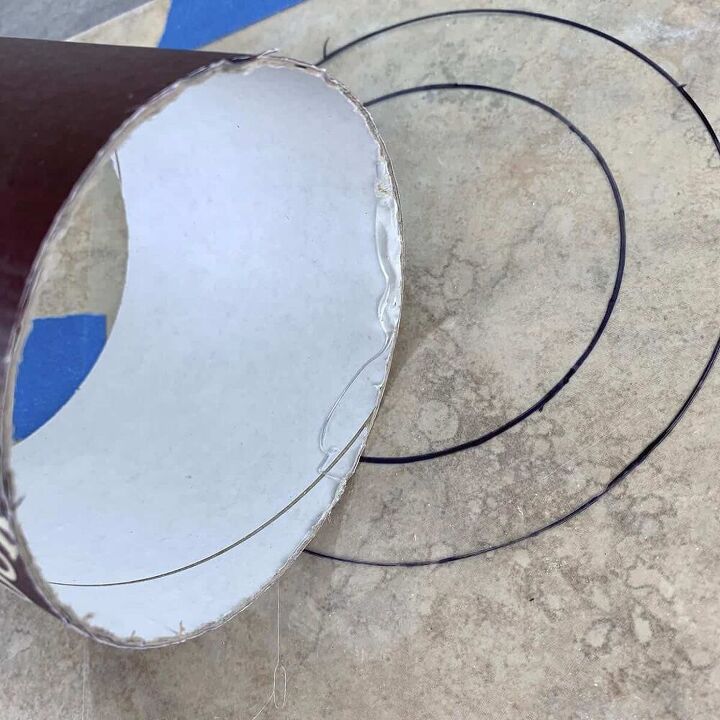
Now take a permanent marker and trace the inner mold (cardboard tube) on the center of the acetate.
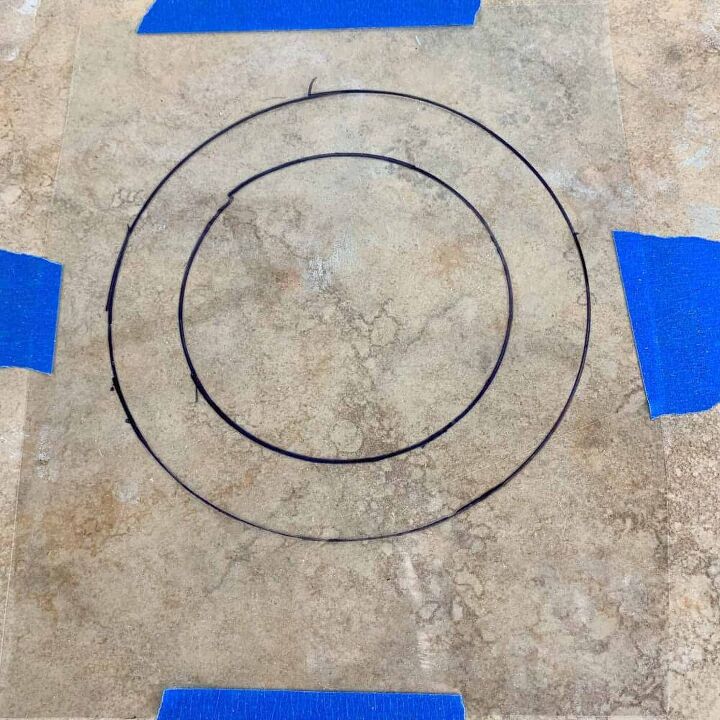
Repeat for the outer mold.
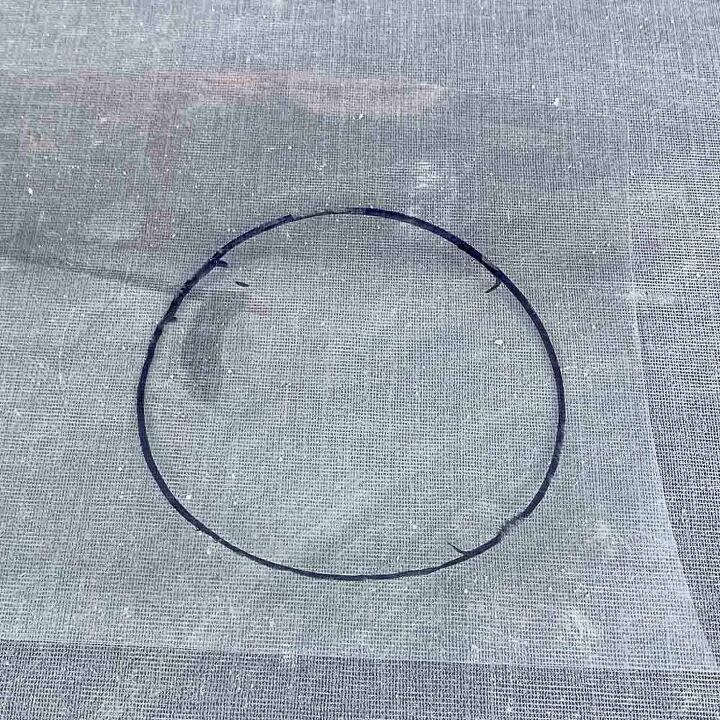
Next, take another piece of acetate and trace the cardboard tube again. Go ahead and cut this one out. It will be used in a later ste
STEP 3 | Cut The Cardboard Tube To Size

Measure 3 ½” up the height of the tube and mark this in three locations around it.
Use a homemade flashing straightedge (instructions here- this only takes a few minutes) to guide your cut on this tube shape.
Trim it to size with a utility knife. Be sure to hold the blade tight up against the flashing and parallel to get a straight cut.
STEP 4 | Secure the Inner Mold To The Base
Use a hot glue gun to glue the inner mold to the inner circle.
Try to get the glue, right along the inside edge so that when you demold, you’ll have a smooth and even rim.
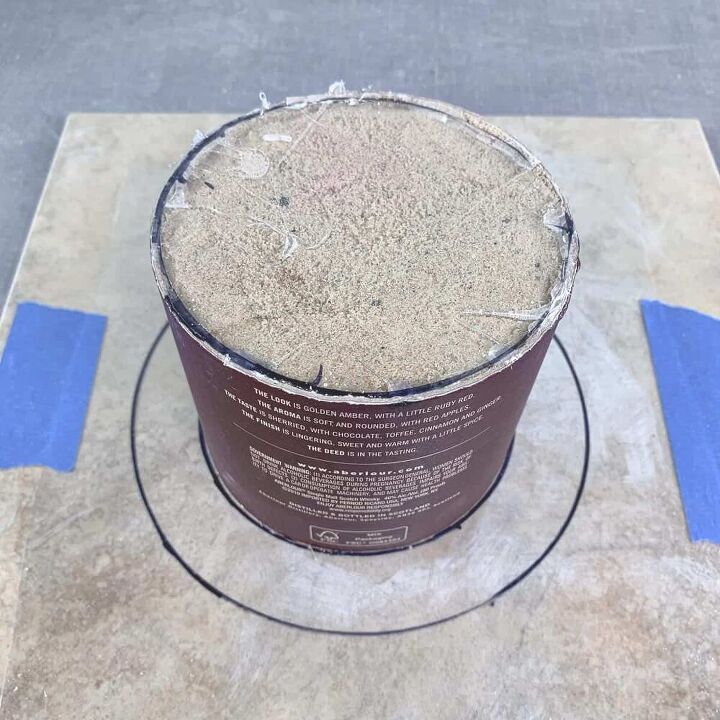
Fill the tube with damp sand and pack it down so it is level with the top. Take the acetate circle you cut in an earlier step and glue that to the top of the tube.
You only need to place a few small dabs of glue around the tube for this since we just need it to stay in place after we’ve poured the concrete in.
STEP 5 | Secure The Outer Concrete Planter Mold To The Base

Now glue the outer mold to the larger circle. This time, you will want to keep the glue line on the outside of the mold.
STEP 6 | Make A Drainage Hole For The Planter

Use the heat tool to burn a hole in the center of the acetate. Make it wide enough that the jumbo straw will fit inside.
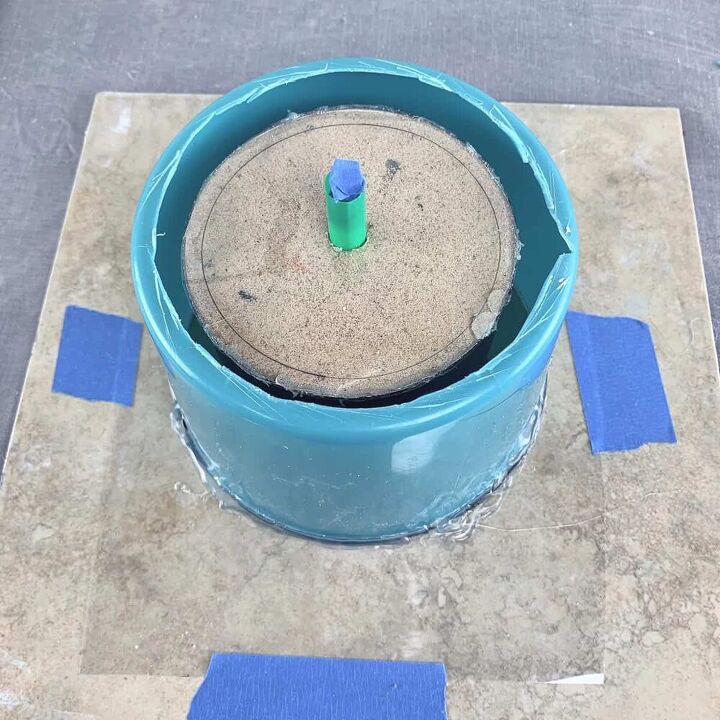
Trim the straw to a few inches and insert it.
Leave it protruding about an inch above the acetate lid and close it off with something so the concrete mix doesn’t get inside- a piece of tape will work just fine.
STEP 7 | Mix The Concrete And Cast
**If you love making concrete projects, then check out my Pocket Guide to Concrete Mixes! I tested 6 mixes and made a handy reference chart. It's a FREE download. 😉
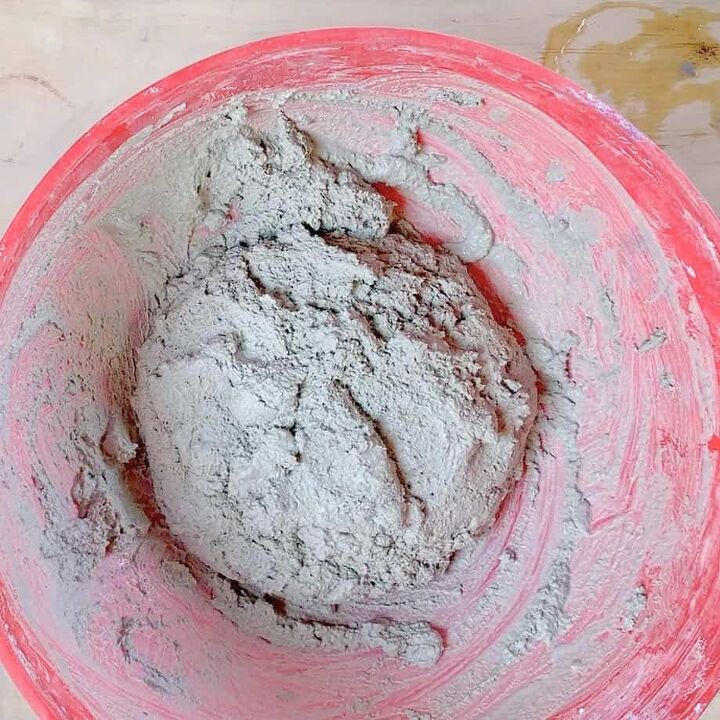
Add water to the dry mix and mix it together well.
If you are using the white mortar mix that I have linked in the materials, then you will need to make the consistency kind of like a mud pie.
Too much water in this mix may cause cracking.
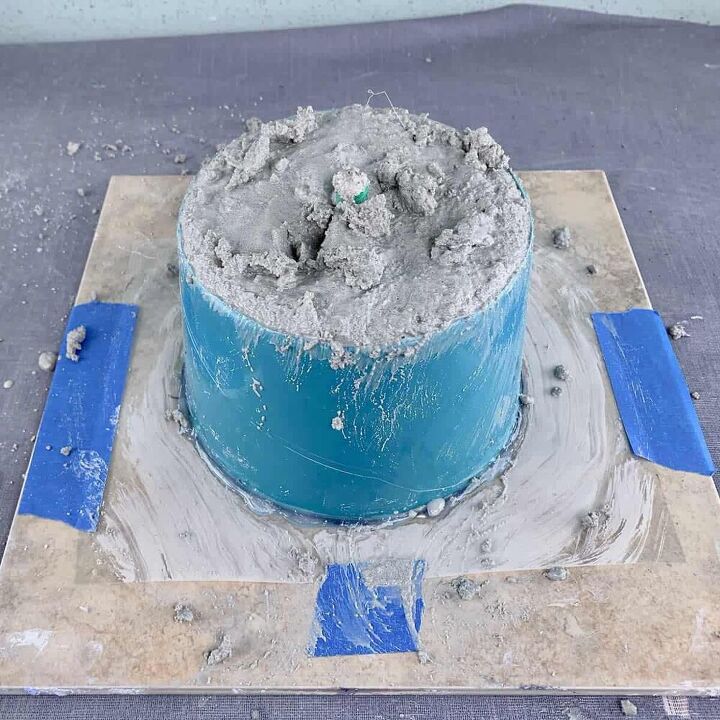
Scoop it up and press it into the crevasse of the two molds and fill it to the top.
Be sure to vibrate this concrete mold well as it tends to have more air in it than many mixes.
I probably vibrated this for 3-4 minutes. To vibrate it, tap the sides all around it, and also lift and tap the tile on your work surface to vibrate it that way.
Set this aside to cure for 24 hours.
STEP 8 | Demold The Concrete Planter
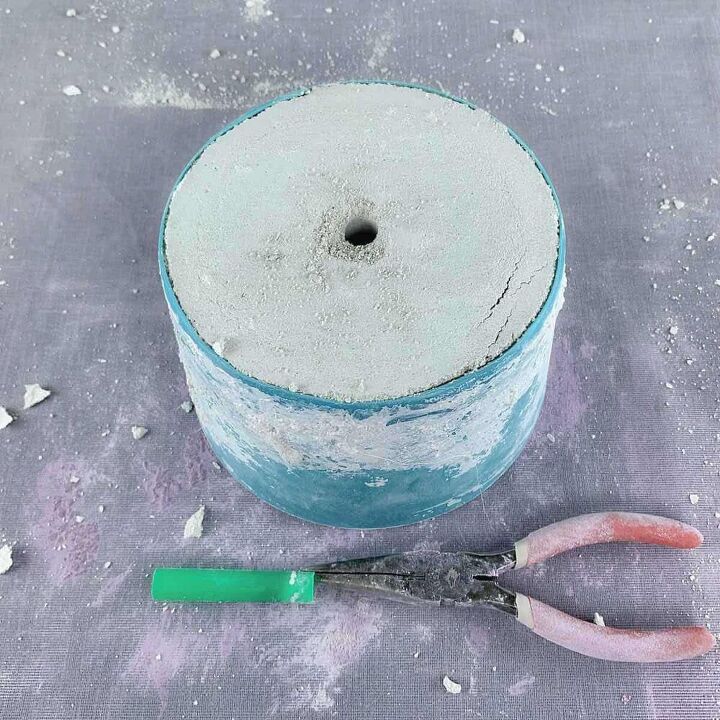
To remove the concrete planter from the mold, first pull out the straw. It should come out with your fingers, but if it doesn’t, just use pliers.
You notice some hairline cracks on this. I had my mix a little too wet. These didn’t go all the way through so I’m not worried about further cracking.
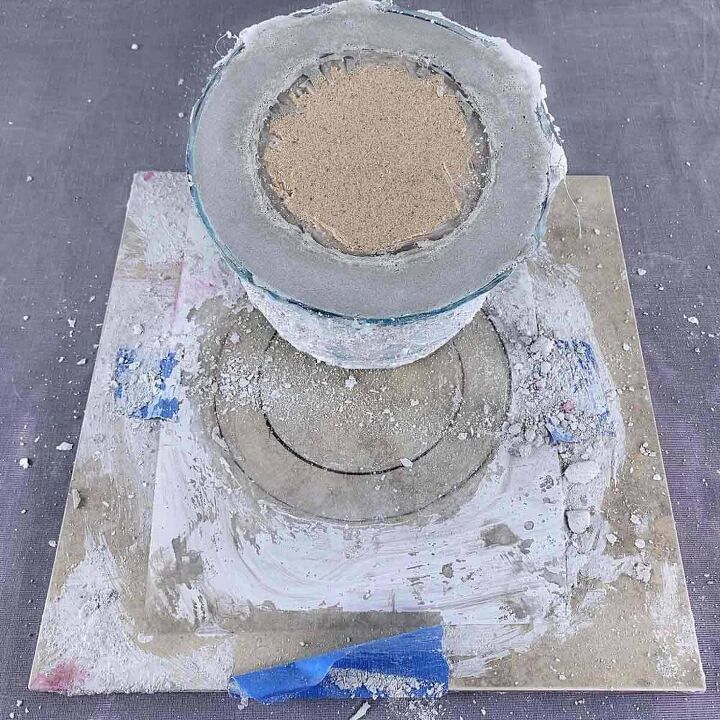
Now peel the acetate on the base, off of the tile and then peel that off of the cement.
Empty out the sand and then pull out what was the acetate lid- that’s now in the bottom.
Sometimes this comes right out, but if it’s stuck, just make a slit across it and then grab it with pliers or even tweezers.
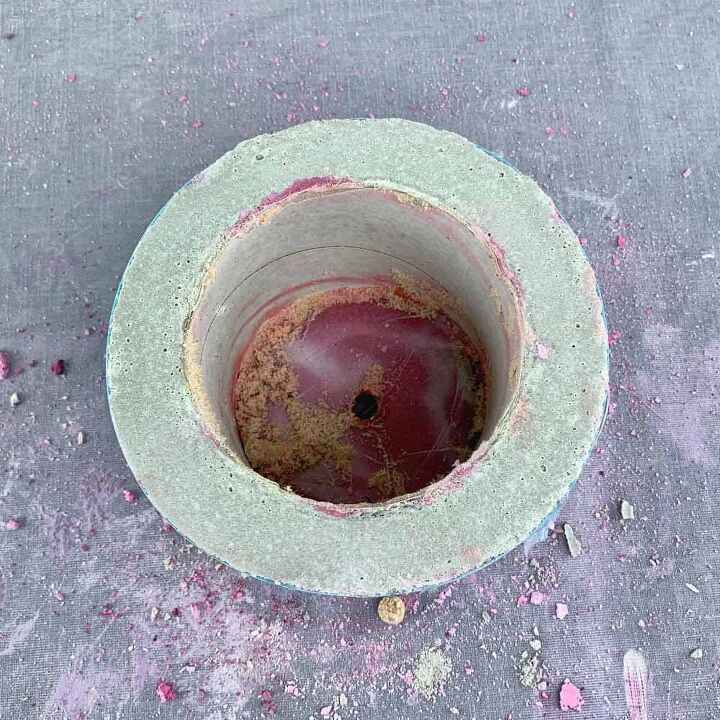
And finally, you can try to demold the planter by turning it upside down on a soft towel and gently shaking it.
A heat gun may work as well. I needed to cut a slit down the side of the plastic and then just pulled the planter out.
And finally, pull out the cardboard tube. This may come out with your fingers. Otherwise use the needle nose pliers.
STEP 9 | Sand The Planter Edges
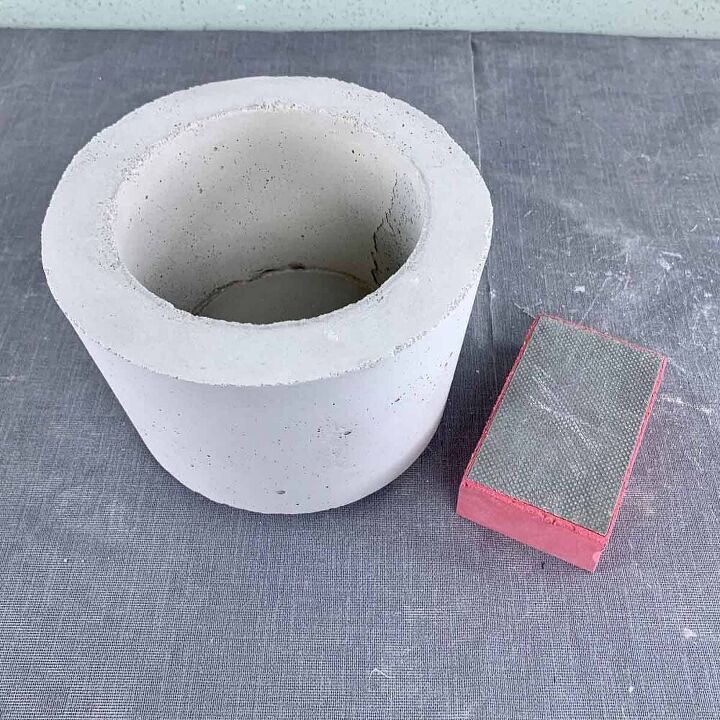
Sand the rough edges with a grit diamond sponge, and then use regular grit sandpaper to refine the inside edges.
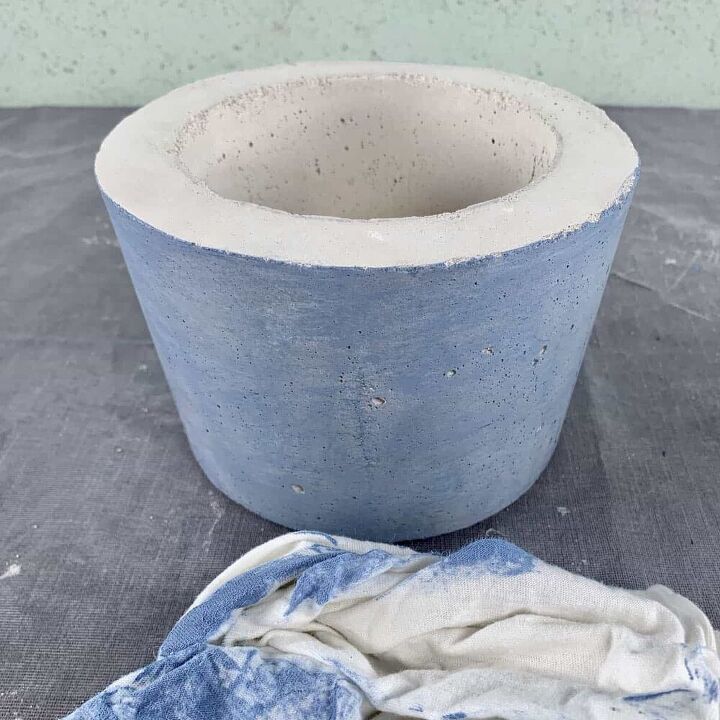
FINAL STEP | Use A Wood Stain To Color The Concrete

First, prep the Using a water-based wood stain, mix it well and then apply it to the sides of the concrete planter with the foam brush.

** To see another colored cement planter, check out this vibrantly dyed planter. 
I just went ahead and stained all the sides and then used a staining rag to wipe off the excess.
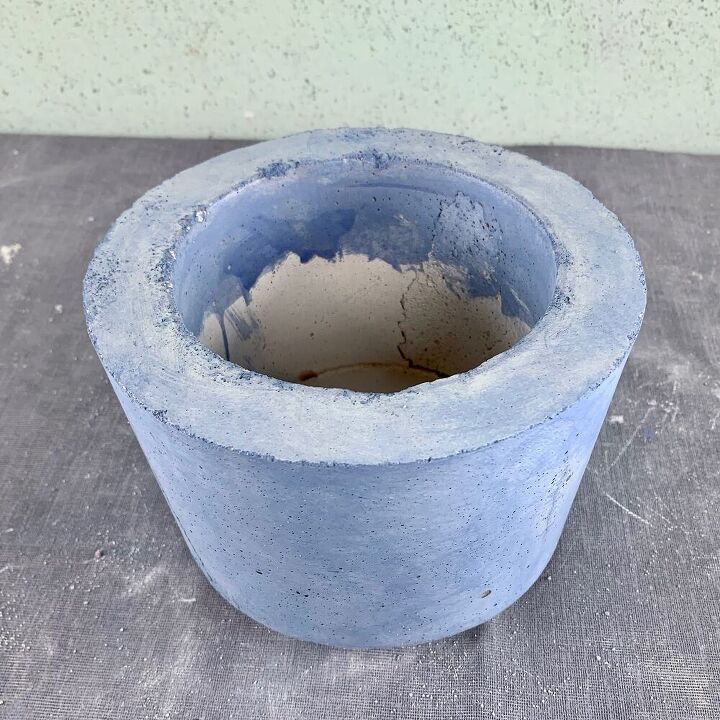
You may have brush stroke lines or some patchy spots.
To even these spots out, just use the part of the rag that already has an area of wet stain on it and rub the concrete in small circles to blend.
There will be some parts of the concrete that will take the stain better than other parts.
To enhance the color a bit, I applied a second coat of stain immediately after the first.
Don’t forget to stain the top rim and a few inches down inside the planter (just what won’t be covered with soil), and then stain the bottom.
And just a reminder of what I mentioned in the intro — a stained DIY concrete planter will do fairly well outdoors over time.
But since the stain is topically applied, it does risk some fading or even peeling.
Here is a cement planter that I colored pink using a powdered pigment. And cement planter was made with a dye made for fabric!
Resources for this project:
See all materials


Comments
Join the conversation
-
Excellent instructions and beautiful color?
-
Love the color. Thanks for the tips.


Frequently asked questions
Have a question about this project?
Can you please tell me, what is the purpose of the acetone circle?