


Painted Rock Ladybug Crossing

by
Lauren Z
3 Materials
3 Hours
Easy
Large, smooth river rocks plus a little bit of paint and you have a whimsical greeting for those who enter your home or garden!

Begin with smooth stones that you may already have on hand. You can also purchase these at garden or discount stores. You'll need red, black and white acrylic paint and a brush as well as a few other simple tools you probably already have around your house. Begin by painting the black parts then the red. You may have to use several coats depending on the color of the rocks. I use a #4 round brush.

To create the spots you can use a soft pencil eraser, free hand with a brush or what I used . . . the soft, rubber stylus end of a laptop pen that I didn't use anymore. Once I made the spots with that, I filled in the centers with the brush.
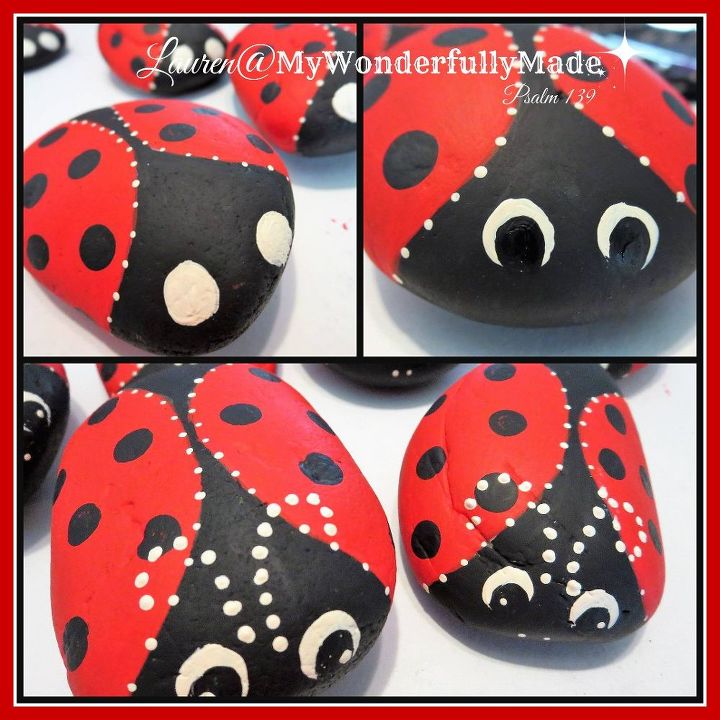
I painted the eyes free hand. For the dots on the body, I used a toothpick. For the antenna, I used a toothpick as well. I just made those a bit bigger so they'd stand apart from the dots on the 'wings'. After these were all dry, I gave them a spray of clear acrylic paint to seal them from the weather.
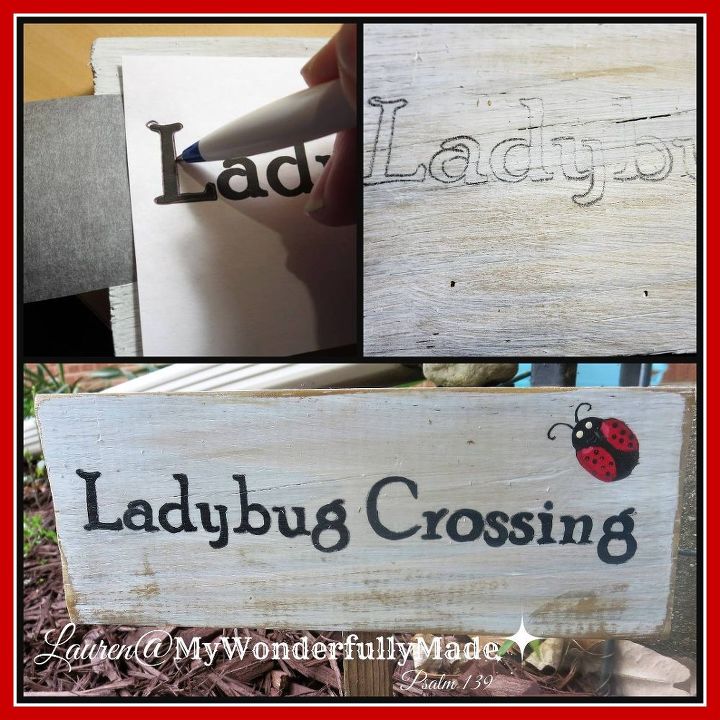
To create your Ladybug Crossing sign, simply use any piece of scrap wood. I gave mine a white wash using watered down white paint. For the lettering, print out your words on computer paper. Lay a piece of graphite paper underneath and trace over the letters with a pen to transfer to the wood as seen in the second photo. Then, using the black acrylic paint, just fill it in. Hint: Choose a simple, clean font that will be easy to paint!
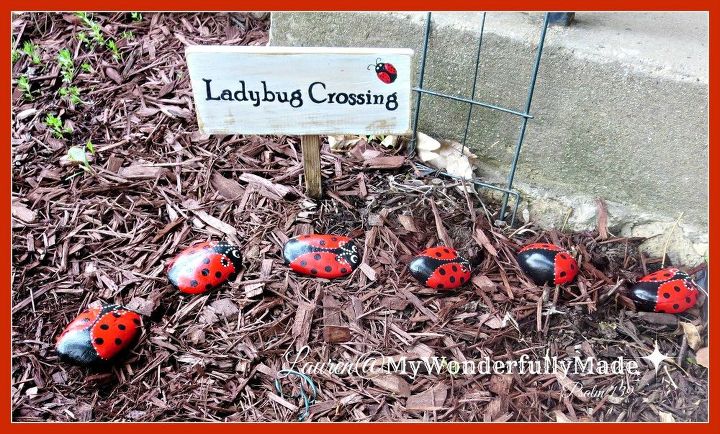
And now this little troupe of ladybugs is marching towards the front porch.
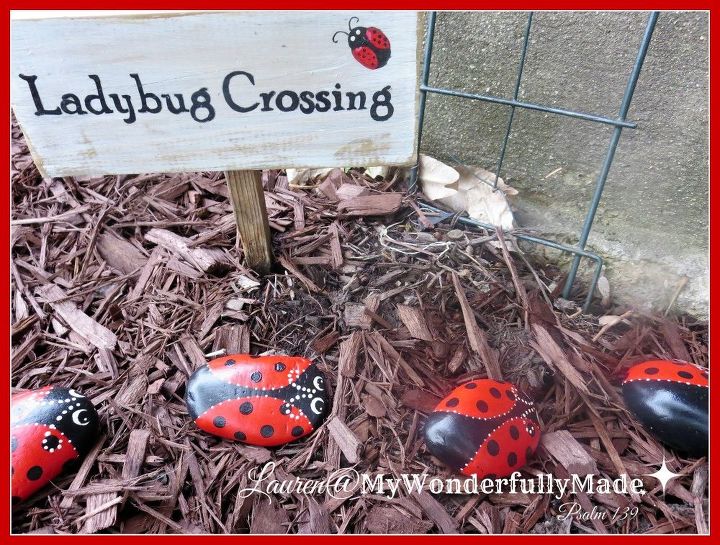
A simple, inexpensive project to welcome your guests to your home or garden!


Any price and availability information displayed on [relevant Amazon Site(s), as applicable] at the time of purchase will apply to the purchase of this product.
Hometalk may collect a small share of sales from the links on this page.More info
Want more details about this and other DIY projects? Check out my blog post!
Comments
Join the conversation
2 comments
-
Love it!
-
Thanks Lindsey 😁


Frequently asked questions
Have a question about this project?