


Repurposed Strainers Planters Fun DIY
This time of year is the greatest … back out in the garden, in the sun, doing yard work, and mowing. I can get some of my best thinking done while I'm on a mower.
I love to repurpose and upcycle, so it's also the perfect time to start pulling out my stuff and making new things for my yard and garden.
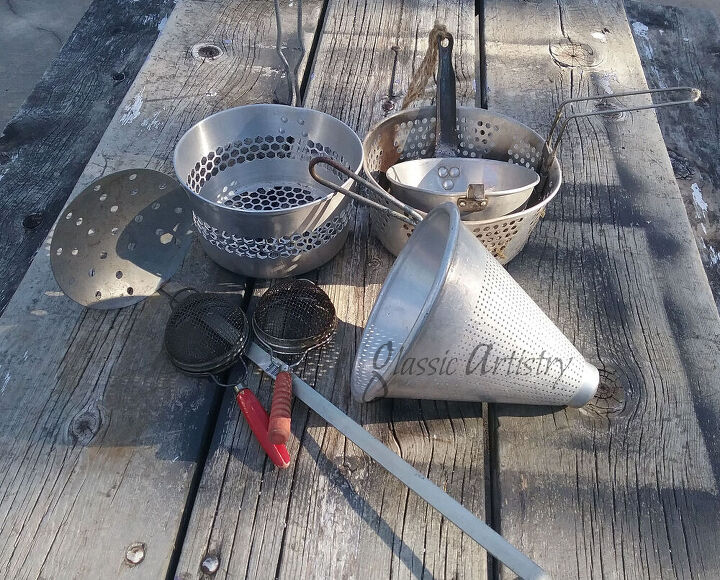
I have a small pile of metal strainers and such that I’ve found in the salvage dropped off for my husband. Seems no one wants the poor things unless they’re a special vintage piece.
I used to collect the most interesting ones and we would heat the handles a bit to bend them upright and be used as hangers. I’d sell them at vintage markets for a couple bucks each. The large mesh ones were the most popular, but not as easy to come by anymore.
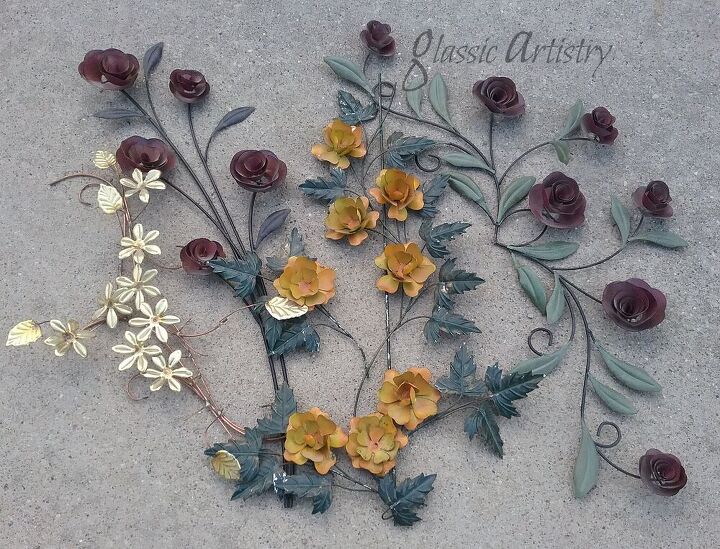
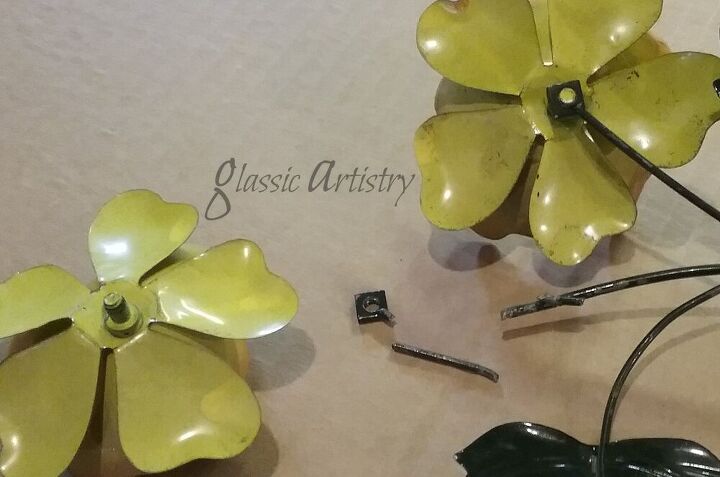
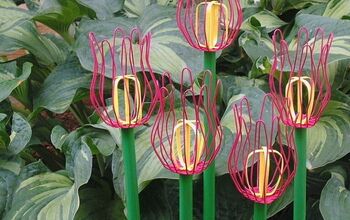
I have a thing for metal flowers too. If you’re lucky you can find some that are constructed with a screw and nut which makes them really easy to work with. I usually find flowers at garage sales, thrift stores, and flea markets.
I’m ready to share what I came up with, but please remember there are no limits when it comes to projects like these. Use whatever you have; paint, washers, glass donuts, wire, buttons, etc. I played around with several ideas before settling on the ones I wanted.
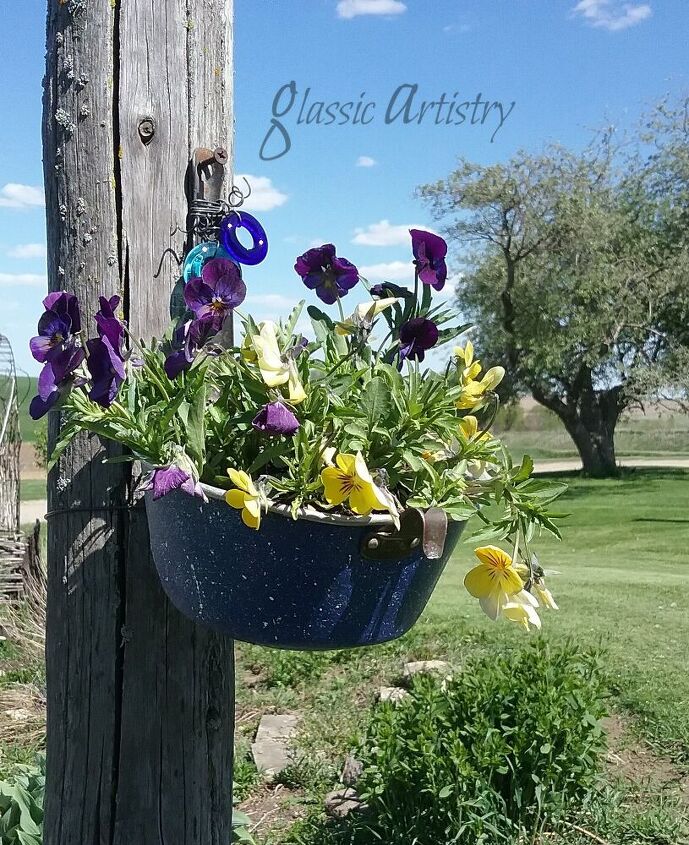
Had to have a touch of blue –
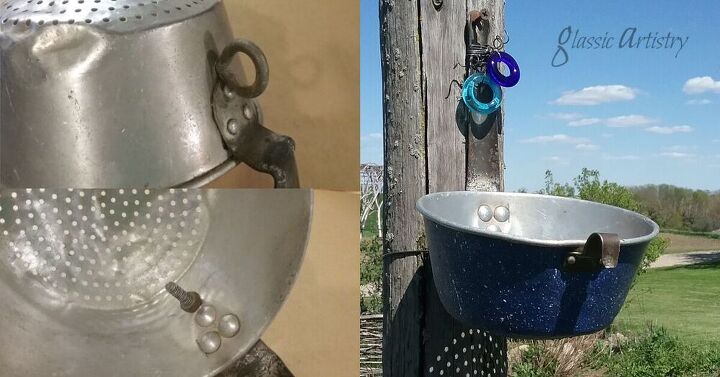
I was going for a blue enamelware look with this little guy. Exterior blue paint, white speckles, and clear spray sealer.
An eye bolt was added to the back to help it hang evenly and provide a loop for a wire to be threaded through and secured to prevent rocking from side to side. Two glass donuts were wired to the handle.
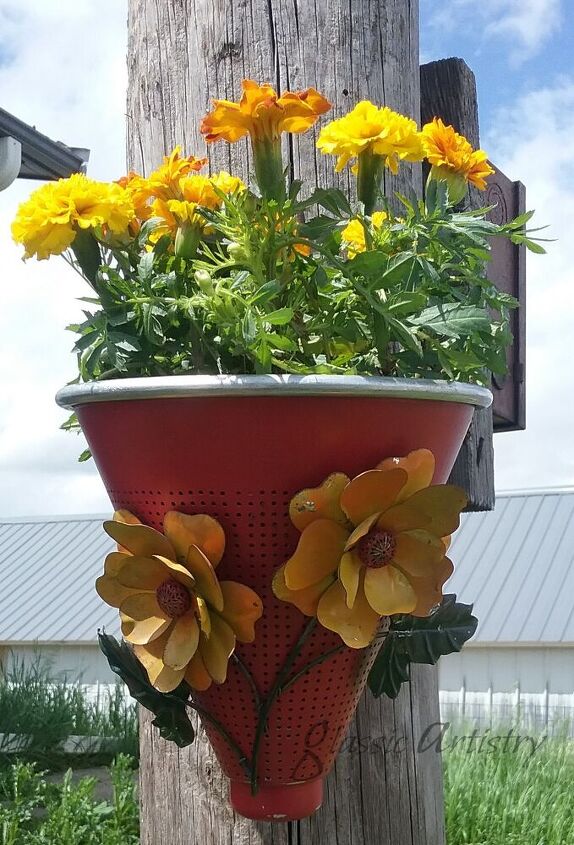
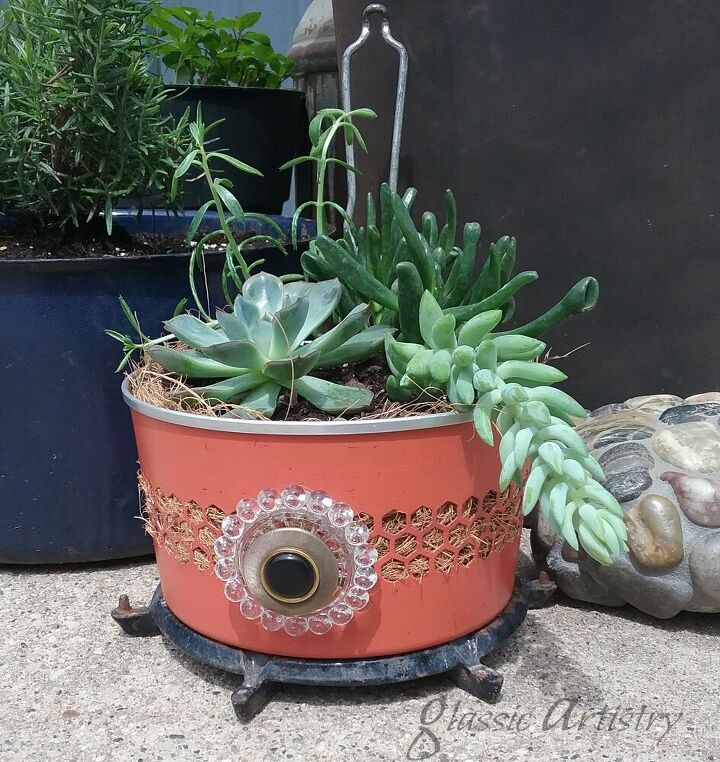
A red and gold vintage look might be my favorite.
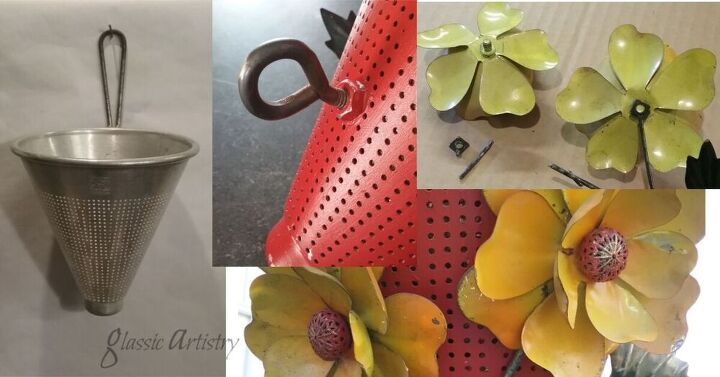
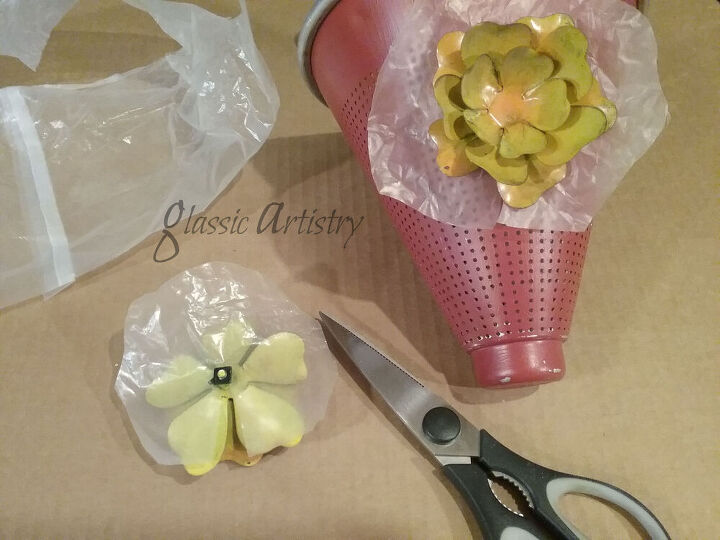
I love this combination. Red exterior paint, clear spray sealer. An eye bolt was added again, this time with an extra nut glued to the exterior before painting. I used JB Weld for gluing. After determining placement, holes were drilled for the screws on the back of the flowers and they were tightened into place. The stem was wired on. Decorative metal beads were painted and sanded lightly for the flower centers and glued on.
Here’s another useful tip – slide pieces of wax paper under the pieces you are wiring on to prevent your base paint from getting scratched.

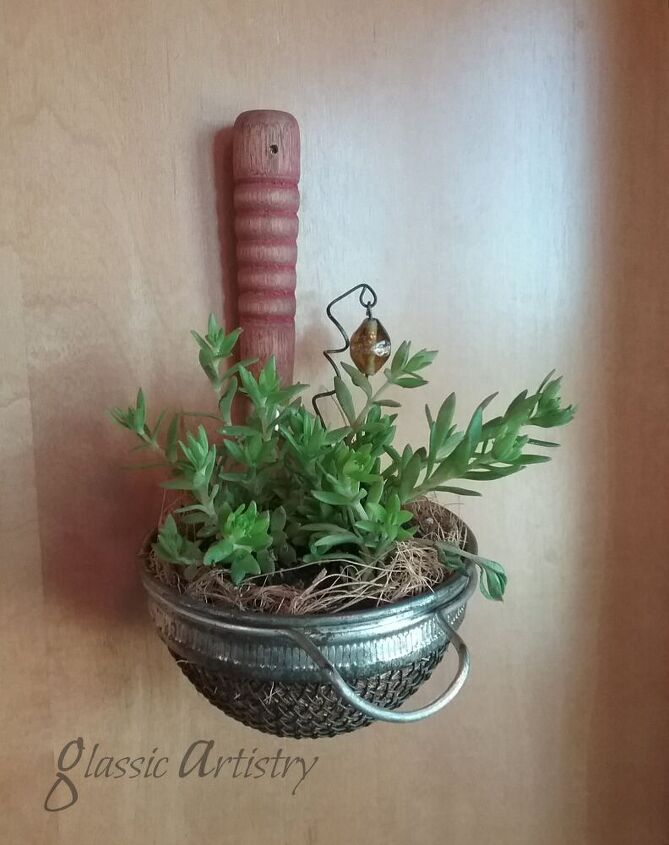
Boho anyone? Just because it has a hanger doesn’t mean you have to hang it.
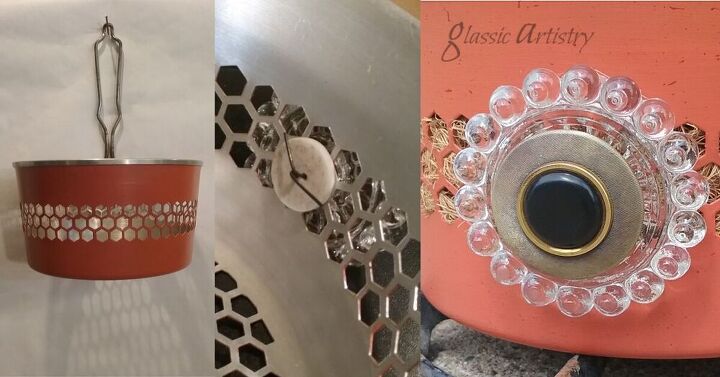
Exterior orange paint, red speckles, clear spray sealer. A medallion was made with a large decorative coat button on top of a glass lamp piece. The wire is threaded through the button and through a hole in the glass piece. The wires went through an old button on the inside of the basket to hold it securely.
And then there’s this last one, just because I thought it would be cute in my kitchen. 
So, what do you think? Don’t these look like fun? Please, feel free to comment if you like. I love hearing from readers.


Comments
Join the conversation
-
Really loved this idea. Very nice jobs on all of them. I like to reuse and repurpose rather than buy something new. Thanks for the ideas and for sharing.
-
love these ideas! Thanks for sharing!


Frequently asked questions
Have a question about this project?