


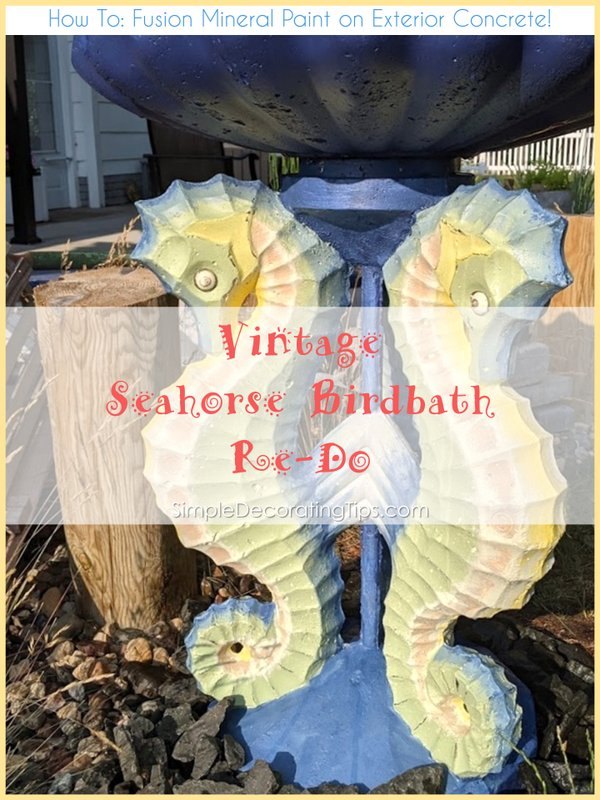
Vintage Seahorse Birdbath Re-Do
Hi, I'm Liz from Simple Decorating Tips a DIY and decorating blog. I also have a DIY supply shop, Frame and Frills, in Wisconsin and online. For this vintage seahorse birdbath re-do I used the Fusion Mineral Paints I stock in the shop. They are amazing quality and UV resistant, perfect for this project.
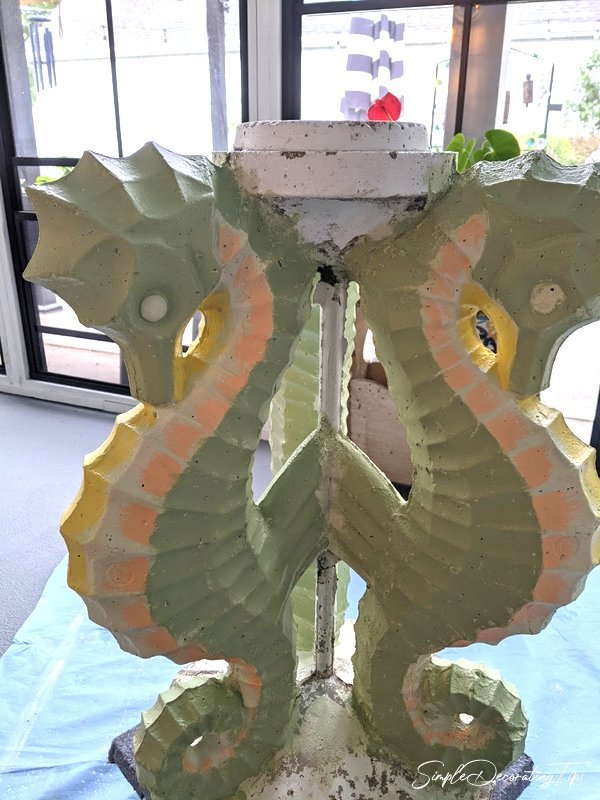
I never cease to be amazed of the fun treasures one can find on Facebook Marketplace for a minimal investment! It is truly treasure hunting, and I am the ever-loving treasure seeker. It is one of these treasures that led me to this vintage seahorse birdbath re-do project.
If you have been following this blog for a while, you may recall I redid an old flat bottom boat a couple years ago, turning it into a backyard boat pond. ( HERE is that Backyard Boat Pond post if you missed it.) My plan was for this charming vintage seahorse birdbath to be part of that landscape.
Scraping and cleaning the birdbath was the least fun of this project, but an important part, so that’s what I started with.
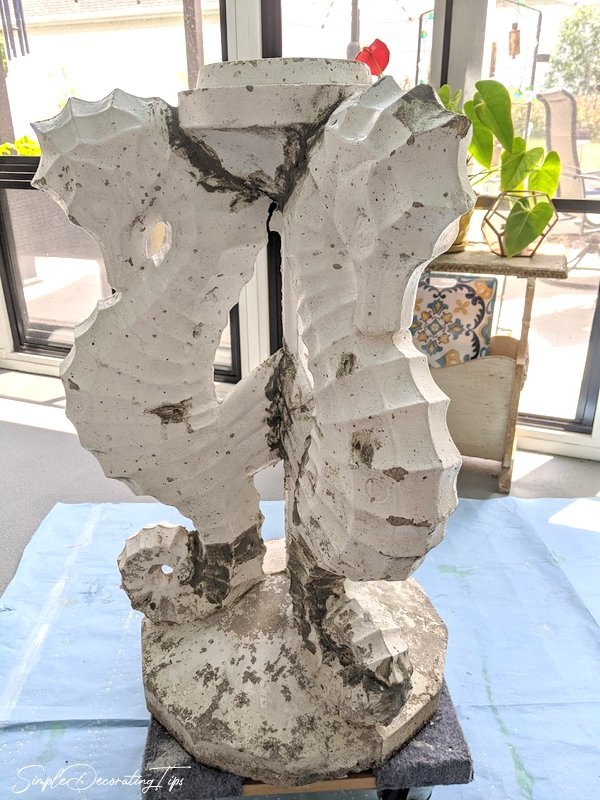
The birdbath needed a little bit of repair, the center top support had cracked off but was easily reattached with some heavy duty concrete patch that comes in a caulk tube. While I had the concrete caulk handy, I went ahead and squeezed some on the hairline cracks and voids visible on the seahorses. Donning vinyl gloves, I just used my fingers to smear the caulk patches smooth. I left it all to dry overnight.
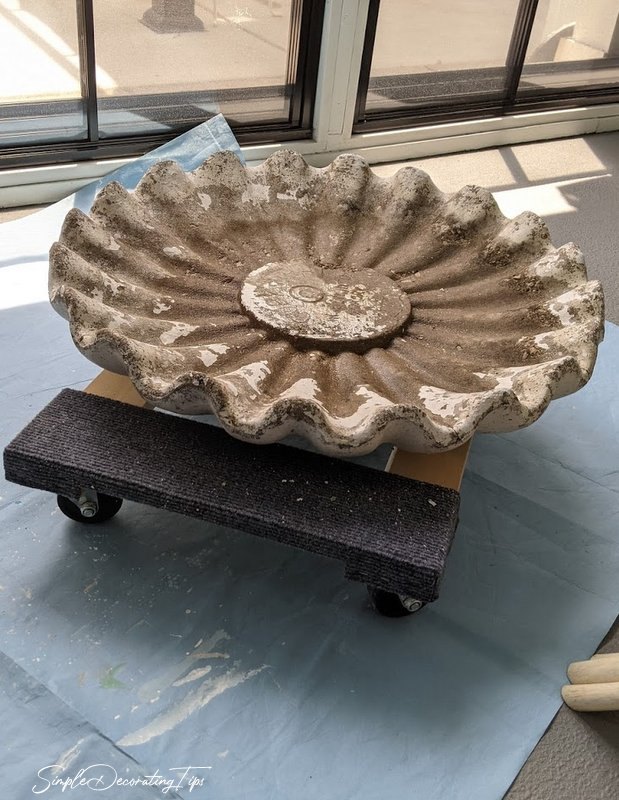
For ease in moving and painting the 2 pieces, my husband put them on furniture carts for me.
Next, I studied a few pictures of vintage looking seahorses online and from the ‘wall aquarium’ in the lower level, picking out what I did and did not like, examining what colorways I preferred and thought would look good in our backyard. (You'll need to pop over to
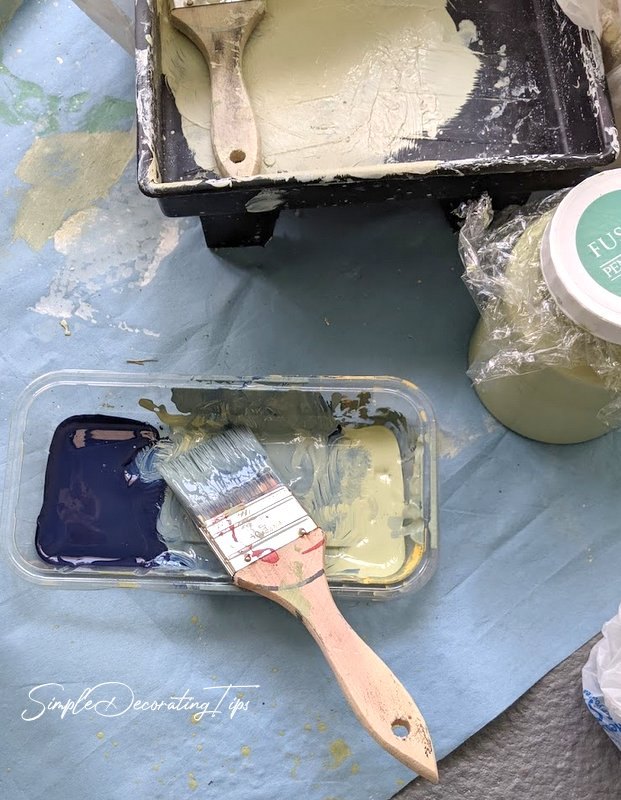
Once I nailed down the colors, I went into my workshop, and grabbed the paints I’d need for this project. All the paints are Fusion Mineral Paint. Fusion is an extremely durable acrylic based paint. It is interior and exterior and very UV stable. All the paints I used in this project are available in my shop Frame and Frills. You can shop in person or online.

The line up of colors I used for this project are: Limestone, Tuscan Orange, Pebble, Upper Canada, Chocolate, Liberty Blue and Little Star. Some of the colors I would use straight out of the container, but some will be mixed together creating a custom blend color.
Because I used all the colors for the workshops we have at Frame and Frills, I already had pint sized containers to take the paint from for this seahorse project. But if you were buying paint just for this vintage seahorse birdbath re-do project, you'd need pints in just 3 colors Upper Canada, Limestone and Liberty Blue. The rest would only call for a tester size.
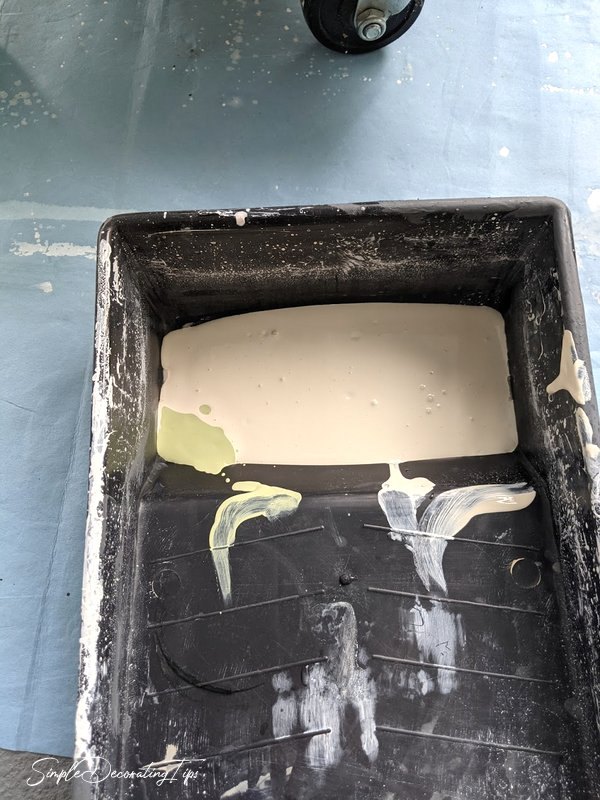
To start with, the seahorses received a base custom mixed color of about 10 parts Limestone to 1 part Little Canada.
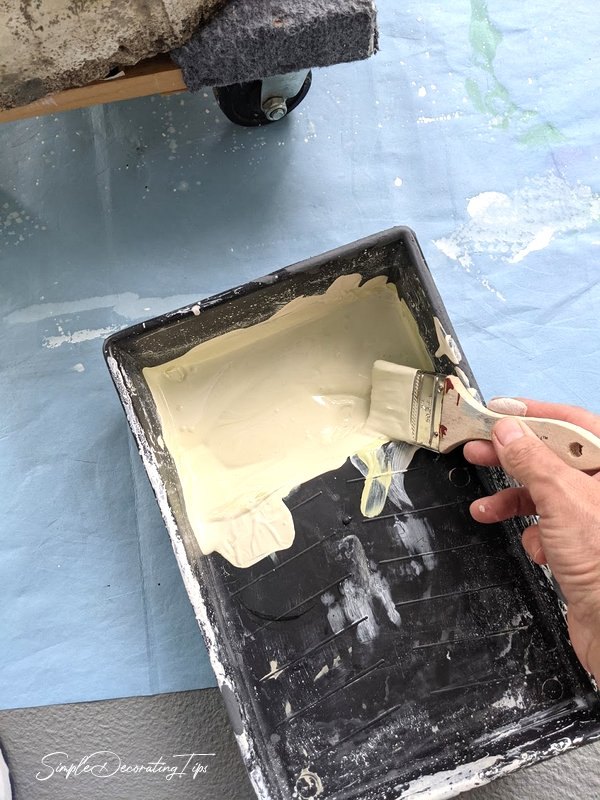
I love how easy Fusion Mineral Paint colors will blend together. Just a few swirls of my brush mixing the paint and it was ready.
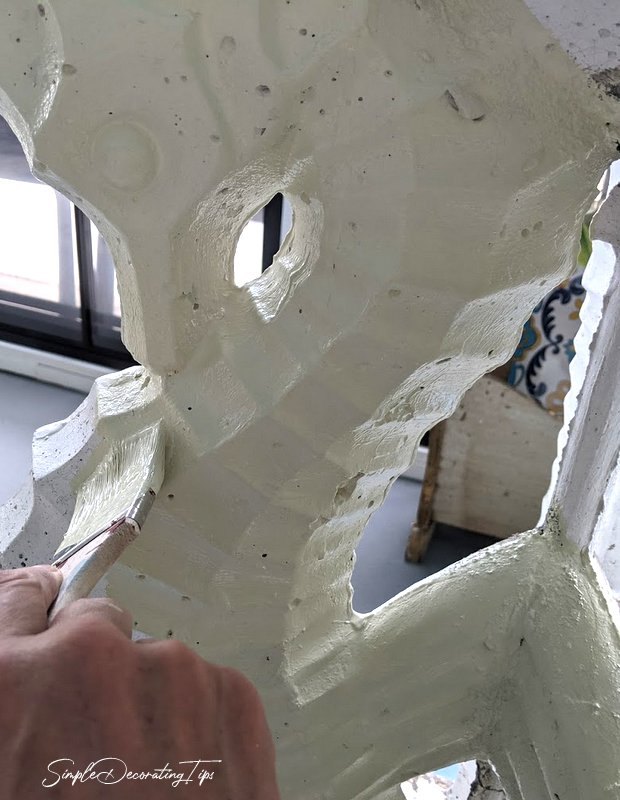
Fusion has really amazing adhesion, I painted it directly on the cleaned and dry cement.
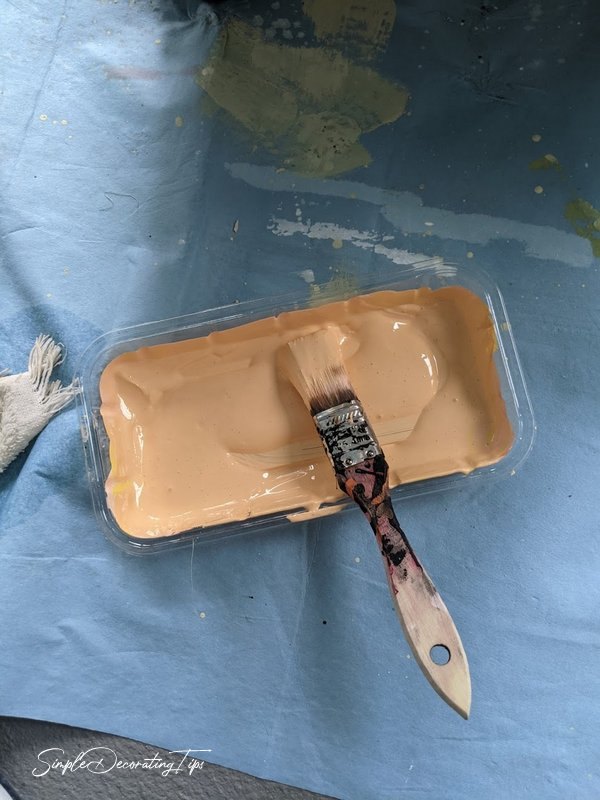
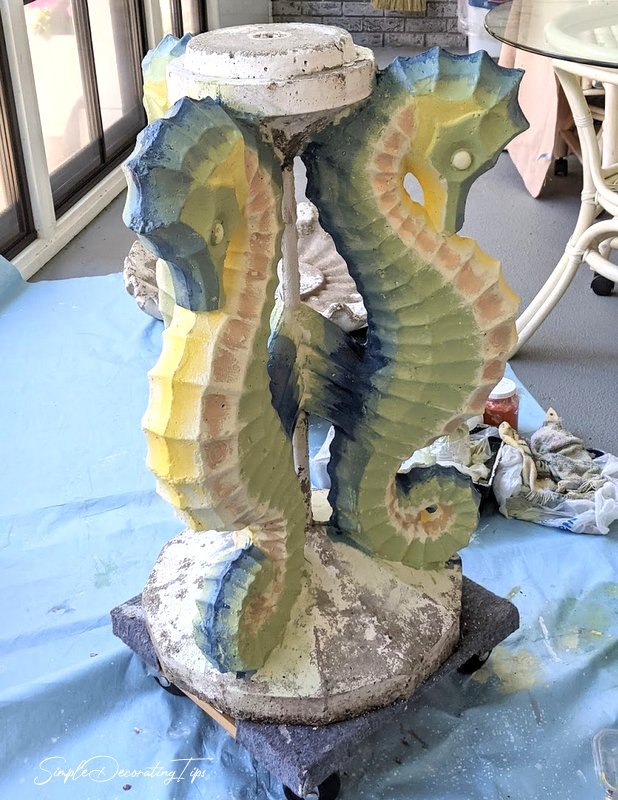
Next custom mix was a 2 parts Limestone, 1 part Tuscan Orange and 1 part Little Star.
I painted it on and thought, wow, that’s a bit bright. But I have learned it’s important to let the paint dry, it will change a bit as it does. Also, as other colors go next to it, that color can ‘read’ differently.

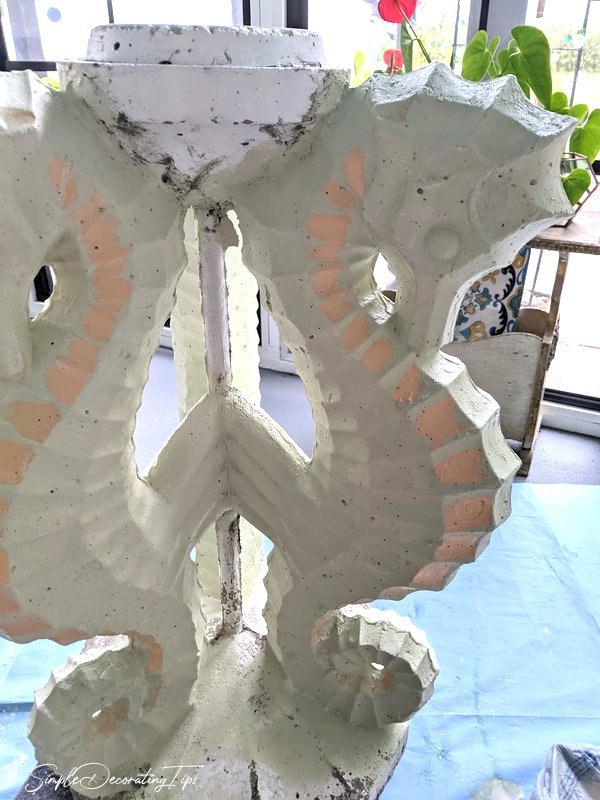
So, even though I wasn’t liking the nearly neon peach, I continued on with my painting. The green of the seahorse bodies was painted Upper Canada, no custom mix.
For the yellow belly, I started with straight up Little Star, then to blend it to towards the peach is a custom mix of half Little Star and half the original creamy color I mixed for the base.
This softened creamy yellow color was painted on in casual horizontal strokes across the ridge between the yellow and peach color.
At this point I sat, or rather, stood back and looked at the way the colors were looking. That neon peach was still awful and needed to get toned down.
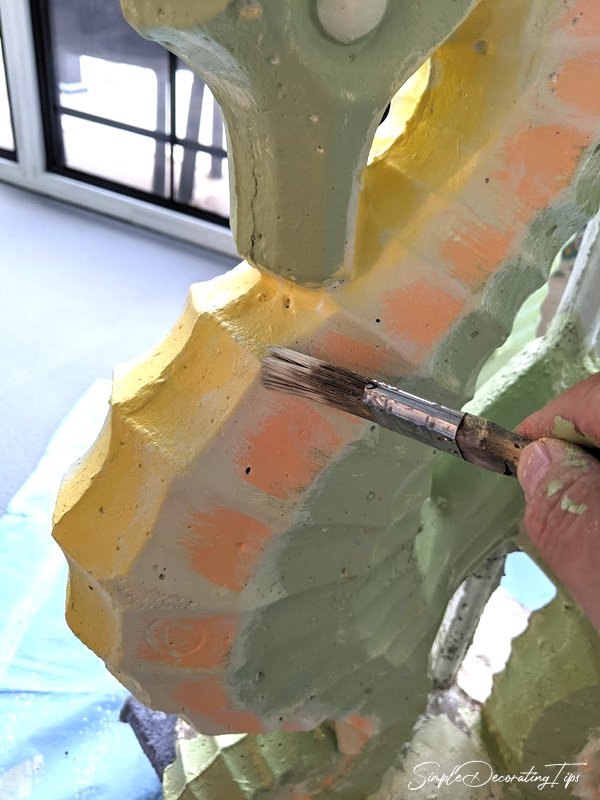
Without trying to completely cover it up, I quickly brushed over top of the peach new custom mix. It was the leftover neon peach mix with a squirt of Chocolate mixed into it, (Chocolate the color, not the food).
Ah, I liked that much better.
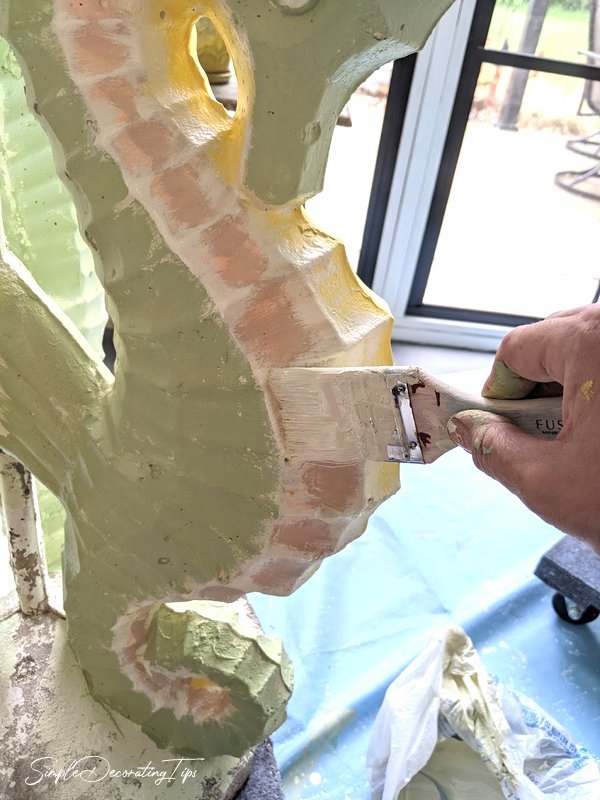
To see how I would blend the different colors together, I started playing around using a dry brush technique with a small amount of the base creamy mix color.
I moved the brush horizontally from the ridge towards the center, being careful to lift the brush off the concrete as it moved towards the center of the peach part. This left a soft blended look on the peach details.
Now to the blue parts.
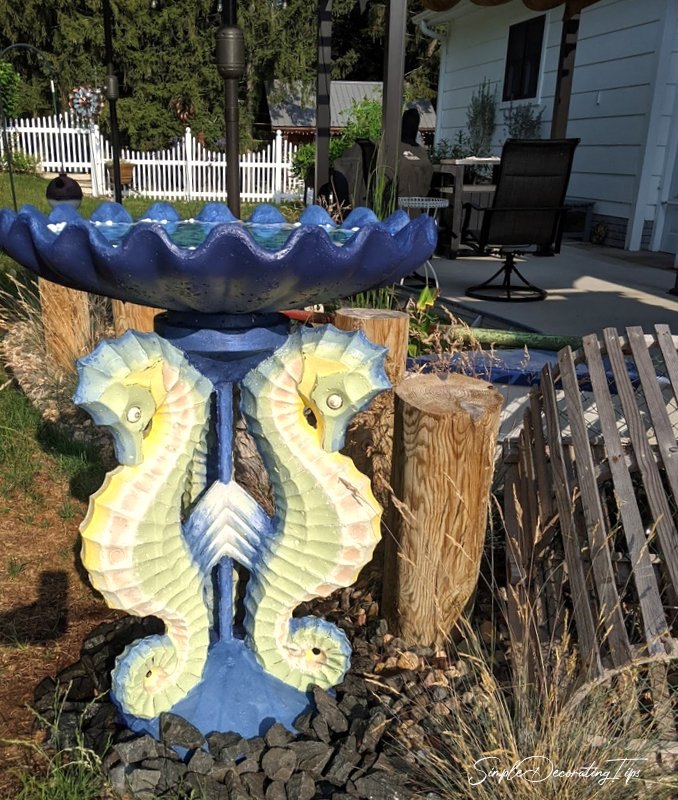
Using a mix of Upper Canada and Liberty Blue( half and half) I painted the backs of each seahorse.
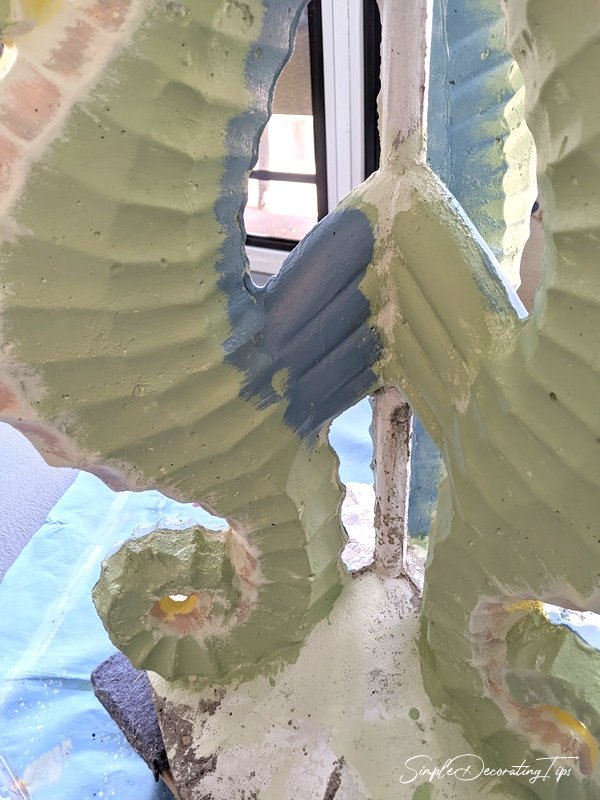
Next, I sharpened and blended up all the colors… So pure Liberty Blue on just the ridge of the back, and blended a bit more of the blue/green mix where the blue and green touch each other.
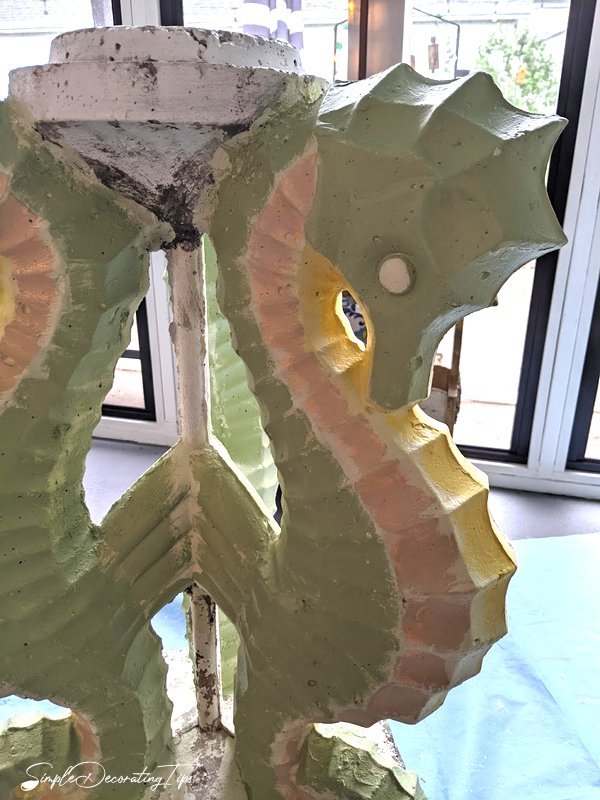
I also defined what part of the faces would be green and what part would be yellow.
One last color of Sterling on the ends of the back fins, highlighted with Liberty Blue.
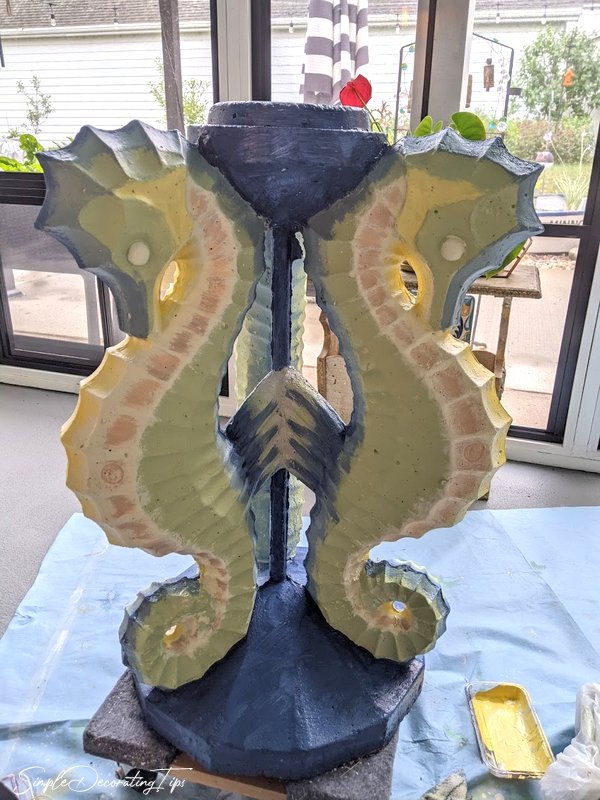
The base, center pole and top support all were painted with Liberty Blue very loosely mixed with just a bit of Upper Canada to give it some variance in color so it wasn’t just a solid blue color.
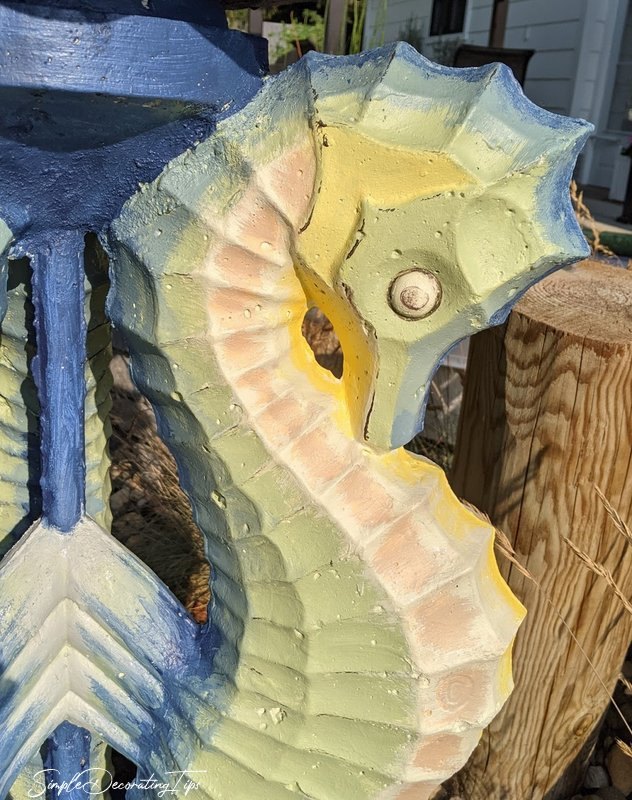
A bit of detail in Chocolate. For the eyes, using an artist brush, I painted a large oval pupil and an outline in the Chocolate color. It looked too harsh and like a bad make-up job. I quickly took a damp paper towel and dabbed at the Chocolate, removed some to leave a more aged distresssed look.
Then using the side of a chip brush with Chocolate on it, I gently rubbed the side of the brush on some of the ridges on the face and side of the seahorse, just defining the shape a bit.
The bowl of the birdbath, the part filled with water, would obviously be under water most of the time. Fusion isn’t meant for under water application… and pretty much most paint wouldn’t last too long in those conditions. So instead of painting it, I came up with something a bit different.
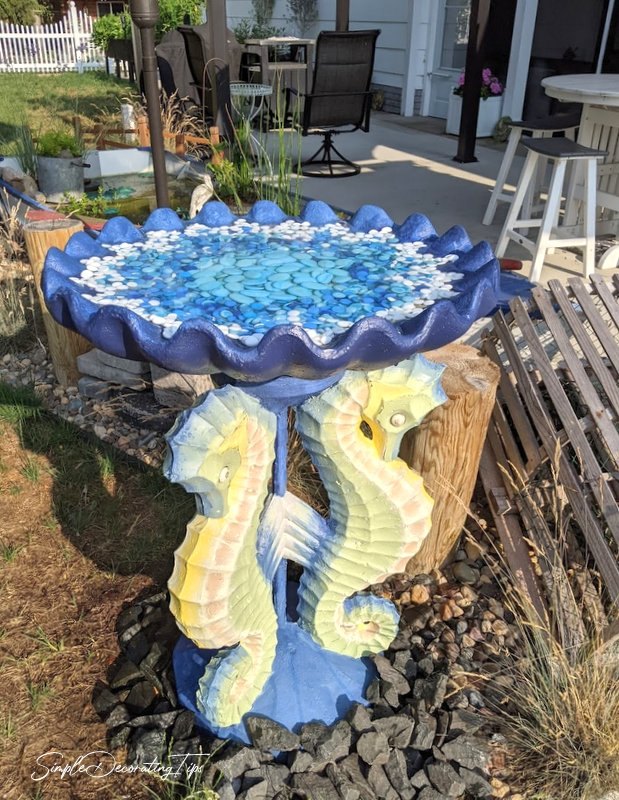
The bottom of the birdbath bowl got lined with blue and white colored glass stones. They’re not attached, just laying there. I did put some of the pond clear water treatment in the birdbath, (safe for fish and birds). That will help keep the algae at bay. But I can still remove the glass pieces and wash if necessary.
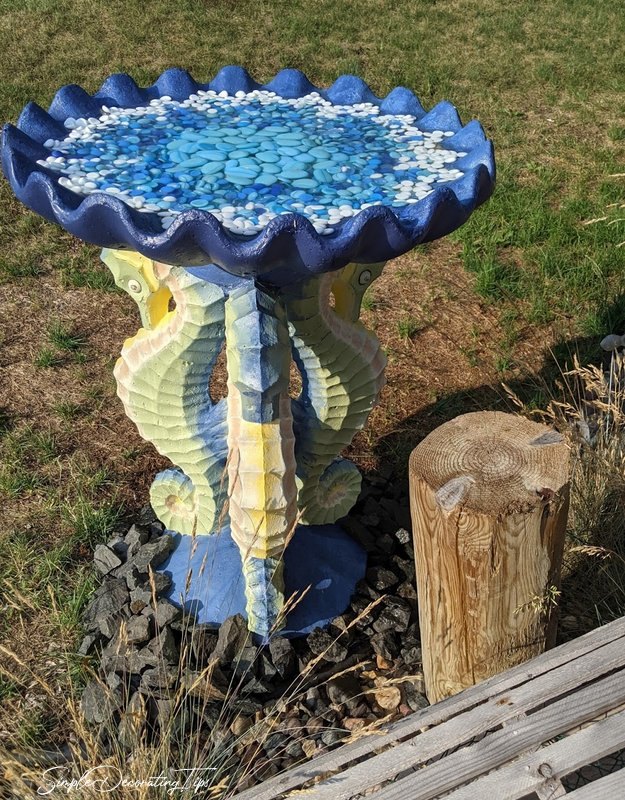
I am really happy with the aged vintage look of the seahorses. No doubt, it is a bit kitschy, but that’s fun for our backyard and for next to our ‘Gilligan’s’ boat pond!
Pop over to my blog SimpleDecoratingTips.com for more fun projects like this.

Comments
Join the conversation
-
What a fun, kitschy project! Nice colour combo.
-
Beautiful! I love the color scheme. You are one talented person!! Thanks for sharing!


Frequently asked questions
Have a question about this project?