


Walmart Pot Fountain

In no time at all, you can put together this fountain for your yard.
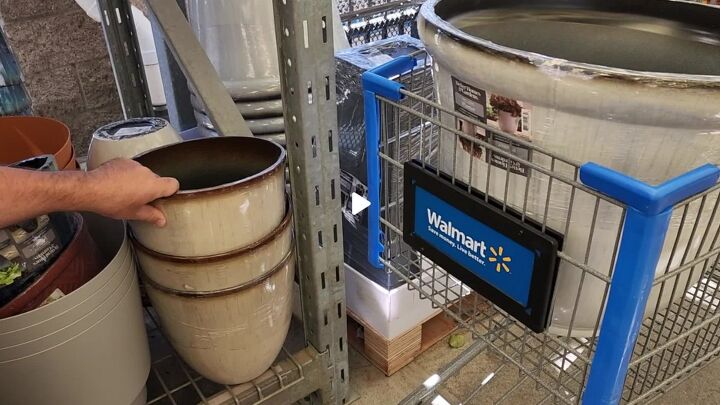
For this project, I ran to my local Walmart and grabbed two matching pots; one bigger than the other. I wanted to beautify the front of the house and make it look just amazing with a water feature.
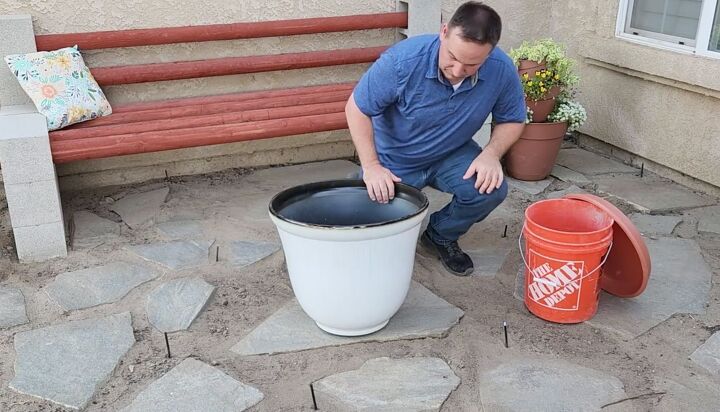
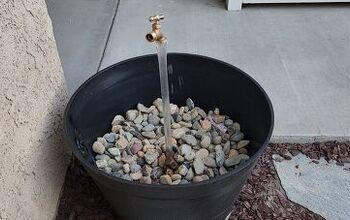
The first thing I did was to level an area in the front that would be in direct sunlight and place the bigger pot there.
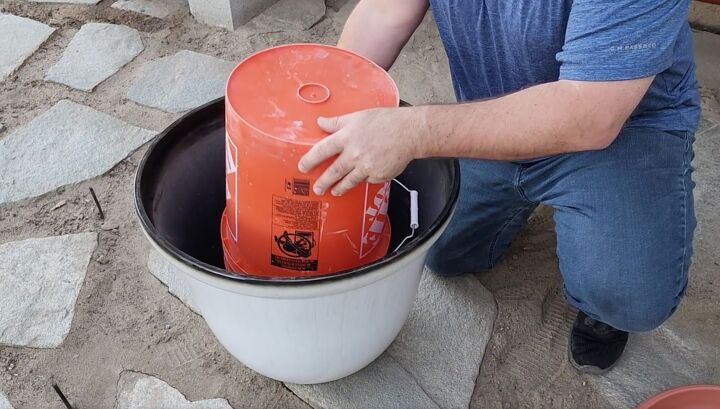
Next, I grabbed an old bucket that I really didn't need anymore and turned it upside down in the bigger pot. The biggest thing you've got to do here is to make sure that it's centered. If you need to add some rocks or sand to the bottom to make it sturdy, now is the time to do it.
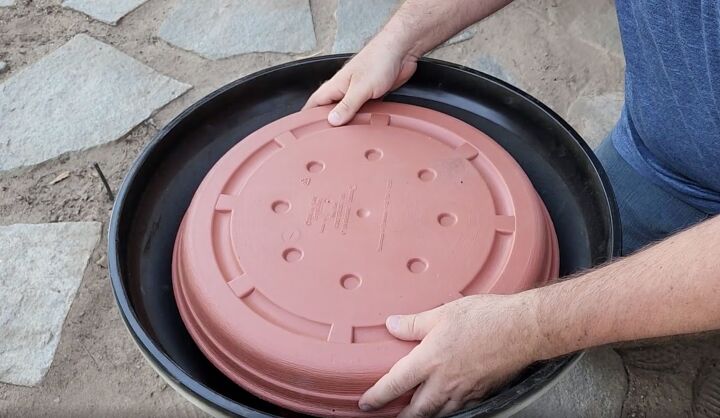
Once the bucket was in place, I grabbed a flower pot base, one that was just slightly smaller than the rim. I turned it with the lip side down and laid it on top of the bucket.

The next step is to take the smaller pot and place it in the center of the flower pot base. Make sure it's centered.
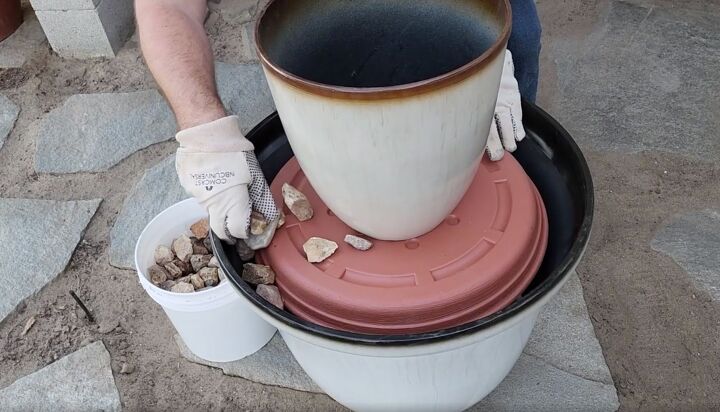
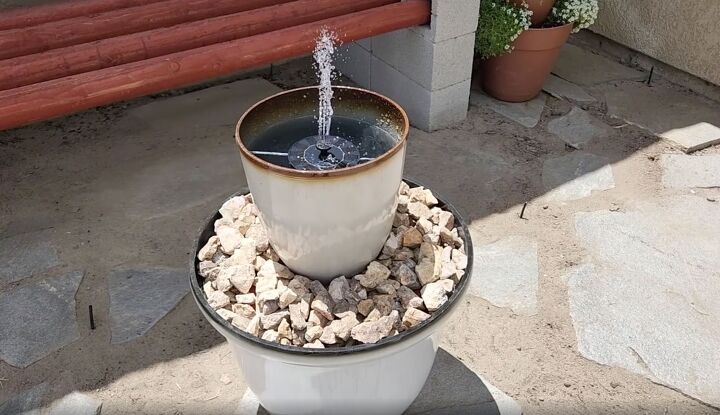
To cover up the bucket and make the fountain look nicer, I grabbed some local rocks and placed them around the edge. There was a slight gap around the edge, but I made sure to put the bigger rocks in first and then fill it with the smaller rocks. If you want to plant flowers or anything around the edge, turn the flower pot base the right way round and you can fill it with dirt.
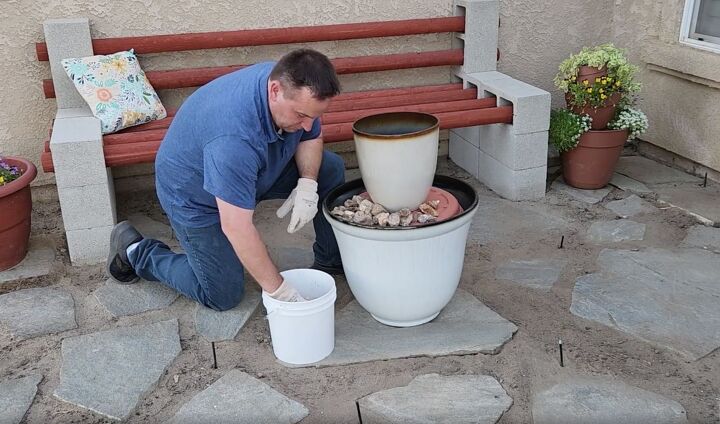
For my fountain, I went ahead and made sure the rocks were strategically placed all around the edges to fill any gaps and to cover the base completely. You can also use river stone if you'd like to do this.
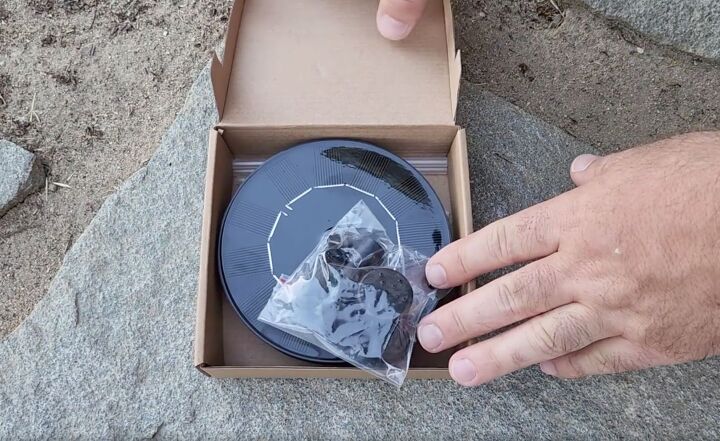
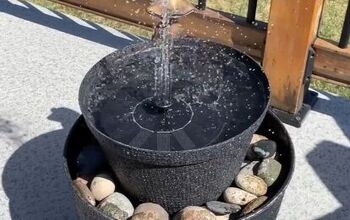
Next, I got out a new solar-powered fountain that I bought for $10. It floats in the water because it's got a float on the bottom and works great in direct sunlight. It also has many different nozzles for spray patterns.
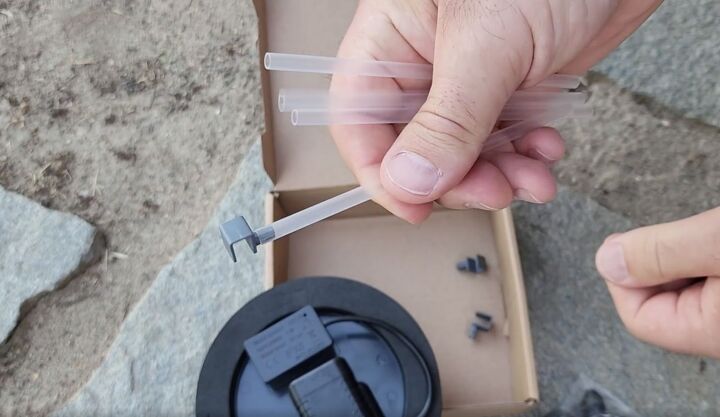
My fountain came with some plastic spacers. These make sure that the fountain stays in the center of the pot. It avoids the splash coming outside of the pot when it's working.

Once you put the clips in the spacer, there are little slots around the sides where you can put them into the foam.
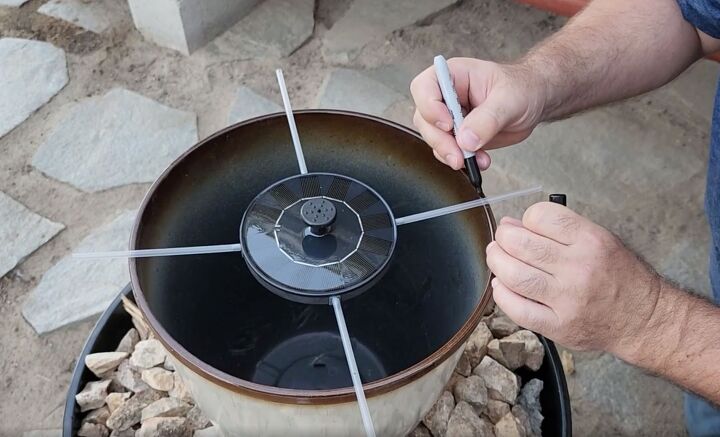
My spaces were a little bit bigger than I needed so I placed the fountain in the pot and marked off the edges. Be sure to give a little space around the edges so that it can move around a little bit with the water.
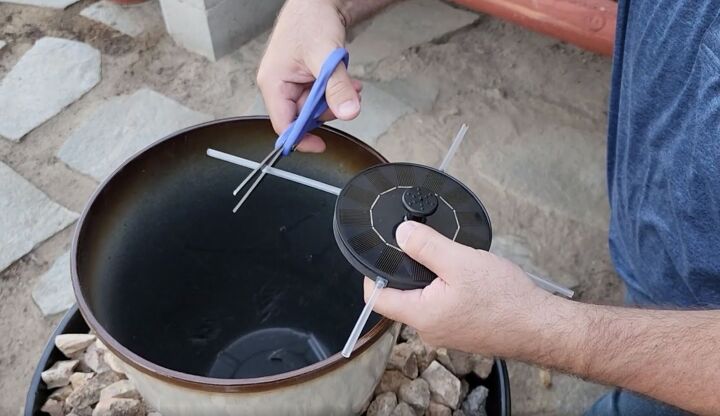
Once you have it marked, you can go ahead and just trim it with a pair of scissors. It's easy to do.
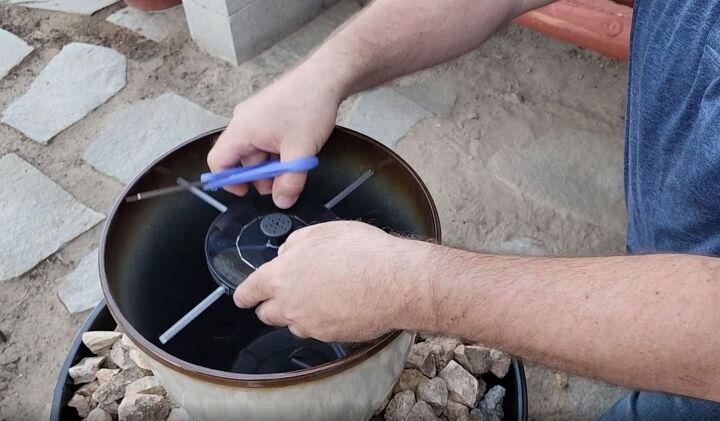
Make sure that it fits inside and it's going to be able to float up and down with the water level.
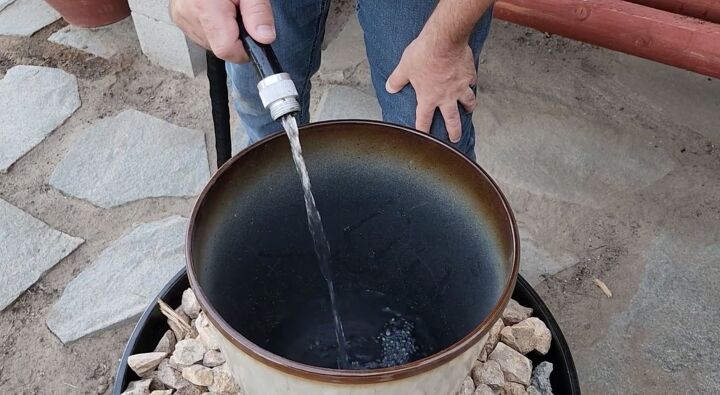
Then it’s time to fill the pot with water. I used my garden hose for ease.
Once you get it to the water level you want go ahead and place the fountain inside.
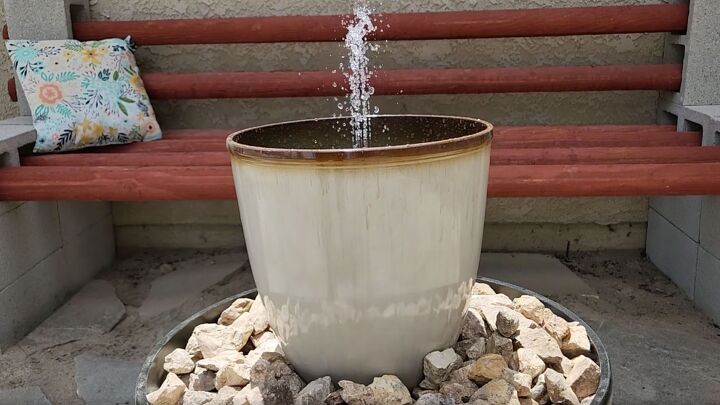
Now once the direct sunlight hits it, voila you've got a water fountain. The most amazing thing about this is it's solar-powered so you can place it anywhere in your yard that it gets direct sunlight. No worries or cares about an outlet or cords running out underneath.
Resources for this project:
See all materials


Comments
Join the conversation
-
I did this, but squirrels and deer kept knocking it over🙁
-
Seems to me that a slight bump of the fountain would send the top half flying since it's not secured. I would suggest gluing or even screwing the pieces together prior to using,


Frequently asked questions
Have a question about this project?
Do you add some treatment to water, mine turned green everyday?
TELL me where you find a CHEAP walmart pot anymore......
Do the pots have to be from WalMart? What if I already have some or seen something elsewhere?