


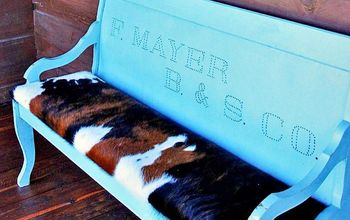
Leather-look Table Top

by
Kim Olsen
4 Materials
Being a creative family we are used to doing things that are messy. Be it painting, paper crafts or anything to do with glitter or glue.
But after an unfortunate tie-dying incident we've determined that SOME things don't require the dining room and should in fact be done in the basement.
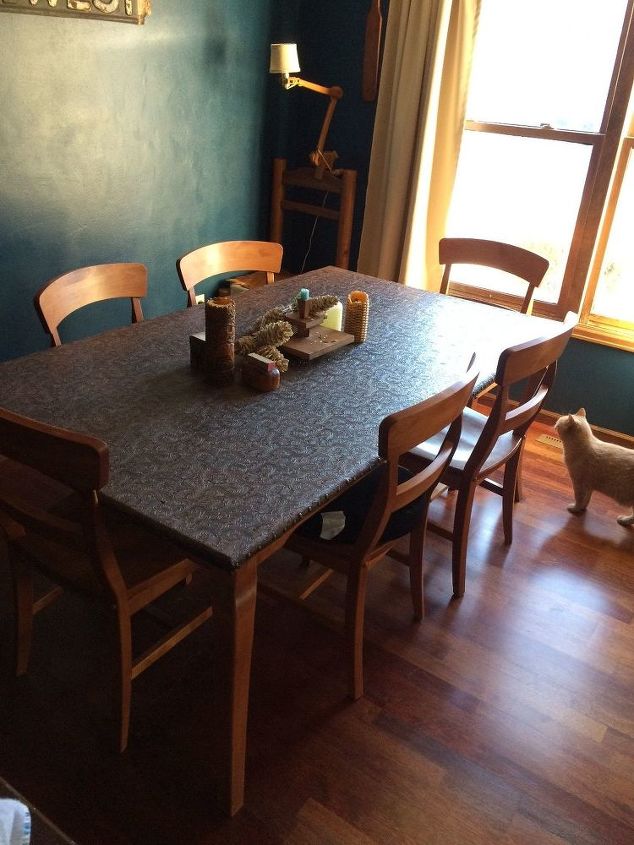
Due to a leak in our sturdy(ish) vinyl craft tablecloth, our tabletop became ruined. (I'll spare you the cost we paid for this custom-built ash table). Blue and red tie dyed stains that sunk deep into the wood. Sanding didn't begin to touch the dye.
Not a fan of painted dining room tabletops I researched options for the top that wouldn't require paint.
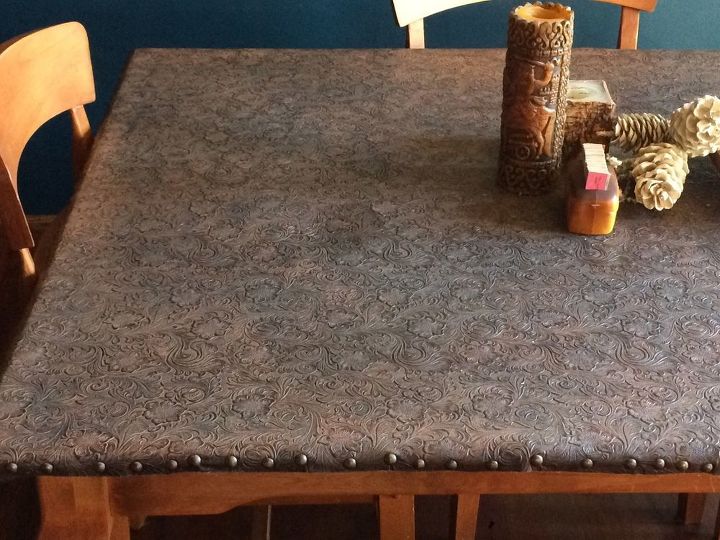
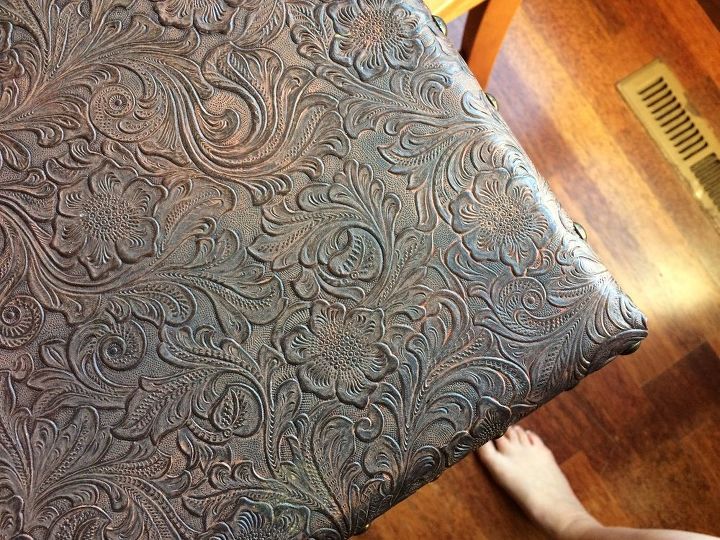
It was on a trip to Hobby Lobby that I came across this Western-embossed leather-looking vinyl fabric. Sold in large bolts in the home decor section I was shocked at the price (I think it was on sale for $5/yd?!). They had two color options in the Western-embossed pattern, chocolate brown or cherry red.
Not being a fan of the red I chose the brown but when I brought it home I was discouraged with how plasticky and vinyl it looked (more on that later).
Having measured my table top I bought enough yardage to cover it, but bought more than I needed. (The extra yardage has turned into cute bracelets for the girls).
I'm not much of a measuring gal,so everything else was done by sight. I rolled out the vinyl on the table and trimmed it down the length and width of the top, giving myself about 1/4" on each side to assure there would be enough gap.
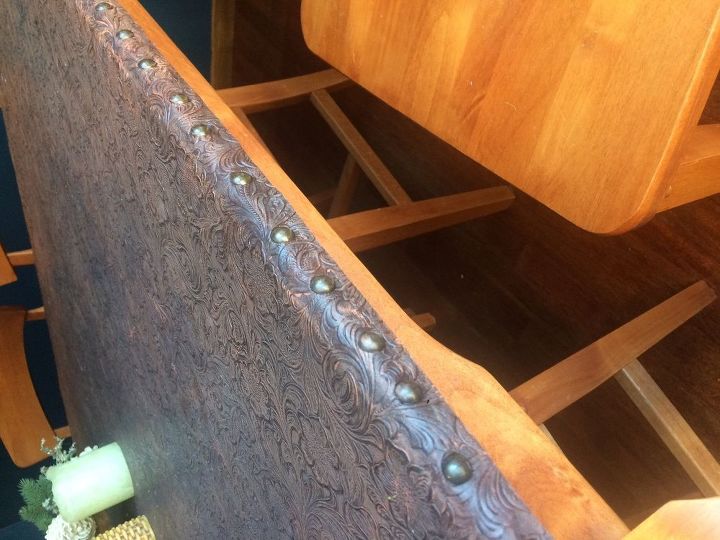
Then the fun part. Getting hammered.
While at Hobby Lobby I bought 4 boxes of furniture nails (sometimes called hobnails). Starting at the long end of the table I hammered in one nail on the length-corner and then another nail at the width-corner. I think took
But after an unfortunate tie-dying incident we've determined that SOME things don't require the dining room and should in fact be done in the basement.
Due to a leak in our sturdy(ish) vinyl craft tablecloth, our tabletop became ruined. (I'll spare you the cost we paid for this custom-built ash table). Blue and red tie dyed stains that sunk deep into the wood. Sanding didn't begin to touch the dye.
Not a fan of painted dining room tabletops I researched options for the top that wouldn't require paint.
It was on a trip to Hobby Lobby that I came across this Western-embossed leather-looking vinyl fabric. Sold in large bolts in the home decor section I was shocked at the price (I think it was on sale for $5/yd?!). They had two color options in the Western-embossed pattern, chocolate brown or cherry red.
Not being a fan of the red I chose the brown but when I brought it home I was discouraged with how plasticky and vinyl it looked (more on that later).
Having measured my table top I bought enough yardage to cover it, but bought more than I needed. (The extra yardage has turned into cute bracelets for the girls).
I'm not much of a measuring gal,so everything else was done by sight. I rolled out the vinyl on the table and trimmed it down the length and width of the top, giving myself about 1/4" on each side to assure there would be enough gap.
Then the fun part. Getting hammered.
While at Hobby Lobby I bought 4 boxes of furniture nails (sometimes called hobnails). Starting at the long end of the table I hammered in one nail on the length-corner and then another nail at the width-corner. I think took
Not a fan of painted dining room tabletops I researched options for the top that wouldn't require paint. I thought Initially about a copper-sheeting table top, but the cost of one sheet of copper was prohibitive and I wanted a seamless top.
After all of the hammering was done, I went around the entire circumference of the table with scissors and trimmed off the excess material so it would drag. Seeing as I used flannel-backed vinyl sheeting, I didn't have to worry about rough edges or fraying.
After the edges were trimmed and the nails were all checked to make sure they weren't going to snag anyone's stockings, out came the paint. I used plain old acrylic craft paint (available in any color at any craft store).
Please Note: I have older children and we frequently use tablecloths. The messes we make now are minimal during mealtimes. I'm not sure how sturdy this surface would be with being wiped down with a bleach agent. I'm sure it would begin to crack fairly swiftly.
Comments
Join the conversation
3 of 9 comments
-
Just what I was looking for. I have a coffee table with a lift up top that I will be doing this too. Love it! Is it holding up well?
-
I forgot all about it been so busy. I have to make a trip to hobby lobby.


Frequently asked questions
Have a question about this project?
I love it but what about stains and cleaning it?