


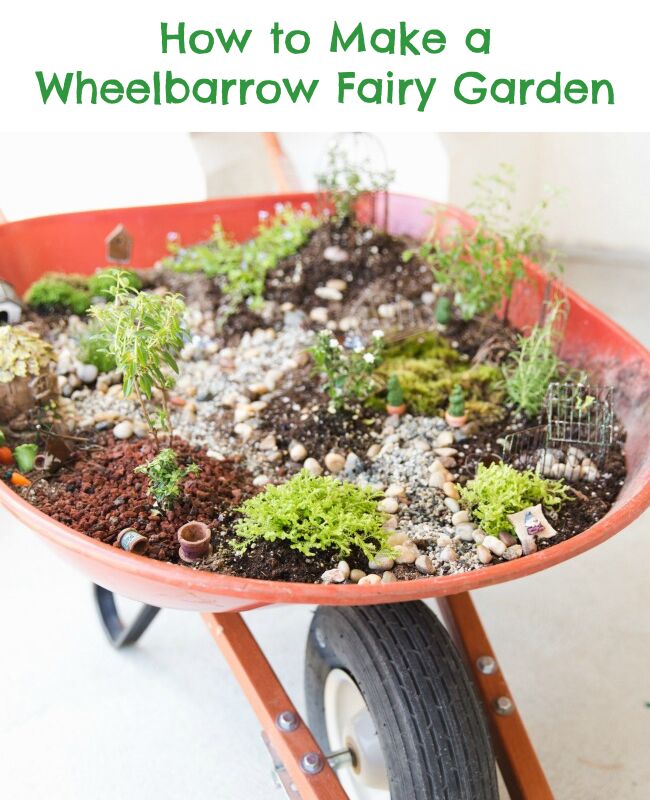
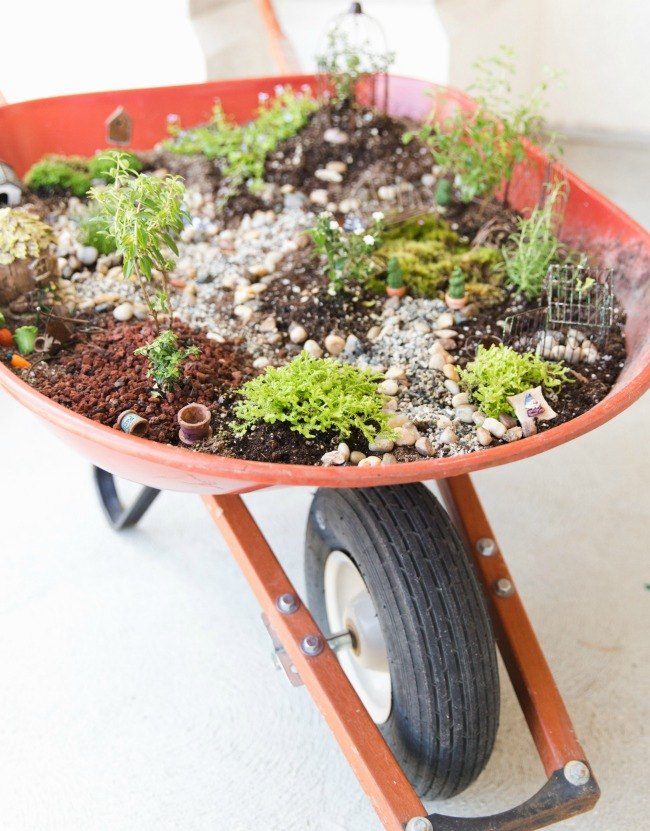
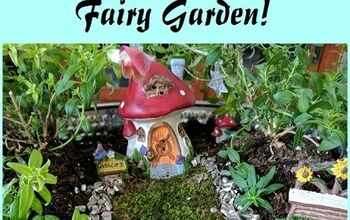
Wheelbarrow Fairy Garden
Building a fairy garden in an old wheelbarrow is simple and really quite fun. It is like creating a miniature magical world that you can transport from indoors to outdoors depending on the weather. My husband pitched in and helped me make this one and it turned out PERFECT!
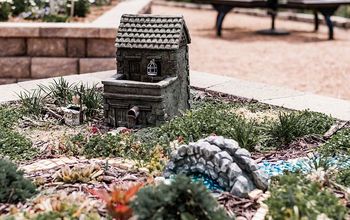
Hometalk Recommends!
Supplies and Materials for Fairy Garden
To get started you will need the following list of items:
- Wheelbarrow
- Dirt/Soil
- Rocks and Grating
- Gravel and Decorative Stones
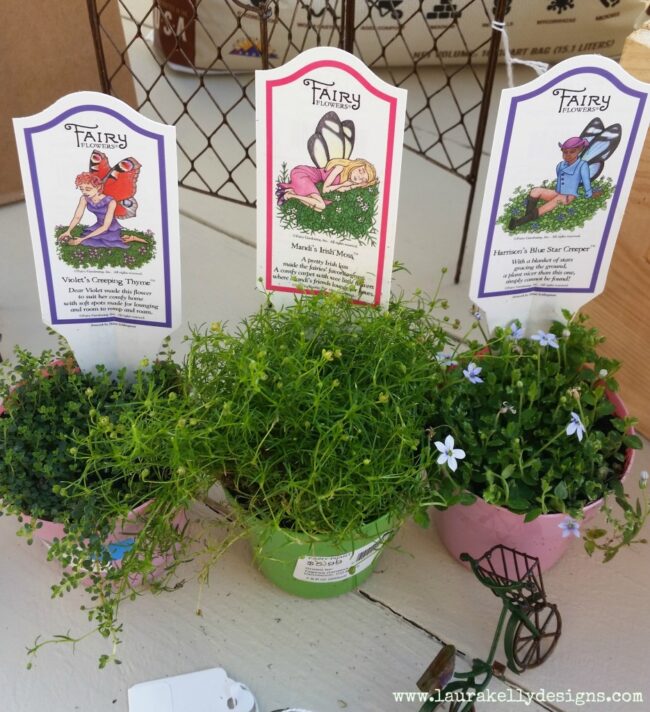
- Fairy Garden Plants
- Fairy Garden Miniature Accessories
- Water
Steps to Make a Wheelbarrow Fairy Garden
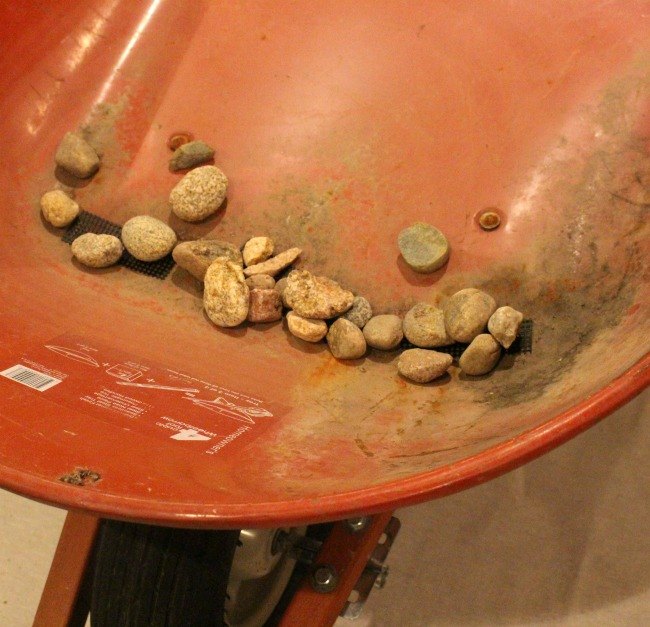
The first step is to drill holes into the wheelbarrow for drainage.
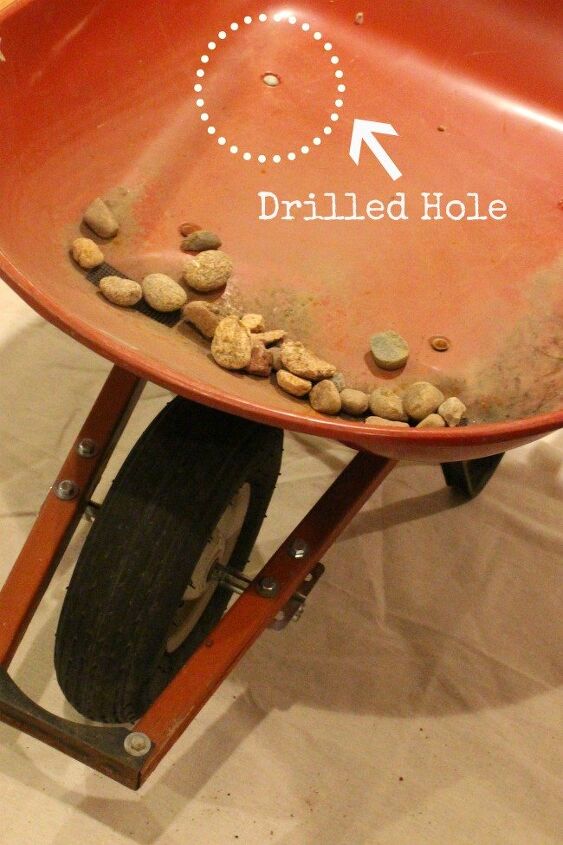
Next, put little grates over the holes so your soil won’t fall through.
Fill the wheelbarrow up MOST of the way with soil and place your plants.
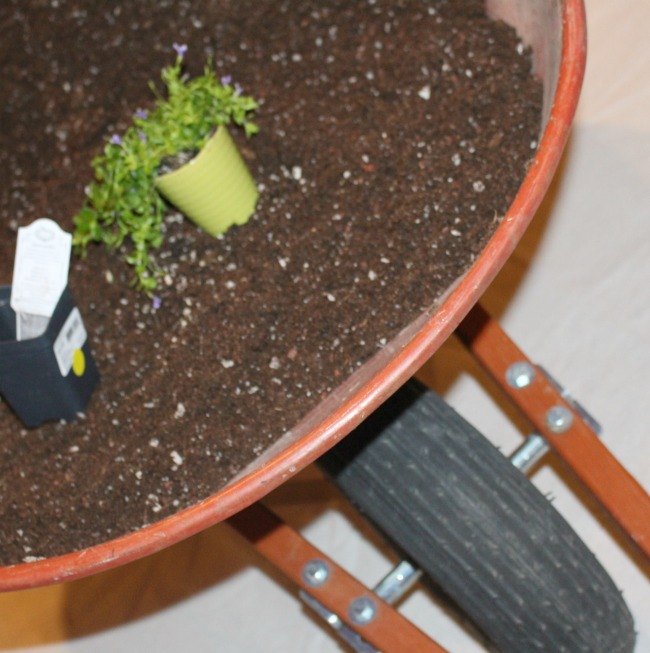
Plant your plants. There are specific and special plants that are the perfect size for fairy gardens. Ask at your local garden store and they can help you find the ones that will grow in your climate. These are the ones we chose.
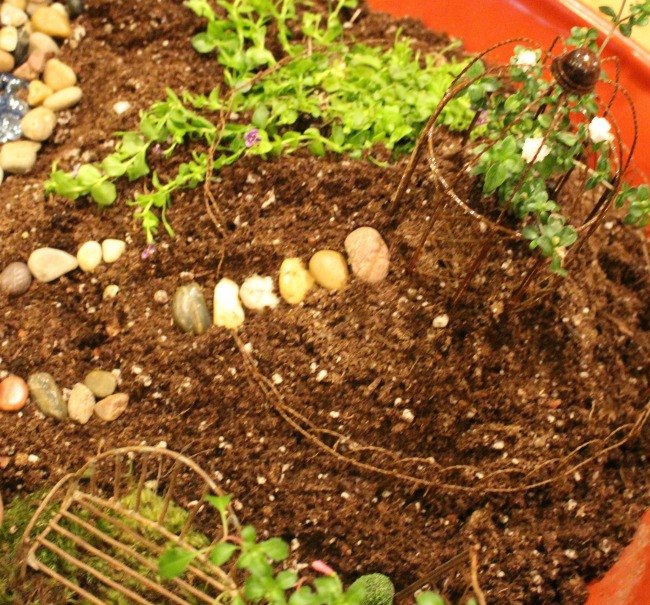
Next, add your decorative rocks and gravels to make paths. This is really fun and a great time to be super creative. There are tons of different colors of pebbles and rocks that can be used for this step. Some people even use shells.

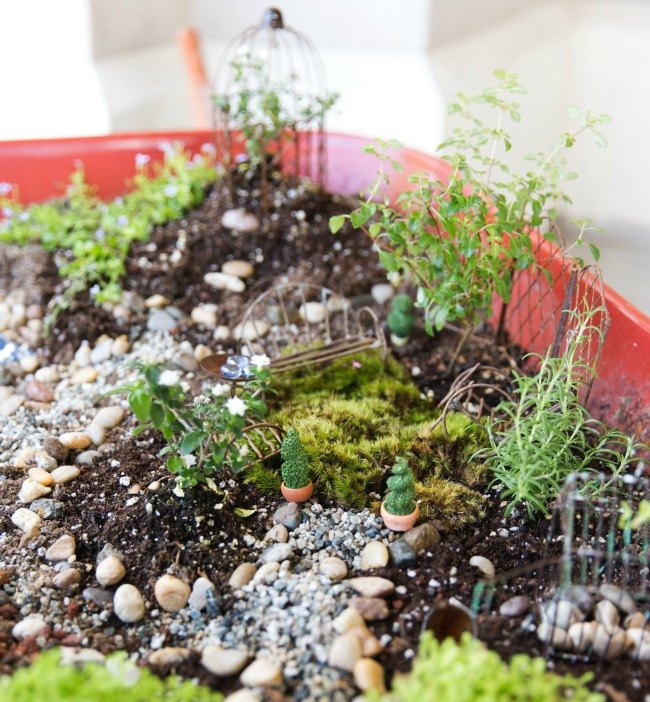
We added a hill to our garden. If you decided to do this too, be sure to make it solid so when the garden gets watered it won’t create a mini landslide.
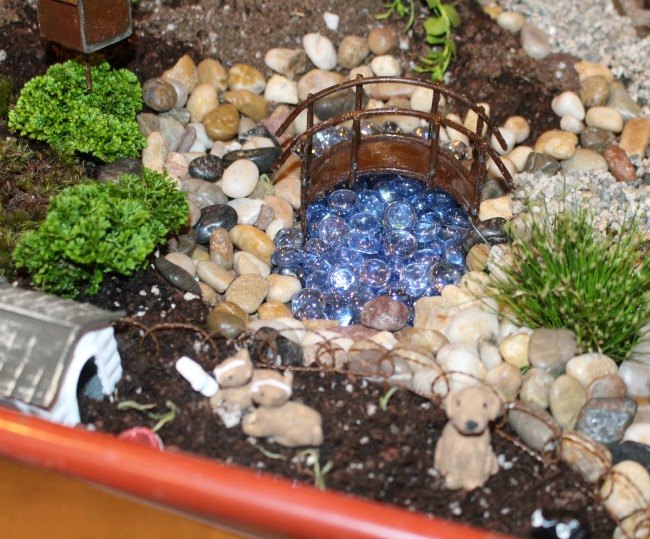
We also added an adorable body of water with blue shiny stones.
Ta Da! Isn’t is simply adorable. It is really fun to watch it grow because as it does — it becomes more and more magical.
Here is an up-close shot of the final garden. The favorite part might be the wire cage gazebo for fairies to hang out in together, maybe even dance.
Visit your local garden shop for more support regarding plants that are right for your climate. you can find fairy sized accessories now at your local craft shops as well as many garden stores.
More Fairy Garden Ideas
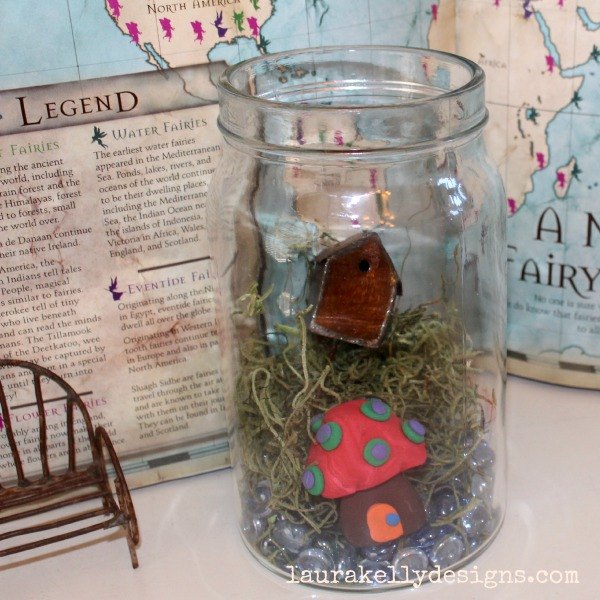
There are so many ways to create fairy gardens and miniature decorations. This is a great one. A super fun way to create a fairy garden is to upcycle a jar and create the fairy sized decorations with Sculpey clay.
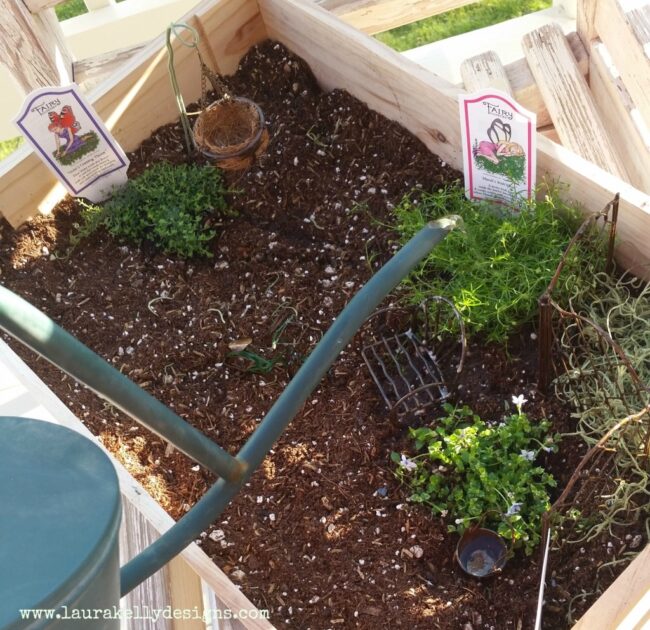
An old wine crate works great for a planter too. The water will seep through the edges so drilling holes isn’t necessary. Local wine stores will usually give away their crates because it is better than adding them to the dumpster.
Hopefully this helps you understand a little about how to make a fairy garden using a wheelbarrow, a jar or a box. However it is done — it is bound to bring endless hours of magical joy in the time of making it through the days of watching it grow. It works best to keep the garden out of the direct weather elements (ie: hard rainfall) because when the soil shifts, so do the tiny decorations. I recommend it be kept under a roof, on a porch or even in a sunroom.
Happy Fairy Home Making,
Laura

Resources for this project:
See all materials


Comments
Join the conversation
-
Lovely! And I have an old, rusty wheelbarrow that would be perfect too💕


Frequently asked questions
Have a question about this project?