


DIY Planter String Light Posts
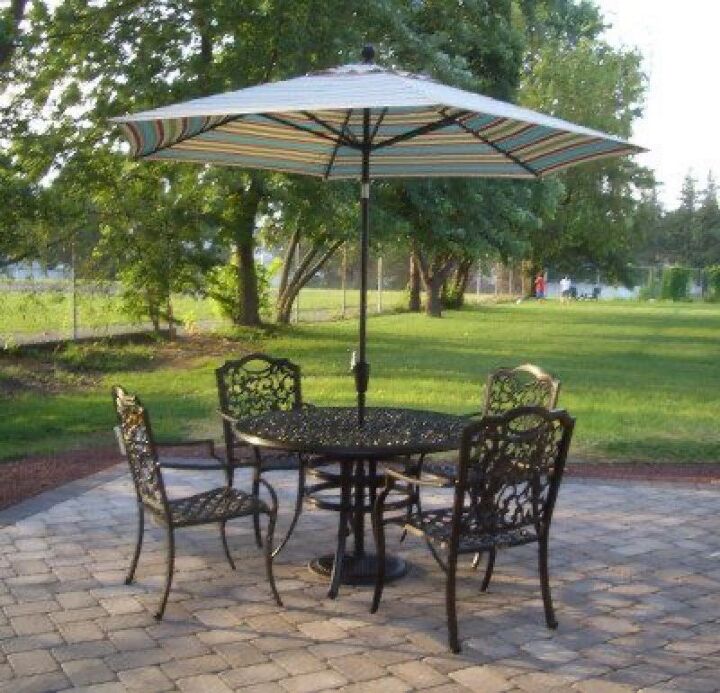
For the longest time my patio had very little lighting. There was one lone light by the back door that left much of the patio in the dark. It stayed that way until last year, when my daughters wanted to hold an outdoor party for their friends. With just a few hours of work, I was able to make DIY planter posts for hanging string lights!
To create posts from which to hang some string lights, I purchased 6 8-foot-high pressure-treated 2x4s. I also picked up some large hooks to screw into the top of each post, 6 plastic planters and some quick-setting cement.
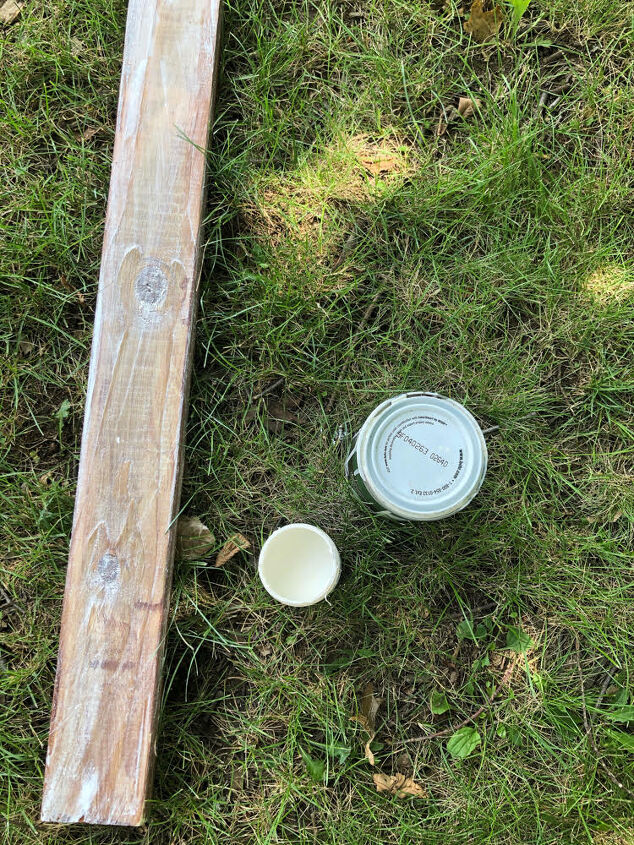
My first step was to paint and stain my posts. I had some wood stain left over from another project. I applied this stain to my posts with a foam craft brush. When the stain had dried, I then applied a light white wash that I had made (with paint and water) to the posts.
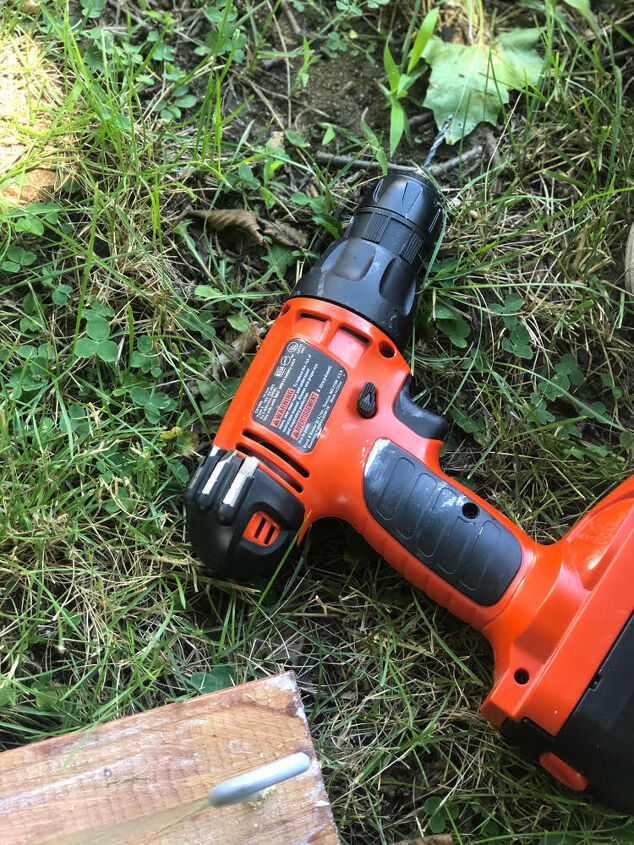
I used a drill to drill a small hole near the top of each post. I then screwed a hook into the top of each post. (These hooks will hold the string lights.)
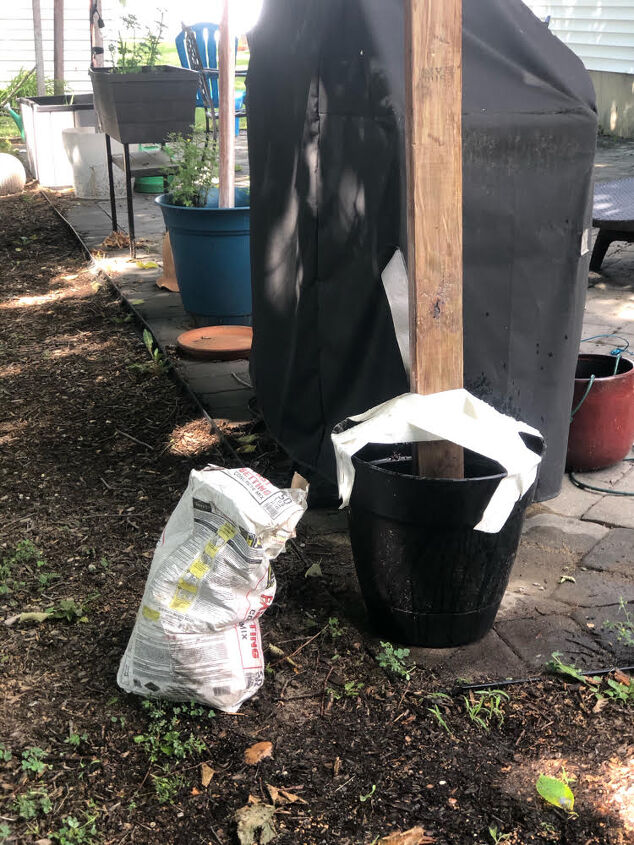
Once my posts were complete, I went about adding a post to each planter. I worked on one planter at a time. This project is easier if you have a partner to help you set the posts. I completed this project on my own, so I kept the needed supplies for this part of the project - the posts, the planters, quick setting cement, a hose (water) and some Duck tape, close at hand.
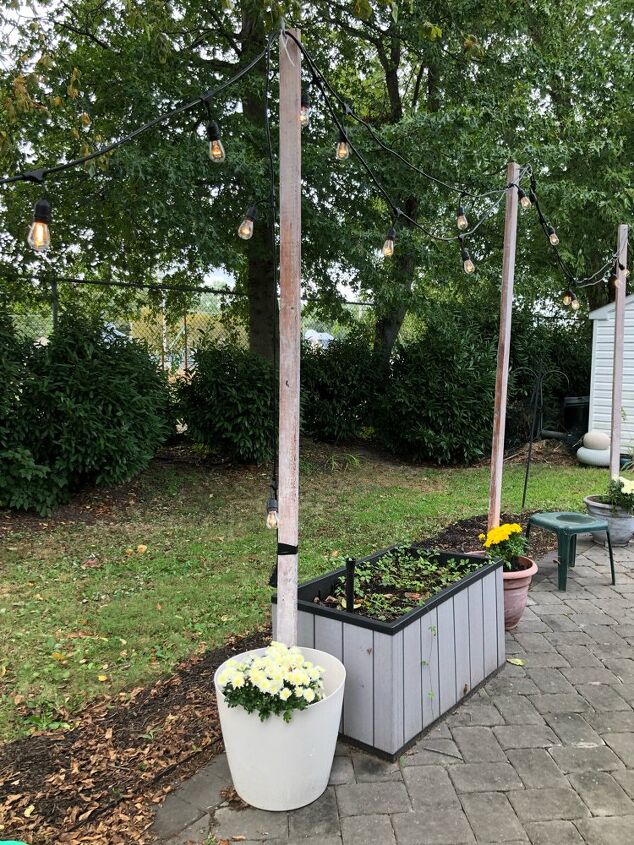
I set each post by placing it in the center of a planter. I then added some quick setting cement so that it filled about 3/4s of each planter. I used a hose to wet the cement and mixed it with a small trowel until it was the right consistency (so that the cement was wet and thick, but not watery). I then used the Duck Tape to tape each post in place.
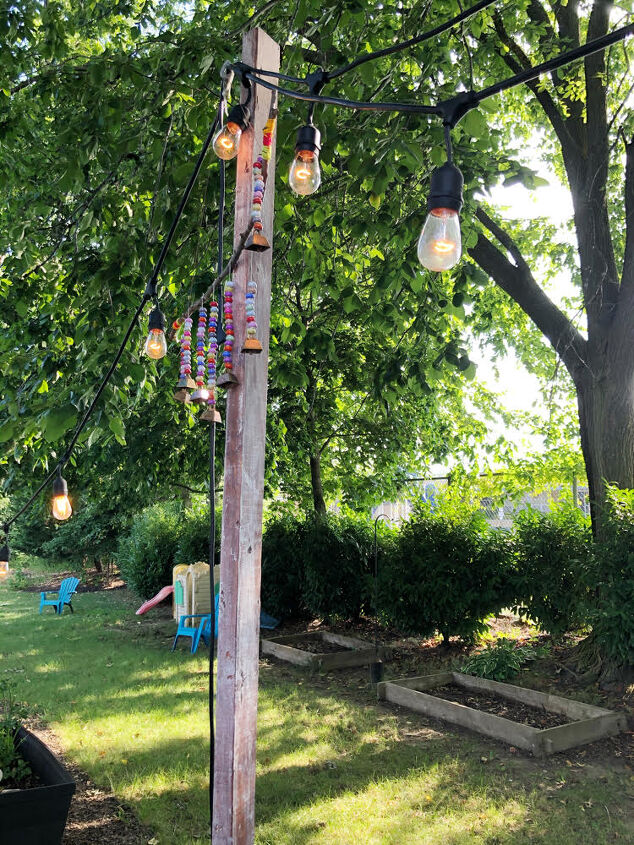
I let my posts sit overnight so the cement could fully harden. The next day, I stung my string lights. (I used string lights with large Edison style lightbulbs.) I also covered the cement with a thick layer of potting soil.
I planted some mums in each planter. Once I plugged in my string lights (to an outdoor outlet by my back door), my string light project was complete!
For more photos and a complete list of projects I used for this project, check out the string light post on my blog.
Resources for this project:
See all materials


Comments
Join the conversation
-
I love this idea. I've been wanting to put up string lights on my patio but I didn't want to have to install posts. This is an awesome idea and you can even move them around the yard. I've got a ton of projects going on now but I'm so doing this next year. Thank you!
-
We are doing this in our backyard too!! 😀
To help hold the posts we placed a single cinder block in the pot then placed the post in the hole of the cinder block (I hope that makes sense). Once it was level/not leaning we then poured in the quick set cement and placed 4 4×4s on top of the bucket to help the cinder block keep it in place, 2 in one direction and 2 in the opposite direction stacked on each other, so they crossed. We are doing one at a time as it can get expensive to buy all of the supplies at one time.
But I am so jazzed to see someone else is doing the same!
We have had one of those metal gazebos since we moved in (left by previous owners) and its starting to rust so it is time to retire it. I just love having lights up on our patio amd since we are going to be pulling up our deck in the next year or two i did not want anything permanent. I wanted to be able to move them around if and when I got the itch to move them so this is what I came up with after tons of searches online.
On the top I added pebbles and epoxy to hold the pebbles that the cement could not hold. The epoxy is pricey but it was our best option as having flowers year rounf would not work where we live and I wanted them to always look nice. The one thing I did screw up on is that I did not put the hooks into the posts so that will be interesting to get the hooks in now that we already put thrm in cement lol


Frequently asked questions
Have a question about this project?
where did u buy the string lights?