DIY Solar Chandelier #BackyardReady

$10
1 Hour
Easy
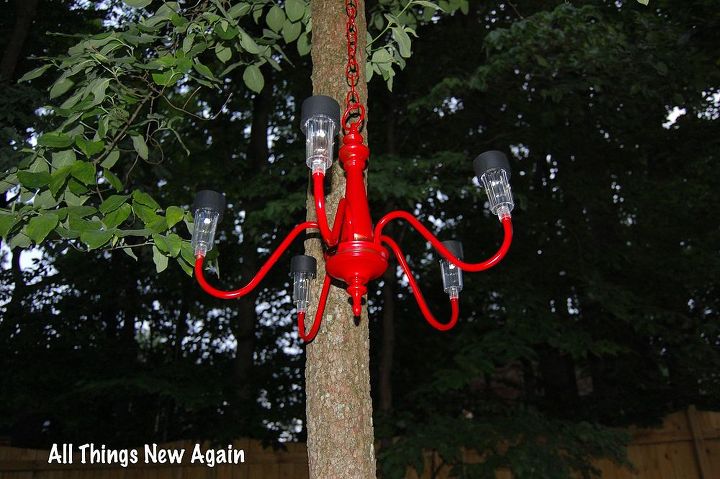
A DIY Solar Chandelier is a cheap and easy project to spruce up your yard for summertime. I scored my chandelier for free on Craig's List (woo hoo!), used a can of spray paint I already had in my garage, and spent under $10 for the remaining supplies.
Here's how I made my solar chandelier for summer plus a few lessons learned on the best places to hang it in your yard.
HOW TO MAKE A SOLAR CHANDELIER


SUPPLIES


- Chandelier


- Spray paint (optional)


- Solar powered lights


- Super glue
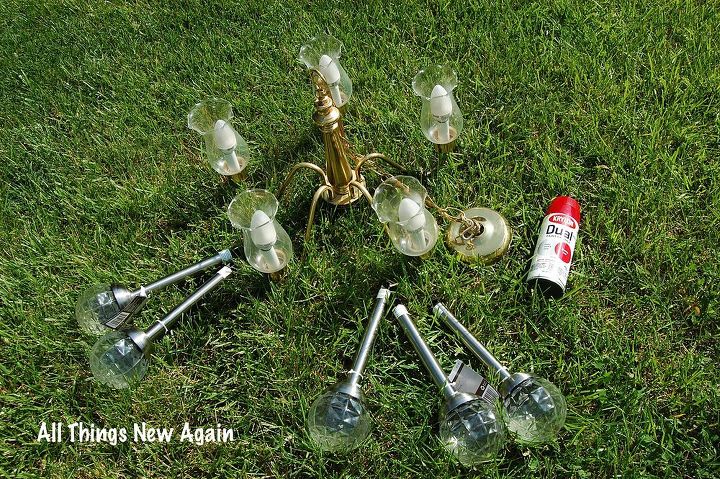
First, you need a chandelier. I am addicted to Craig's Lists and was super-excited to get this one for FREE from a lady who was updating her lighting.


You can also look for nice chandeliers at thrift stores or yard sales. If you have a Habitat for Humanity ReStore in your area, that is also a good place to check.
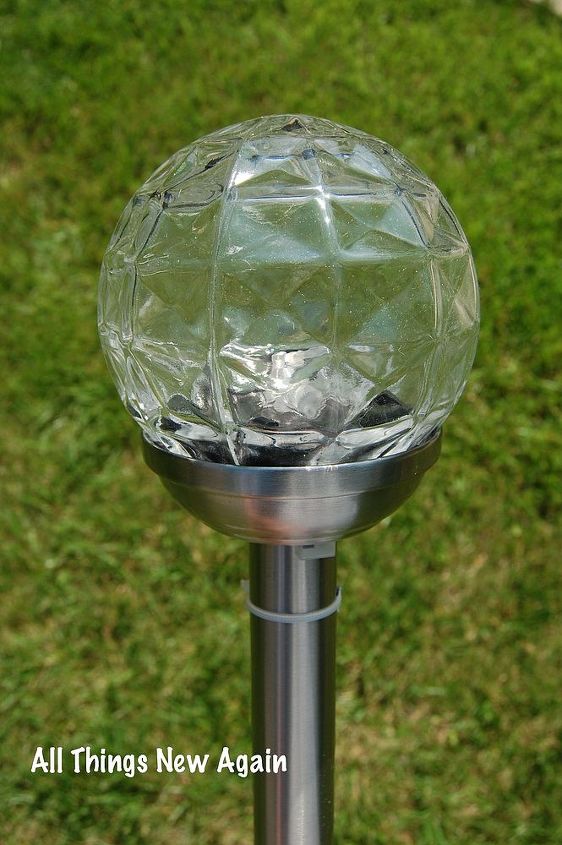
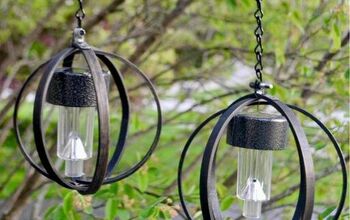
Next, you need the solar lights. I found these big beautiful goblets at Home Depot for $4.99 each. They were the most expensive solar lights in the store, but they were also the prettiest. (Hey, the chandelier was free so I splurged!)


It turns out these big beautiful goblets were way too big for my chandelier. (It also turns out they glow all different colors, which is so cool I didn’t want to return them to the store. I stuck them in the ground in my backyard and enjoy the light show every evening.)
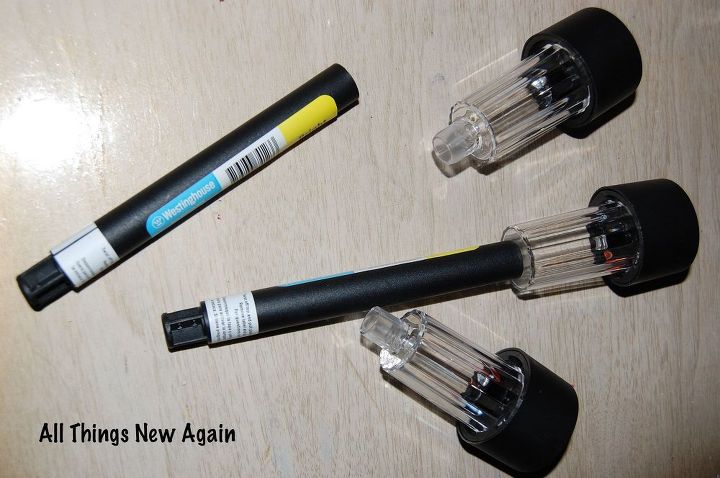
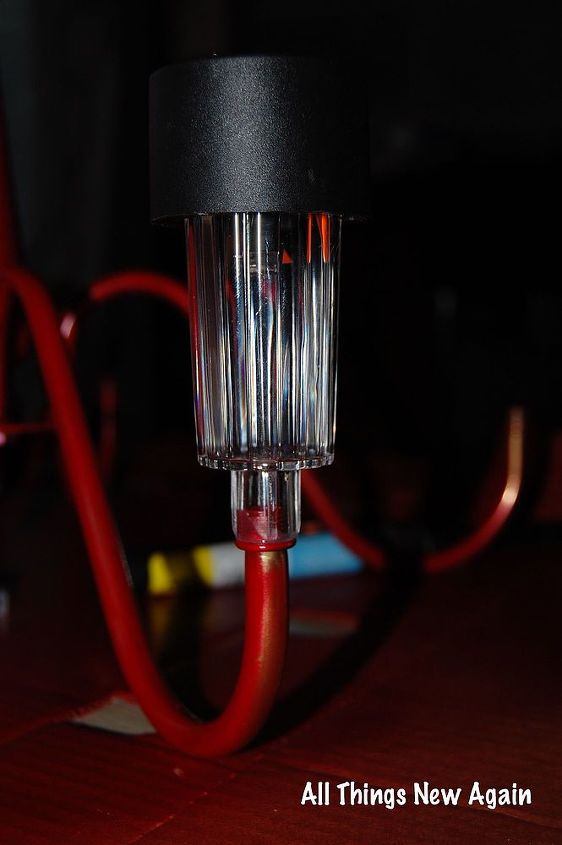
I ended up buying little 99 cent solar lights that only glow one color, but they fit the chandelier perfectly. I found them in the garden section at Walmart. I have also seen them at the $1 Store. You may have to try a few different types of solar lights to find the ones that fit best with your chandelier.
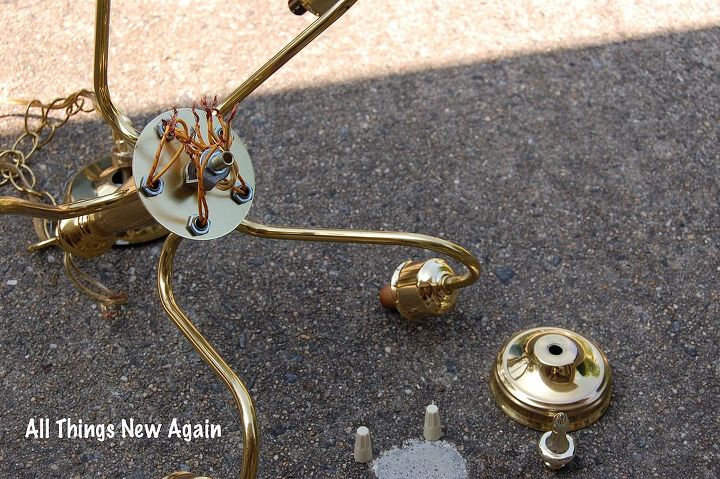
Once I had my supplies, it was time to get to work. I unscrewed all of the light bulbs. Then I unscrewed the bottom of the chandelier, pulled out all of the electrical wiring and threw it away.


I really liked the little hurricane glasses on this chandelier, but it turned out that they would not fit with the solar lights. I ended up not using them after all. But since they are so pretty (and I’m such a hoarder), I held on to them. Who knows? They might be just perfect for a project down the road.


UPDATE: The little hurricane glasses are still out in my garage somewhere waiting for the perfect project...but I just know it is out there!
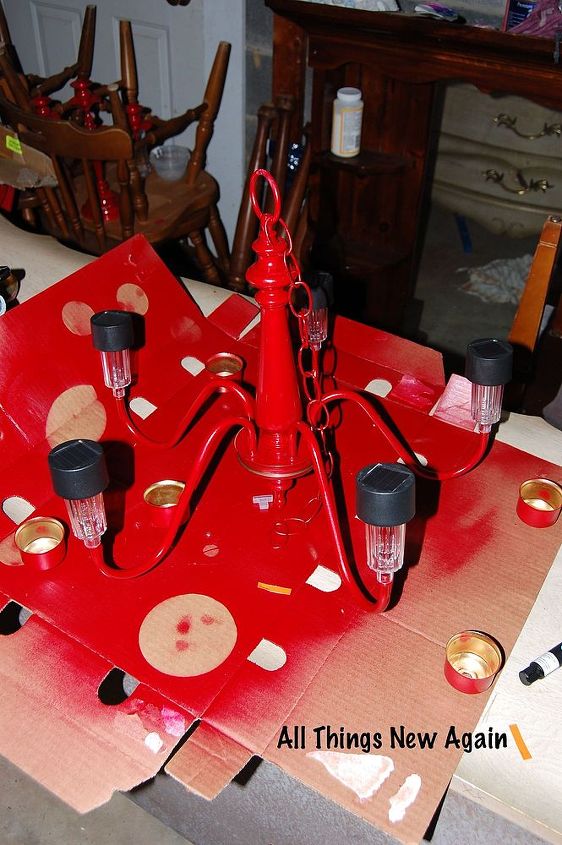
After all of the electrical parts were removed, I spray-painted the chandelier red and distressed it to reveal just a little bit of the original gold. It would also look pretty to skip the paint and just leave the chandelier’s original patina, although I am not sure if this would get rusty outside in the rain.


The solar lights popped right off the stakes—no problem. After I glued the first one on, I realized I had forgotten to unscrew the top of the light and pull the little tab to activate it. Doh!
I used Loctite Super Glue for this project. (And I only glued my fingers together once!) The package says this stuff is waterproof and so strong you can glue a broken plate back together and run it through the dishwasher.


Once the glue dries, you are ready to hang your masterpiece. I don’t have an overhang in my yard so I hung mine in a tree. I don’t think it gets enough sunlight to keep the lights fully charged all the time. Every few days, I move it down to the deck to soak up some sunshine and get it glowing again. I think it would do better in a sunnier spot, but my yard is mostly shady. This is the best place I have for it.


UPDATE: My solar chandelier made it through several summer thunderstorms with no problems. However, by the end of last summer, all but one of my lights had popped off. I do not believe this was an issue with the glue being outside or getting wet in the rain. I believe it was due to trauma from my chandelier banging into the tree trunk during a few really heavy storms (and one time when I was re-hanging it).


Again, it would be better to hang it somewhere not directly underneath a tree--but that's the best place I have in my yard right now.


I am going to replace the lights and try again this summer. It only costs a few dollars and it makes me happy to look outside and see the chandelier–even if I don’t have the ideal spot for one in my yard.


Now I’m on the lookout for a little café table and chairs to paint red and put under the tree. Won’t that be the perfect spot to enjoy a glass of wine in the evening just as the sun is going down and the lights are coming on?


Please check out our blog www.AllThingsNewAgain.net for more DIY projects!
Courtney @ All Things New Again
Want more details about this and other DIY projects? Check out my blog post!
Go
Frequently asked questions
Have a question about this project?
Comments
Join the conversation
3 of 45 comments
  • DebbieAnn DebbieAnn on May 31, 2014
    I'm gonna do this and hang it on my Sheppard's Hook to catch the sun rays, hang level and I'll be able to move the Hook wherever we are! Thanks for the idea!!! Looks Awesome!
  • Valerie Valerie on Aug 03, 2014
    Love the red - it is fantastic!
Next