


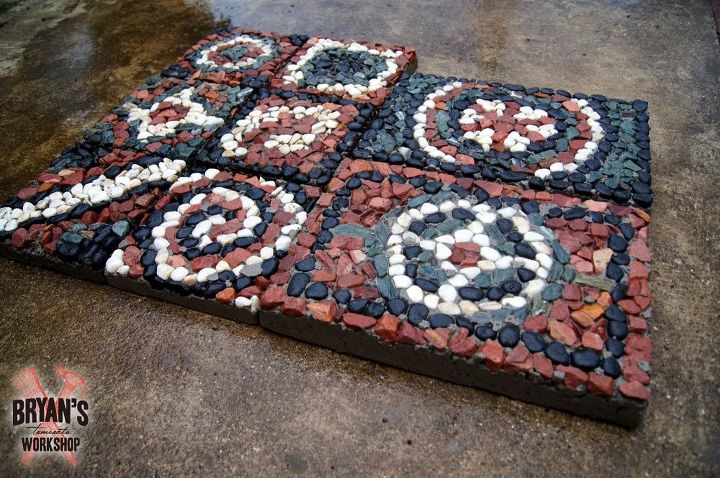
How To Make Mosaic Rock Pavers!

This is a super fun and easy way to create unique pavers for sidewalks and pathways. I'm currently working on a pathway around my house and wanted something heavier and more decorative than the pavers available at the outdoor center, so I decided to make my own!
I did five practice pavers first and experimented with different brands of mortar, cement and rock placement. I didn't want any of the rocks coming loose or pavers breaking in half in the future. The two large pavers and the small curly one are made out of what I think works best.
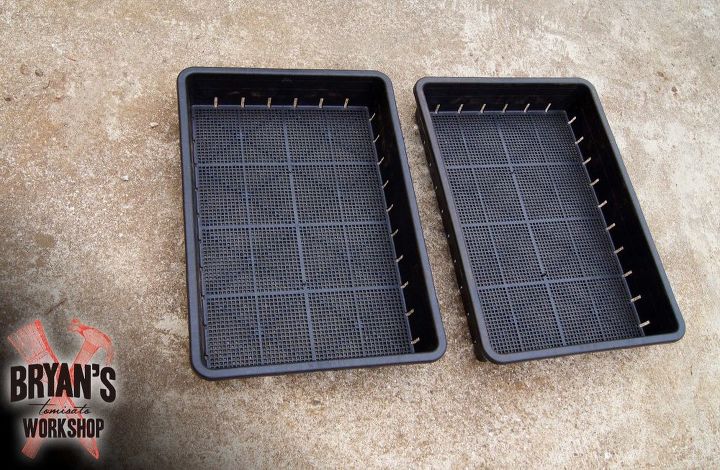
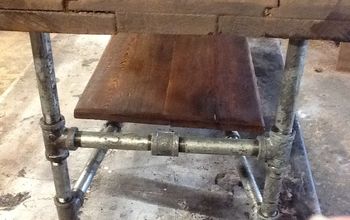
I found these plastic gardening trays at my local flower shop. These were so much easier to use than making a wood frame for the paver. The only down side is there's not a big selection of sizes. If you use a plastic tray, make sure the ends are at 90 degree angles and don't curve out, so your pavers will sit flush next to each other.
Tools and Materials
- Plastic gardening trays
- Mortar
- Pointed Trowel
- Rocks
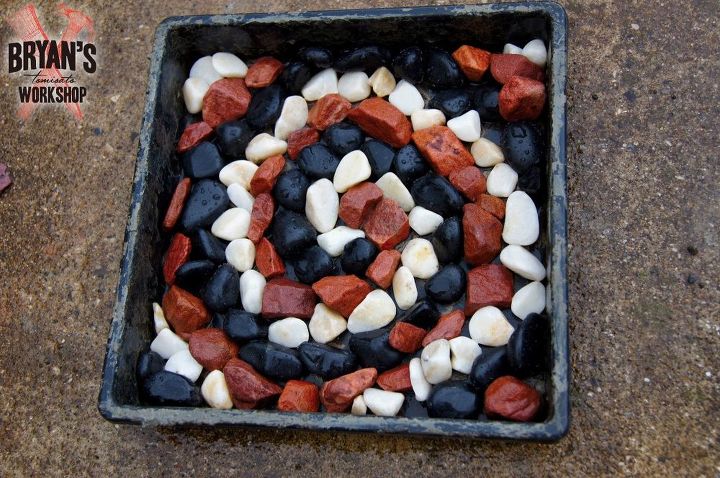
First, you lay out your design. Make sure your tray is deep enough to be about 75% mortar. Also don't stack any rocks. Use small rocks to fill in small gaps, but make sure the mortar touches the back of everything you'll see on the top.
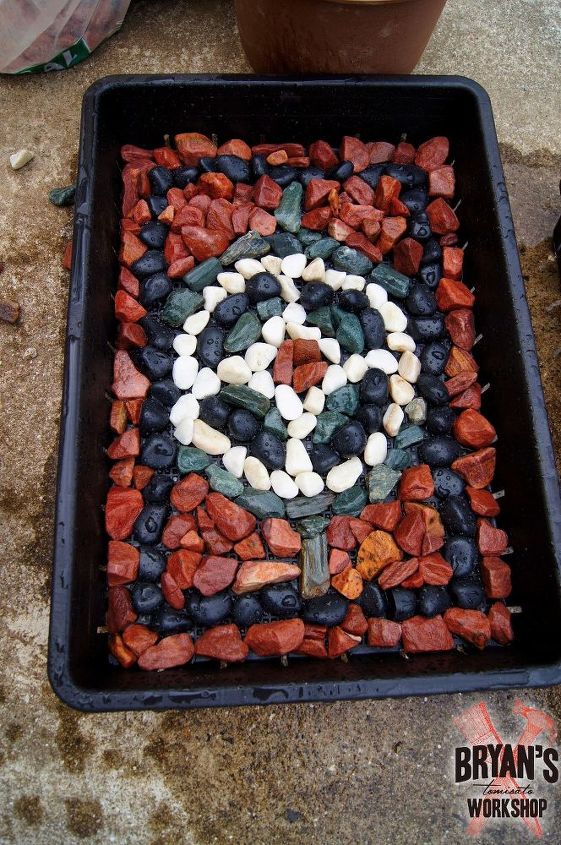
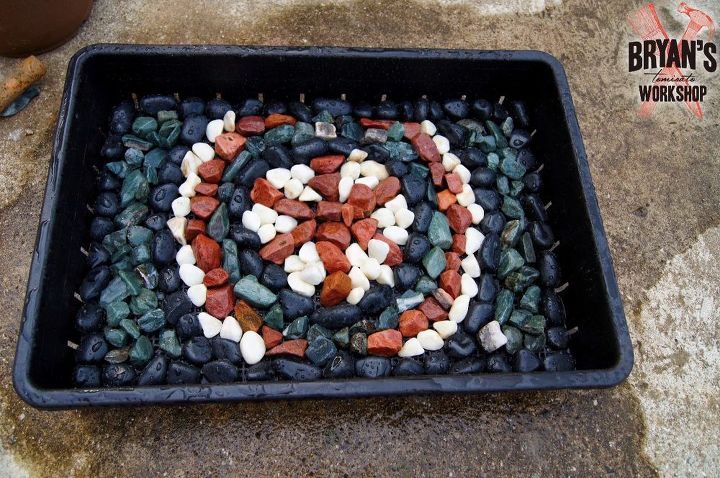
After your design is laid out make sure the rocks for the most part are nice and tight. Give the top a good shower with the hose before you put on your mortar.

I went with 100% mortar. I live in Japan, so I can't recommend a brand, but I did try different kinds of concretes, mortars, and mixes. All of the normal dry 100% mortars worked perfectly for me. We don't have quick dry mortar over here, so I didn't get to try it.
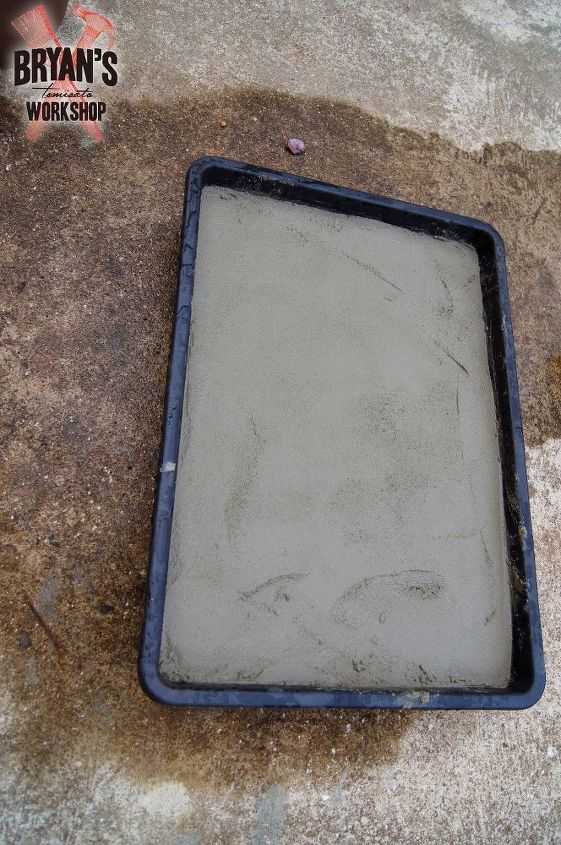
Be careful not to move the rocks when you put the mortar on. It goes on easily and be sure to smooth the top with something like a pointed trowel. This tray was a little too deep, so I didn't fill it to the top with mortar. Be sure you make this as smooth and level as possible, because it will be the bottom of your paver.
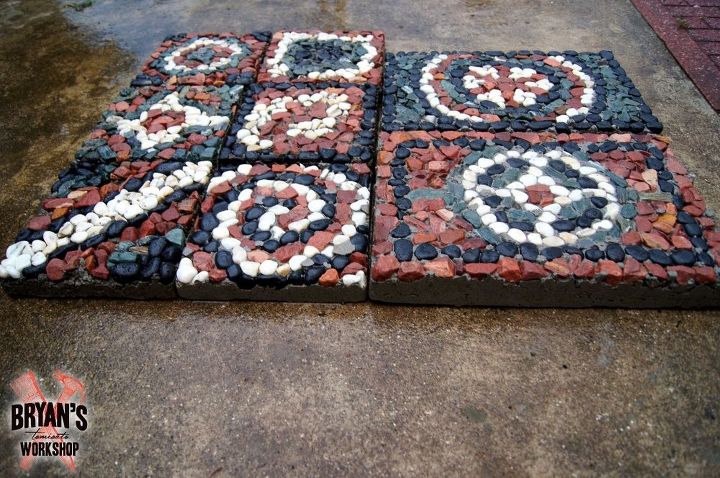
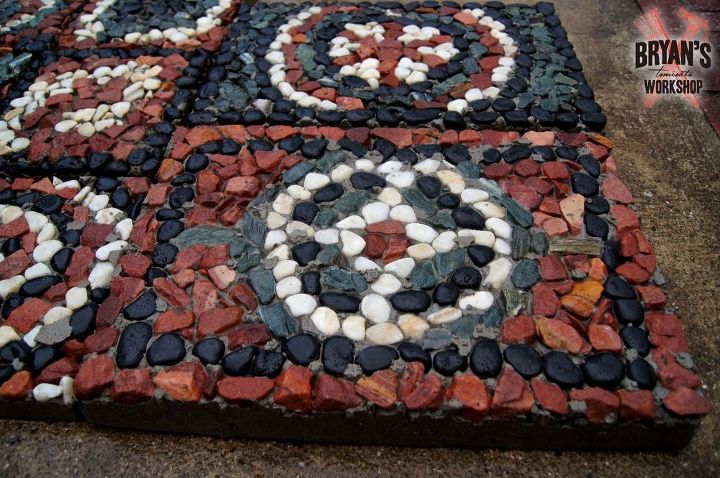
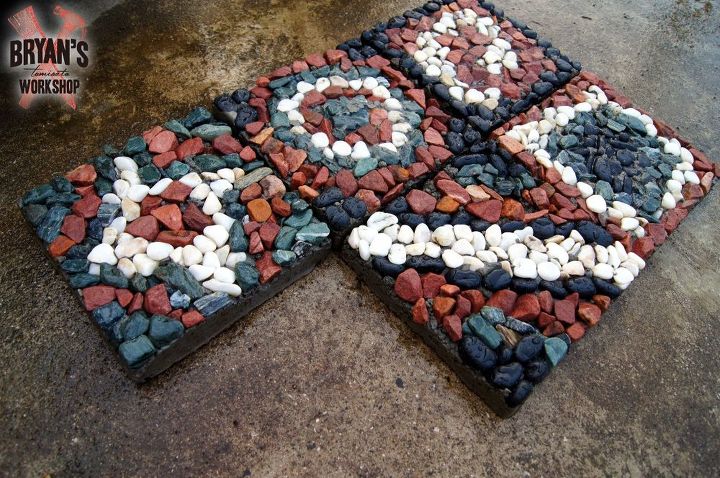
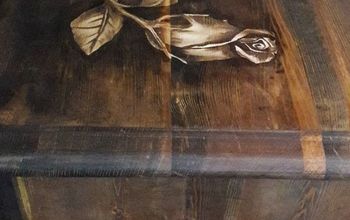
Let the pavers dry and then flip them over. Voila! Beautiful DIY homemade mosaic pavers!
These are my practice pavers. They have been jumped on and drop tested and have held up nicely.
This is a really fun and easy project.
Looking to give this project a try yourself? Let me know how it went in the comments below!
Resources for this project:
See all materials


Comments
Join the conversation
-
😃 yes
-
I'm definitely going to do this, I was trying to think of ways, this is perfect!


Frequently asked questions
Have a question about this project?
Did you buy the different colored rocks or painted them?
Would it not be advisable to cut a pice of wire screen of large mesh and include in sandwich so that it doesn’t crack up with cold weather?
Thanks for sharing. But where did you get the rocks from I just might give this a try.