


Kitchen Cabinet Makeover: Painted White + Door Stencil
Just a few weeks ago, I spotted this custom made kitchen cabinet. It was all wood and in great condition and the asking price was $20.00.
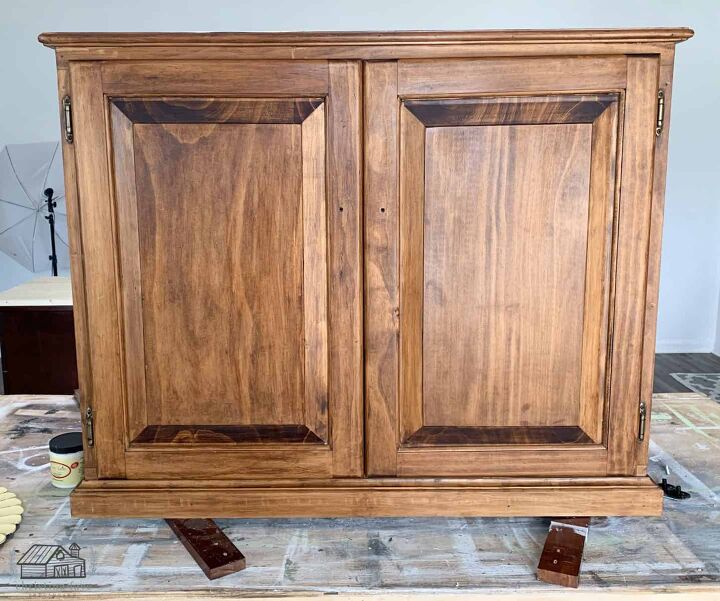
The sellers were converting to open shelving and had the original cabinets for sale. This was the last one! There was storage space inside, so I knew it would make a great functional piece, in just about any room of the home. It just needed a few minor adjustments. This is how I repurposed a kitchen cabinet.
For starter, the cabinet needed height. I had these four furniture feet in my stash that I had found at the Thrift Store for $1.00 each, and they were unfinished. They would be perfect for my project.
The Hubs drilled a hole in each corner of the bottom of the cabinet. He then screwed the feet into place.

Prep and Paint the Repurposed Kitchen Cabinet
The only prep work that was needed for my repurposed kitchen cabinet was giving it a good cleaning. I used my vinegar and water solution to clean the cabinet thoroughly. Half vinegar and half water proportions. Find out on my blog how I clean dirty, grungy furniture before painting them.
I did not remove the doors. I normally do, but I wanted the hardware to be painted so that it could be distressed later.
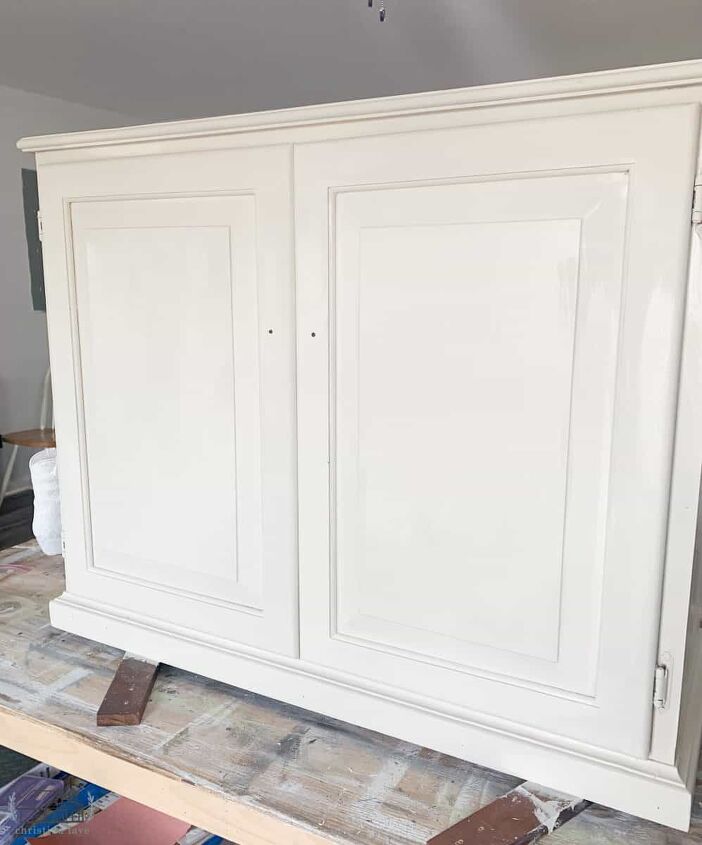
I chose the paint color Drop Cloth from Dixie Belle. I have fallen in love with this color! I recently used it on my television cabinet repurpose project which you can see HERE.
It only took two coats of the Drop Cloth for full coverage.
Distressing the Repurposed Kitchen Cabinet
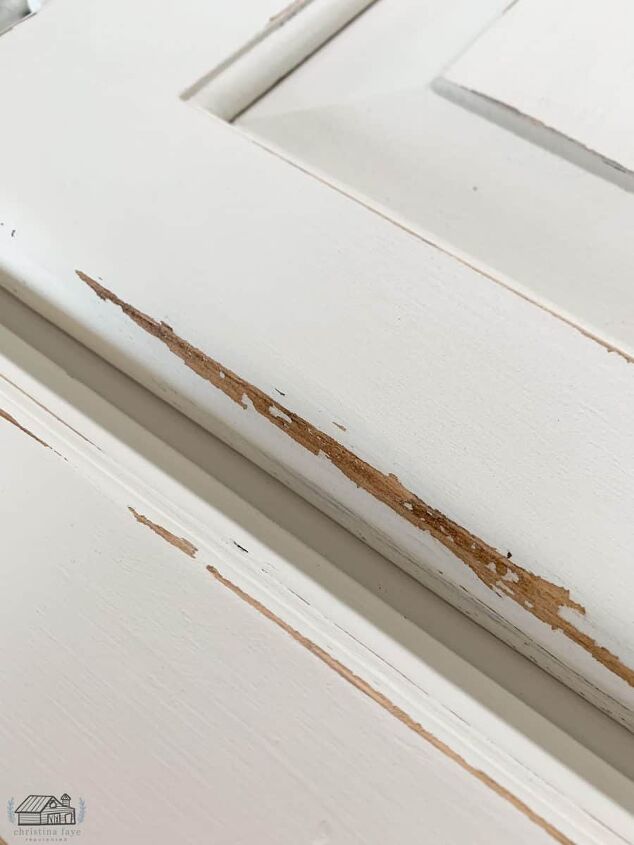
The next day, I took my 220-grit sandpaper and distressed around the edges, heavily! I wanted a worn, chippy look. After distressing, I also sanded the entire piece lightly to achieve a smooth finish.
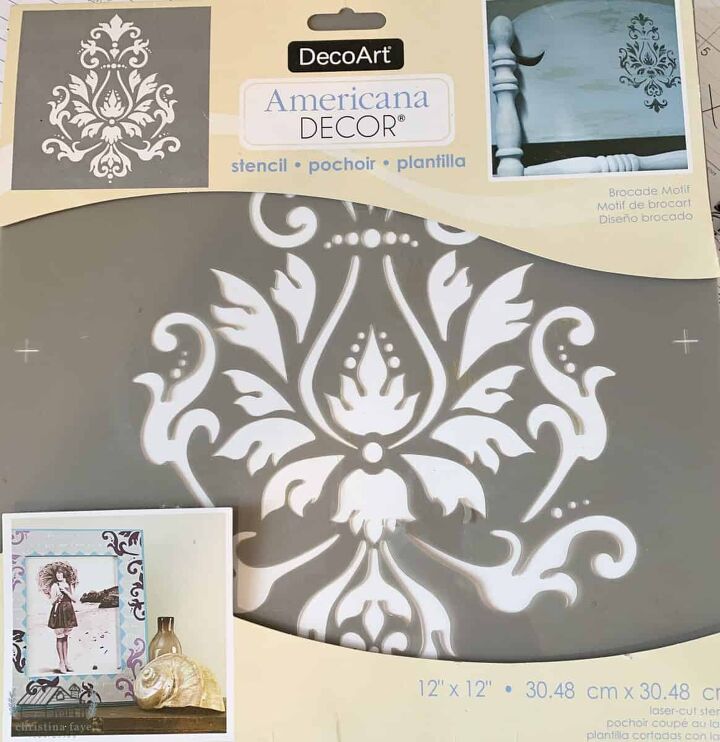
Stencil on Cabinet Doors
I felt the doors needed some help. They were plain. I had this Americana Décor stencil that I had purchased off Amazon a while back. I used brown craft paint for the stencil. To apply the paint to the stencil, I used a makeup sponge.
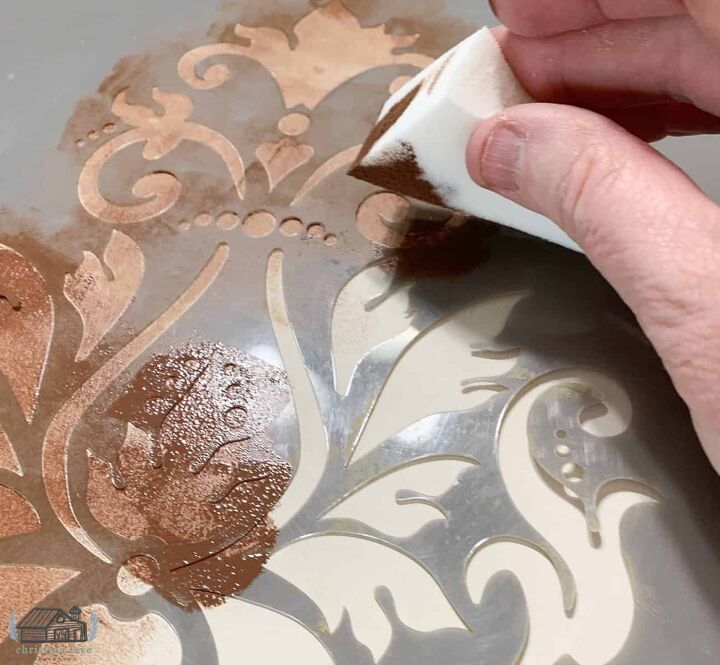
Then, I just simply dabbed ever so lightly up and down. Almost like a light pounding. I then went back over and dapped with my sponge just to make sure there were not any areas with too much paint.
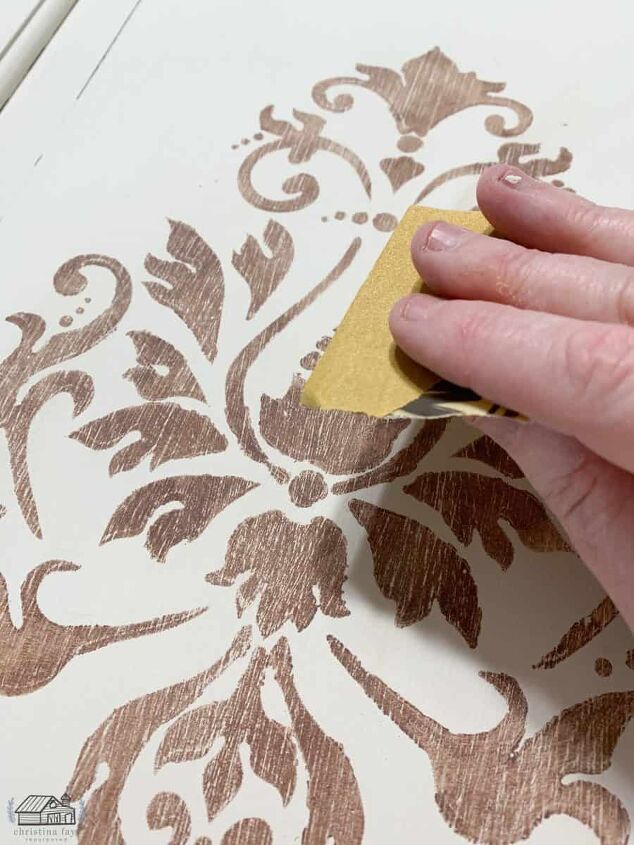
Once the stencil paint dried COMPLETELY, I used a piece of 220-grit sandpaper to sand lightly over the stenciled area. Remember, I was going for the worn look.
I sealed the entire piece with one coat of Dixie Belle’s Best Dang Wax.
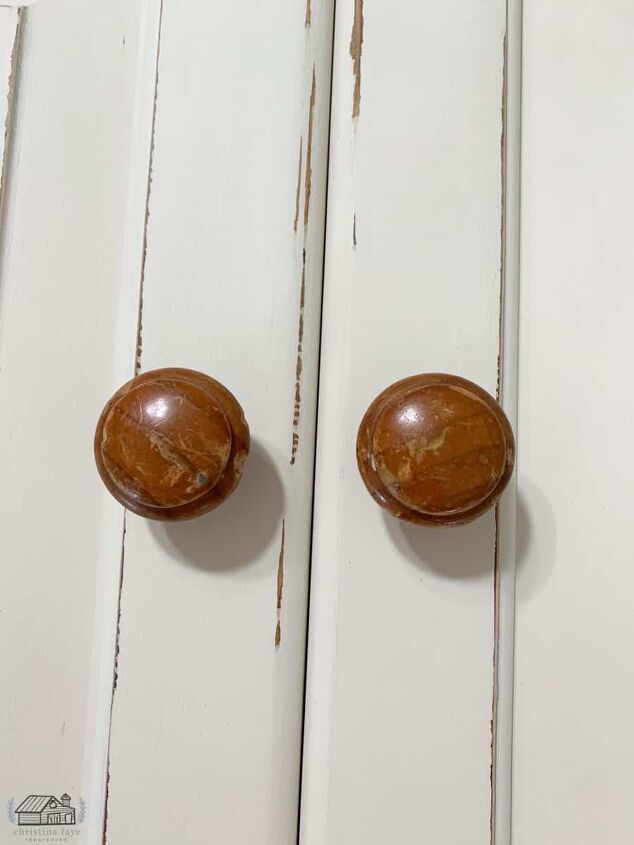
Hardware
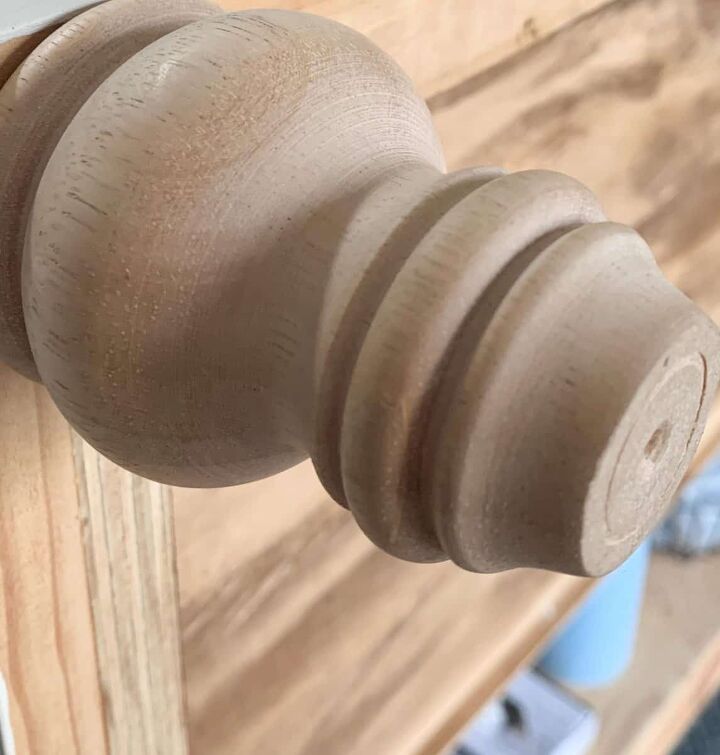
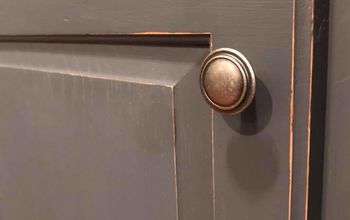
The cabinet did not have the hardware. I found these two wood knobs in my stash that had a few dings which was perfect for my project.
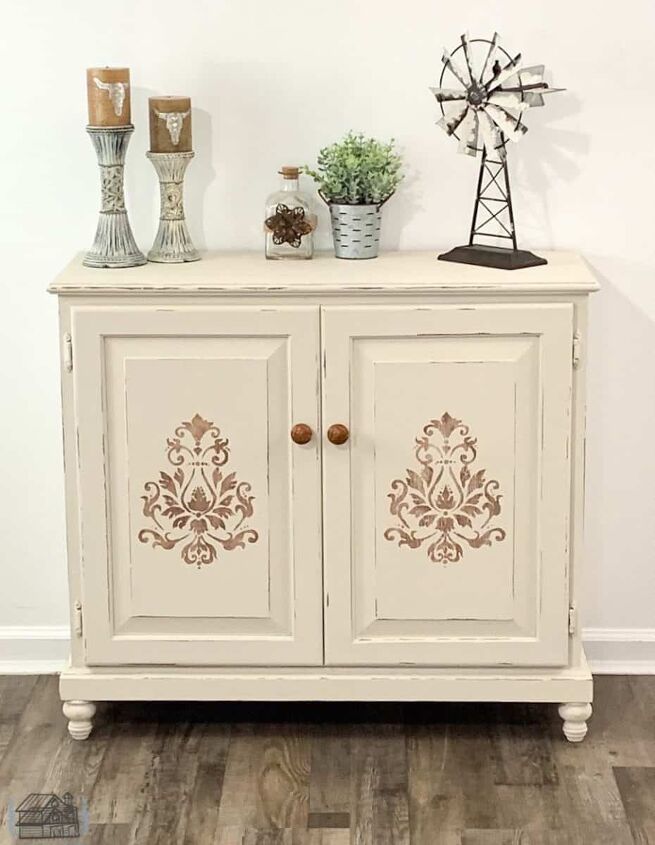
I loved the way my repurposed kitchen cabinet turned out!
Resources for this project:
See all materials


Comments
Join the conversation
-
Beautiful! Thanks for sharing!
-
Thank you!


Frequently asked questions
Have a question about this project?
What does the inside look like?
That’s very pretty. What are you storing in there ?
How do you make pine furniture look old?