


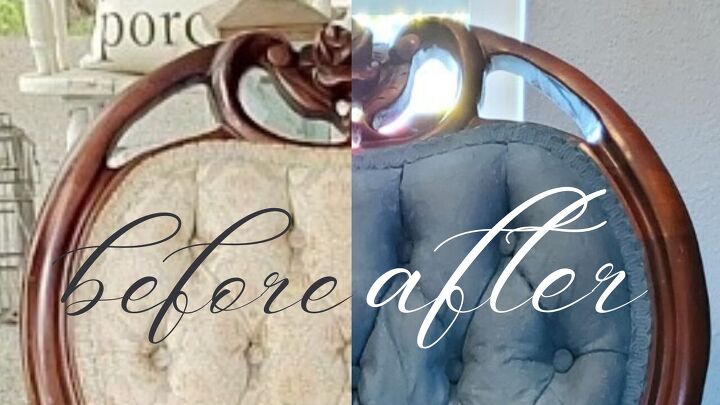
Easy Tutorial on How to Paint a Tufted Chair
You don’t have to be an artist to paint a beautiful tufted chair.
All you need is a little patience and some simple supplies.
With 9 easy steps, you can transform an ordinary piece of furniture into a work of art.
Like this cute little chair that needs an upcycle to give it a fresh look that will proudly sit in my home for years to come.
I will be taking you through all 9 steps on how to paint a tufted chair.
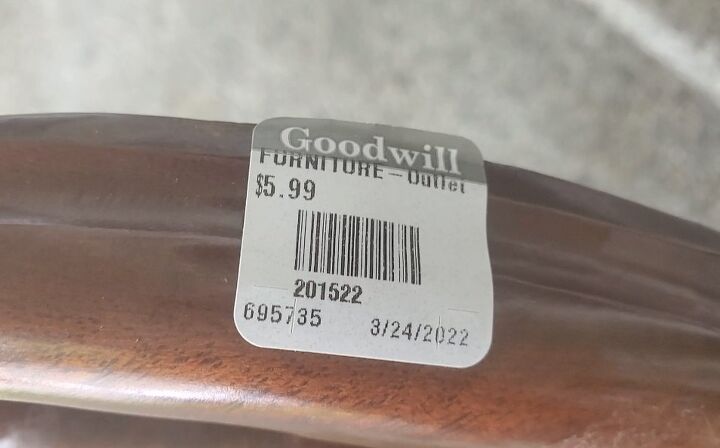
What a find!
I immediately envisioned where I’d put it.
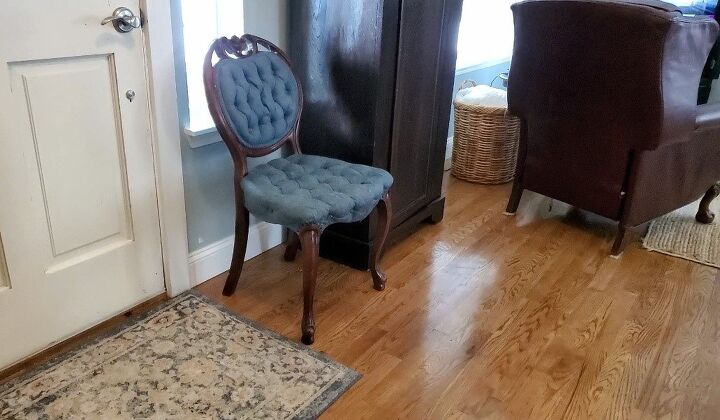
Right next to my front door where guests can take off their shoes.
And that’s exactly where it is!
Sitting pretty in my Victorian inspired home.
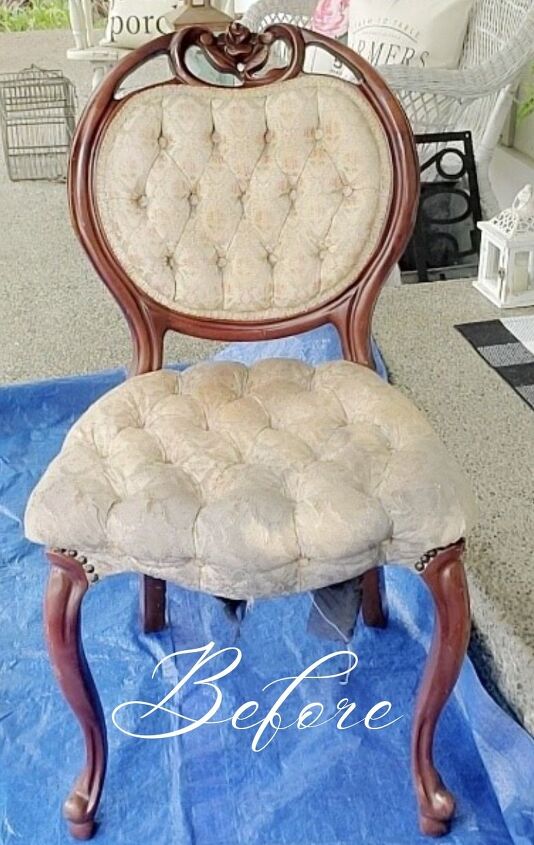
The fabric has stains and an unsightly black cloth dangling underneath that gives it a drab look.
But I could see past all of this.
I could see it in my mind how beautiful it could be.
That’s the wonder of chalk paint.
You can take something and give it new life.
Which opens the possibility when looking for a piece of furniture.
It can start out absolutely ugly.
But if the look and shape is what you’re looking for then the paint will transform it into what you want.
And you know what’s better?
When you find something for cheap at a thrift store and give it a facelift to match your style.
Now that’s empowering.

It has never failed me yet.
I have furniture that I’ve painted over the years that are stunning.
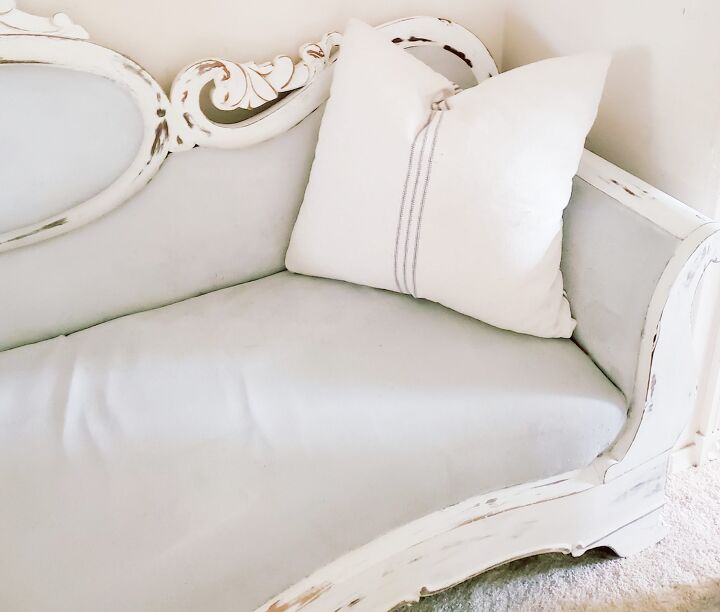
Like this famous sofa that got a lot of controversy whether I should have painted an antique.
It is my most watched YouTube video.
If you haven’t seen it yet, I will share it below. Check it out!
You will be inspired to tackle your own upholstered furniture. It gets addicting.
Here it is (in photo below) in it’s permanent spot in my home.
Doesn’t it look beautiful?
I love sitting on it to watch movies cause it feels like I’m sitting in a theater.
With some cozy pillows, it is my most loved sofa. And my best DIY.
Here is a link to the tutorial how to paint an antique sofa, here.
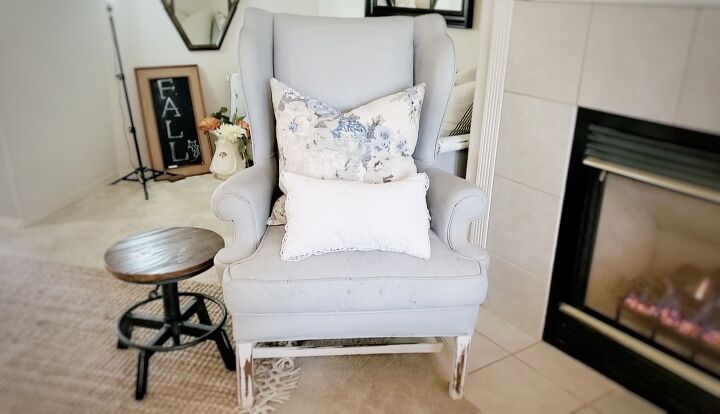
I found it for $20 on Craigslist.
I was afraid the chalk paint wouldn’t cover it.
But doing this DIY project was proof that it doesn’t matter how busy a pattern is, this chalk paint will cover it.
Thus started my addiction.
Click here to see this chair before.
It was ugly!
- Annie Sloan Chalk Paint in Aubusson Blue – ( click here to find where to purchase Annie Sloan Paint and Wax)
- Clear Annie Sloan Wax
- Annie Sloan Chalk Paint Brush
- Small 1″ paint brush
- Small flat brush ( linking a set that I use)
- Cleaning Cloth
- Mason Jar, plastic cup, painting bucket, or anything you have to put the paint in.
- Tarp, garbage bag, or painters drop cloth
- Water bottle
- All natural Cleaner to clean fabric ( link to post sharing this one nontoxic I use in my whole house)
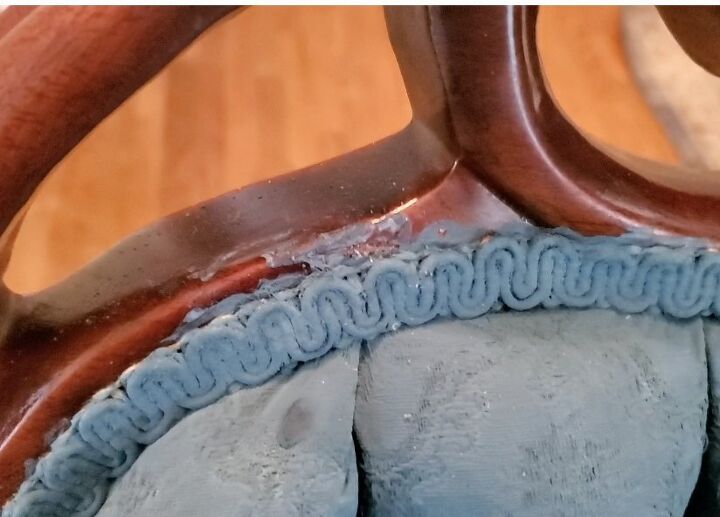
This tutorial is for this tufted chair.
But these steps can be applied to any upholstered furniture you have as long as the fabric is smooth like canvas or linen.
Some bumps in the fabric is ok, too.
Like this one has a slight bumpy surface.
You can choose any color you want, and it’s a great way to express your personal style.
That’s the beauty of painting with chalk paint. Own it!
And make it however you want it!
So, let’s get painting!
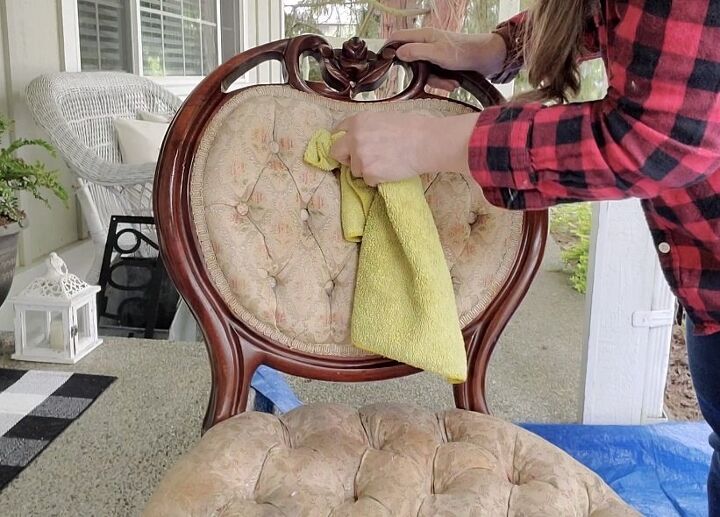
Get some all purpose cleaner and a cleaning cloth.
Wipe down the fabric making sure to get inside the tufted button area.
Clean the wood, too.
Don’t worry, I’m leaving the wood alone for this chair.
But if you want to paint wood, this paint is the bomb!
Here are links to the tutorials on how I painted the wood on the sofa and chair.
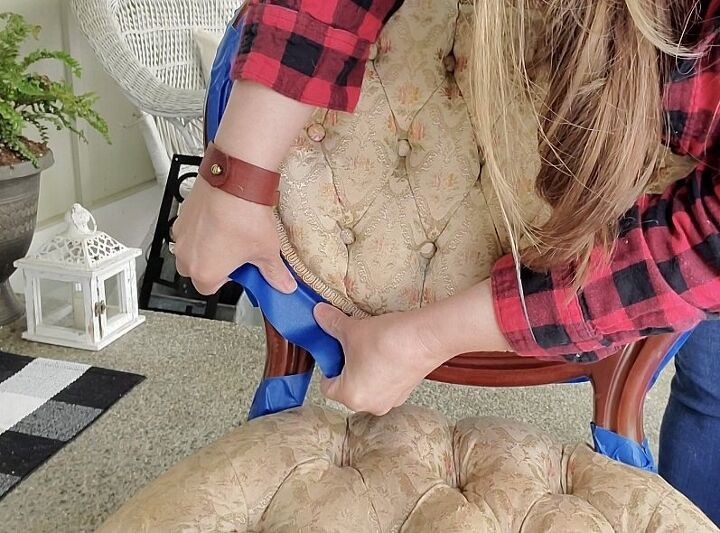
Before painting a piece of fabric, it is important to protect the surrounding surfaces from paint.
One way to do this is to put painting tape along the edge of the fabric.
This will help to keep the paint from getting on the wood.
You will need to overlap the tape onto the fabric then using the tips of your fingers, press the tape into the edges.
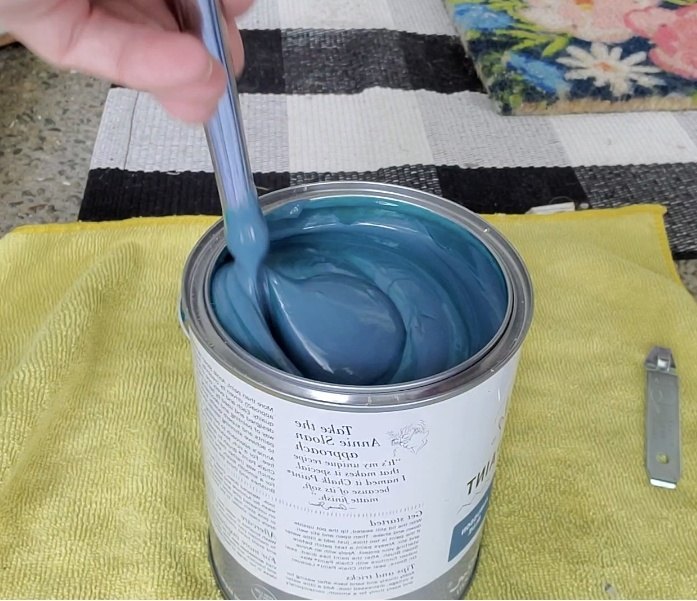
Mix the paint until it is combined.
When you open the can for the first time you will notice multiple colors of paint.
You will want to mix until there are no more swirls and paint is completely smooth.
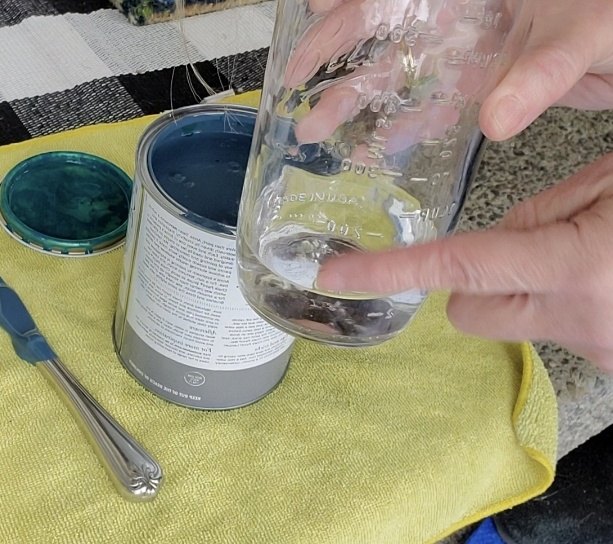
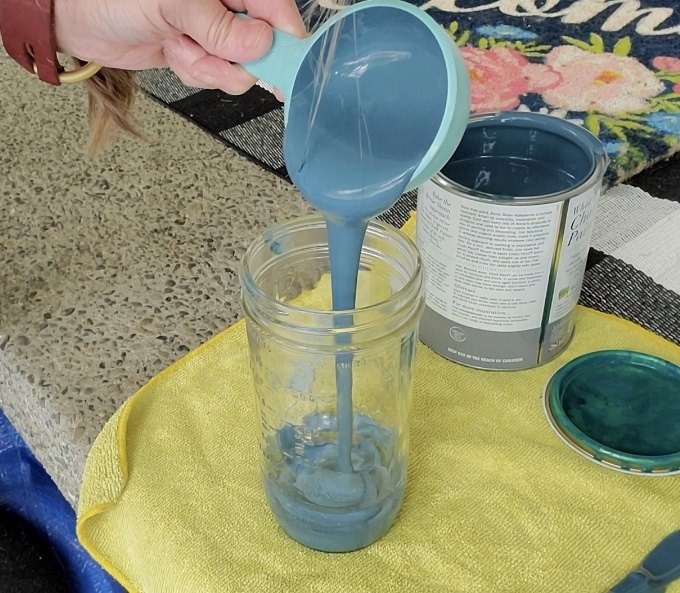
You will need to add equal parts of water and paint.
For this small chair, it required 1/2 cup of water and 1/2 cup of chalk paint.
Mix the paint and water thoroughly.
Note: Keep mixing the paint as you’re applying it to the fabric because the paint and water will separate.
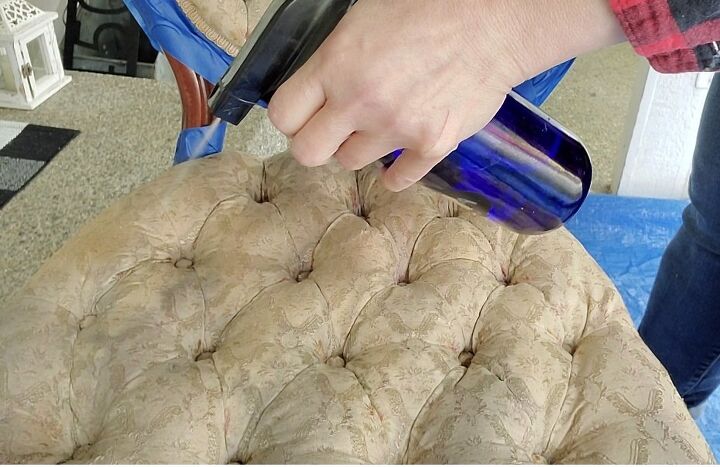
The first essential step to painting fabric is spraying it with water.
Spraying the fabric with water will cause the paint to soak into the fabric.
If this step is missed, you will have a globby mess.
Ask me how I know.
Spray each section as you’re painting.
In this YouTube video, I share how I do this and all the steps to paint this tufted chair. Press the video and watch all the steps.

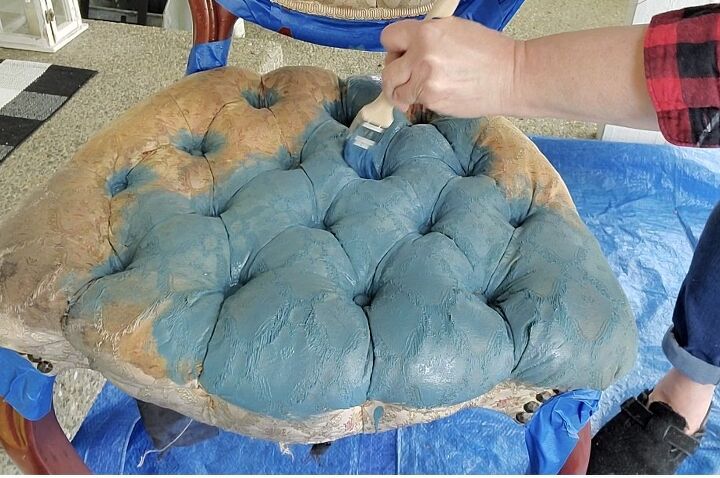
Using a small 1″ paint brush, apply the mixture to your fabric using a circular motion.
This helps to ensure that the paint is evenly distributed.
Regardless of the approach that is used, it is always important to be mindful of the amount of paint that is being applied.
Too much paint can result in an uneven finish, while too little paint can make it difficult to achieve the desired coverage.
Especially when getting down into the tufted area.
It can be kind of tricky to apply paint into that area because the buttons are bumpy and insetted.
The paint wants to glob up.
The way to keep it from doing that is to only use a small amount of paint on your brush.
When you are applying the paint inside the insetted area, put pressure by pushing the brush down to distribute the paint.
This actually works wonders.
Including the edges.
For this chair I’m doing, there are gold nail brads.
I simply painted over them then took a wet paper towel and wiped the paint off of the nail heads.
Super easy.
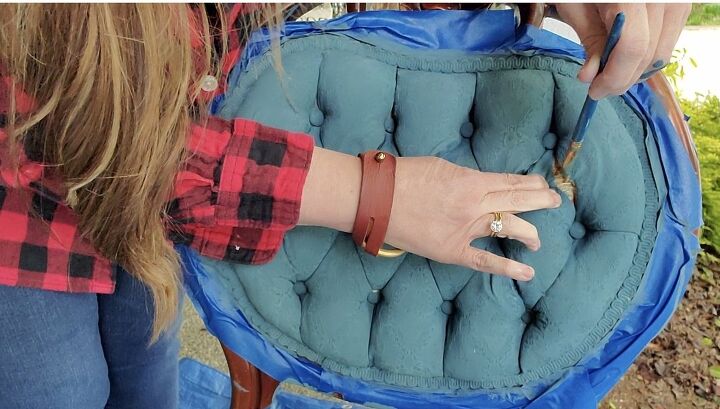
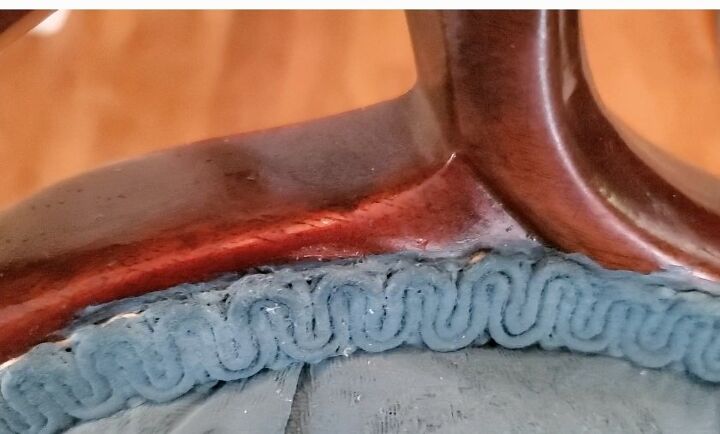
There is fabric on the back and back rest.
Using the small brush I applied paint to the ribbon.
I like how easy the paint went on.
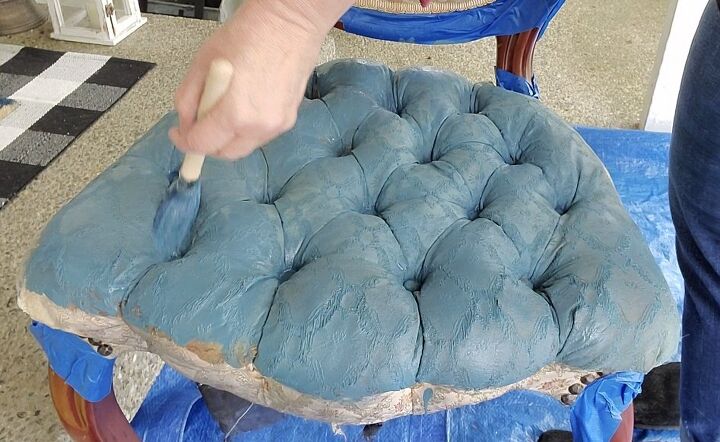
The second coat is when the magic happens.
Now that you painted the first coat, let that dry.
Give it around 2 hours to dry.
For this step it’s just repeating step 6.
The only difference is you don’t spray water on first.
Now, let this dry overnight.

I woke up the next morning and noticed this sight!
Some of the creases dried this way!
So, I took some paint and pulled back every crease and filled it in with paint.
I did this for the seat as well.
Even though you’ve covered the wood as best as you can.
You just may get paint on it anyway.
No worries!
The secret?
Get a wet paper towel and rub off any excessive paint from the wood.
I know, no big secret.
But I was astonished how easy that was.
This is the beauty of Annie Sloan paint.
We are now onto the last step!
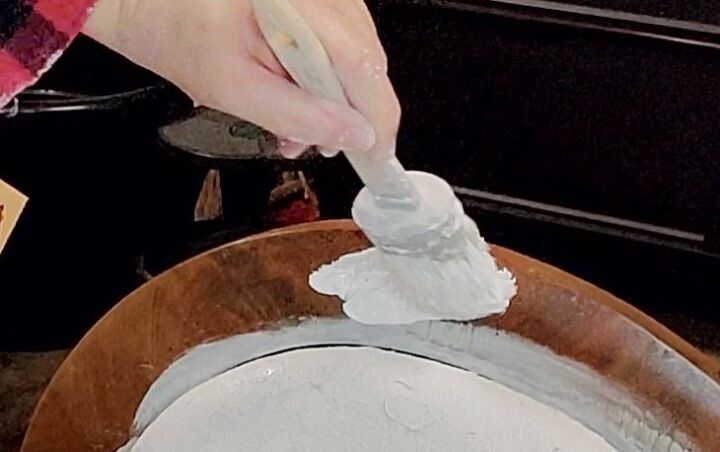
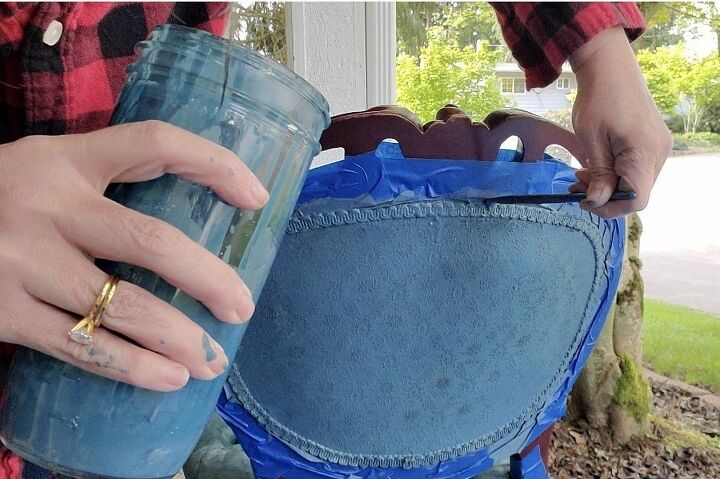
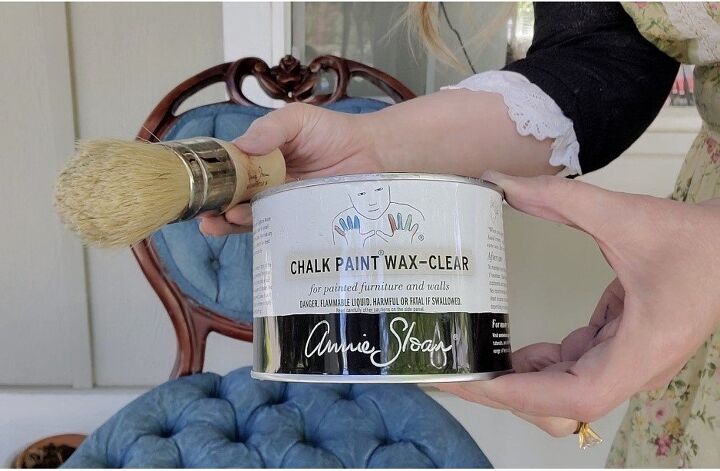
After the fabric is dry from painting the creases of this tufted chair, we apply a good amount of Annie Sloan clear wax.
In the photos above I’m showing two different ways to apply wax.
The first one is with a wax brush. This didn’t work so well for painting a tufted chair. (It worked wonderfully when waxing my antique sofa.)
It didn’t reach into the creases of this tufted chair.
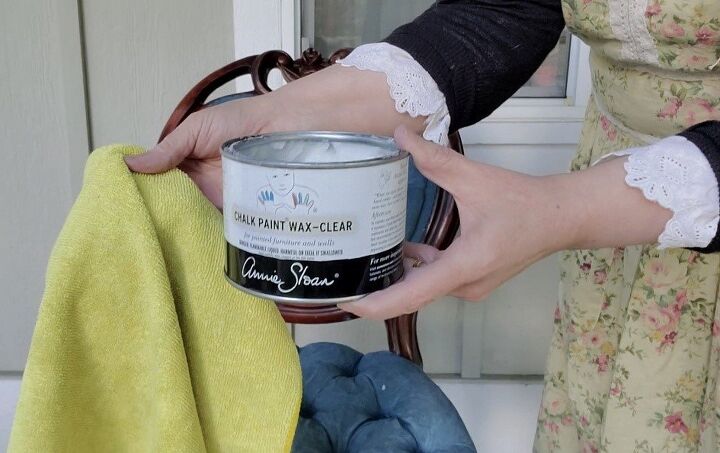
So, I ended up using the microfiber cloth.
So, this is my recommendation.
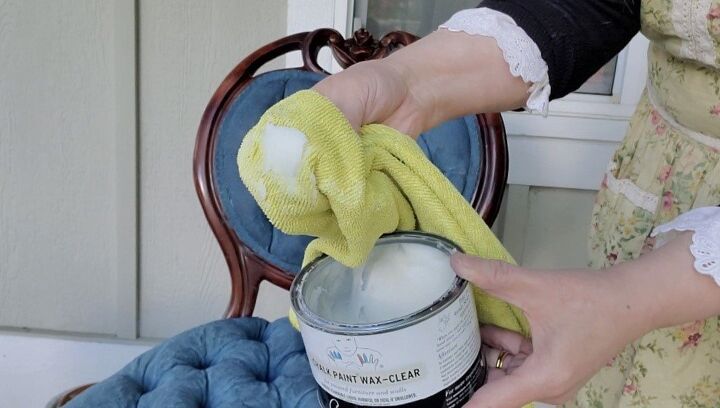
In a circular motion, work the wax into the fabric.
Keep scooping out a good amount onto your cloth and repeat this until you see a nice sheen on the fabric.
This is how you know you have good coverage. It will look slightly shiny.
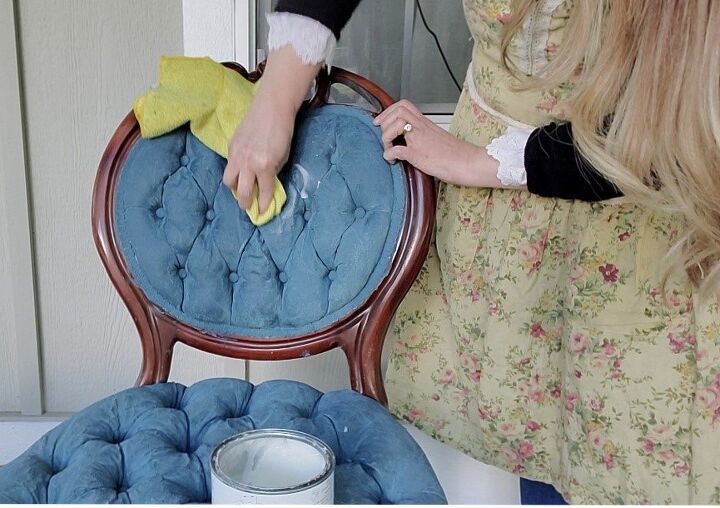
This took a bit of time working the wax into all the insetted areas.
But when painting a tufted chair this is a crucial part that will give your tufted furniture a finished look.
Once you are done waxing, let it dry over night.
I laid the chair on it’s side and cut off all the ugly black cloth and overhang underneath.
That made a huge difference!
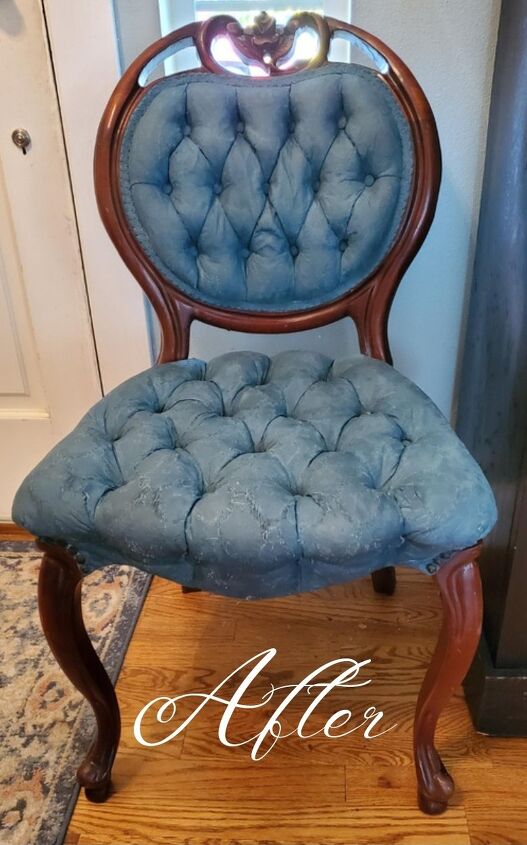
Isn’t it a sweet little chair?
Perfect for our front entrance of our home.
Does this inspire you to paint upholstery furniture?
If it does, please share how your project went.
If you have any questions, please ask them below in the comments.
For more DIY projects, go here.
And if you need more chalk paint inspirations, see these tutorials how to paint a fabric chair, how to paint an antique sofa, and how to makeover a Goodwill frame.
All of my chalk paint tutorials are my most viewed on my blog and YouTube channel.
I hope you enjoyed this easy tutorial.


Frequently asked questions
Have a question about this project?