


How to Create Farmhouse Distressed Finish Using Wax Under Paint

2 Materials
$30
1 Hour
Easy
This video demonstration will teach you how to use wax under paint for a cool old world distressed finish.
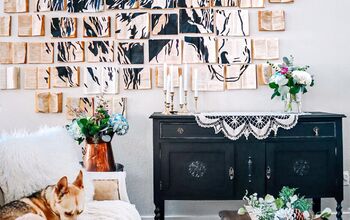
This wood finish will go beautifully in farmhouse, French country, mid century, modern farmhouse, shabby chic and traditional styles of homes. It's super versatile and an elevated wood finish!
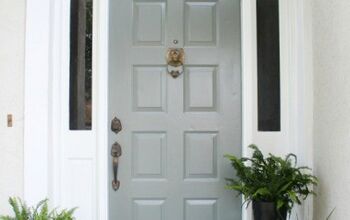
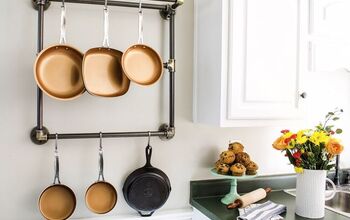
This DIY paint technique can be applied to any wood surface - picture frames, end tables, dining tables, wooden chairs, kitchen cabinets, trim and doors, etc.
{
"id": "4002186",
"alt": "Video Tutorial by Craftsman Finishes",
"title": "Video Tutorial by Craftsman Finishes",
"video_link": "https://www.youtube.com/embed/6Z8JPlZ1c0c",
"youtube_video_id": "6Z8JPlZ1c0c"
}
{
"width": 634,
"height": 357,
"showRelated": true
}
Step 1: Watch the step by step video tutorial for a complete demonstration.
This video will demonstrate how to apply wax under paint for a distressed finish.
It is important to watch the step by step demonstration as Jeremy walks you through the simple process to achieve this amazing finish on your wood project!
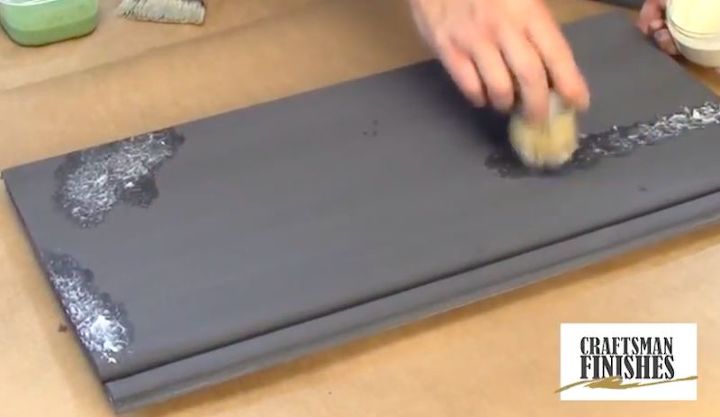
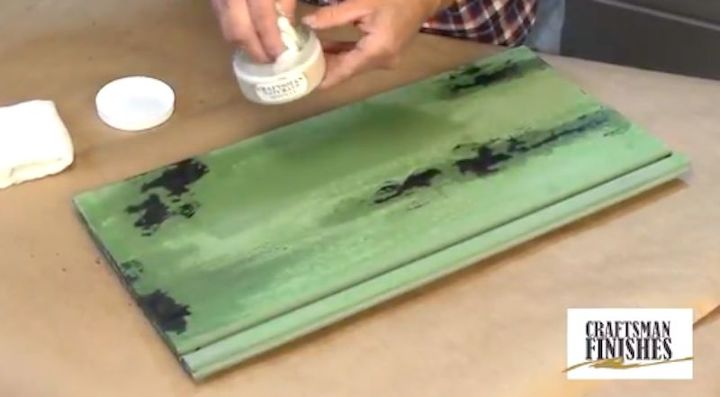
Step 2: Apply a base coat of paint that you want to expose in distressing. Pounce and apply wax to areas on top of the base coat. Get creative and put wax in random spots.
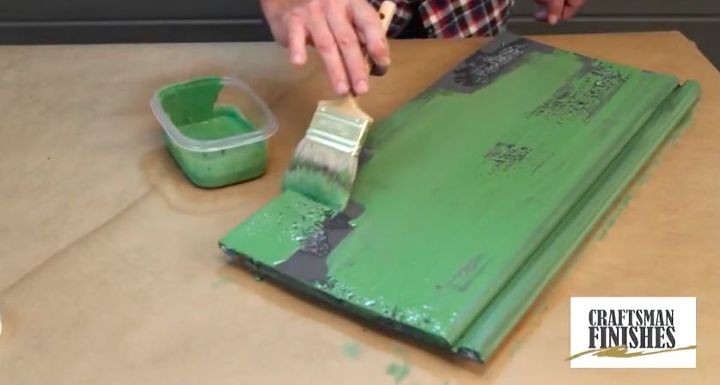
Step 3: After you have put wax in random spots on your piece of furniture, apply the top layer of paint. This finish would look amazing on an armoire, dresser, night stand, trim, dining table, kitchen cabinets, etc. Any wood project will work with this finish. We used grey and green to demonstrate as it shows the contrast really well. You can use more modern colors, farmhouse colors and traditional colors to fit in with the style of your room.
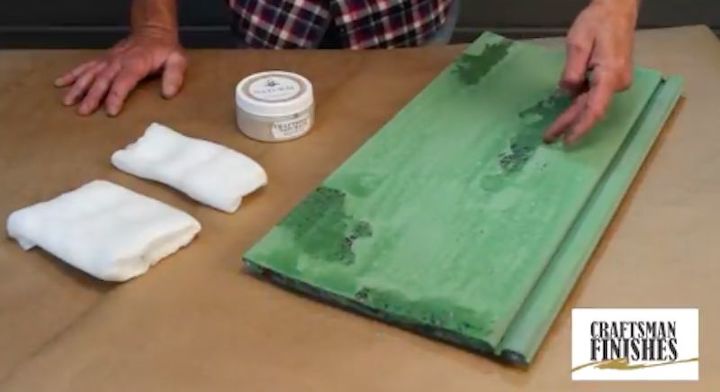
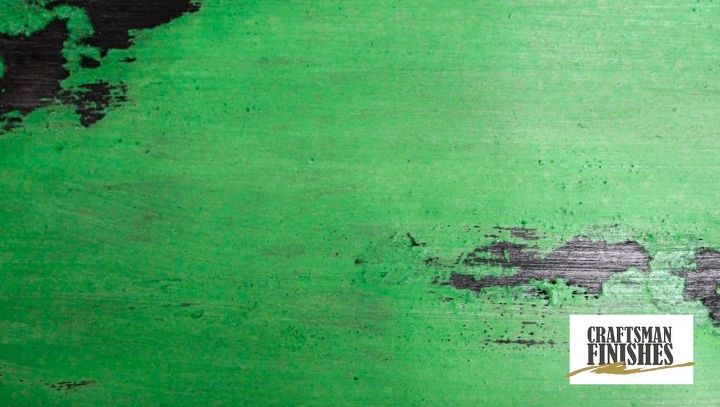
Here is a look at the wax underneath the paint in random areas. It will dry in a way you can see where the wax is to rub it off.
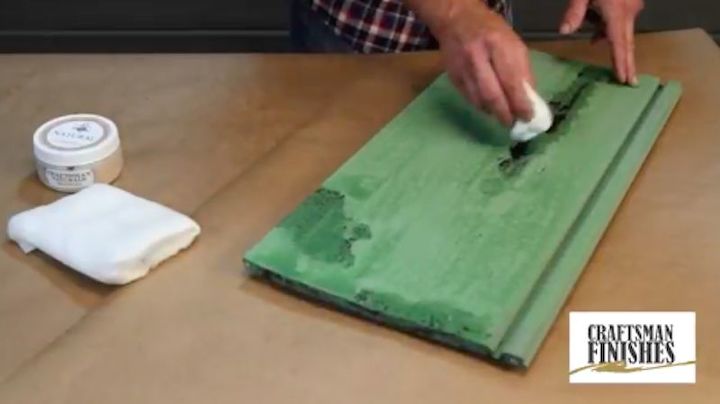
Step 4: Use cheese cloth and rub off the areas where you applied wax. This will create the distressed look.
Step 5: Apply wax over the entire surface to lock in the distressing while adding a protective layer of sealer.
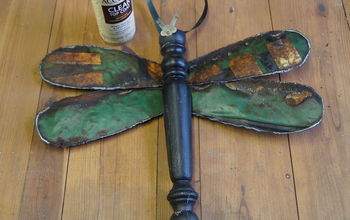
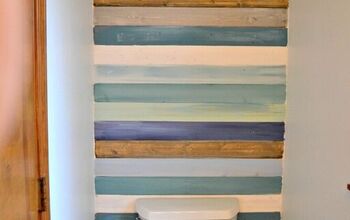
Finished - grey base coat with green for a great contrast to show off this elevated distressed finish.
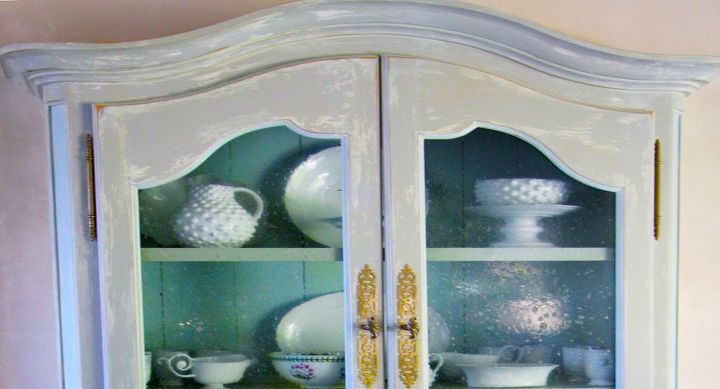
Last step: If you are interested in learning this process with more explanation, please watch the video tutorial for more finished photos of this amazing armoire in a French country style home. The white base coat with light grey top layer using this technique turned out beautifully.
Enjoy and get creative with colors to match your style!
Please subscribe to our YouTube Channel for more DIY painting videos: https://www.youtube.com/channel/UCRoqIYhQVUa-XUygNYitf1Q
Connect with us!
Facebook -- [facebook.com/craftsmanfinishes]
Instagram -- @craftsmanfinishes
Pinterest -- [pinterest.com/craftsmanfinish]
Comments
Join the conversation
2 of 5 comments
-
Very informative! Your finished products are lovely. Thanks for the clear instructions!
-
Love this look! You did an outstanding job.


Frequently asked questions
Have a question about this project?
OMG!!! SIMPLY STUNNING!! TFS!! I cannot wait to purchase this product so that I can try this amazing technique!! You are a true artist no doubt, I'm
sure You have many awesome finishes under Your belt. Your Family home must be absolutely gorgeous. Most of all I love Your passion and creativity
throughout the tutorial You're a definite keeper!!
So so inspired!!
Blessings from the North,
Michelle
PS Do You have any other technique tutorials?
Hi how long do you let the wax dry? you stated to go over it right away but then you said you could let it dry. Hoe long would you suggest letting it dry to get the same results. Thank you! it looks beautiful
Mary
I don't do very much painting, but I read somewhere that you can achieve this look using vaseline. Wouldn't that be cheaper?