


Simple Ideas to Distress Wood - Get Worm Holes, Wire Brush, Etc!

2 Materials
$10
20 Minutes
Easy
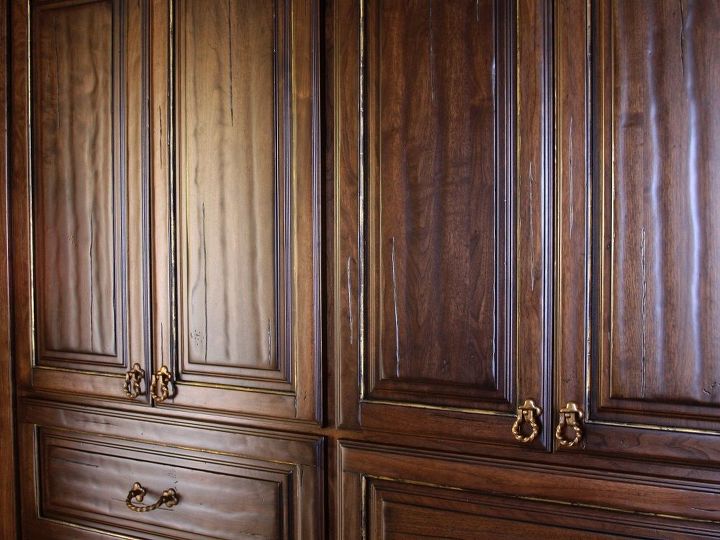
Distressing is "in" right now! Farmhouse, shabby chic and even modern styles of design are incorporating distressing of wood into the style of a room.
This short 5-minute video will demonstrate how to distress wood for finishing using simple tools you can make or inexpensive things to buy!
Techniques include creating worm holes, wire brushing and other distressing forms for wood.
Distressing is a popular technique used in Restoration Hardware furniture and other exclusive brands.
{
"id": "4041104",
"alt": "Video Tutorial - Simple ways to distress wood",
"title": "Video Tutorial - Simple ways to distress wood",
"video_link": "https://www.youtube.com/embed/2KZ8OwCZV2Y",
"youtube_video_id": "2KZ8OwCZV2Y"
}
{
"width": 634,
"height": 357,
"showRelated": true
}
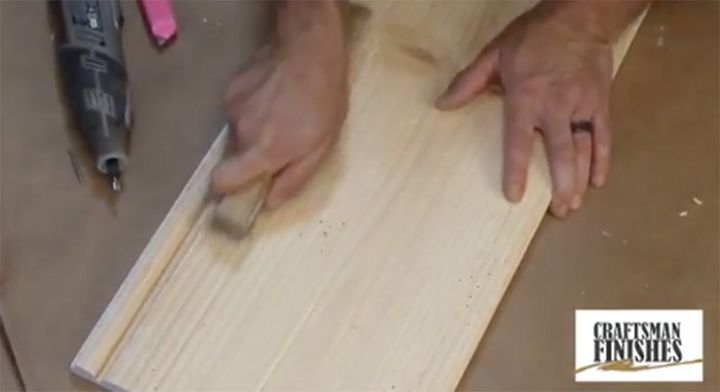
Step 1: WATCH 5-minute tutorial to get the full step by step of how to create amazing distressing techniques for your wood project.
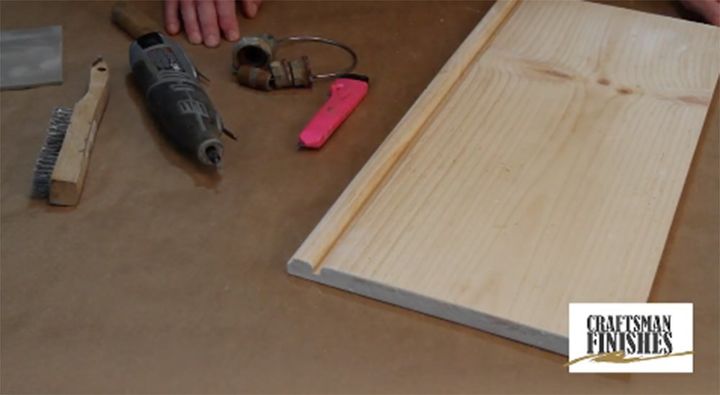
Step 2: Grab a raw wood project - picture frame, end table, dresser, etc. Michael's has some great small raw wood things to finish - monogram letters, picture frames, etc. Or you can go larger and completely strip a dresser and distress and re-finish. Let your skill level dictate your first raw wood distressing project.
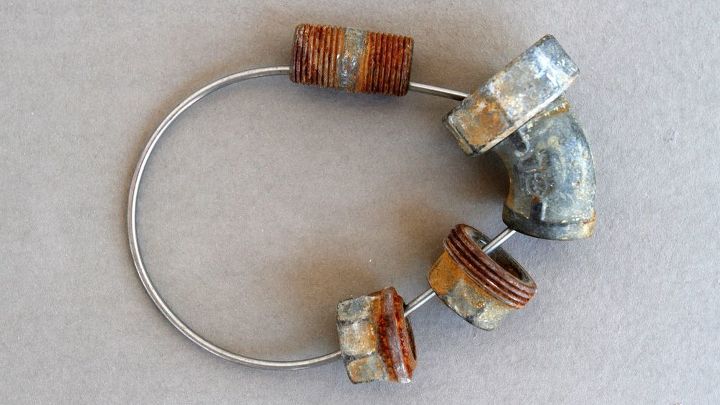
Jeremy shows you how to make this simple distressing ring from old washer parts and similar parts around your home. Spare metal junk works great for a ring.
Step 3: Grab a wire brush and get the look that is popular right now at Restoration Hardware and Pottery Barn. Wire brushing adds and elevated look to any wood project.
Step 4: Go to our video tutorials on www.craftsmanfinishes.com/tutorials for another video on painting and finishing to get the desired effects to complete your wood project. You can also just stain the wood and be finished too.
Enjoy these distressing techniques! Get creative and have fun!
Please subscribe to our YouTube Channel for more DIY painting videos: https://www.youtube.com/channel/UCRoqIYhQVUa-XUygNYitf1Q
Connect with us!
Facebook -- [facebook.com/craftsmanfinishes]
Instagram -- @craftsmanfinishes
Pinterest -- [pinterest.com/craftsmanfinish]
Comments
Join the conversation
3 of 8 comments
-
Simply beautiful! I am in love with this look! Thank you for sharing! Please keep posting!

-
I took a torch and burned the wood before,,,after I sanded lightley,,it left all the marks highlighted from the dark imprints and marks,,,great look of old on new....chain works good but wear a leather glove it will hurt when it comes back...


Frequently asked questions
Have a question about this project?