


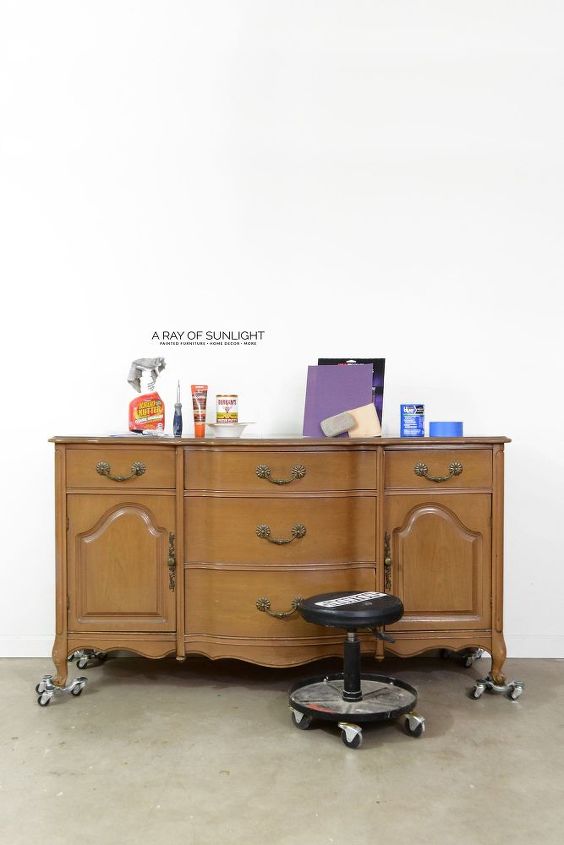
How to Paint Furniture: The Beginners Guide

Welcome friends! Let’s talk about how to paint furniture! By the end of this tutorial, you’ll have all the tools and supplies needed to get that dresser, table, nightstand or whatever piece of furniture completely updated, on the cheap!
But let’s just make sure that your paint is going to stick and that all of your work will last a long time.
How to Paint Furniture
Let’s break it down into steps, and then I’ll go over every step in detail and link to all the products you’ll want to use on your painted furniture.
- Remove the hardware.
- Clean any dirt, grime, oils or wax off of the furniture.
- Fill in scratches, dings and holes.
- Tape off drawers.
- Give the paint something to hold onto.
- Paint at least 2 coats.
- Distress. (optional)
- Seal the paint
- Re-attach the hardware
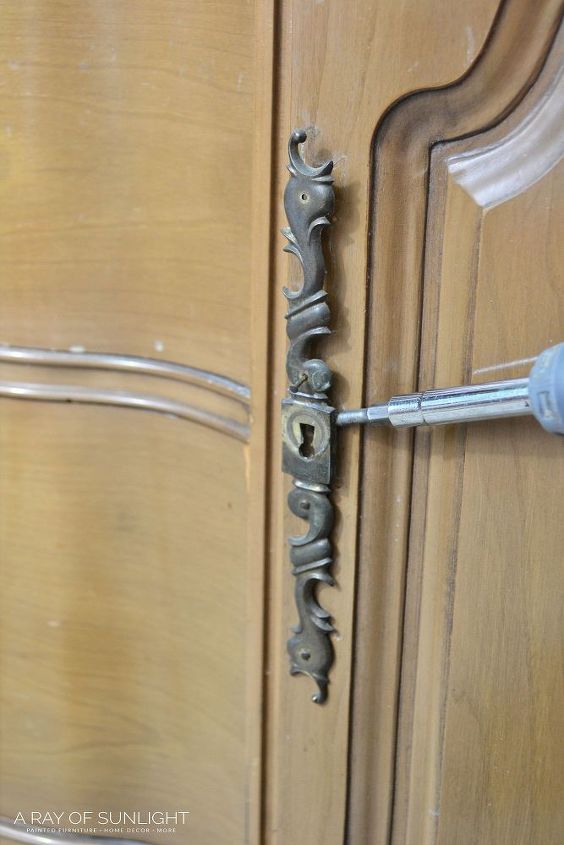
Remove the Hardware
Most furniture will have hardware. This consists of handles, knobs, hinges and magnetic holders that keep the cabinet doors closed. Everything needs to be removed for a clean paint finish. It only takes a minute, and it makes it easier to paint furniture when you remove the hardware.
Most hardware can easily come off with a phillips or flat screw driver.
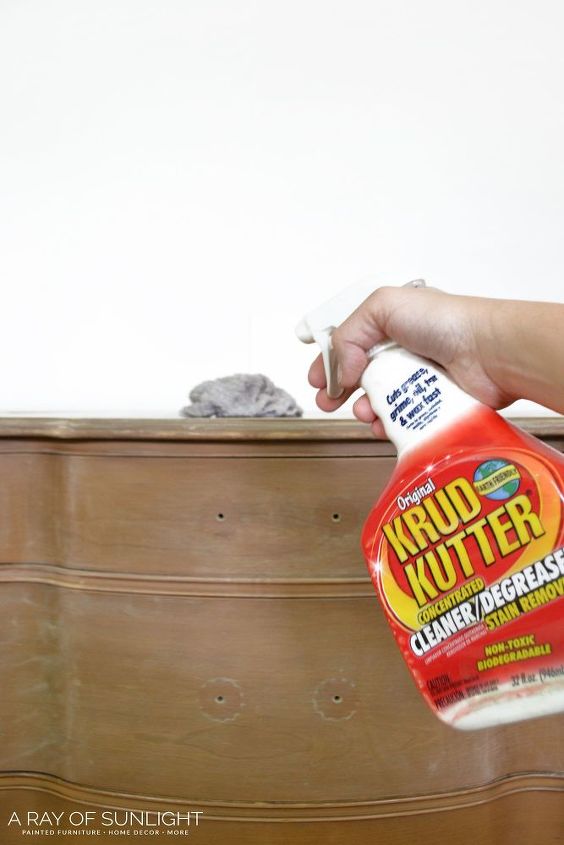
Clean the Furniture Before Painting
What does dust, dirt, oil, wax and grime have in common?? They mess up your paint!
So we need to get them removed before we go any further.
So grab some Krud Kutter. This stuff is so amazing that I use it on every furniture painting project.
Just spray it onto your furniture and wipe away any grime, oil or wax with shop towels or a damp rag.
Then let your furniture dry.
Fill in Scratches, Dings and Holes
The next step in how to paint furniture is to fill in any imperfections that you don’t want to show anymore.
This includes small or large scratches, nicks, dings or dents.
I use this wood filler. You can get it in a color that is similar to the old color of the furniture too!
Squeeze a little bit of wood filler onto my pointer finger, and then spread the wood filler into and over the scratch or ding.
For smaller scratches, be generous with the wood filler and fill the damage completely.
For deeper scratches, fill the damage a little at a time, with drying times in between.
Then sand the wood filler down smooth and flat with 220 grit sandpaper.
Tape off Drawers
Taping off the drawers is just one quick step in getting the most professional look. It’s really simple to wrap the front of your drawer (right next to the back of the drawer front) a couple of times with thick painters tape so that the finished product doesn’t look messy and the paint doesn’t get into your drawer.
If you plan on spraying your paint, I suggest using painters tape and pre-taped plastic to cover the drawers. I wrote a completely detailed tutorial with all of the steps that you need to check out if you learn visually. Click over to my blog and search "paint sprayer" to find it.
Make the Paint Stick to Furniture
Okay, so you’ve put a lot of work into painting your piece of furniture already, but you still haven’t even busted out the paint yet!
We’re almost there!
If you skip over one step, please don’t skip over this one. This is the most important step in making sure that your paint will actually stick to your furniture.
Especially if you have shiny or slick furniture, because paint really can’t stick to that.
You have a few different options here.
You can use an adhesive primer, scuff sand, or use a mixture of both!
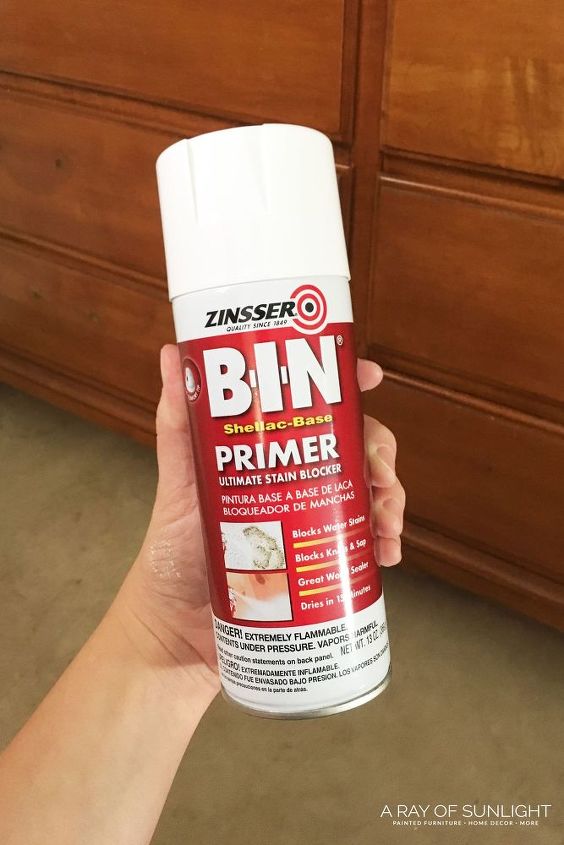
When to use Primer on Your Painted Furniture
If the old finish on your furniture is in great condition, meaning that it’s smooth and clean, you can simply apply an adhesive primer straight onto the wood without sanding first.
But you shouldn’t use just any primer. This one is the very best!
When to Skip Primer
But if you want to distress your furniture for a worn painted look, you don’t want white primer showing underneath. The best option in that case is to scuff sand, then paint with a chalk or clay based paint.
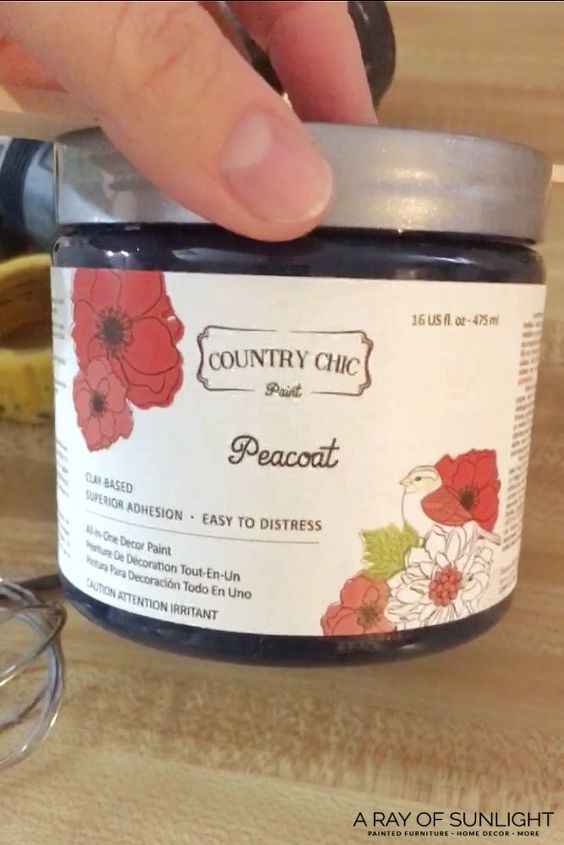
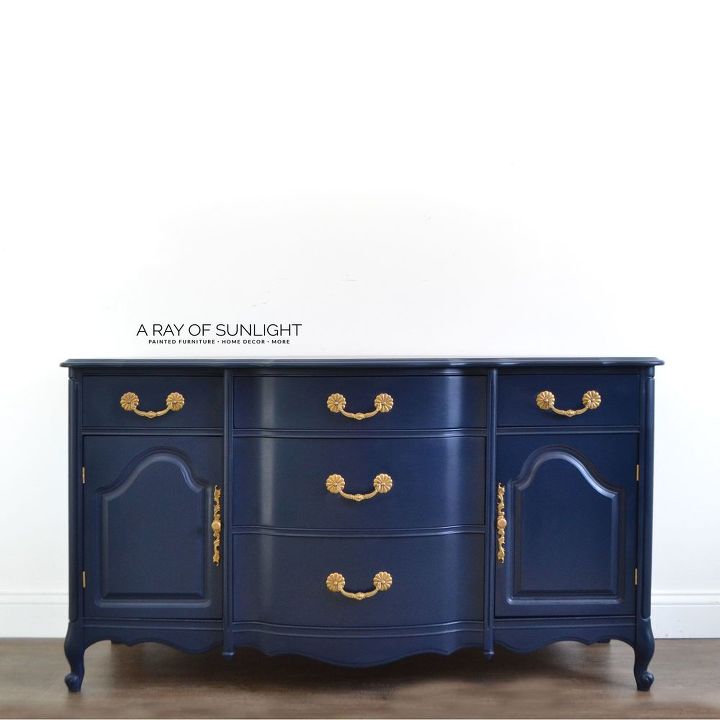
This is what I usual do, and what I did on this piece.
I personally love Country Chic Paint and you can get 10% off your order by using “rayofsun10” at checkout!
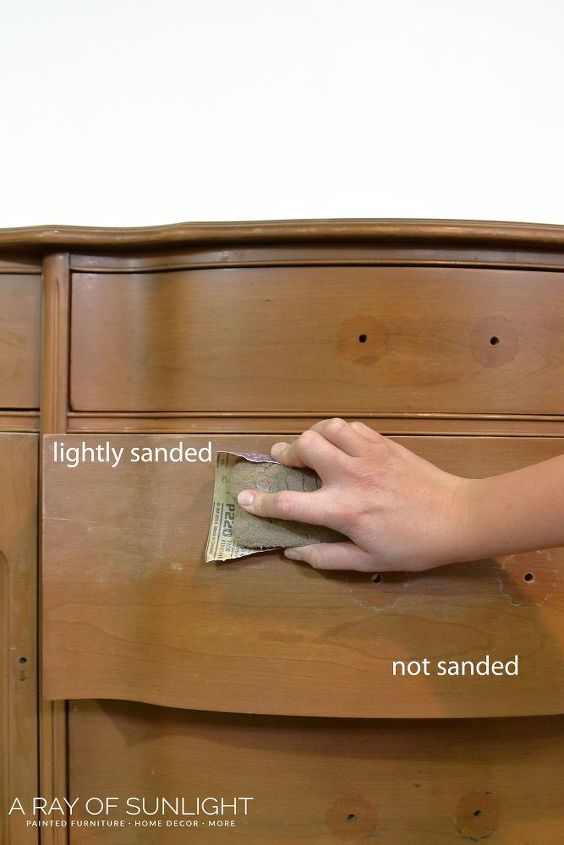
Scuff Sanding
This really isn’t as bad as it may seem. Scuff sanding is a light sanding with 220 grit sand paper that really only takes a few minutes.
The goal is to make the old finish a bit rough so the new paint has something to hold on to.
This doesn’t mean that you need to sand the old finish completely off.
Just grab 220 grit sandpaper and lightly sand everything down. Just a couple of passes over everything should do.
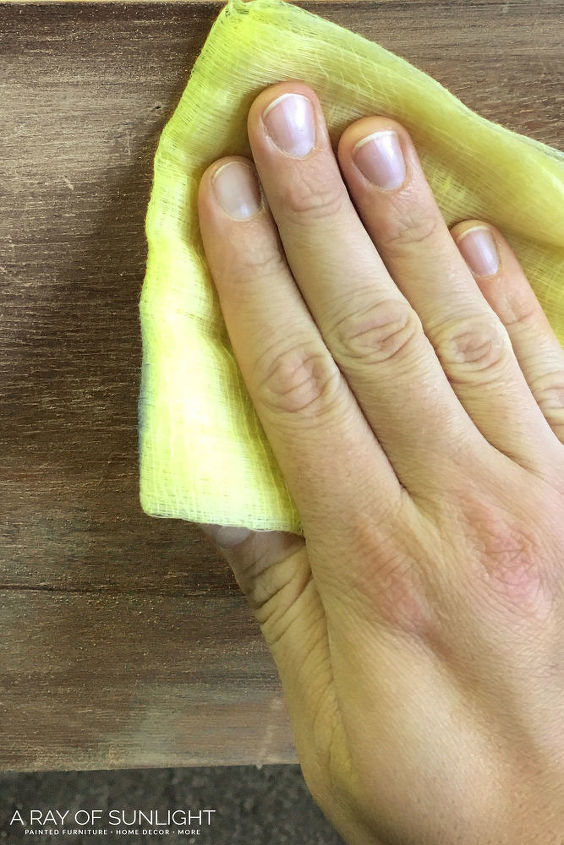
Once you’ve sanded everywhere, you’ll want to remove all of the dust you just created. I find it most effective to vacuum up most of the dust and then wipe everything down with a tack cloth.
How to Prevent Bleed through
One of the biggest pains that come up during painting is something known as bleed through.
Basically bleed through shows up as splotchy red, orange, pink or yellow spots. It usually occurs on mahogany, oak, and cherry woods. And sometimes it doesn’t start showing until after the paint has been sealed.
It also happens mostly on light colored paints like white, cream, and light shades of colors. Blacks and super dark colors can cover bleed through, but I never like to chance it.
The best way to combat bleed through and basically insure that you won’t have any issues down the road is to use a shellac based product before painting.
We love to use shellac because it’s clear. So we can still distress the edges without seeing white paint peeking through.
Both options work great! Make sure to apply at least 2 coats with complete coverage and let it dry for the recommended time on the can, even if it feels dry before then.
How to Chalk Paint
Chalk or clay based paints are basically the same.
They usually don’t require a primer, and most say that you don’t need to sand either. Both are true to some degree.
Chalk and clay based paints are super flat, and they have an additive in them that helps them stick to a lot of surfaces. They usually won’t stick to super slick or shiny surfaces on their own though.
If you’re wanting to learn how to paint laminate furniture, I always recommend using a primer first. Usually though, wood furniture just needs a scuff sanding instead of the primer.
I have used quite a few different brands of chalk paint, and I make my own chalk paint all the time.
My favorite brand of furniture paint is Country Chic Paint. They have so many good colors, their customer service is amazing.
They have been so kind to offer you 10% off your next order of paint! Just enter rayofsun10 at checkout to get 10% off your order!
The best part about chalk or clay based paints is how well it distresses. Latex paint doesn’t like to distress, it just gums up. So if you’re looking for a worn feel, chalk paint is the way to go.
How to Paint Furniture
How to Paint Furniture with a Brush
Brushing is pretty straight forward. A nicer brush (like a Zibra brush ) will help eliminate brush marks. But to be honest I started out using a paint brush from the dollar store.
Stick to long even strokes that all go in the same direction, and follow the natural grain of the wood to get the best results with a brush.
How to Spray Paint Furniture
(My favorite way!)
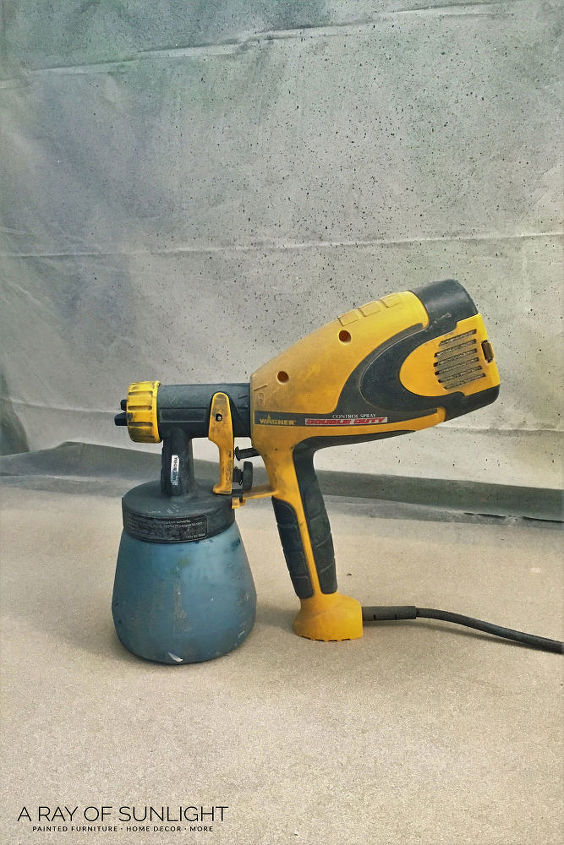
If you have a large project(s), don’t want brush marks, or you want to get the painting done quickly, use a paint sprayer!
That’s what I used for this project!
This paint sprayer
- doesn’t need an air compressor
- easy to set up and clean up
- you can put any paint in it
- I even use it for my topcoats
Painting is so fast with a paint sprayer, and it doesn’t leave brush marks! So it’s my go to. If you want more details on how to use a paint sprayer, head over to my 3 part guide to learn more about using a paint sprayer on furniture.
No matter your method of painting, you’ll want to paint at least 2 coats of paint for complete coverage. If you’re painting a lighter color, you will need more coats of paint.
Make sure each coat dries completely before you move onto the next coat.
How to Distress Painted Furniture
If you’re wanting a worn farmhouse or shabby chic look, you’ll want to distress the edges of your finish just a bit.
There are a few different methods, but my favorite is to use 220 grit sandpaper. Lightly hand sand the edges and areas where natural wearing would occur.
And then I get rid of the dust again with a vacuum and a tack cloth.

Applying a Topcoat to Seal the Paint
Finally you’re onto the last step in painting! This one is very crucial, especially when you’re using chalk paint.
Chalk paint or clay based paint is super porous and will attract dust like none other. It also isn’t very easy to wipe down if something gets on it.
So we always use Varathane Polyurethane Interior in Satin.
This poly is the best! It is sooo durable, it doesn’t yellow, and it makes the finish feel super professional and smooth.
The easiest way to apply poly is to spray it on.
Be very thorough and mix the poly very well before using it. There is a flattening agent used in the poly that will cause the poly to be hazy if not mixed in all the way. Trust me, I learned the hard way.
You can also brush on the poly if you don’t have access to a paint sprayer. Poly can be a little tricky if you want it to look perfect with no fogginess. I’ve found that using a sponge like this really helps the application go on smooth and near perfect.
(Make sure to use rayofsun10 at checkout to get 10% off)
When brushing, I pour a little bit on a paper plate, and use a slightly damp sponge to brush it on. Make sure to only touch the poly once or twice once it’s on the furniture. It will dry quickly and create hazy brush strokes if you over work it.
Also make sure to apply it using long straight strokes, all going in the same direction.
3 coats of poly is recommended.
Attach the Hardware
Once everything is completely dry, it’s time to get that hardware on your freshly painted furniture! This is the moment that it all comes together!
For this hardware, we let it soak in a vinegar and salt mixture, and then scrubbed the grime away with a Scotch-Brite pad.
Because the hardware isn’t all real brass, we made the metals match with a touch of Rub n Buff. Just enough to blend the different colors of hardware together, but still leave the original texture and color as well.
You might think about getting new hardware though!
Your DIY Furniture is Finished!!
Now that you’ve learned how to paint furniture, you’re ready to rock! Your old ugly or outdated furniture is going to look so good painted!
Get the links to the actual products I use, and get more info over on our blog post!
Comments
Join the conversation
-
Thanks so much for your very comprehensive tutorial if I produce anything like your gorgeous paint job I will be happy


Frequently asked questions
Have a question about this project?
I live in Europe and the primer would be different any suggestions Thanks
I started My project but I skipped the most important step and that was to prime it. How can I go back and prime it? I have one coat of chalk paint on it and it is just not sticking
My project but I skipped the most important step and that was to prime it. How can I go back and prime it? I have one coat of chalk paint on it and it is just not sticking