


HOW TO PAINT IKEA FURNITURE LIKE A PRO ;)
I love IKEA …..LOVE!! I mean, who doesn’t right? Most of their popular on-budget furniture pieces like the LACK, KALLAX, MALM, BILLY (sorry nerd alert!) have such huge potential for customization, its unreal!
THERES JUST ONE PROBLEM...
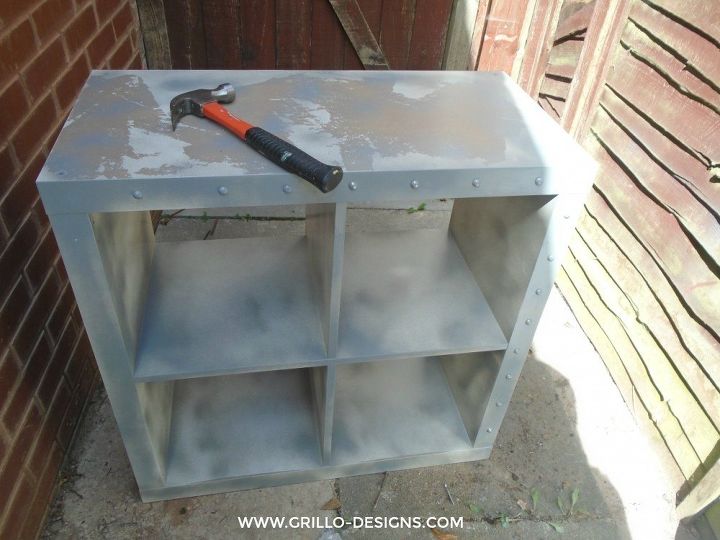
The laminate effect coating that each one of these furniture pieces have that can make painting super tricky. However do not worry! I am going to walk you through 5 steps that will make painting IKEA furniture a total breeze! I'm using an IKEA KALLAX as an example here
THERES JUST ONE PROBLEM...
The laminate effect coating that each one of these furniture pieces have that can make painting super tricky. However do not worry! I am going to walk you through 5 steps that will make painting IKEA furniture a total breeze! I'm using an IKEA KALLAX as an example here

STEP ONE: SAND

STEP 2: CLEAN
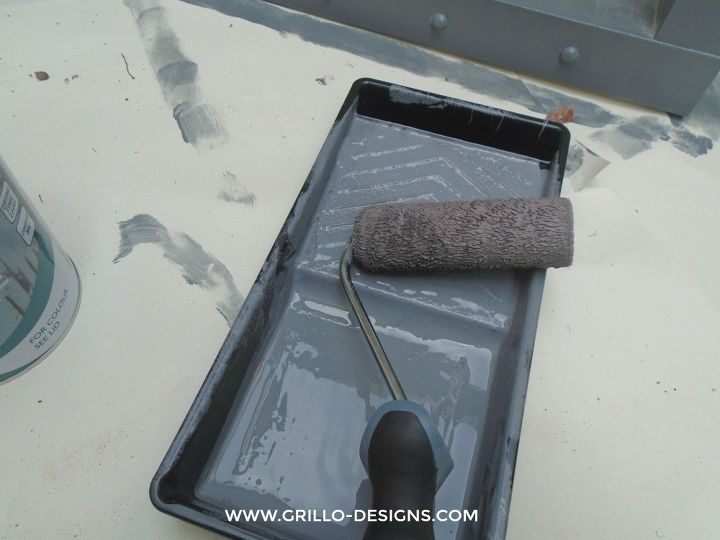
STEP 4: PAINT
STEP FIVE: SEAL

Wanna see how this IKEA KALLAX looked AFTER layers of paint? CLICK HERE TO SEE IT IN ALL ITS GLORY

Want more details about this and other DIY projects? Check out my blog post!
Comments
Join the conversation
3 comments
-
It looks like a lot of work. Is there not any paint that will work on IKEA furniture? Gail
-
This is so helpful!!! I basically live in IKEA (in that my living room looks like an IKEA showroom), so I get the obsession


Frequently asked questions
Have a question about this project?