


How to Shabby Chic Furniture

by
Ahna Fulmer
8 Materials
$40
2 Days
Easy
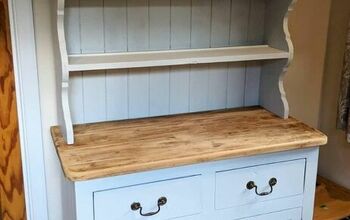
Do you have a dark piece of furniture that you would love to give a shabby chic makeover? Learn how to refinish any piece of furniture from stained to shabby chic with this easy tutorial!
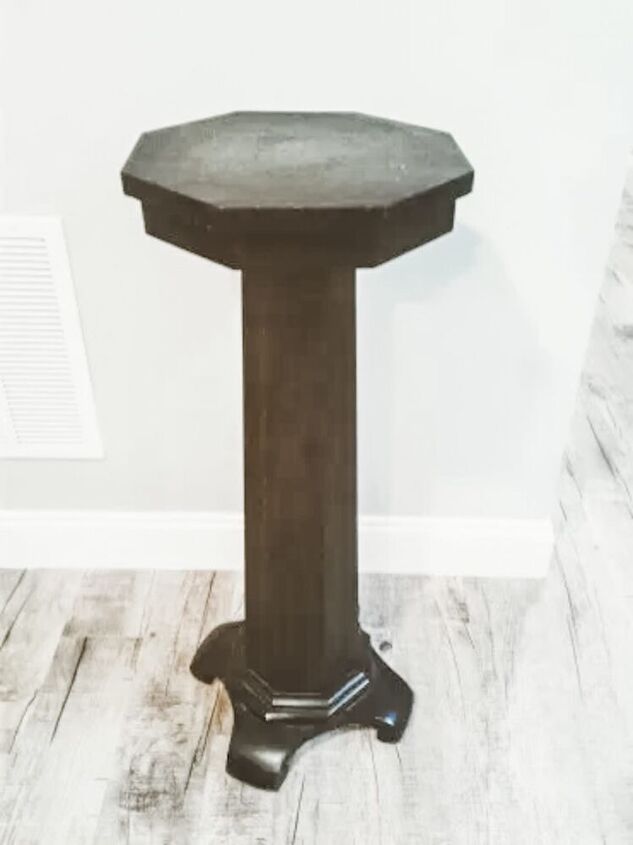
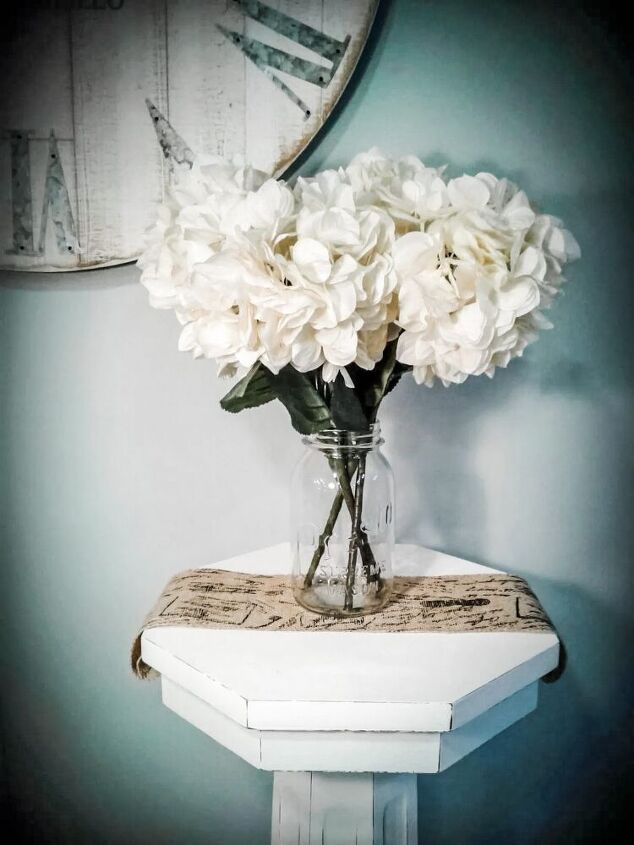
This oak pedestal stand originally belonged to my great-grandmother and likely dates to the early 1900s. It has been sitting in the far corner of my library waiting patiently for a makeover. Well, her time to shine has finally come.The following process is applicable to any piece of finished wood furniture that you would like to redo into a painted shabby chic finish.
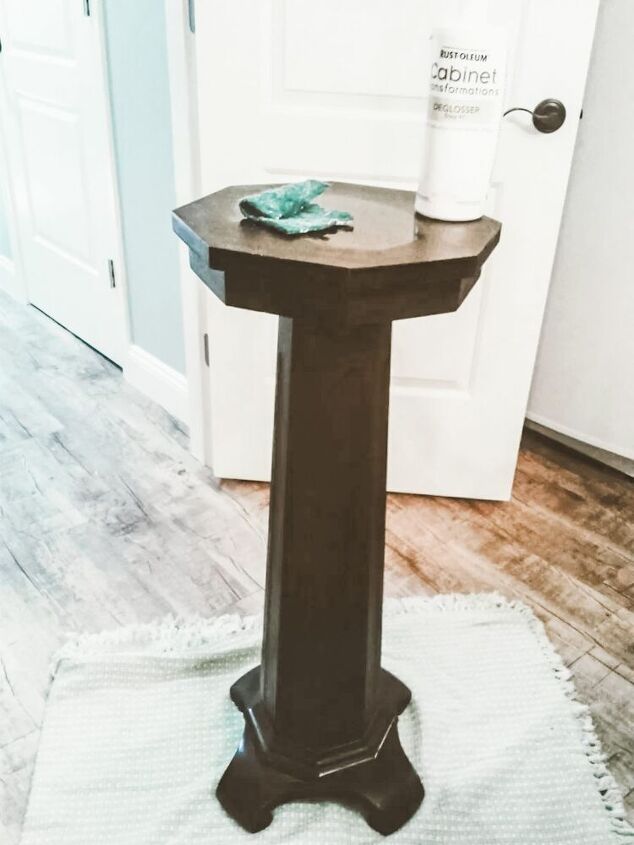
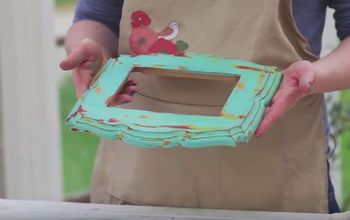
#1. Degloss
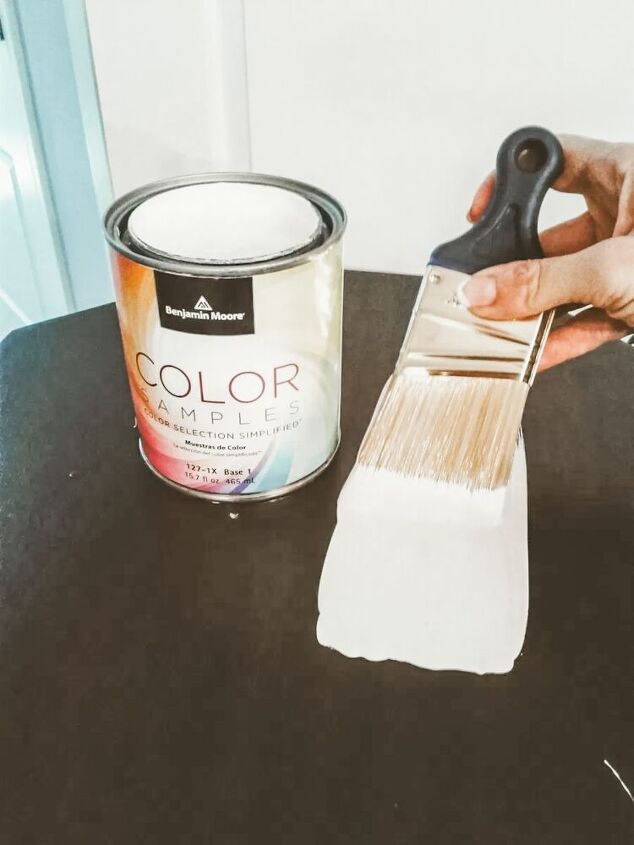
#2. Paint

#3. Paint second coat.
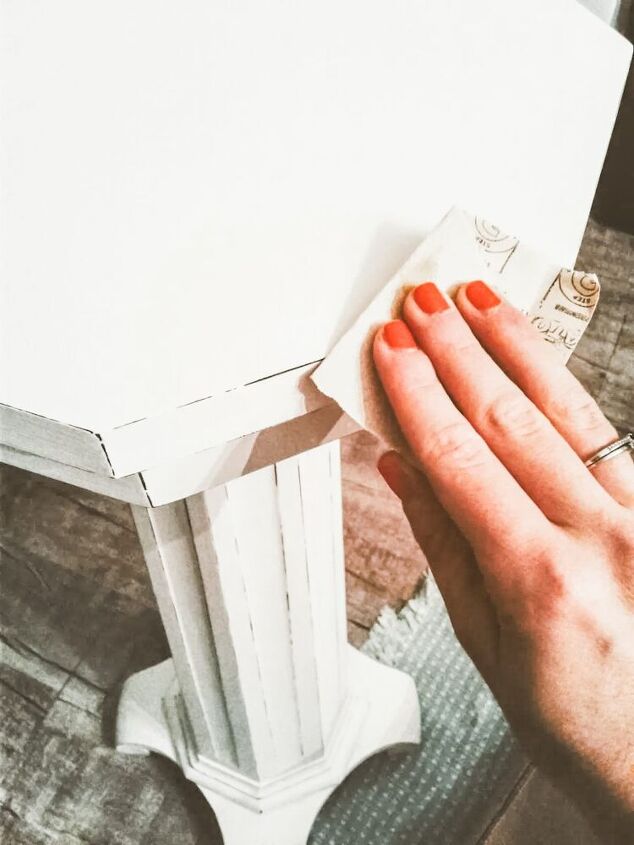
#4. Distress
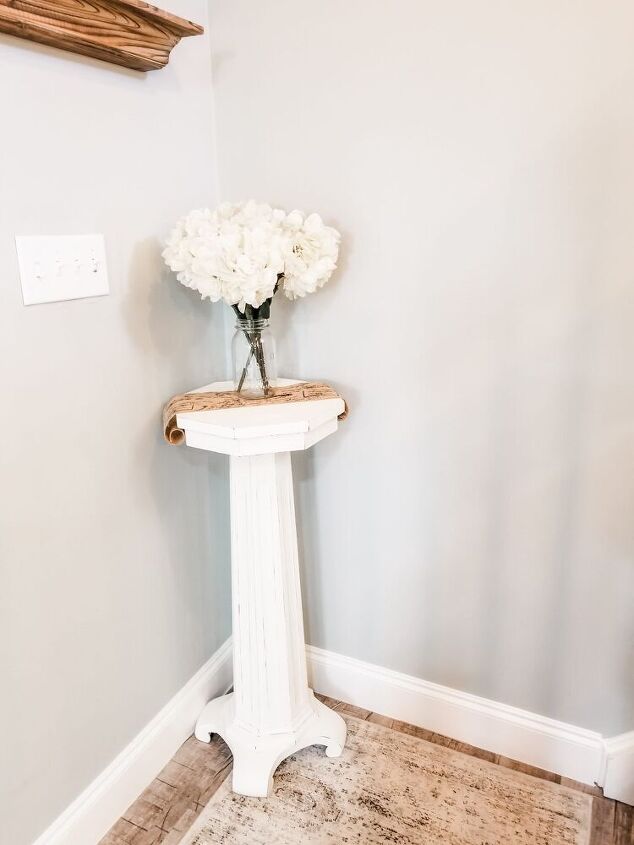
Voila! From stained to shabby chic in 4 steps!
This is a VERY easy process, and I have finished dozens of pieces using this exact technique. Visit a local thrift store. Find a piece of furniture. Give it a try. You can do it!Visit Hammers N Hugs to discover lots more DIY inspiration for the home and family!
Resources for this project:
See all materials


Any price and availability information displayed on [relevant Amazon Site(s), as applicable] at the time of purchase will apply to the purchase of this product.
Hometalk may collect a small share of sales from the links on this page.More info
Want more details about this and other DIY projects? Check out my blog post!


Frequently asked questions
Have a question about this project?