Mailbox Makeover

by
Michele Pappagallo
(IC: homeowner)
3 Materials
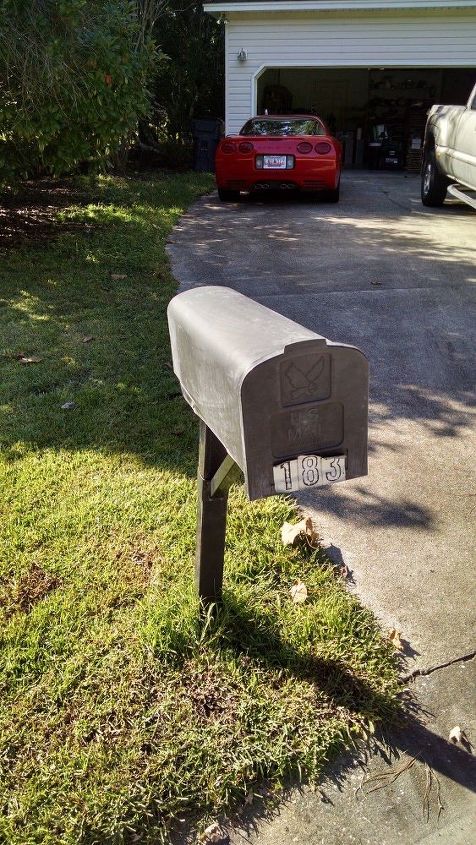
When we bought our house, the mailbox was on its last leg....literally!
When we bought our house, one of the first projects we tackled was replacing this sad excuse for a mailbox. There were several problems with it...including the fact that it was in an inconvenient spot in the yard, it was literally about to fall over and of course...it was hideously ugly! LOL Our goal was to move it to the other side of our driveway...and remodel it to match our beach themed house.....
The first step was to take an old post and cut it into three pieces with staggered lengths. I loved the fact that this was an old dock piling, so there were misc holes and defects in it which made it look perfect for our project. Then, we dug a hole large enough for the longest post to fit into....about 18" deep to make sure it would be firm and steady. next, we arranged to other two posts against the tall post, and screwed the mailbox to the middle post. We drilled a small hole in the top of the tallest post to hold a solar light.
We bought a length of rope at Lowes and wrapped it around the posts to secure them together, and used U-shaped nails to attach it to the posts. We added a small concrete pelican statue that we purchased at a local garden center. We attached it with liquid nails to the top of the shortest post
We added a solar light in the hole at the top. We just removed the stake that was attached to the solar light so it would fit perfectly into the hole we had previously drilled.
The final step was to take an old piece of plywood and paint it white. Then, I sanded it to distress it and added house numbers from Lowes with small screws. I attached a small length of chain from Lowes to hang the sign...and attached it with a small screw through one of the chain links. We love the new look! What do you think? The total cost of this project was less than $125!
Enjoyed the project?
Suggested materials:
- Post (Local scrapyard)
- Solar light, rope, mailbox, chain (Lowes)
- Pelican Statue (Local garden center)
Published May 5th, 2017 9:19 AM
Comments
Join the conversation
3 of 135 comments
-
-
 Michele Pappagallo
on Feb 11, 2020
Thank you so much for your nice comments! Our mail carrier actually took a picture of the new mailbox and said he was going to build something similar at his own home! We were very flattered!
-














Frequently asked questions
Have a question about this project?
how did you attach the ropes to pillars?
What 3 sizes are your posts? I just got the poles, rope and pelican so far. But I only have a 6 ft pole and a 5 ft pole. I hope this will work! Forgot about burying some length in the ground. I was going to cut the 6ft into 2. One 4ft, and one 2 ft. but then I won't have any length to bury them.
Where did you purchase the pilings for the posts used on the mailbox?