


Hate Waxing, but Love the Look? This DIY is for You!

4 Materials
$62
2 Hours
Medium
Most DIY furniture painters do not enjoy waxing. I get it. The old formula of chalk paint waxes are not fun to use. We have a great product called All In One Paint that gives you the look of waxed chalk paint WITHOUT having to do any waxing. Awesome, right! And for a bonus, its super durable and doesn't require a top coat. So I find myself using this product often, when I don't need or want a super creative, layered finish. The one look I found myself missing that I had previous created with wax was a barnwood, weathered wood, restoration hardware type of look. So I set out to see if I could recreate that look using only All In One Paints because ain't nobody got time for additional steps. Especially not this working mom! It took some trial and error but I got the steps down and we are sharing them with you LIVE on Hometalk on 11/14/17 at 8pm. Join us to see this come to life in person.
In the mean time, read the steps on my practice pieces.
UPDATE: We ended up going a little different direction on the live so I'm updating the blog to reflect the changes and sharing with you final pictures. We finished this 60" dining table in an hour! I can't wait to hear your comments on it!

Here's the gorgeous dining table we are making over. As you can see right now, this beauty is having a bit of an identity crisis right now. She's painted, quite beautifully, in a shabby decor style. Buttermilky color, dark wax, distressed, she got the works. Then we decided to use her for a display in our retail store and gave her some whimsical clothing on top of her shabby paint. We've since moved and are changing the concept of our retail store, so the identity crisis is really not working for us right now. We are giving this girl a dramatic makeover. She's going from shabby hot mess to sleek and modern. I think the outcome is going to be amazing. You'll have to join us live to see her finished up.
We haven't decided what colors to use for her yet. Let me know what you think. I'm thinking I might work some Mediterranean into the blending for a pop of color. And because I'm loving this new color right now. There will probably be some whites, grays and tans in there as well.
So, this is the first piece I tried blending the All In One Paints on. I tried it for the first time on a Facebook live because why not. I'm not afraid to mess up and don't pretend to know it all. Sometimes DIY takes some trial and error to get it just right and I like sharing that experience with you.
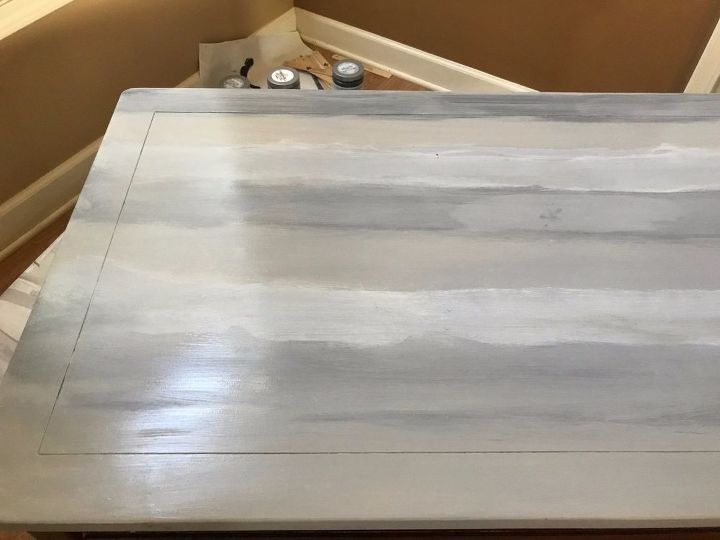
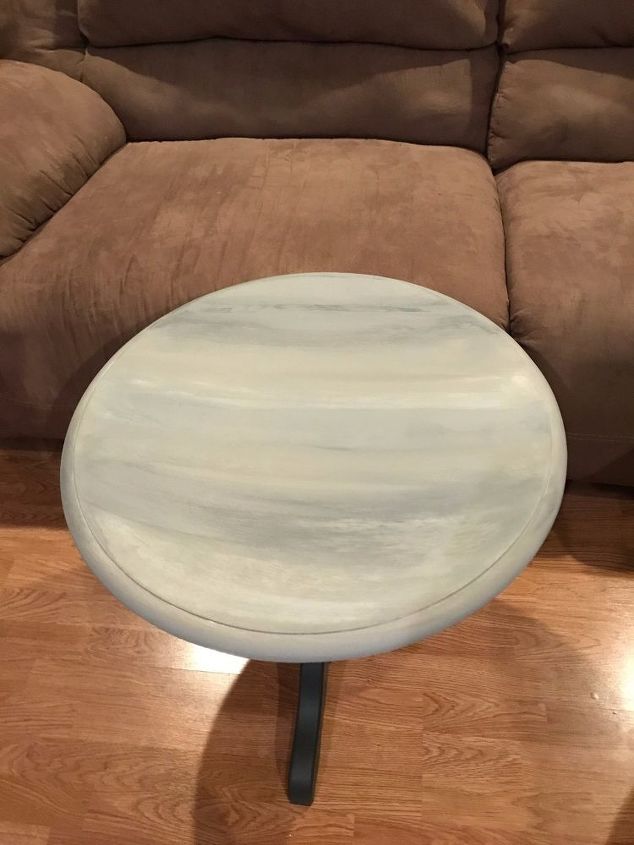
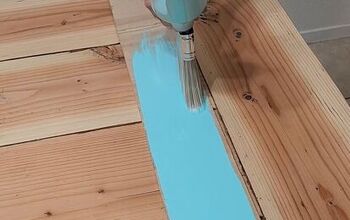
This is my personal coffee table. I used a True Applicator to swipe on 3 different colors of All In One Paint-Manor House (off white), Cathedral (dark gray) and Cappuccino (tan). I have to admit, I had a little panic attack on the live at this point because I knew it didn't look good at this stage. The AIO paint dries super fast and it dried before I finished the last swipe and could get back to the beginning to blend it.
I had to get into salvage mode really quick. I sprayed it with water to keep the paint from curing any further and I used sand paper, sanding blocks (wet and dry), wet true applicators and keep working the paint until I got it opened back up enough to get it to blend. But most importantly, I learned what i needed to do the next time I tried this technique! And that's what its all about.
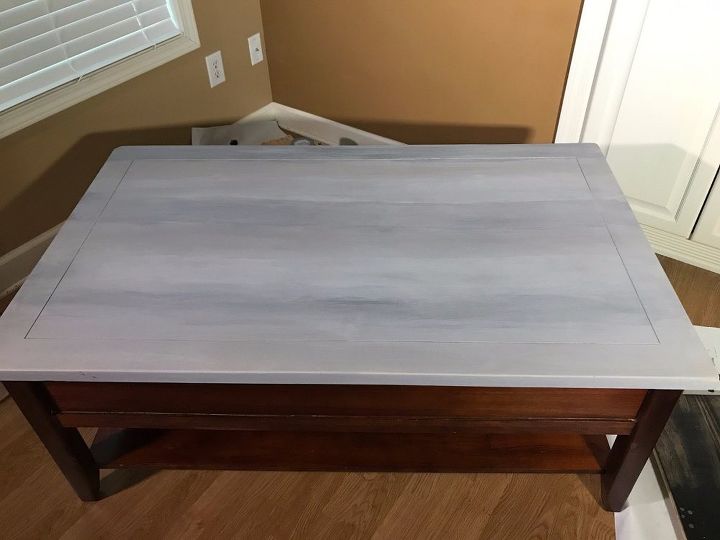
After some sanding work, I got it blended. It wasn't fun, but again, it was a learning experience and when I used this technique a 2nd time to transform the end tables my parent's got me for my first apartment into end tables for my son's first college apartment, it was super easy!
I loved the look of a stained top with a painted base, but it can go a little traditional for my personal tastes. This however, is right up my alley. The top is the blended portion from above and the base is Cathedral Gray! I love the contrast and it still feels modern yet shabby.
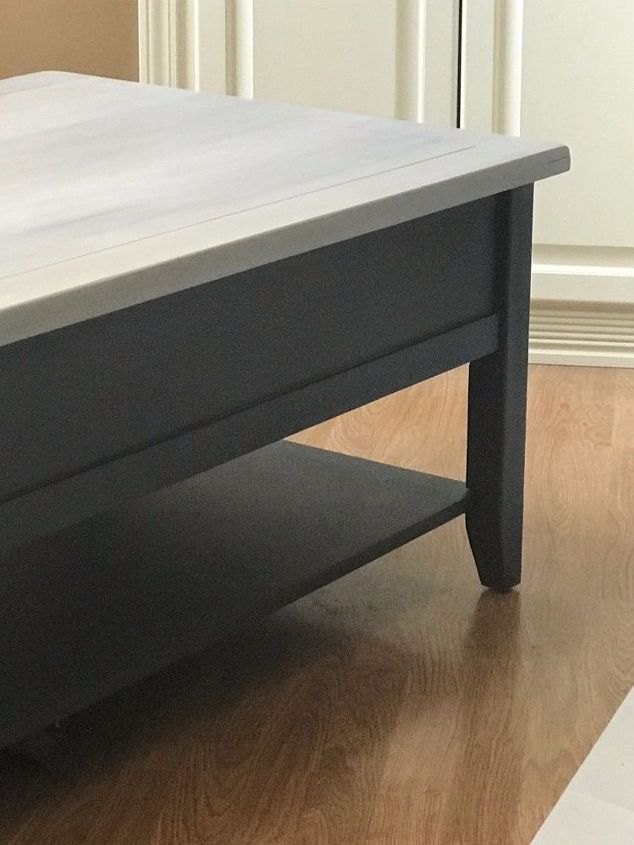
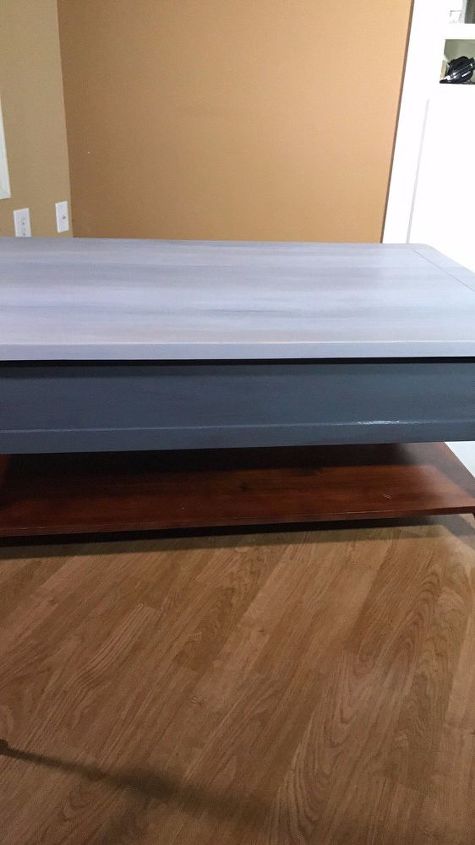
Here's the final look. Isn't she pretty! And I never put anything else on her except All In One Paint. No wax, no top coat, nothing. And believe me, we're not a formal family that eats in the dining room every day. We eat right at this coffee table because our living room is cozy and its my fav place to be. This table gets plenty of use. Because I work for Heirloom Traditions, I'm using this table for long term wear and tear testing. I don't use a coaster, I don't use placemats and it holds up. Now, will it hold up forever, no, nothing does. And would it hold up longer if I used magical things like coasters and placemats, ABSOLUTELY. But a girl's got to live....and test this out for you.
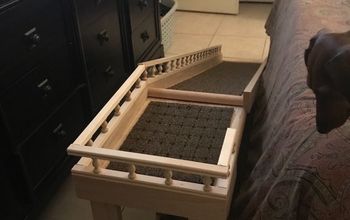
Here's round 2 on my end table makeovers. I thought it was so cool that these little oak end tables that my parent's bought me as a part of a living room set for mine and Brian's first apartment lasted long enough for me to give to my son. They're nothing special and not a traditional Heirloom by any means, but it put a little tear in my eye being able to hand them down. Any mom's of 1 know what I mean? Here are the differences I applied from what I learned above:
1. When I poured my all in one paints out onto paper plates, I spritzed them with one spray of water each. When I dipped my true applicator in to swipe the table top, this little bit of water allowed the paint to stay open longer.
2. This surface was much smaller than my coffee table which probably helped. If I were doing a large surface, like we'll be doing on the 11/14 live, I'll work in smaller areas, blending every 3-4 swipes with a damp True Applicator.
3. To give everything warmth, I added a wash of Cappuccino. This really helped to bring it all together, much like wax does. I had maybe 2 ounces of Cappuccino poured out on my plate still from my swiping and I added a tablespoon of water and mixed it up with a plastic spoon. Then I "washed" the whole table top with it giving it a translucent shading of the Cappuccino color. It was just perfect!
On the base of Jared's end tables, I used Finish All Paint in Weathervane because I wanted a super dark charcoal. Check out our previous blogs and lives on Finish All Paint. Its pretty amazing stuff as well.
And just in case you were wondering about the durability still, these end tables are sitting in the living room of my son's college apartment containing 3 basketball players, 2 of which are big boys 6'7" & 6'8". They're not easy on furniture! And the tables still look great! I know I work for Heirloom Traditions and am a little biased, but I swear this paint amazes more each time I use it. If you haven't tried All In One Paint yet, you really should. It makes DIY projects EASY and who doesn't love EASY!
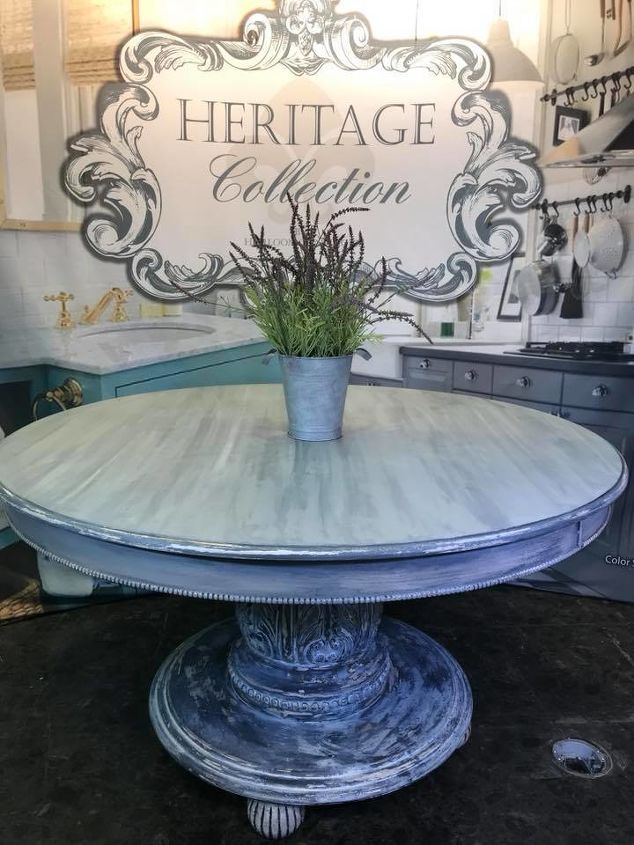
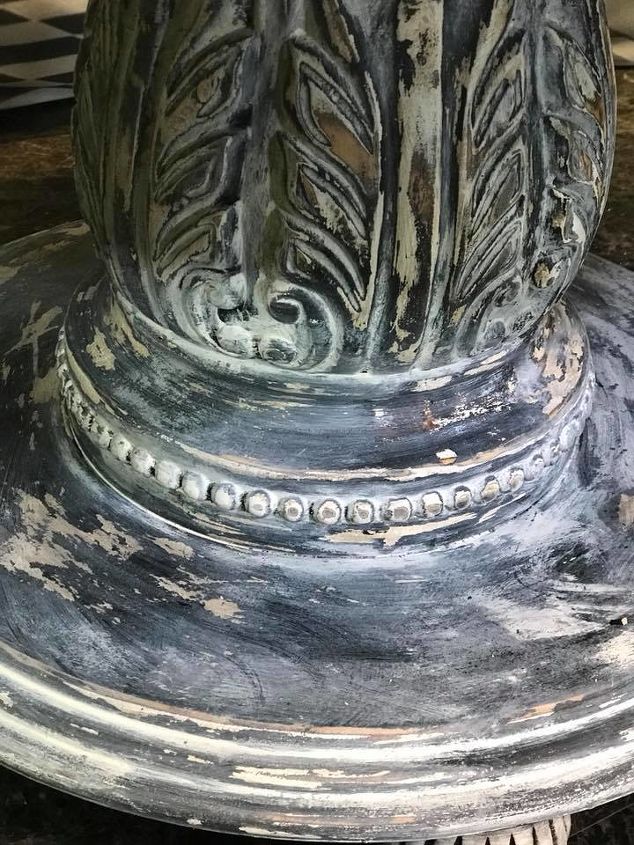
Here's the finished table from the love. We ended up using Manor House, Iron Gate and Cappucino on the top using the techniques described above. The base was painted in Iron Gate, heavily distressed (with a heavy grit sanding block, you have to do this while the paint is very green because its so durable) and then we used Manor House AIO Paint to antique it in a warm white. We put on the Manor House and then immediately removed it with both a dry rag and a damp rag to create different levels of antiquing. We used about 2 oz of the Cappuccino, 4 oz of the Manor House and about 10-12 oz of the Iron Gate. Very little paint and WOW is this piece a show stopper!
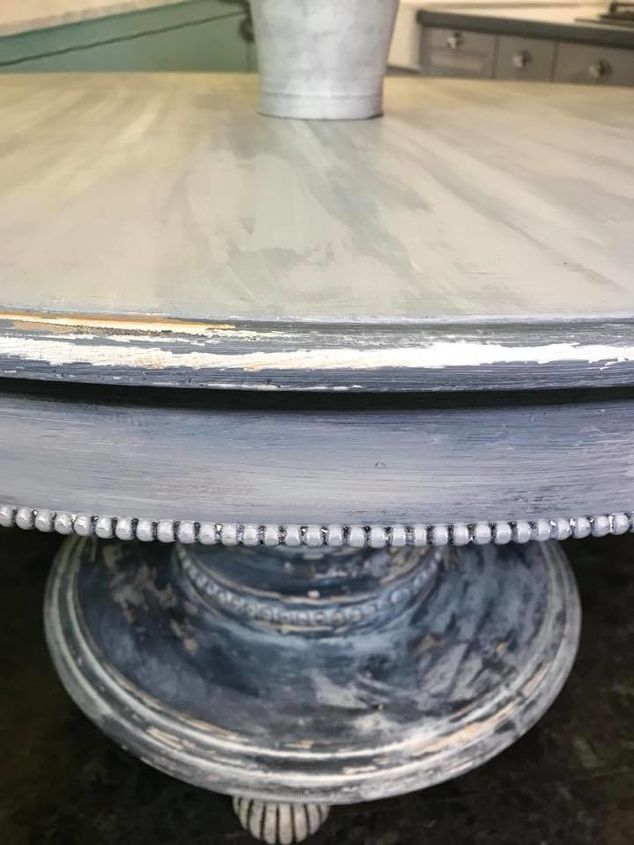
The details on this table begged for some distressing!
OMG! I'm serious in love! You can watch our Hometalk live here: https://www.facebook.com/Hometalk/videos/2559992264018314/


Frequently asked questions
Have a question about this project?