


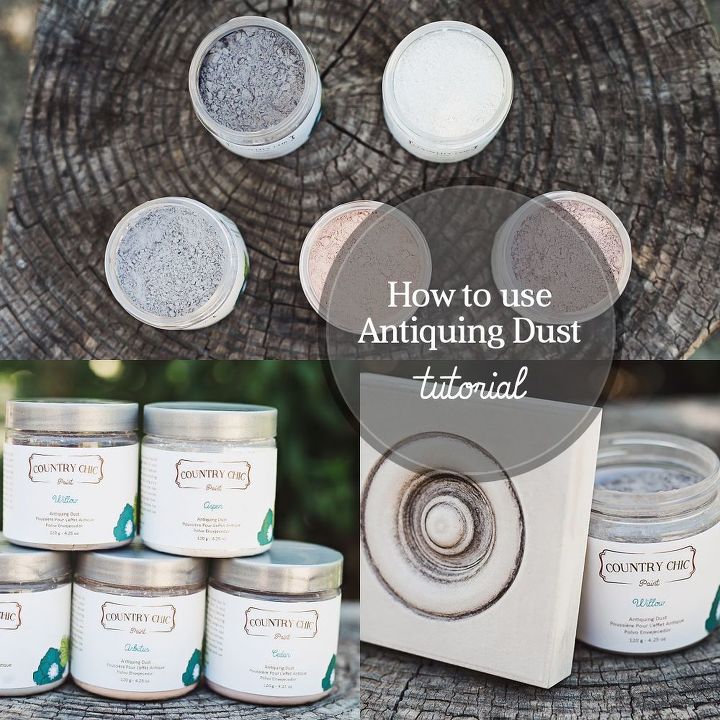
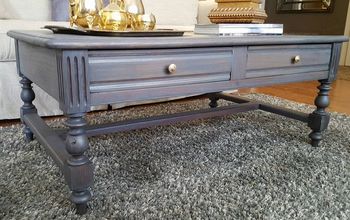
How To Use Antiquing Dust to Age Your Furniture

5 Materials
Do you love the look of antique furniture? Our easy to use Antiquing Dust allows you to add an authentic-looking aged effect to your projects!
In this tutorial company co-founder, Rosanne will show you how to use Antiquing Dust to add age and accentuate the details of your piece.
In this tutorial company co-founder, Rosanne will show you how to use Antiquing Dust to add age and accentuate the details of your piece.
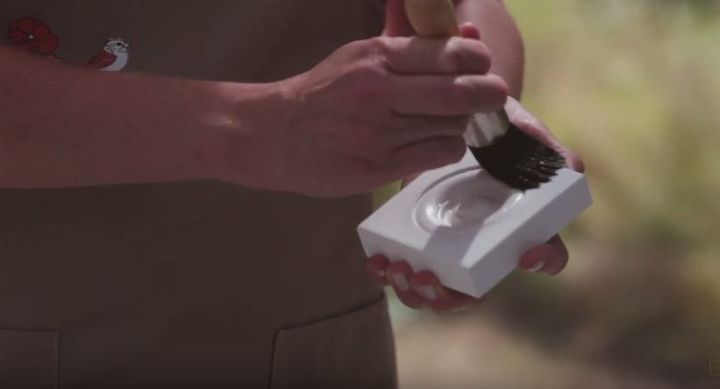
Step 1) Paint and wax your piece
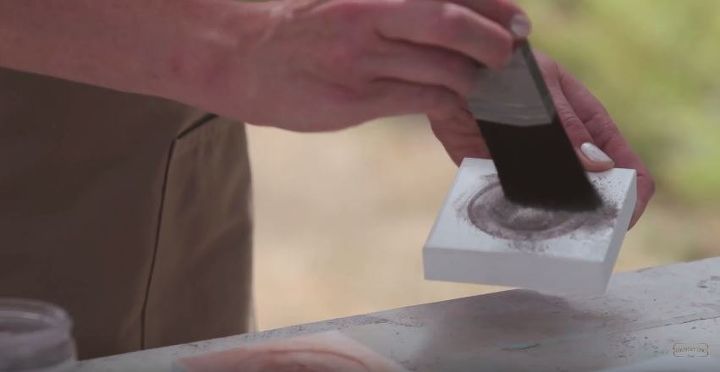
Step 2) Add some dust
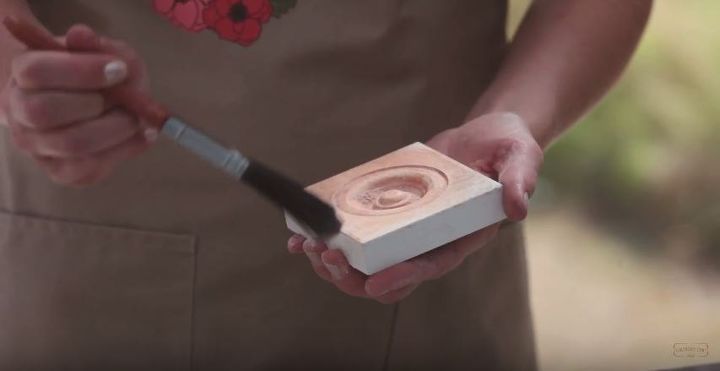
Step 3) Dust and buff
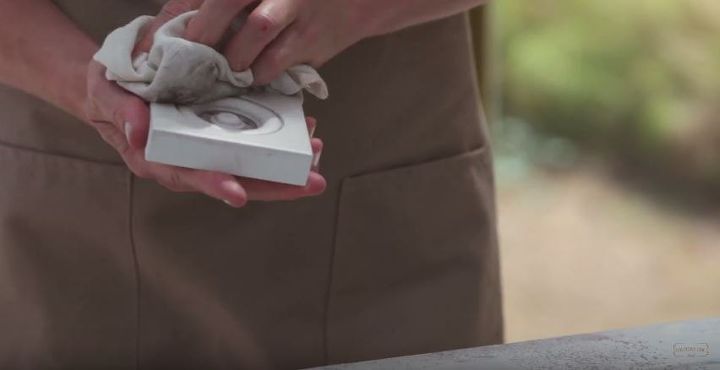
Please note: if you apply any more wax after this step, you'll end up removing some of the dust and losing the beautiful depth you just created.
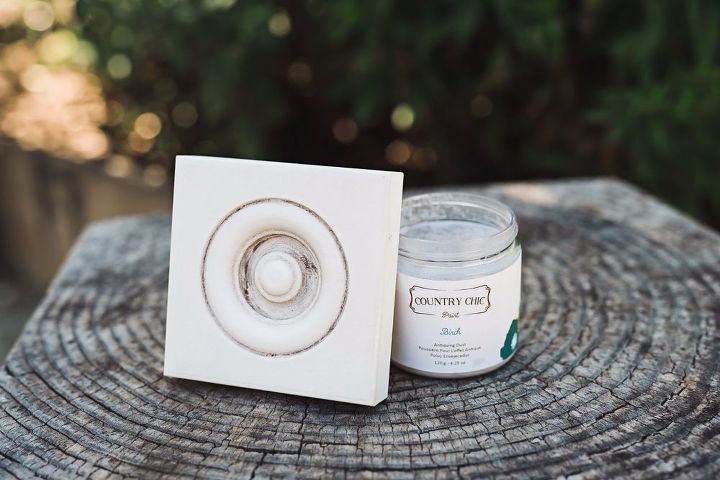
Birch
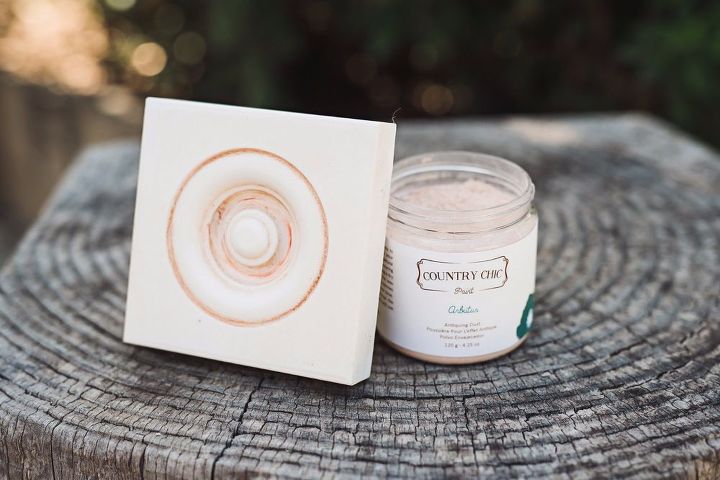
Arbutus
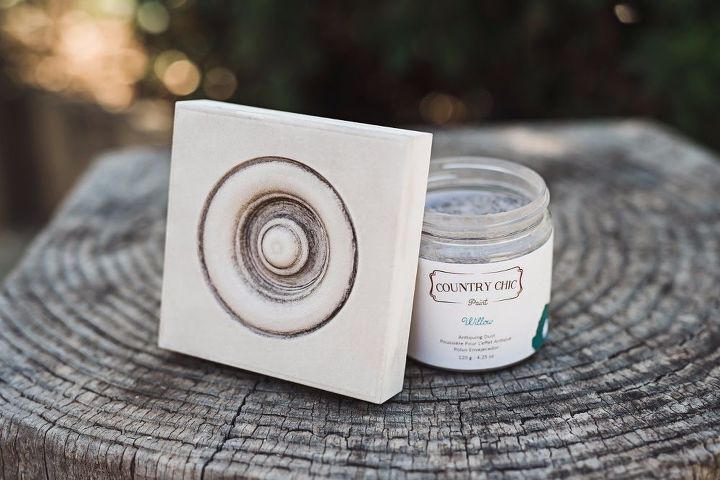
Willow
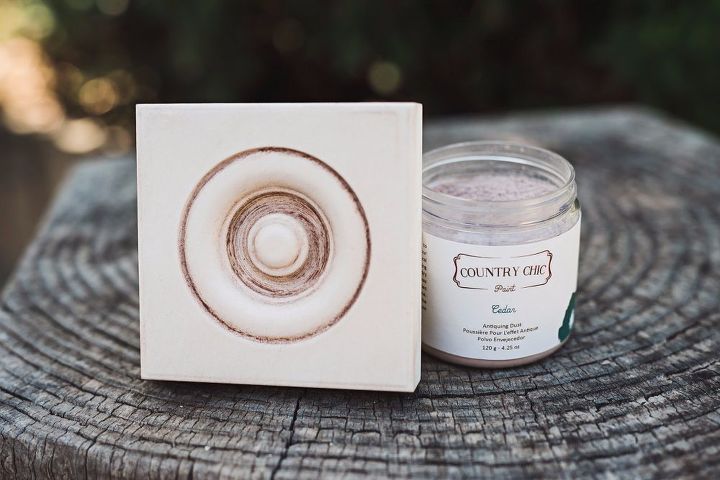
Cedar
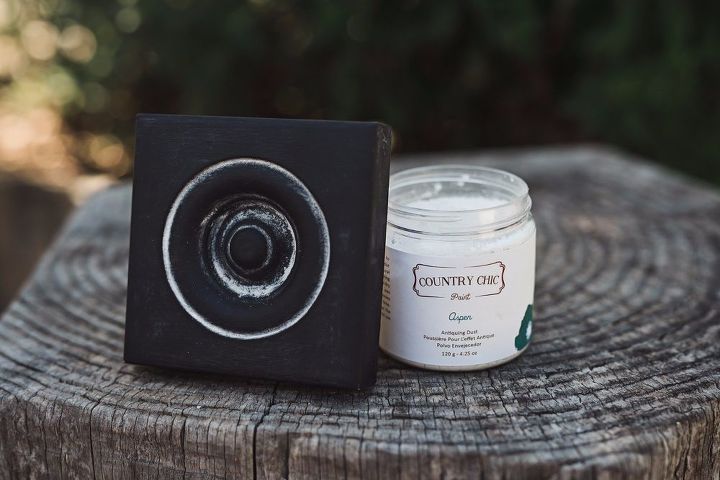
Aspen
{
"id": "3586382",
"alt": "",
"title": "",
"video_link": "https://www.youtube.com/embed/yfYHWpPWQww",
"youtube_video_id": "yfYHWpPWQww"
}
{
"width": 634,
"height": 357,
"showRelated": true
}
Watch this video to see our company co-founder, Rosanne applying Antiquing dust!


Frequently asked questions
Have a question about this project?