


Soar Into Style: How to Stencil Butterfly Wall Art

4 Materials
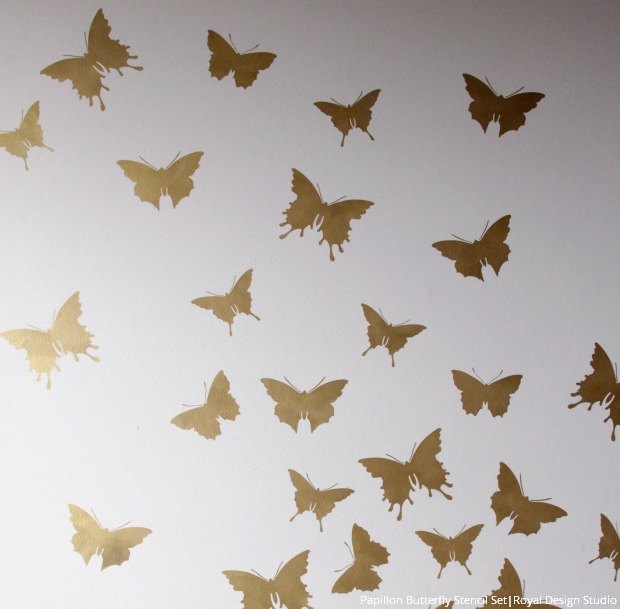
Royal Design Studio www.royaldesignstudio.com Wall Art Stencil Collection is full of ornamental patterns and motifs that allow you to play around with spacing and color treatments to create original designs that perfectly fit your space. This easy stencil DIY features our Papillion Butterfly Stencil Set to create a graceful wall treatment that is one of a kind. It’s a great way to add fluidity and movement to a room however you see fit.
Unlike repetitive Allover Stencils, Wall Art stencils hand the creative reins to you, so that you have complete control of where and how the pattern is painted onto the wall. Do you want a single design above your bed? Do you want a random design to cover a whole wall, or to repeat a motif to create a border? You can do that and more with Wall Art Stencils!
Unlike repetitive Allover Stencils, Wall Art stencils hand the creative reins to you, so that you have complete control of where and how the pattern is painted onto the wall. Do you want a single design above your bed? Do you want a random design to cover a whole wall, or to repeat a motif to create a border? You can do that and more with Wall Art Stencils!
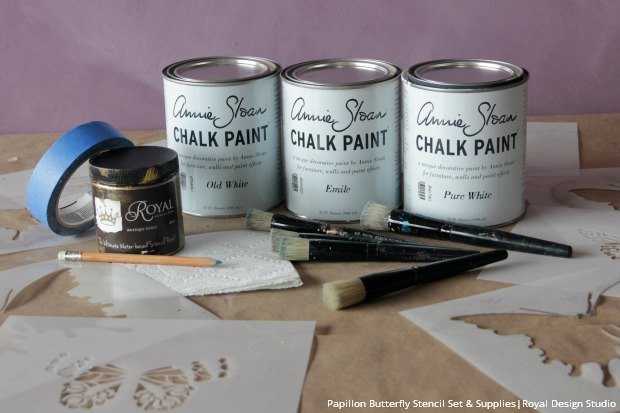
Supplies:
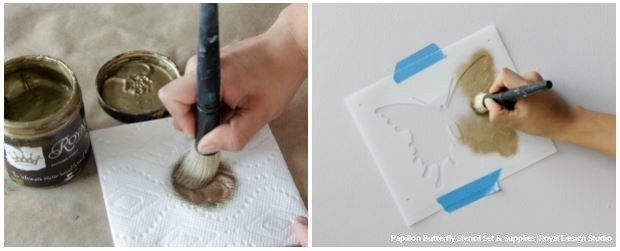
This collection of butterflies each has two layers to complete the design. The first layer is a silhouette shape that allows you to paint in a solid color overall. The second layer contains all the design details which you can paint all in one color, or use smaller stencil brushes to create a multicolor design.
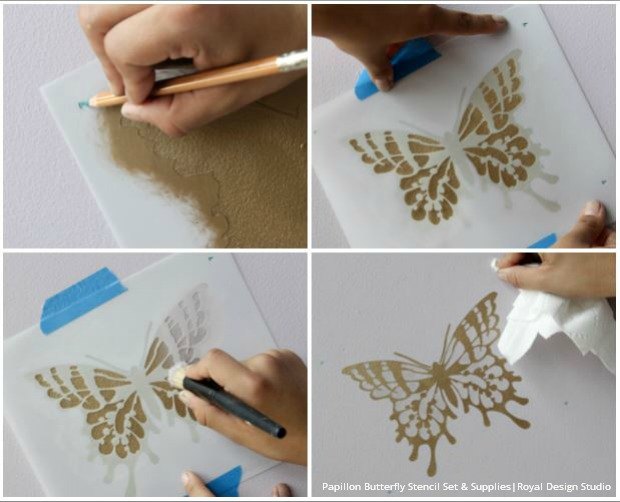
Two layer stencil patterns use a pinpoint registration marks to help you line up the second layer perfectly.
You may find it easiest to stencil ALL the first layers of butterflies first before stenciling the second layers.
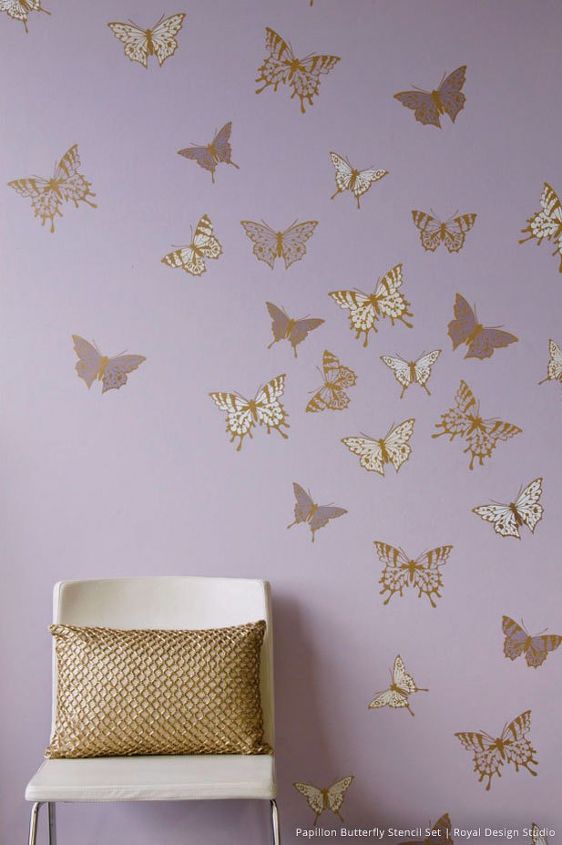
The beauty of stenciling a random butterfly designs is that you can do as much or as little as you want! You have total creative control over the colors and placement of your butterfly stencils, so BE creative.


Frequently asked questions
Have a question about this project?