


How to Paint and Stencil an Entire Room
There are a lot of things you can do to make painting and stenciling more convenient, efficient, and not as messy.
Here are 11 steps to take to paint and stencil an entire room.
1. Start by clearing out the room as best as you can and take anything off or out of the walls you are planning on painting. I like to sweep well before the next step.
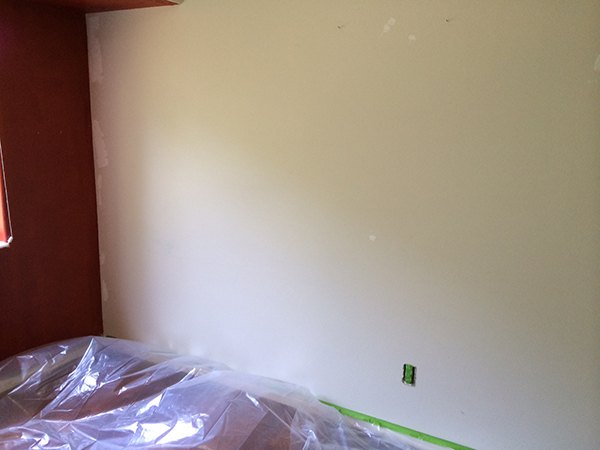
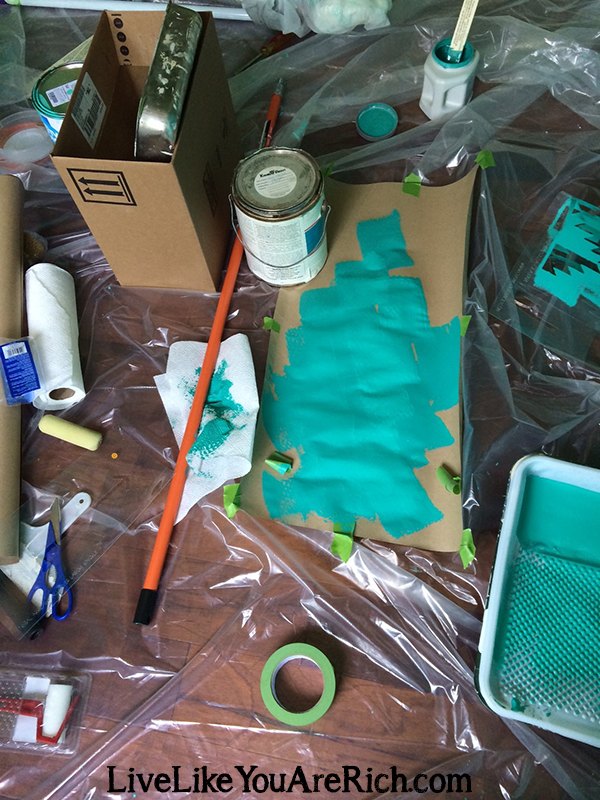
2. Lay down heavy duty plastic sheeting and go along the base boards with Multi-Purpose FrogTape® painters tape to secure the plastic to the tops of the base boards. Tape off electrical outlets, light switches, etc.
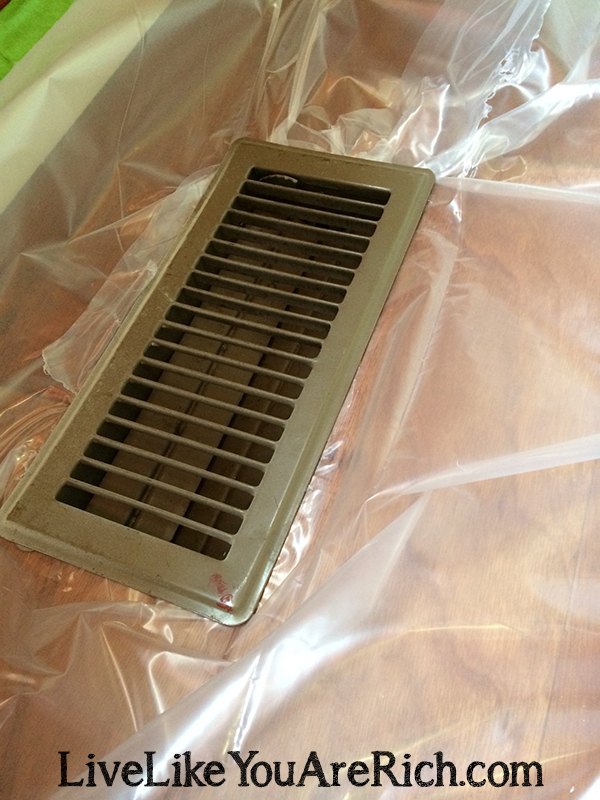
Make sure to cut a hole around any vent in the floor and tuck the plastic under the vent lip.
If your plastic is still bubbling up after tucking it into the vent, cut a few holes in areas where you are unlikely to spill or drip paint.
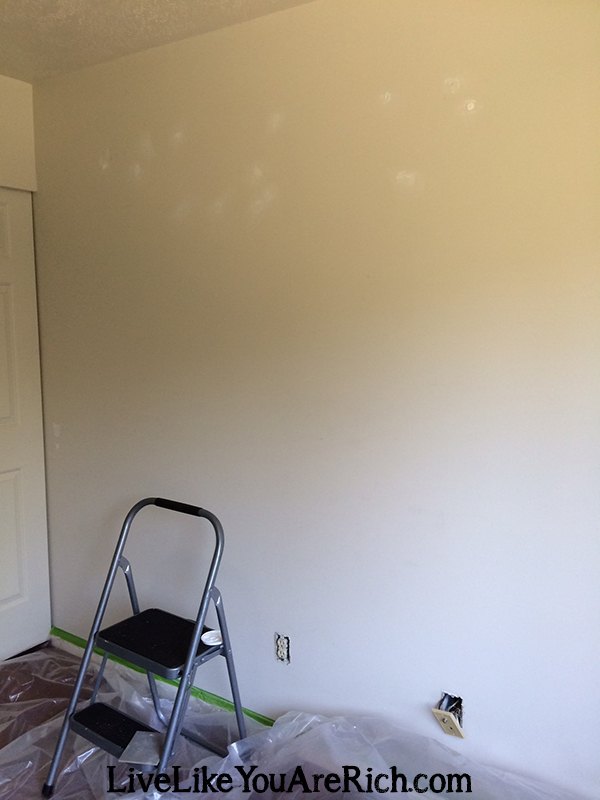
3. Put Spackle in any holes in the walls you will be painting with a putty knife and scrape off the additional putty. Allow it to dry.
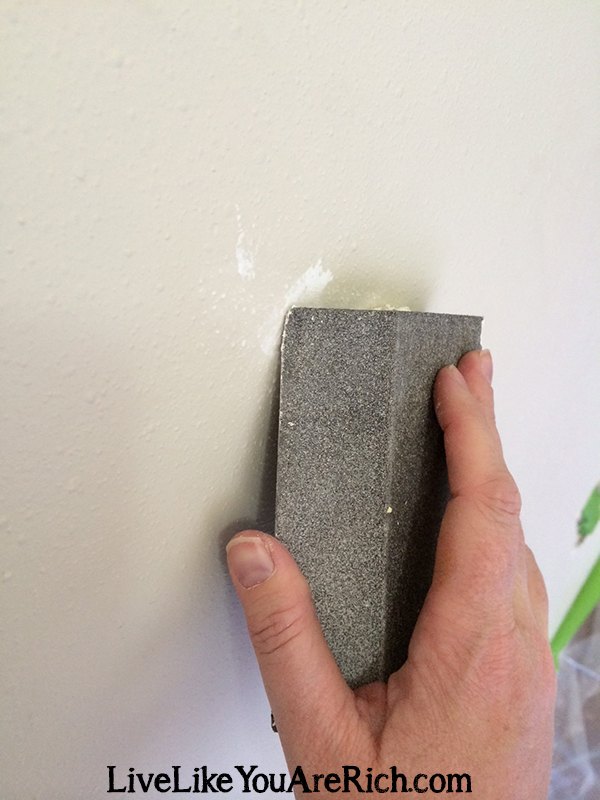
After it is dry (30 minutes or more depending on the brand) sand it with a sanding block or sandpaper until it is level with the wall.
4. Take a damp paper towel or a wet wipe and go along the baseboards to clean off any dust that may have landed from sanding off the Spackle.
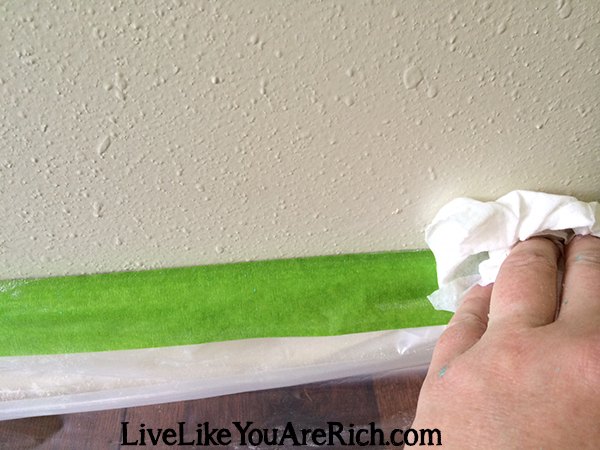
You can also do the Spackle and sanding before laying the plastic and taping off the base boards. Either way, you will need to clean up the dust that settles on the walls, baseboards, tape, etc. so that you don’t get dust on the paint tape or paint roller.
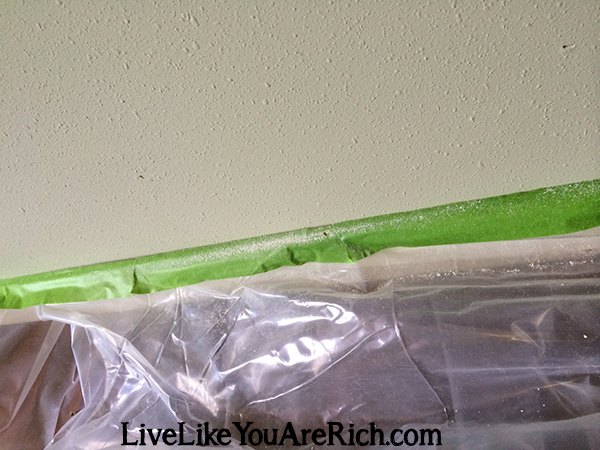
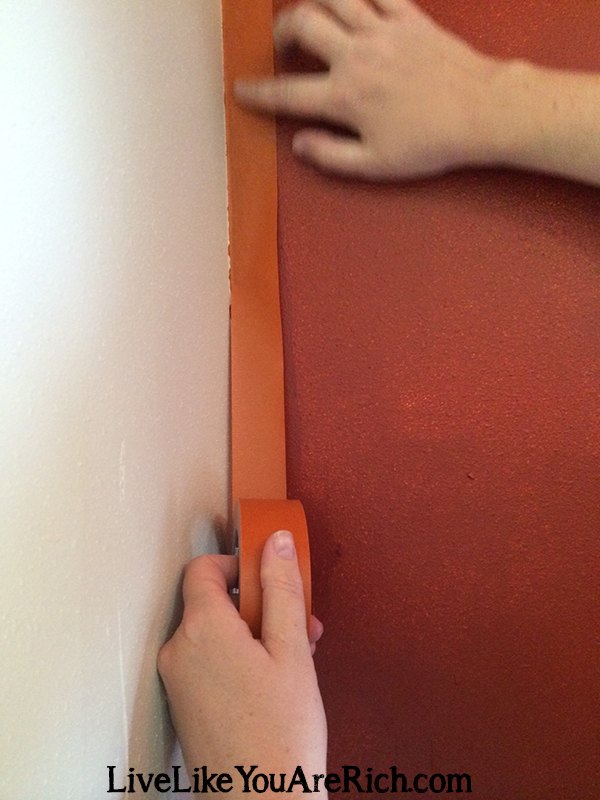
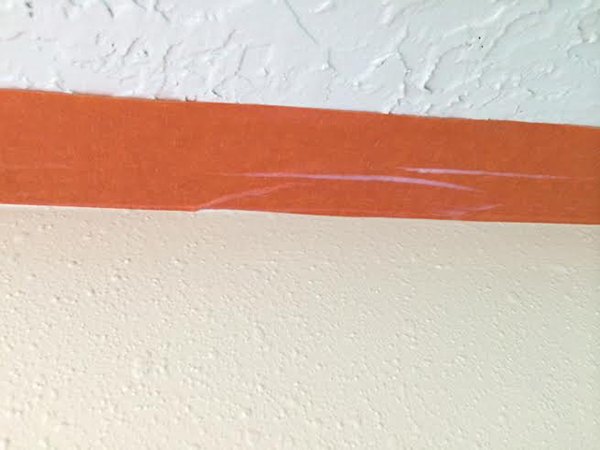
5. Next, tape off the walls and/or ceiling with FrogTape® Painters Tape. I recommend painting the ceiling first, then the walls, but that is just personal preference.
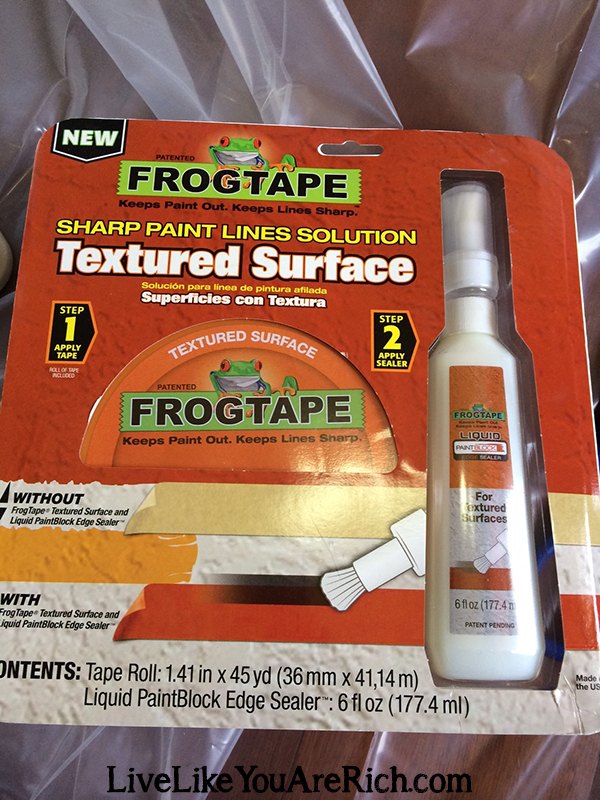
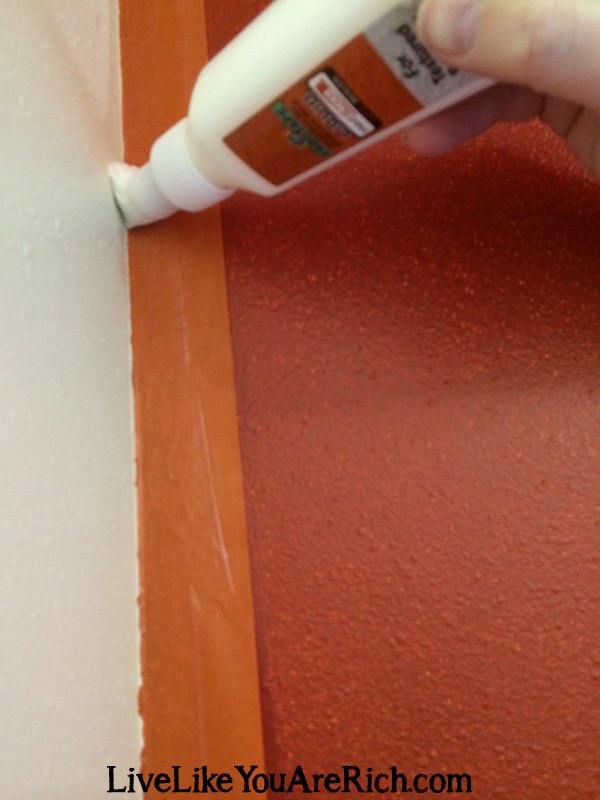
Next, I ran a coat of the Liquid Paint Block Edge Sealer along the sides of the tape to ensure a great line.
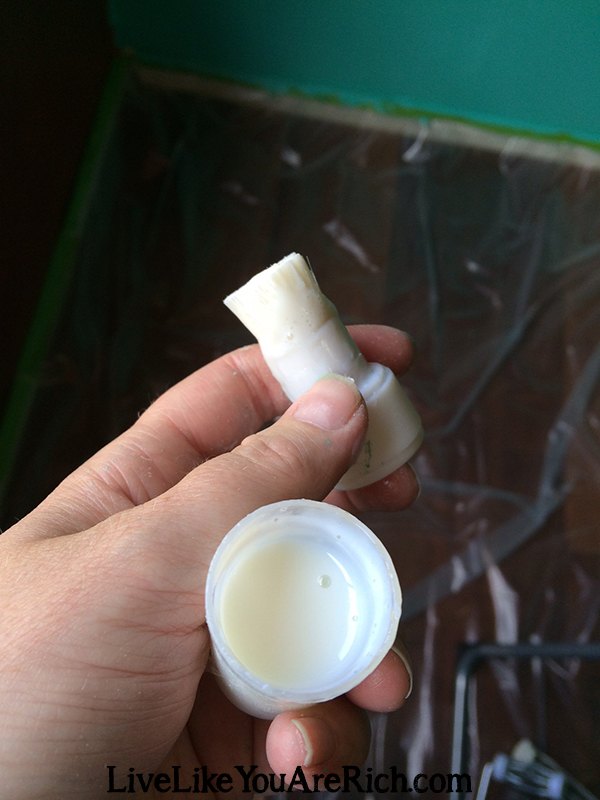
Tip-For the ceilings I took the lid off of the Block Edge Sealer, poured some of it into the cap, and used the brush attachment to get the ceiling tape sealed.
In the past, I have used clear paint painted on the edges of paint tape to block runs on textured surfaces.
6. If needed, prime the surfaces you are planning on painting. Then, paint the first coat of paint, let it dry, and paint the second coat (make sure to follow the individual paint instructions).

7. About 15 minutes after the last coat (but before the paint dries fully) pull the tape off of the baseboards and walls. Pull the tape off of the ceiling and walls very carefully.
If the plastic sheeting is heavy duty enough, you can simply pull the tape off of the base boards AND the plastic sheeting at the same time. that the wet paint that may still be on the tape doesn’t get all over.
8. Allow the paint to dry for at least 24 hours before stenciling on it.
9. Next, read the stencil instructions very carefully. I found that they were very thorough. Think carefully through how you want the pattern to look on your wall before beginning.
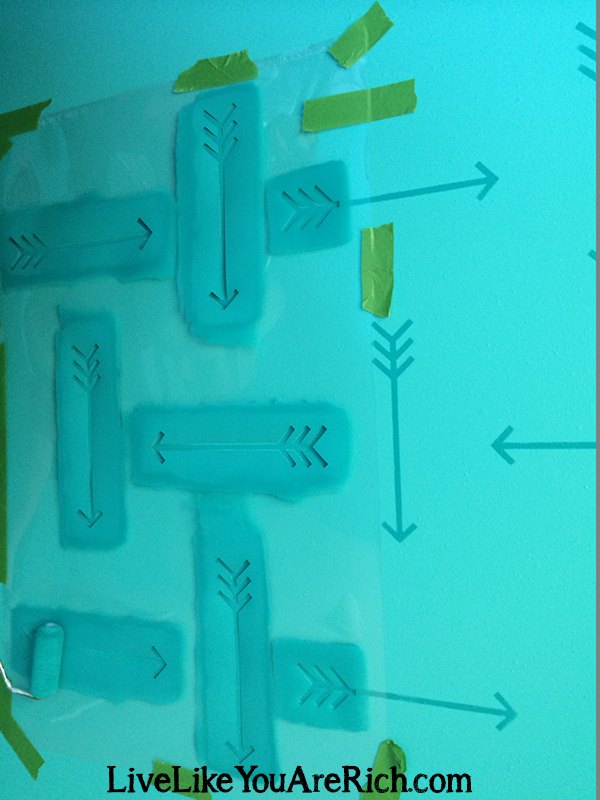
10. Start using Delicate FrogTape® (for freshly painted walls) or Multi-Purpose FrogTape® for 3+ day dry walls to hold the stencils on the wall.
The less paint you use on the roller the better the stencil will look. Granted you give it a few coats so you can see the stencil, but it needs to be very lightly coated. If you hit the stencil with a lot of paint on the roller, paint-bleed is sure to occur.
Stencils used were:
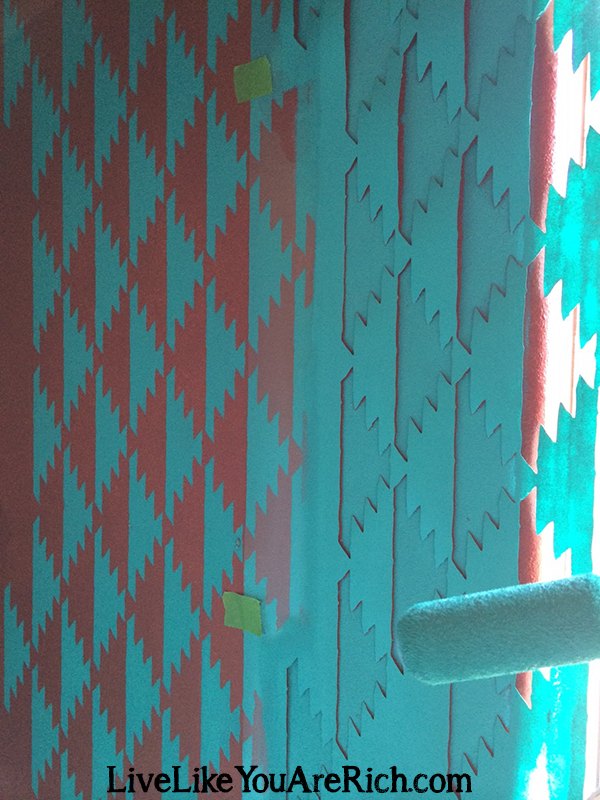
Navajo Allover Stencil Small (found here)
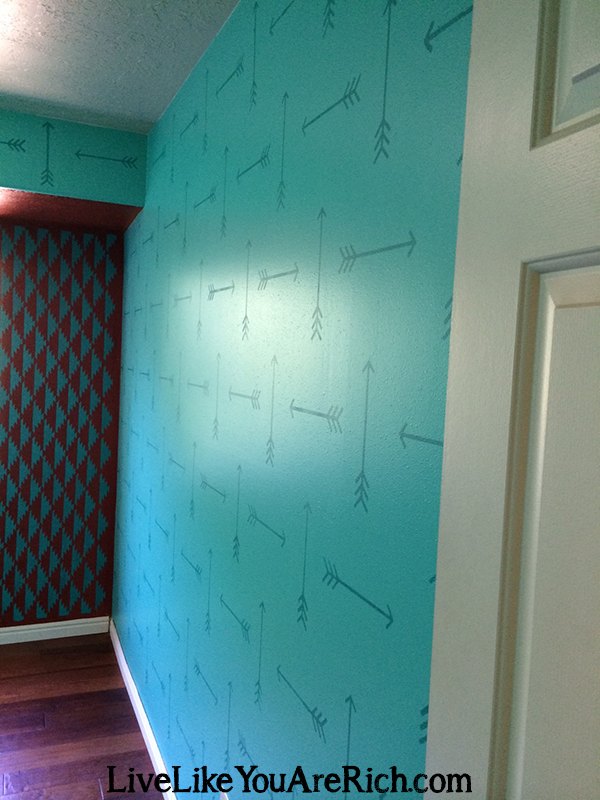
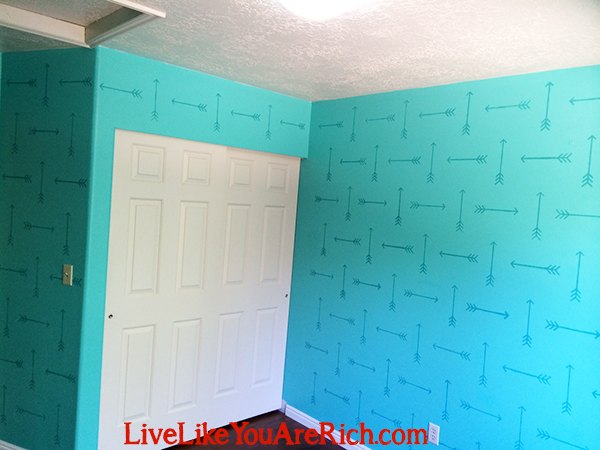
Trial Arrows Allover Large (found here)
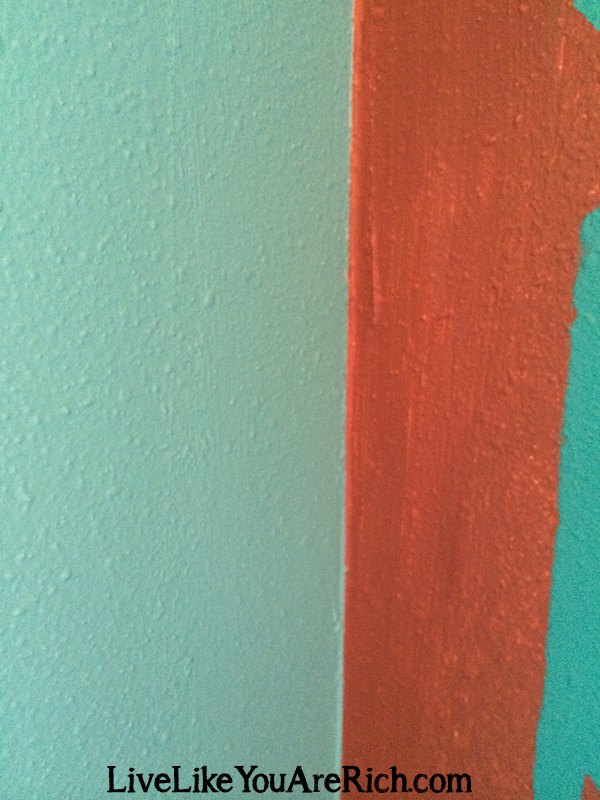
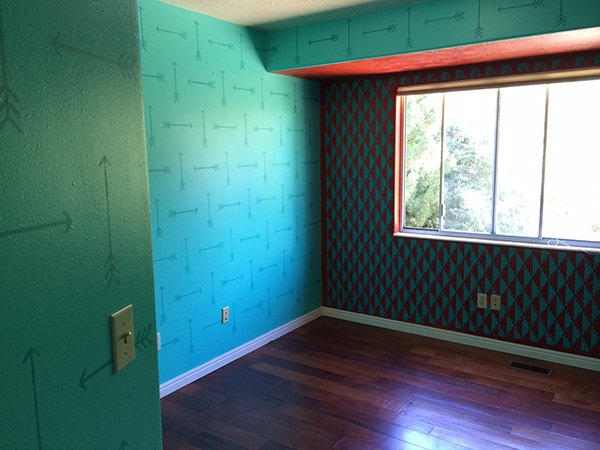
The paint used were: Sherwin Williams Synergy 6938 (lighter on 3 walls) and Turquish 6939 (the arrows and Navajo design color).
Midway through the project (we had a big surface area), we took our stencils into the kitchen and ran hot water over them. The paint peeled off the stencils quickly with really hot water. We cleaned them completely off and dried them in about 10 minutes.
Finally, we kept wet-naps/wet wipes on or near us for any leaks, mess ups, etc. with the stencils and cleaned them up as soon as we could as we went along.
10. When you are finished go around with a small paint or foam brush and touch up any designs that came through too lightly. Also, use a wet wipe and wipe up any areas that are too messy.
11. Once you are done, take everything that is on the plastic sheeting that you don’t want to throw away off it.
There you have it. That is how to paint and stencil an entire room in an efficient, clean, and speedy (as possible) manner.


Frequently asked questions
Have a question about this project?