


Daytek Retractable Clothesline, Restring or Repair Part 1 of 2 Parts

3 Materials
$10
1 Hour
Easy
Our backyard undercover clothes line from Daytek needed new line and some of the existing lines had started to sag. I searched the ‘net’ for a ‘How to’ to repair it and couldn’t find anything. So I thought here’s an opportunity to fix it myself and upload a ‘How To’ myself.
This particular unit is an older model, however the principals should be similar for most of the retractable lines currently available I believe.
There are a few how to photos, so this post needed to be in 2 parts
Any comments or questions will be appreciated.
Here's the finished line, all tensioned correctly and safely fixed to the brick wall.
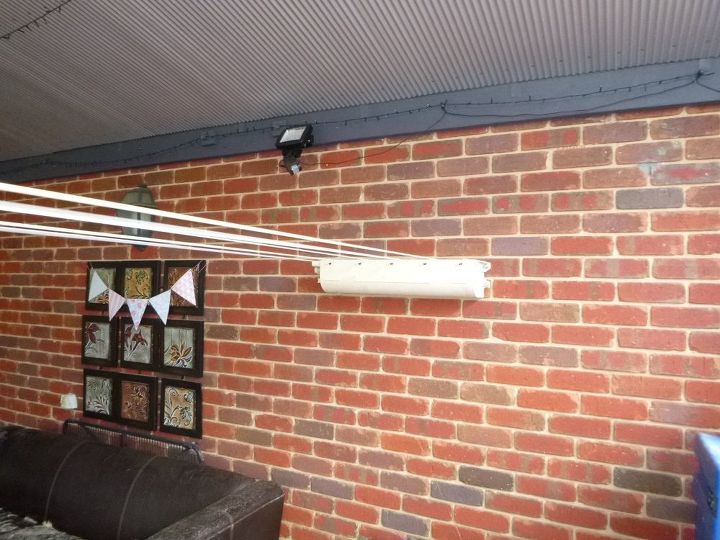
Broken line and others sagging, making wash day a bit of a hassle.
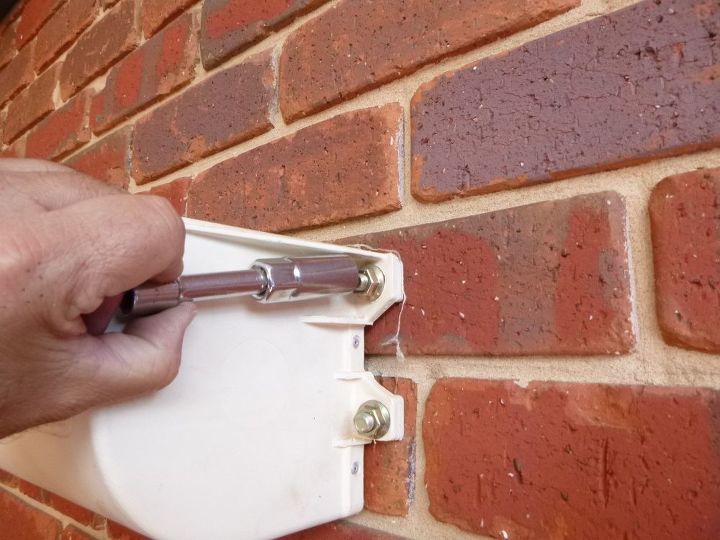
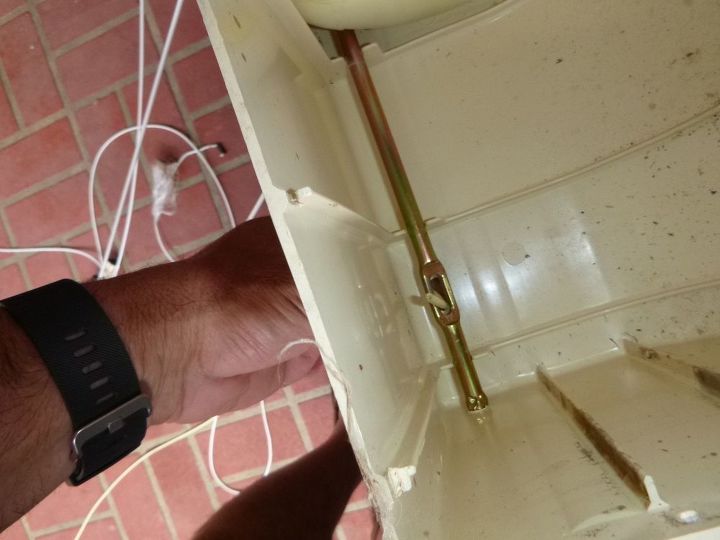
Removal of the retract unit from the wall
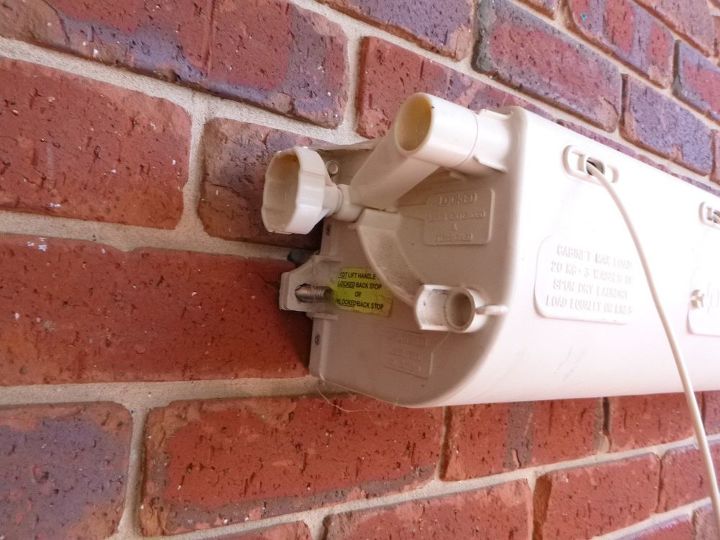
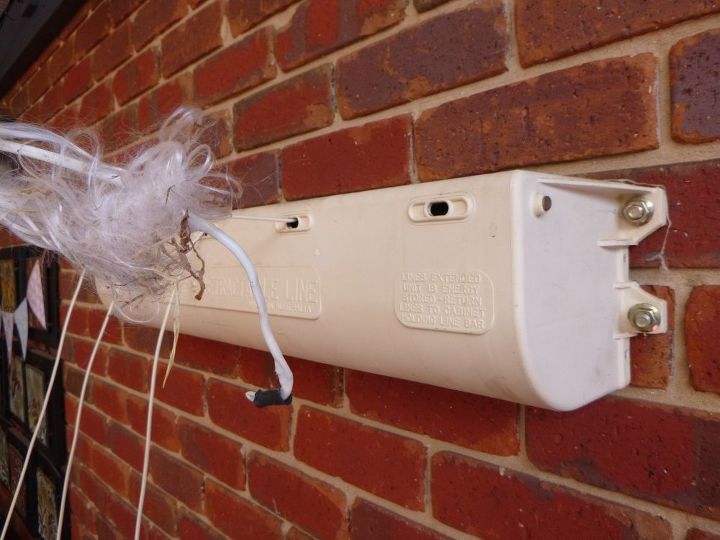
The other side of the unit showing the lock and other dynabolts used for fixing it to the brick wall.
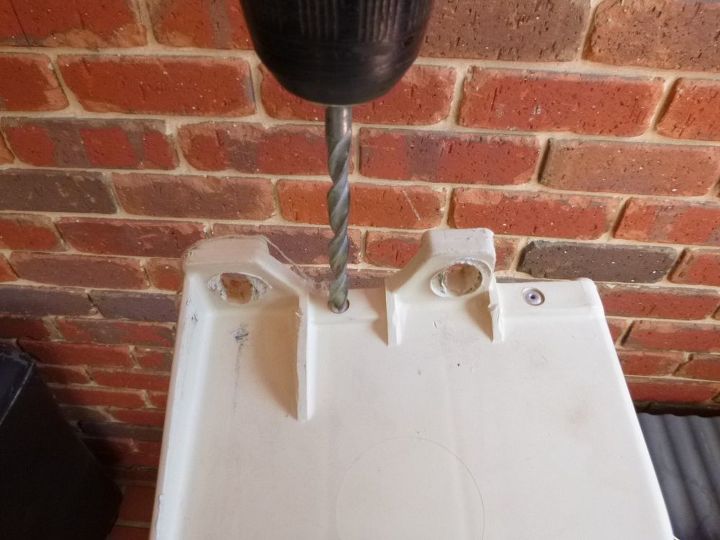
Using an 'Oversized' drill-bit to remove the 'head' of the pop rivet to allow the back to be removed for an internal inspection of the drum and tensioner units. Make sure you only drill out the head of the pop rivet and not all the way through otherwise you will damage the unit or make the holes too large and won't be able to refit the back
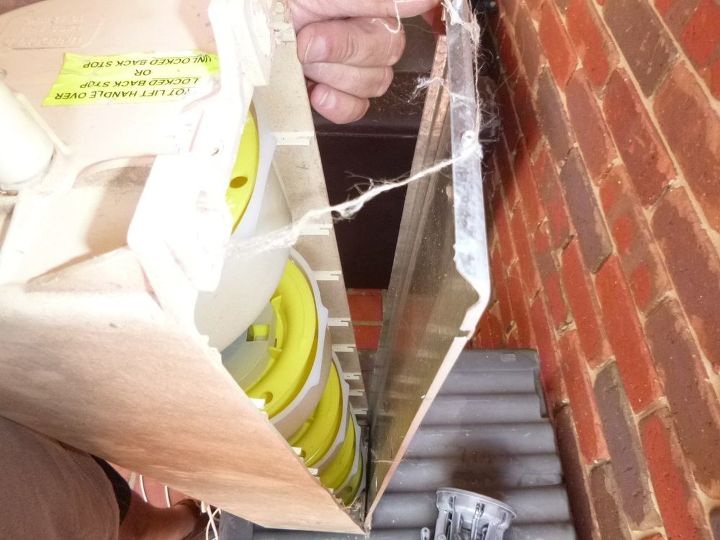
Inspecting the inner-workings of the unit, this has been home to spiders.
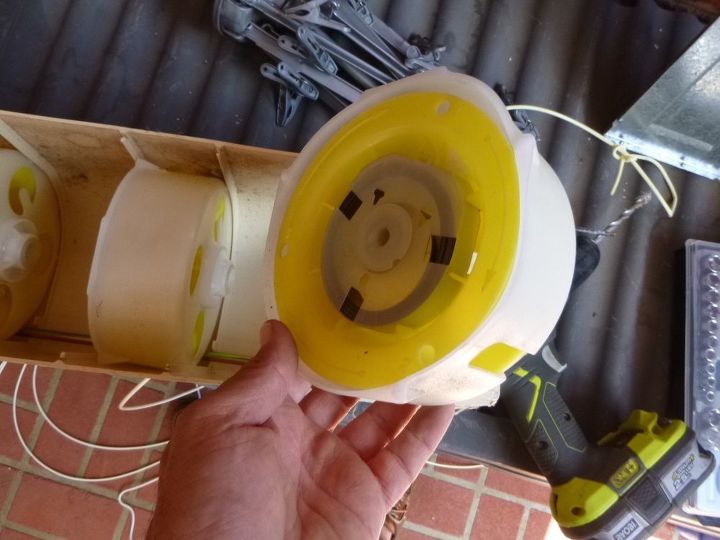
Inspection of the drum unit, it all looks quite serviceable except for the missing line. Check the retract spring mechanism (make sure that you don't catch your fingers and the spring is well enclosed as the tension held by the spring could be quite dangerous if it gets out of the drum).

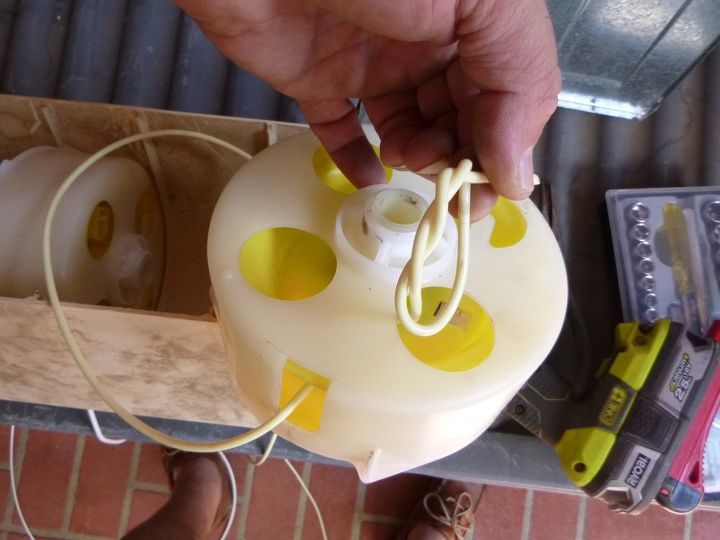
Winding on tension to the spring in the 'line drum unit'. I used a screw driver to hold tension on the drum, by lining up a hole on each side of the reel and drum unit and slid in the screwdriver; once I carefully added 25 full turns on the spring, so it was fully tensioned. The length of line is 20' (or 5.5m long).
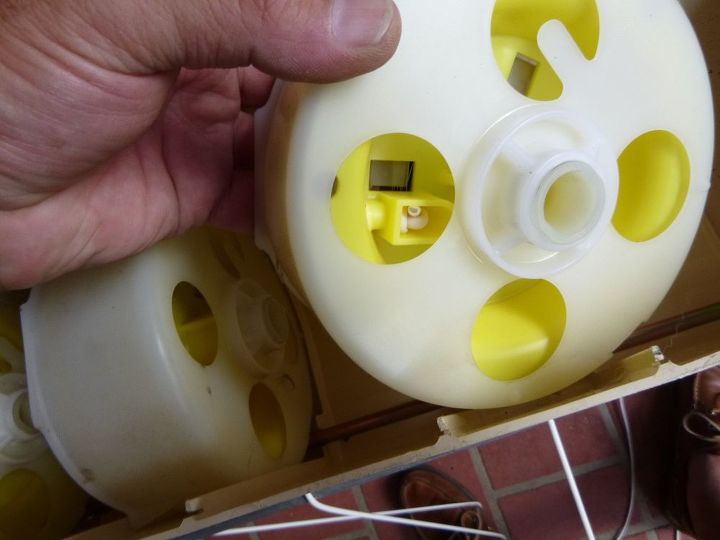
You should be able to just see where the new line needs to be knotted on the reel just inside the drum unit. There's a slot in the drum where the line is fed through and it is a little tricky to get it lined up, look at one of the other drum units which still has line attached to see how it's supposed to be threaded.
Threading the new line into the Outer housing through the line brake (this tensions the line so wet clothes don't touch the ground)
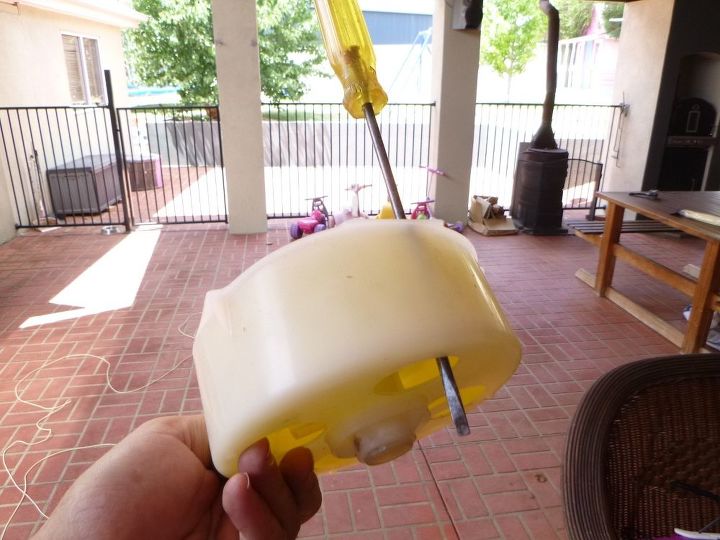
Screwdriver in position after unit is tensioned
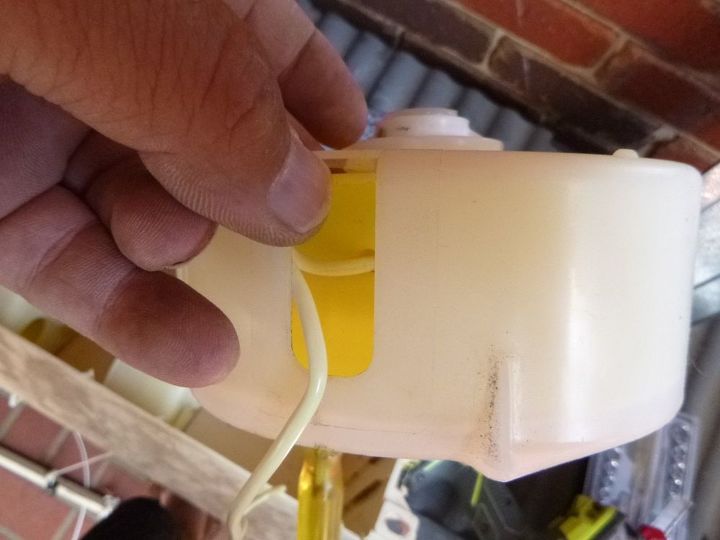
Feeding the new line into the reel and front of the drum unit
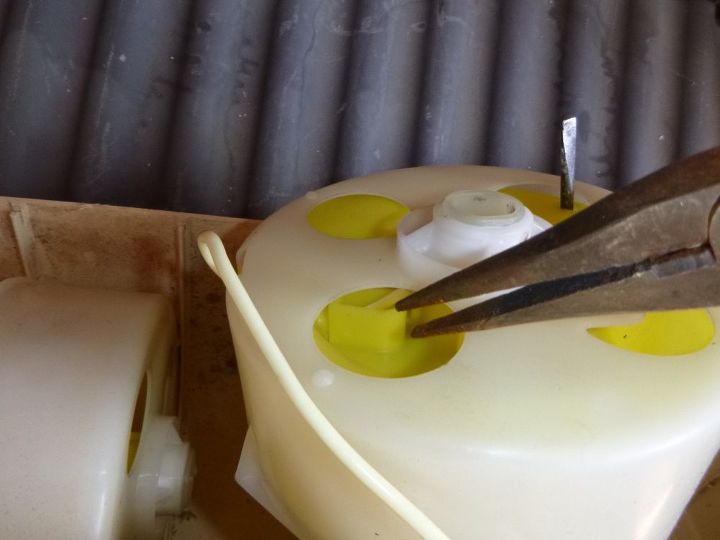
Using needle nose pliers to get the new line before tying it off with a double knot.
A double overhand knot to make sure it won't slip and the knot is large enough so it won't slip through the hole in the reel and come loose


Frequently asked questions
Have a question about this project?