


Installing Window Trim (Jambs) & Casings

by
Sherry
3 Materials
$25
2 Hours
Easy
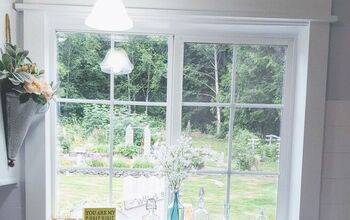
Window trim/molding is an easy project to tackle and it really dresses up the window. Either replacing old, damaged molding or putting up new, this project can make a big impact for very little money.

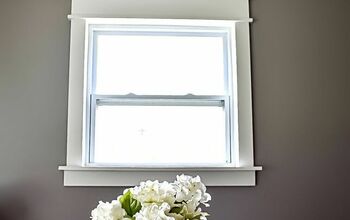
This is a new window, so what you're seeing is the window wrap before any trim or moldings have been added.
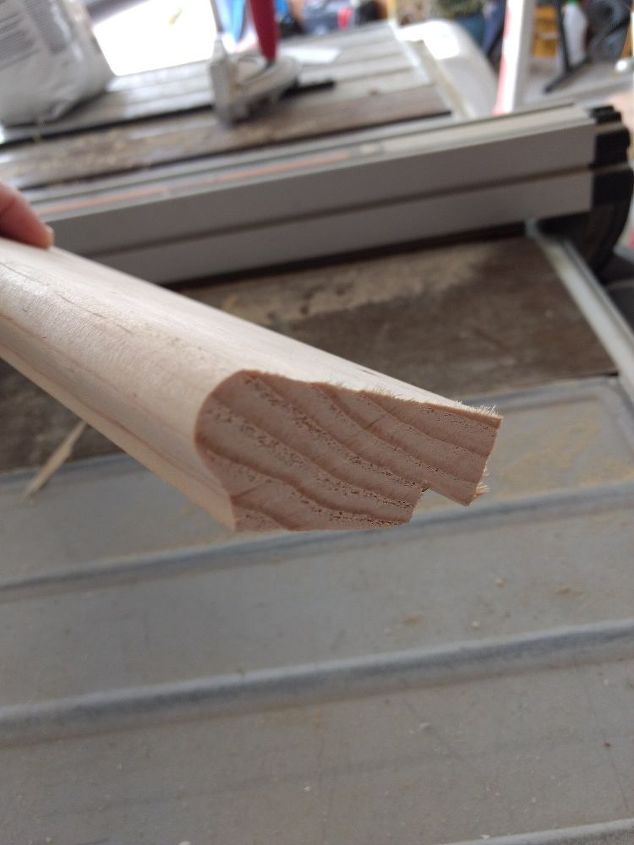
This is the window stool (or sill) that I used. It's the most expensive part of the trim. This is 3 1/4" wide (or deep) and the other standard width is 5 1/4". I went with this because I like the thickness of it and the front profile. It allowed me to keep the rest of the trim rather simple and I also didn't have to trim down the width. This was also a closer match to all of the other windows in my home.
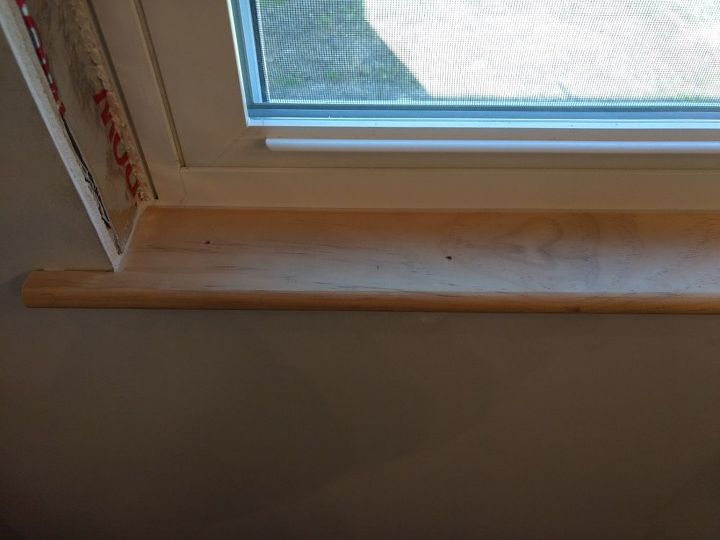
Window stool installed.
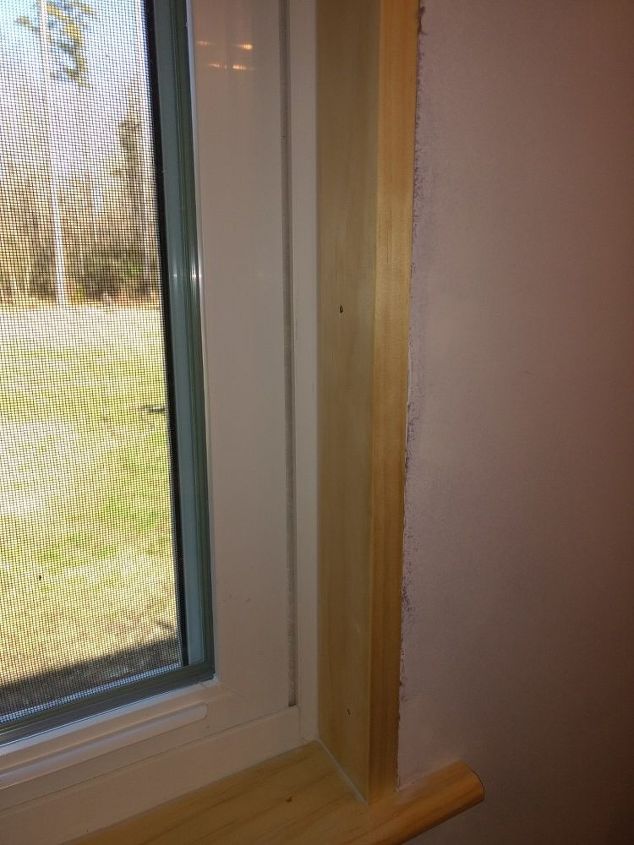
Side jambs installed.
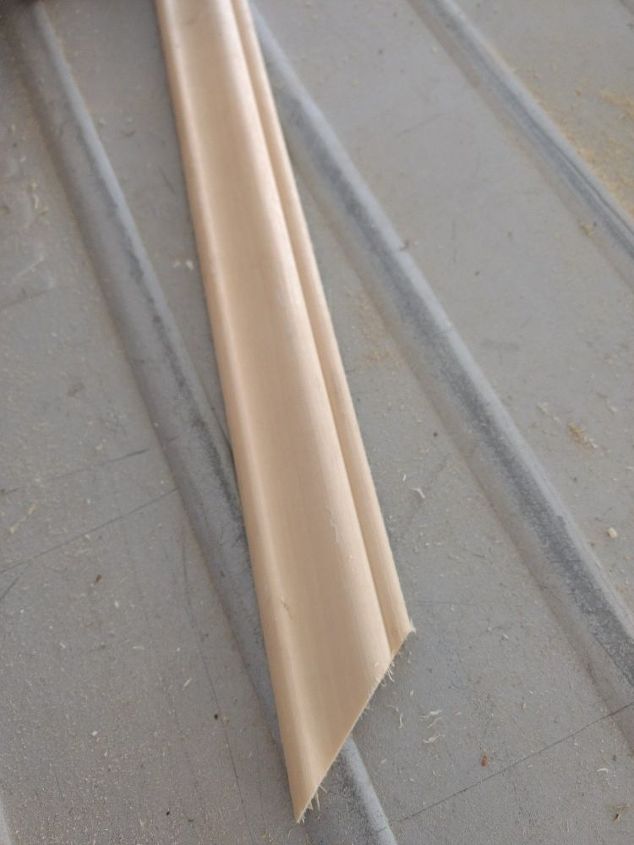
This is the trim piece I used for the apron below the window.
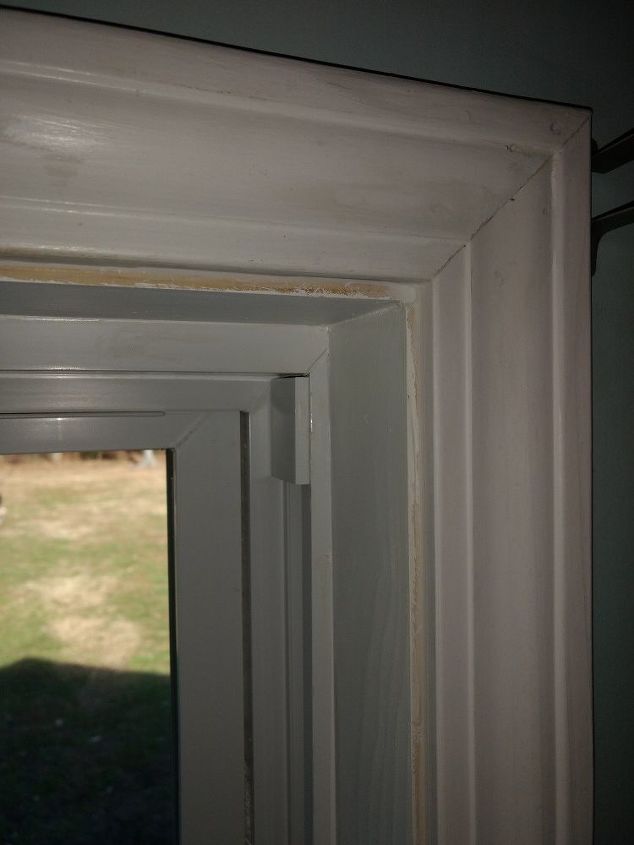
One of the upper corners, showing the 45° angle and the setback (before touching up the nail holes & painting).
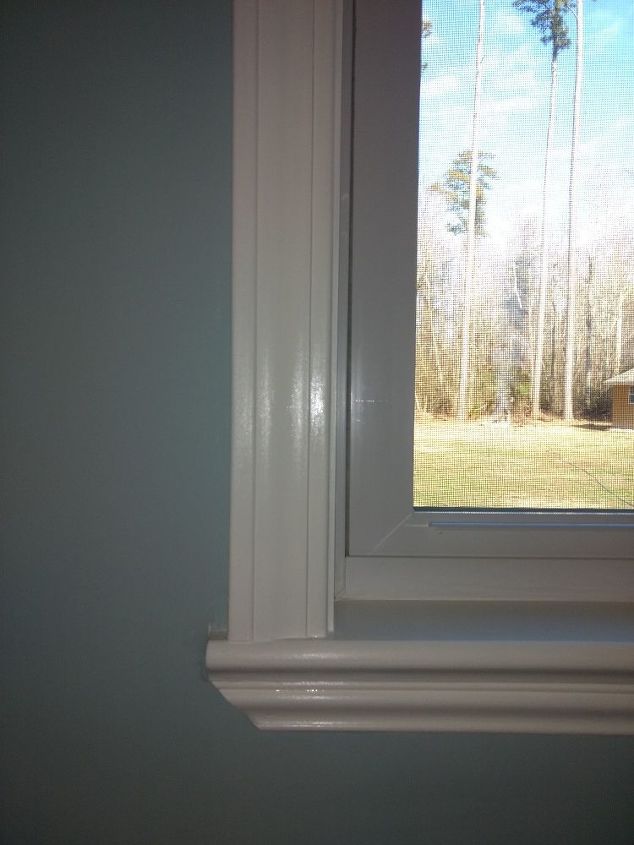
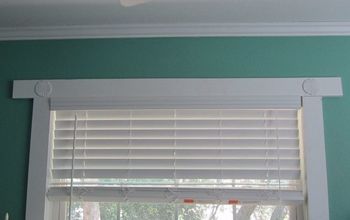
Finished trim/molding on bottom left of window.
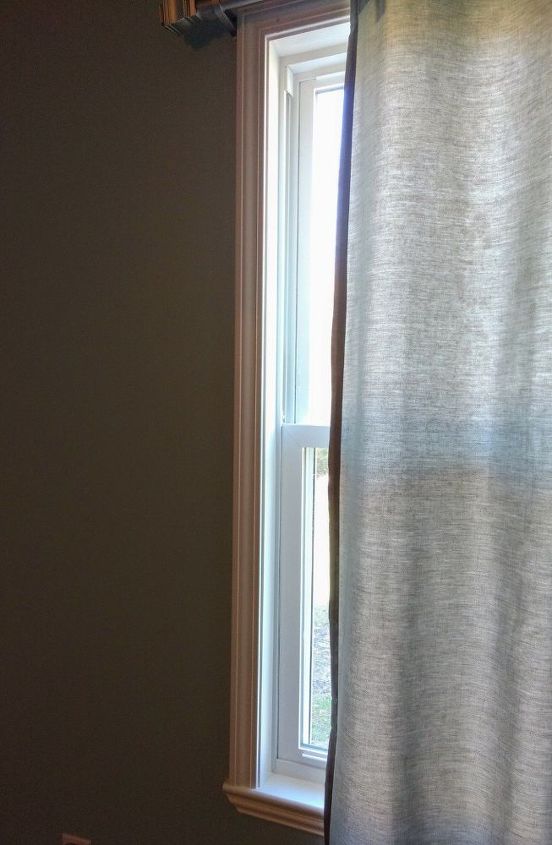
Here's a picture of the full length of the window. I couldn't get a shot of the whole window because of the lighting. It kept coming out to dark.
Resources for this project:


3 1/4'' Window sill
Any price and availability information displayed on [relevant Amazon Site(s), as applicable] at the time of purchase will apply to the purchase of this product.
Hometalk may collect a small share of sales from the links on this page.More info


Frequently asked questions
Have a question about this project?