


How to a Cute Bookcase Stairs Makeover For Just $50

Today, I’m going to show you a simple DIY stairs makeover. My stairs are a little boring and drab, plus they have gaps between the steps, so you can see all my storage mess!
So, I’m going to transform them into bookcase stairs, which are larger on one side than the other, and have storage space for books or other items.
Want to see how I completed this bookcase stairs makeover on a budget of only $50? Keep reading!
Tools and materials:
- Marker
- Paper
- Jigsaw
- Sander
- Plywood
- Measuring tape
- Nails
- Hammer
- Level
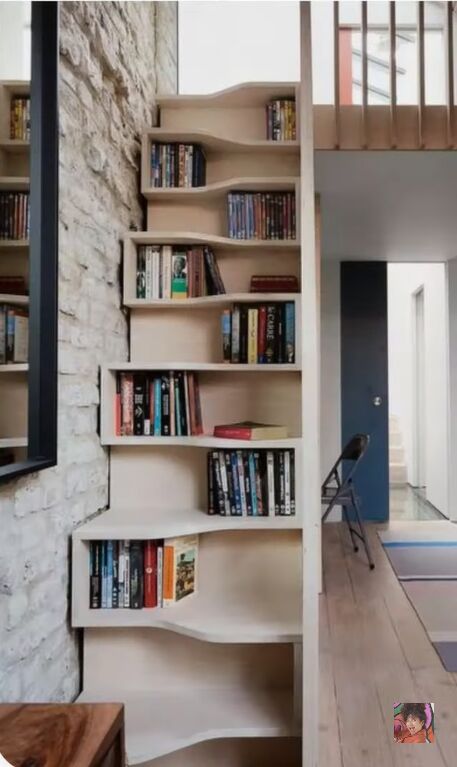
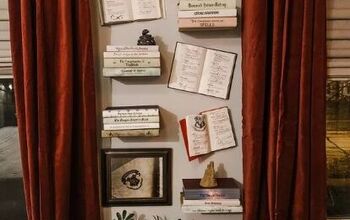
These are the stairs I am trying to emulate. This style is called alternating tread stairs, as you have to walk up them a certain way. With stairs in this style, you can actually make the staircase steeper.
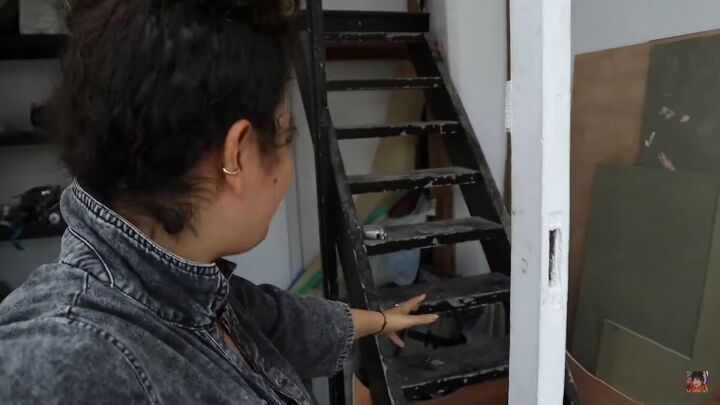
I’m not going to build a new staircase, but rather modify the staircase I already have.
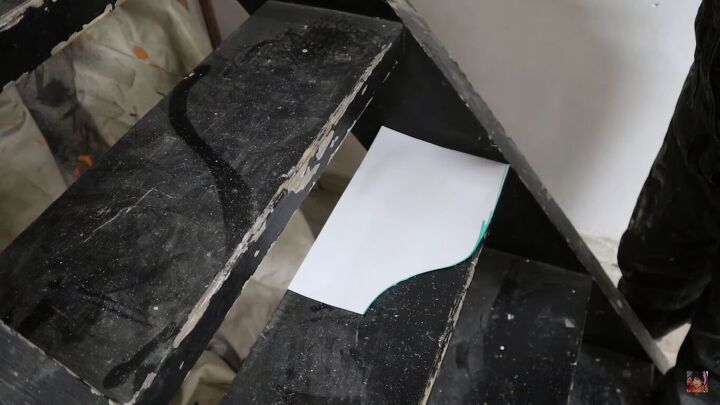
1. Make the shape
Draw a wavy shape that has more volume on one side compared to the other. Then, cut the shape out.

I tend to step with my right foot first, so I’ll start by placing the larger part on the right, then flip it on alternating steps.
Tip: to figure out which foot you lead with, fall forward from standing and see which foot automatically stops your fall first.
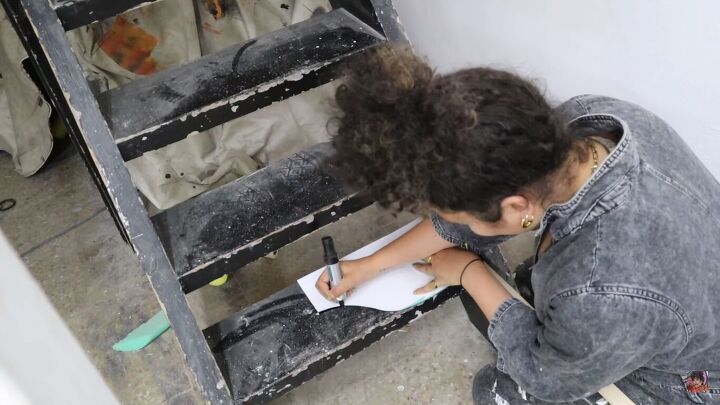
Use the stencil to draw the shapes on the stairs.
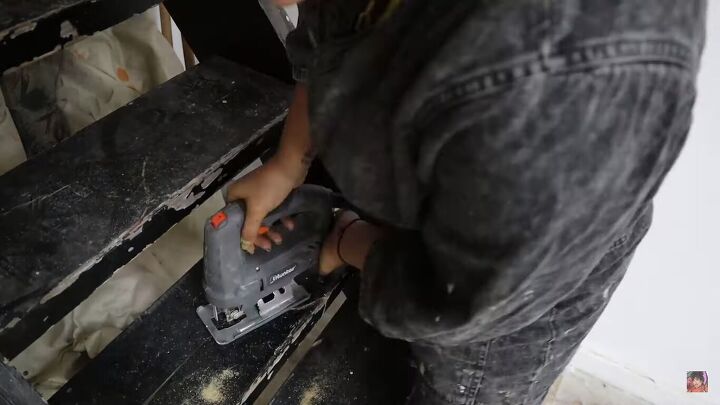
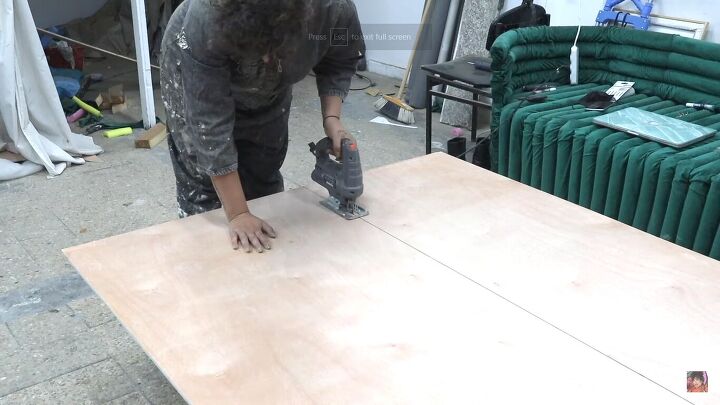
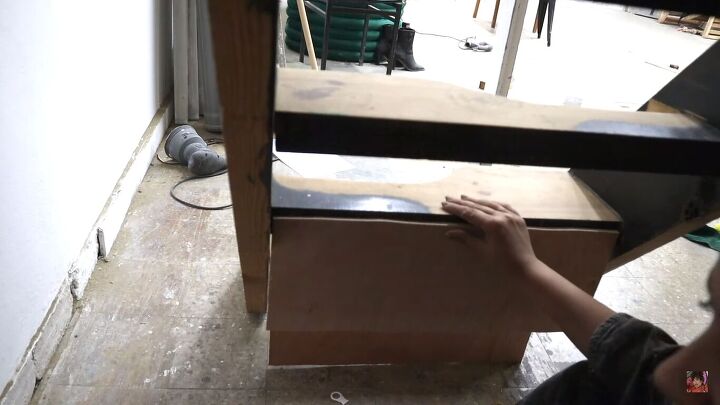
2. Cut the shapes
Use a jigsaw to follow the lines you just drew and cut out the shapes on the stairs.
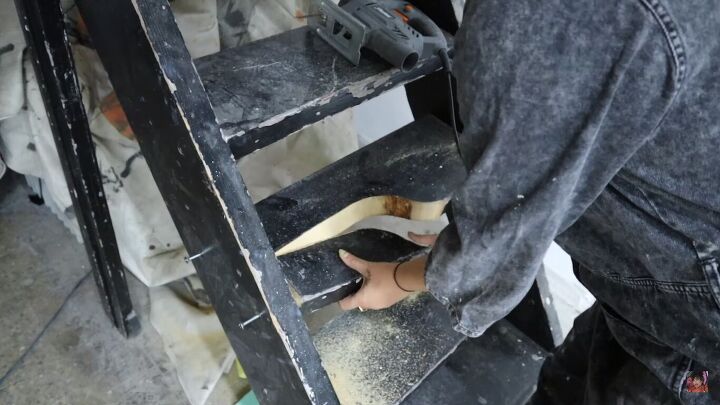
You’ll also need to unscrew the parts you cut off.
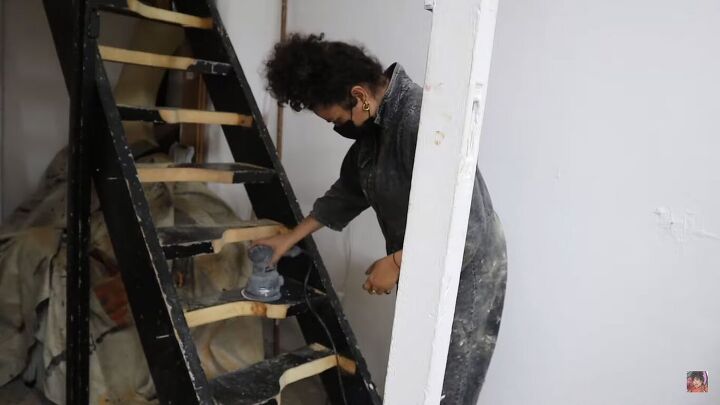
3. Sand the stairs
I won’t lie to you, the sanding process took me over 4 hours, as I needed to sand off all the black paint.
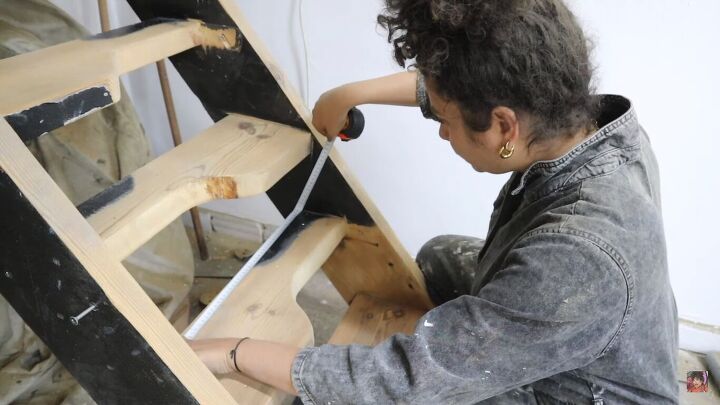
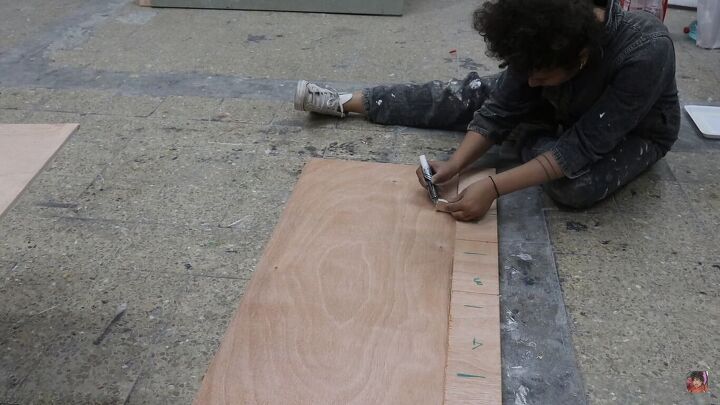
4. Make the risers
The stair risers are the vertical backs of the stairs. To make these, measure the length of the treads first. Then, transfer this measurement onto your plywood.
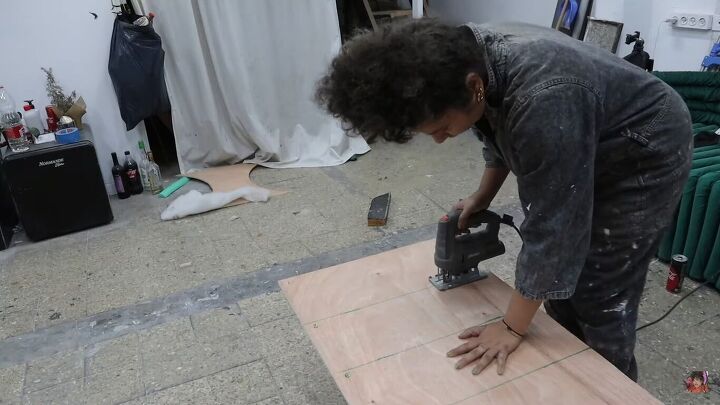
Cut a long piece of plywood the width of your stairs using a jigsaw.

Now calculate the height of the stairs. I used a scrap piece of wood for this. Note that not all the gaps may be the same height.
Label the segments 1, 2, 3 etc. Then mark them out on your cut plywood piece.
Cut the pieces out.
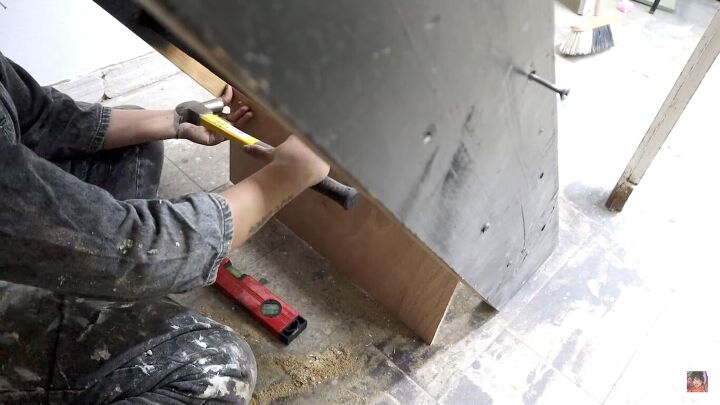
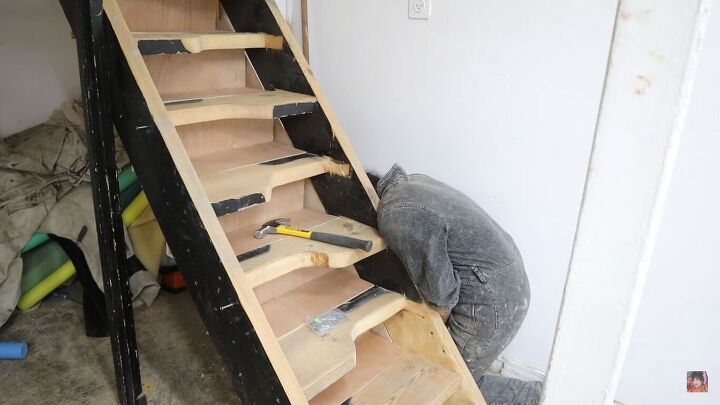
5. Attach the risers
Now it’s time to nail the risers in place. Use a level to make sure the risers are straight.
Remember to leave a gap in the width of your plywood between the stair edge and the riser. This is for the second part that we’ll make and attach next.

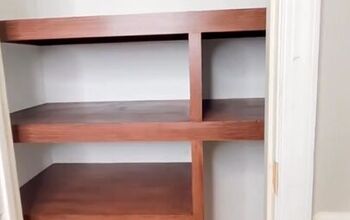
6. Make the back of the stairs
Repeat the same steps as before to cut out the back of the stairs in plywood. This part will be the built-in storage.
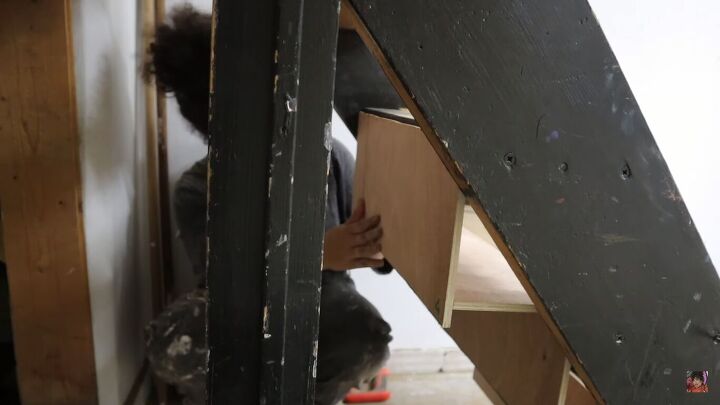
Nail the back to the top edge of the lower step and the bottom edge of the upper step, as shown above.
Remember, this part of the stair isn’t used as a step, so it doesn’t need to hold your body weight.
7. Make the sides
To cover the gaps in the sides, measure and cut a long piece of plywood, then nail it in place.
Give everything a final sand to finish.
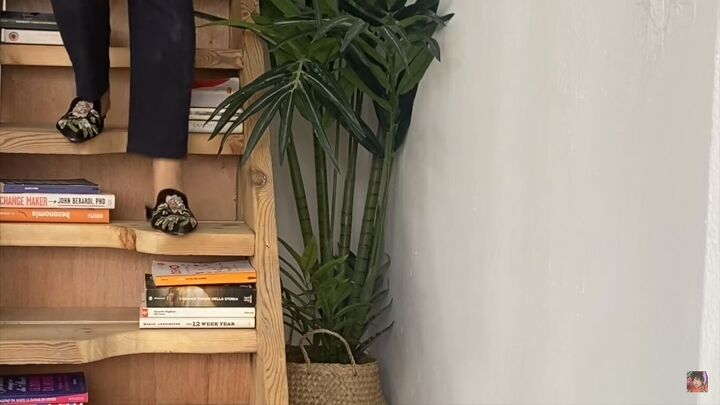

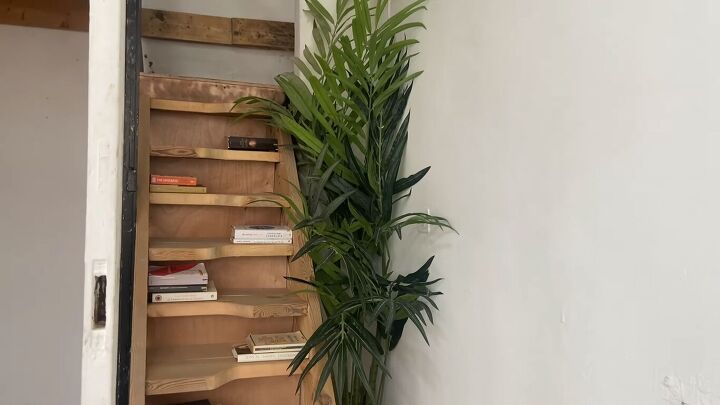
Stairs makeover
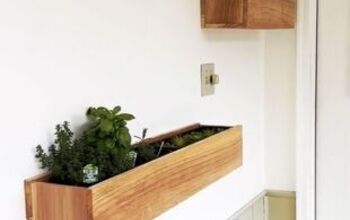
Here are the finished DIY alternating tread stairs with book storage! You could also put plants or other items in the storage spaces.
I plan to paint these once I have a color scheme for my room, or I may finish them with a coat of varnish.
What do you think of this bookcase stairs makeover? Let me know your thoughts and feedback in the comments below.
Comments
Join the conversation
-
You need handrails. You won't get away with this in my city. Put this against a wall and have a fun bookshelf.
-
Wowzers! Rude people! I love them and the creativity


Frequently asked questions
Have a question about this project?
Really nice job, fascinating to look at, but probably one of the worst ideas I've ever seen. Never mind actually living with these, or having anyone unfamiliar with them using them, but when you go to sell possibly code violation. Why on earth would you do this?