


How to Create a Faux Wood Finish in 4 Simple Steps

I'm thrilled to share with you a fantastic trick to create a faux wood finish that seamlessly merges two pieces into one stunning masterpiece. You won't believe how easy and satisfying this project is! Let's dive into the step-by-step guide.
Tools and materials
- Paint (Behr interior flat paint and primer in "Basketry" color)
- Roller
- Gel stain (Varathane Mahogany)
- Stain brush
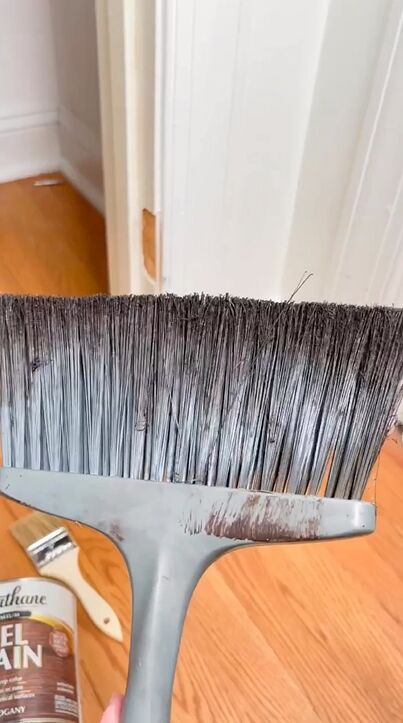
- Rough bristle brush (a cheap hand broom works great)
- Painter's tape
- Wood filler
- Sandpaper (for smoothing)
- Clean cloth
- Varathane interior flat polyurethane
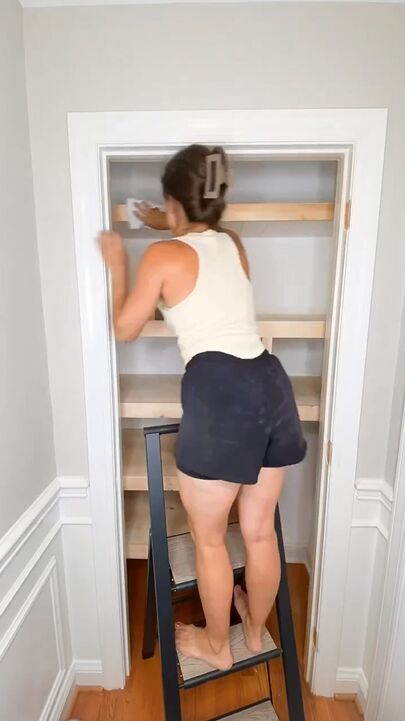
1. Prep
We need to ensure everything is primed and ready. Fill any holes or gaps in your wood pieces using wood filler. Let it dry and sand it smooth.
Tape the edges of your wood pieces to keep the paint and stain within the desired areas. Clean the wood surfaces thoroughly to remove any dirt or dust.
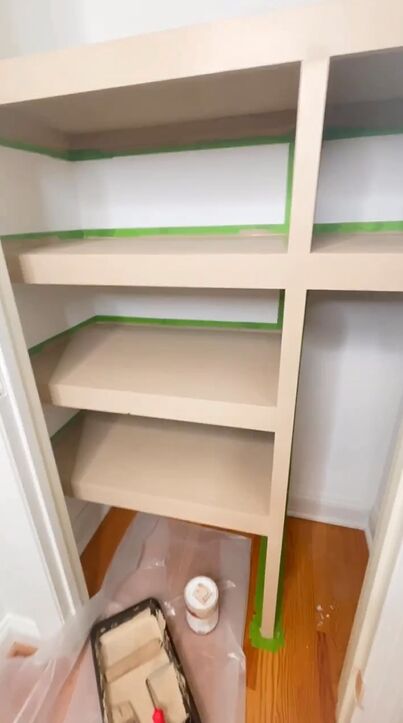
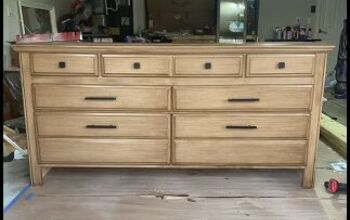
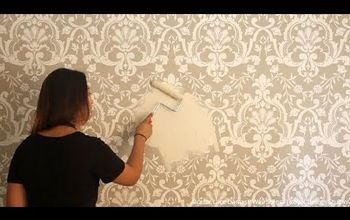
2. Paint
Let's lay the foundation for our faux wood finish by adding a base layer of paint. Dip your roller into the Behr interior flat paint and primer in the "Basketry" color. Apply an even coat of paint to both wood pieces. Allow it to dry completely between coats if needed, following the manufacturer's instructions.
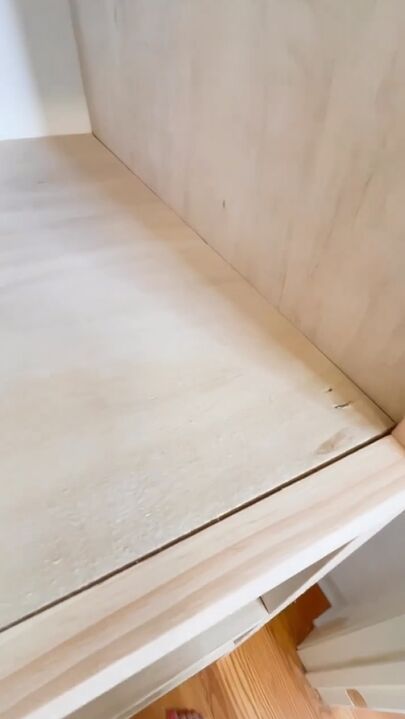
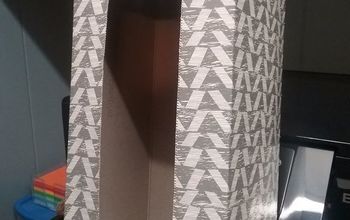
3. Layer Gel Stain
The gel stain will give our wood pieces their authentic wood-like appearance. With your stain brush, apply Varathane Mahogany gel stain to one of the painted wood pieces. Ensure even coverage.

After applying the stain, take your rough bristle brush (hand broom) and gently stroke over the stained surface. This creates a textured effect that mimics wood grain. The more strokes you make, the deeper the texture.
Repeat this process for the second wood piece. Let the gel stain dry according to the product's instructions.

4. Seal
It's time to seal in the beauty and protect our faux wood finish. Once the gel stain is dry, grab your stain brush again and apply a coat of Varathane interior flat polyurethane over both wood pieces. This will add a protective layer and enhance the overall look. Allow the polyurethane to dry completely as per the manufacturer's recommendations.
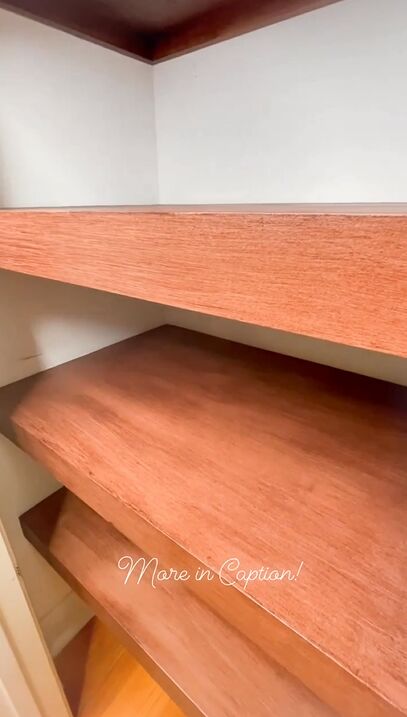
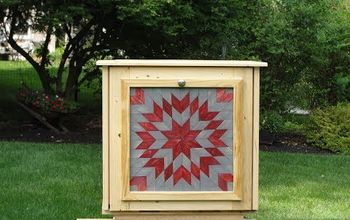
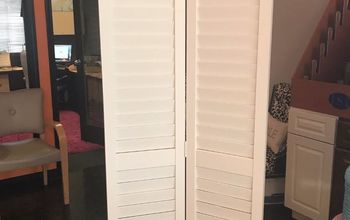
Faux wood stain
With just a few tools and some creativity, you've mastered the art of creating a stunning faux wood finish that adds a touch of elegance to any space. Have you created anything with a faux wood finish? Share your projects in the comments below.
Follow @well_shetried on Instagram for more DIY ideas.


Frequently asked questions
Have a question about this project?