


Easy DIY Tray
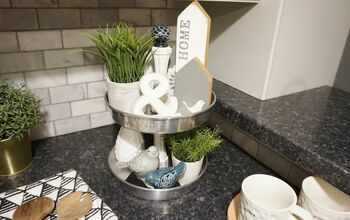
Trays and tiered-trays of all heights are very in right now. When you’re setting up vignettes, whether they’re for a specific season or for your every day home decor, you want height variations in it. If everything is at one level, it’s boring and not eye-catching. Trays are the perfect solution for adding height, but they can be so expensive. Today I’m going to show you how to make a super easy DIY tray. Pottery Barn sells a similar one for $69, and you can make this one for $3 plus the price of paint!
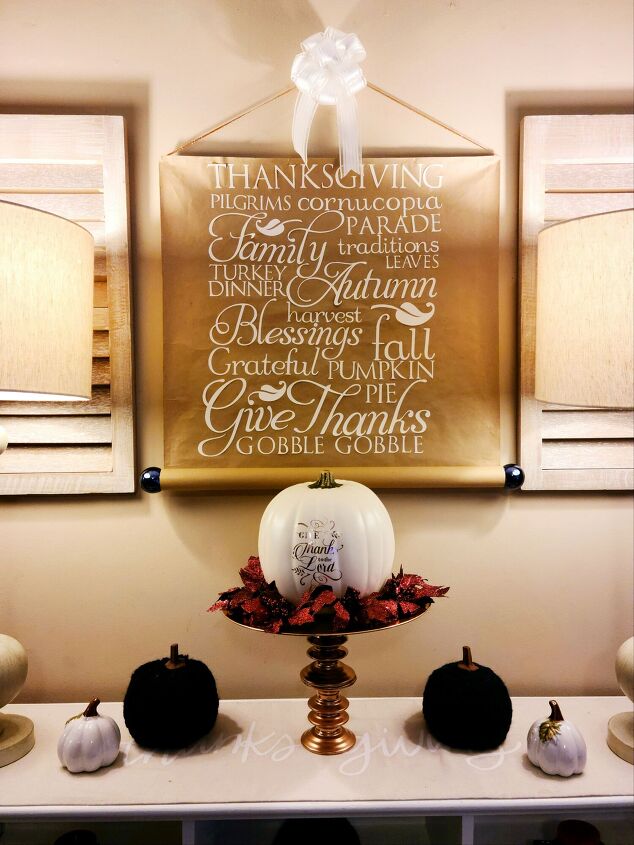
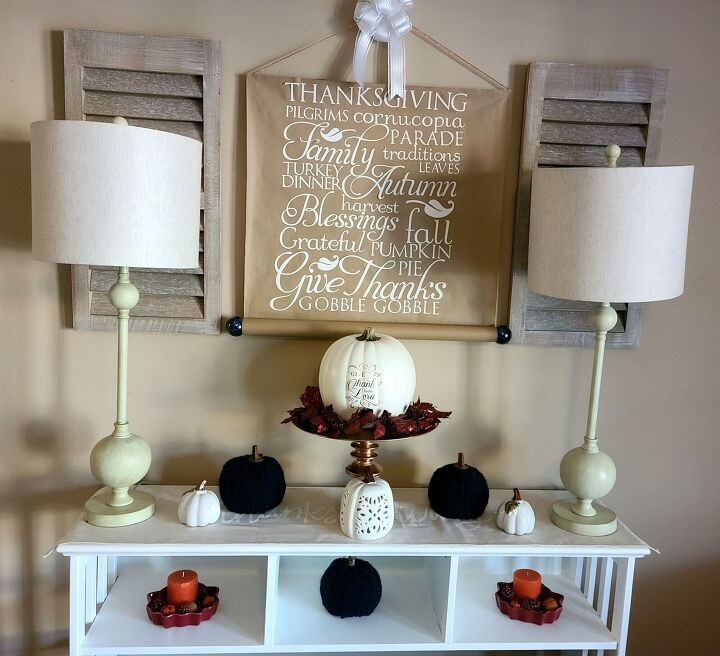
On my tray is this DIY gratitude pumpkin that you can make to add a wonderful new tradition to your family’s Thanksgiving. Each year you can make a new pumpkin or add to the same one, and everyone in your family writes what they are thankful for that year. I add the year to the backside of every pumpkin. You can see the tutorial for the navy braided pumpkins here. Finally, don’t you love the Thanksgiving scroll?! You can make it for any season or for your every day home decor. It’s so easy!
It’s time for our monthly DIY Blog Hop! This month’s theme is an easy DIY project. If you’ve been here for the past few hops, you’ll know that the ladies in our tour are very talented. Make sure you stick around to the end of this post and go over and check out the projects shared this month. You won’t be disappointed! If you missed last month’s before and after DIY Blog Hop you can check it out here.
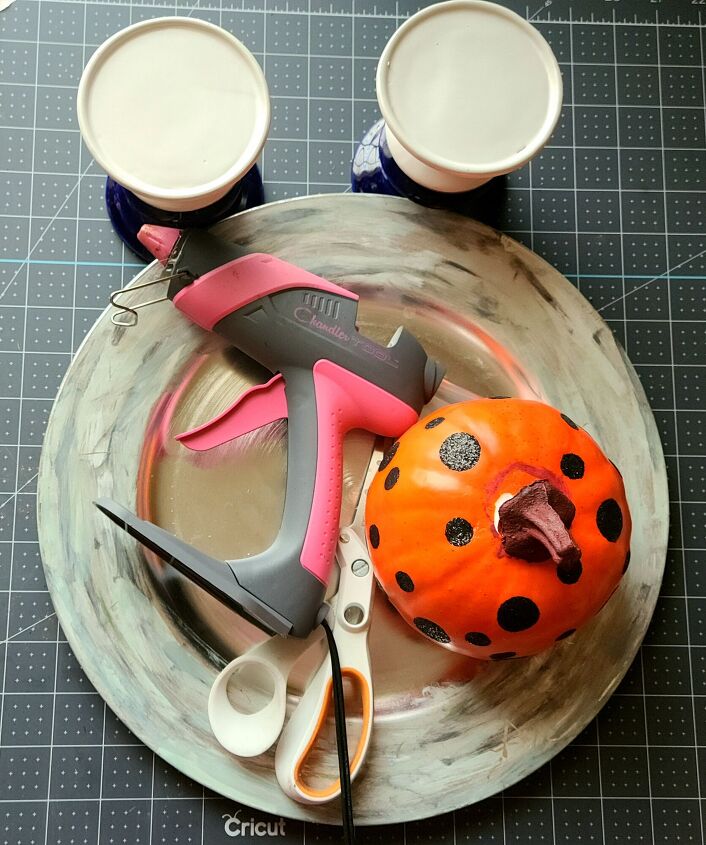
To make this easy DIY tray you need:
- charger
- 2 candle holders
- copper spray paint or acrylic paint (or color of your choice)
- E6000 or other craft glue
- hot glue gun
I got all of the supplies from Dollar Tree.
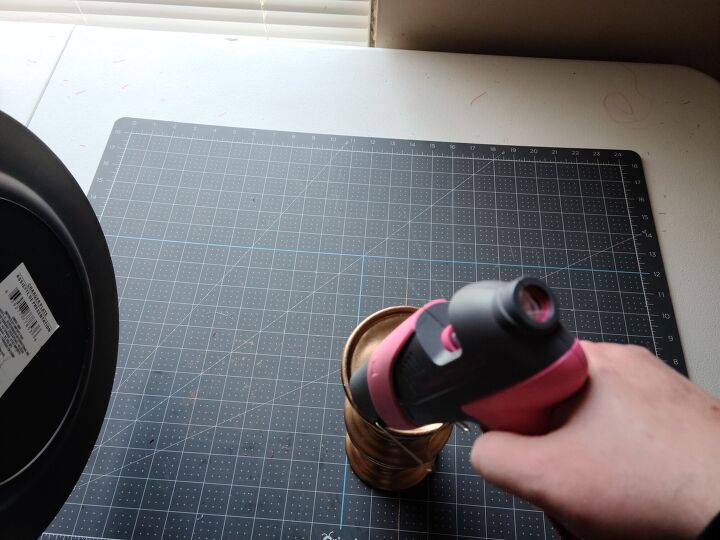
Spray Paint the Charger & Candle Holders
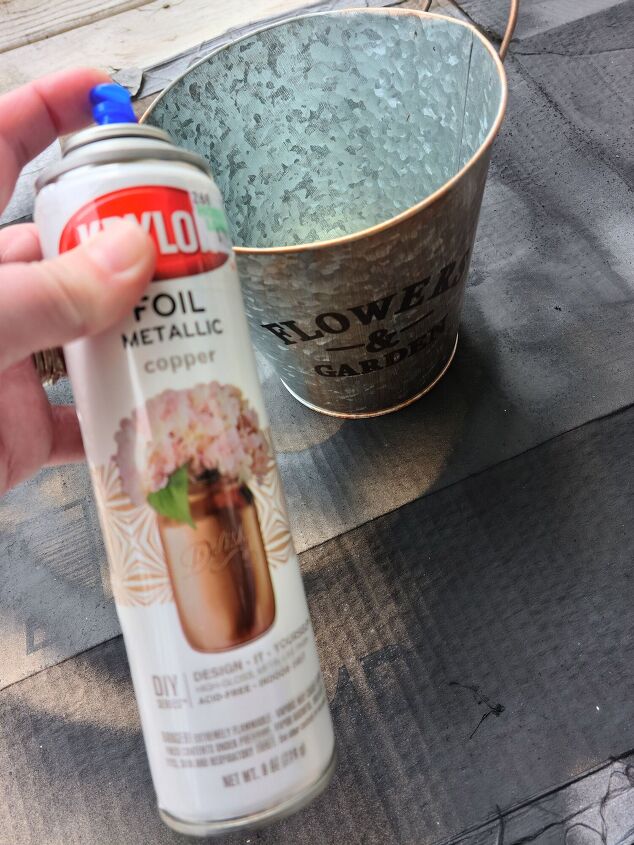
I used copper metallic paint for my tray. It’s Krylon Foil Metallic in copper, and I believe I got it from Michael’s. You can use acrylic paint as well, just make sure that it’s for all surfaces. You may need to put a clear coat over it to protect it from chipping if you do. I didn’t get a picture painting the charger, but I painted it at the same time that I painted the base from this pumpkin topiary so I’m sharing that picture with you so you can see the paint I used.
Give each item two coats of the spray paint. When they are dry, flip the charger over and give it a light coat. You won’t see much of it, other than the edges, but if you’re using it on top of something that’s tall, you may catch a glimpse of the bottom. This way it looks nice and finished. If you have enough paint, you can give it two coats. I didn’t want to waste because I had a lot of other things to paint, so I just went with one coat. I didn’t paint the bottom at first, so I had to go back and add the paint after my tray was finished. It’s much easier to just do it in the beginning.
Glue the Pieces Together
Once the paint is fully dry, you can put your easy DIY tray together. I let my paint dry overnight. I would suggest you do that if you have time. If you don’t, use a blow dryer to make sure it’s dry enough to not leave fingerprints on the charger. I made that mistake once. I was so…. let’s say unhappy.
Put a layer of E6000 or other craft glue around the rim of the top of one of your candleholders. I am out of E6000, so I used some Dollar Tree craft glue. That’s literally what it’s labeled as. It’s not great, but it’ll do for now.
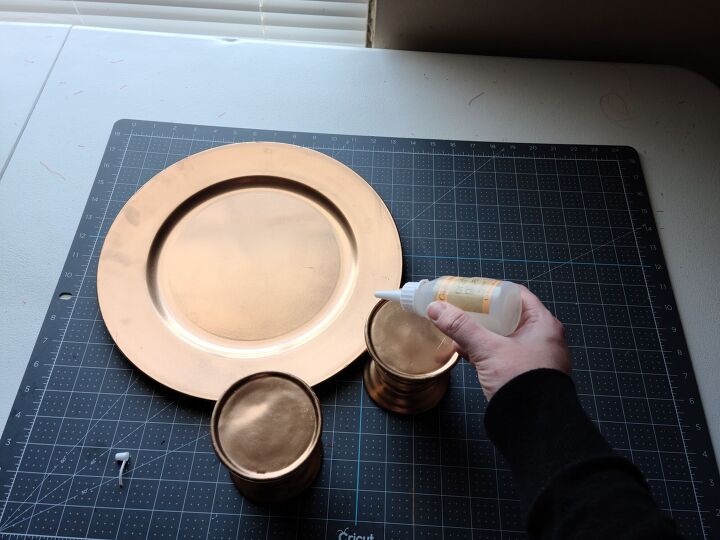
To hold the two candleholders together while the craft glue dries, add a layer of hot glue on the bottom of the second candleholder. Make sure you’re adding the glue where the two will touch. For these particular candleholders, they have a rim around the edge to add the glue on.
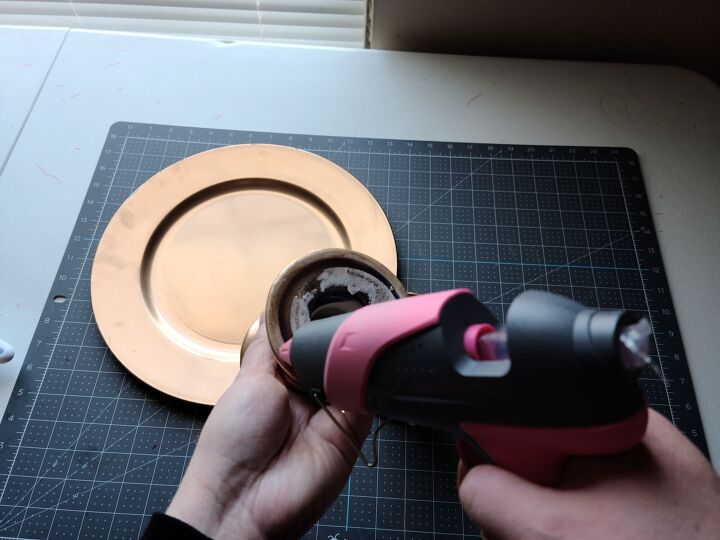
Place the two candleholders on top of each other and press them firmly together. Then sit them down to let the E6000 dry. You can put a book or something a little heavy on top of them while they’re drying.
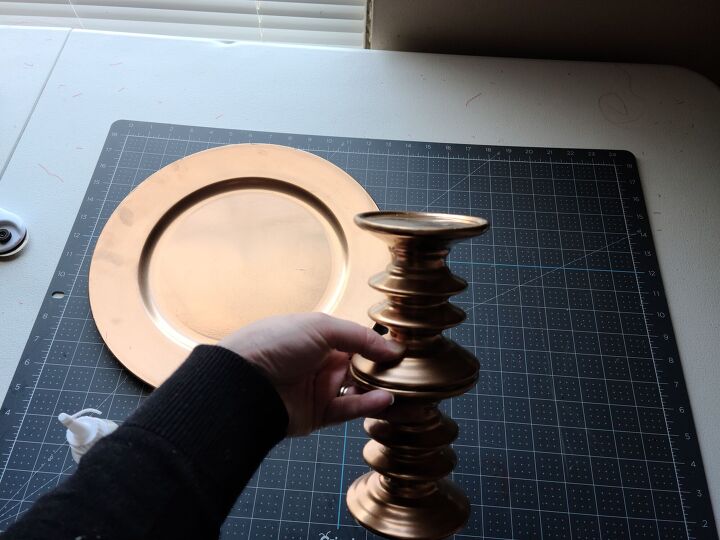
When that’s dry it’s time to glue the charger on top. Put the craft glue on the rim of the top candleholder, then add hot glue on top of that just like you did above.
Center the charger on the candleholders and press it on. Place something with weight to it in the middle of the charger to help hold it together while the E6000 dries.
That’s all folks! Your easy DIY tray is finished!
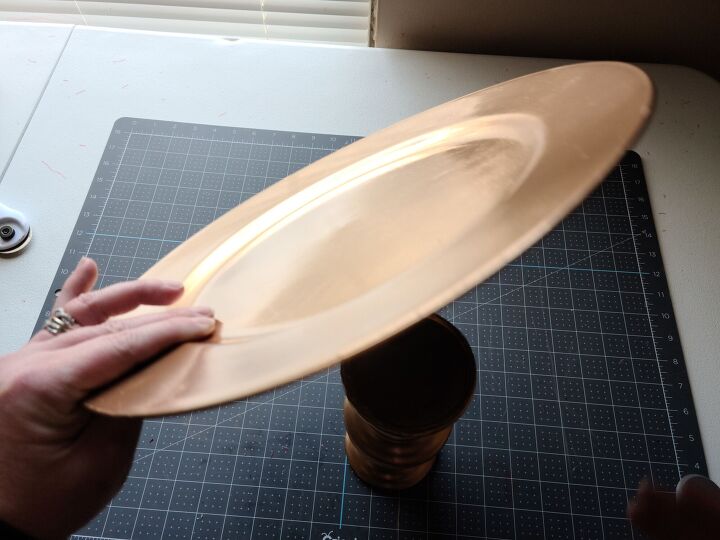
Can you believe how incredibly easy that is? It’s beautiful and you save so much money by making it yourself. This tutorial is especially great if you want a specific color tray for a special event like a birthday or Christmas. I bought a blush pink tray/cake stand for my daughter’s 16th birthday (I was really young when I had her people, ha!), and I paid $39.99 for it at Michael’s. I would normally never pay that, but it was her birthday and she really liked it. If I had thought about it then, I would’ve made this and painted it pink! In this picture you can see my tray without the small glass pumpkin blocking the base.
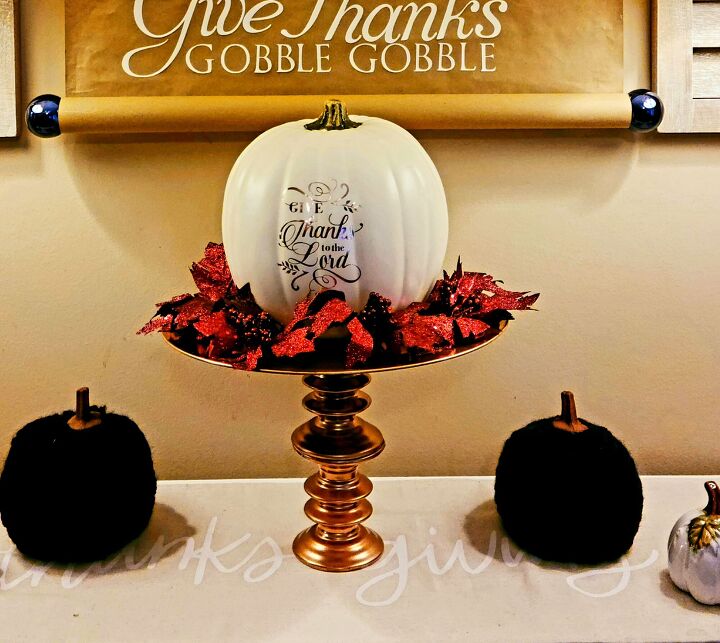
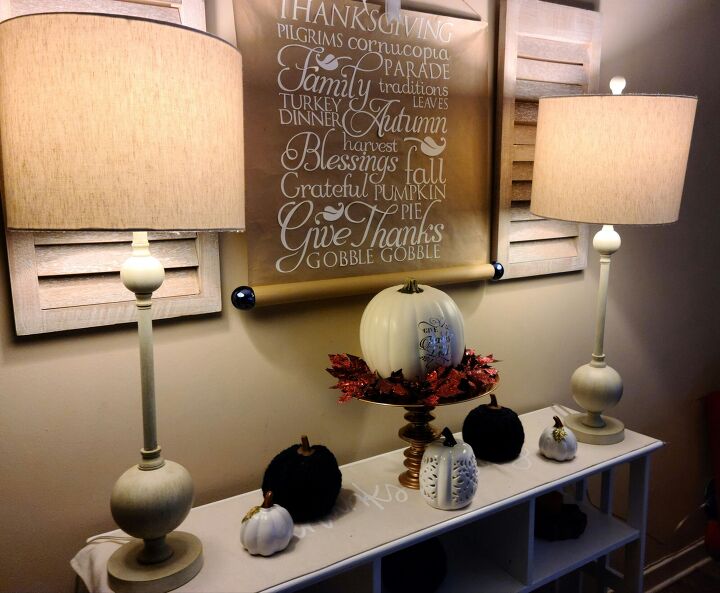
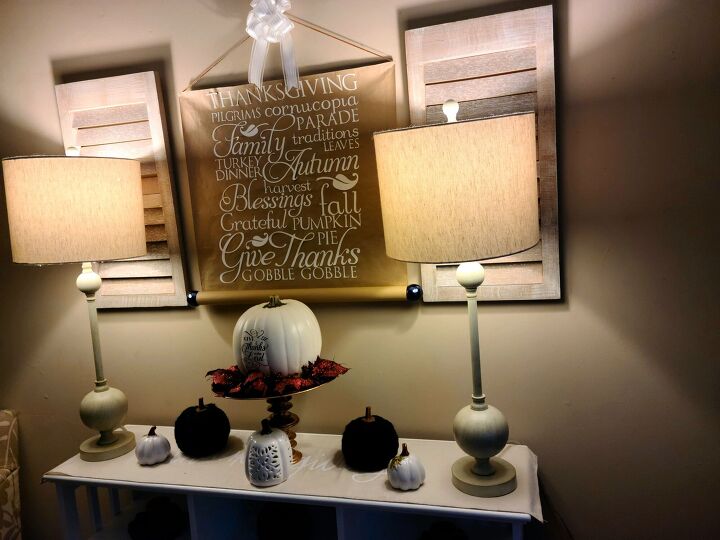
Here are a few more pictures. If I use this tray for other seasons, I’ll update it with new pictures. For now, copper is just one of my late fall colors, along with burgundy and navy.
I hope that you enjoyed this tutorial! Make sure you pin it so that you have the tutorial ready when you sit down to make your tray. You can also share it using the social media buttons at the end of the post. Then you’ll have it on your profile, and your friends and family can see it too. If you like adorable and affordable home decor, make sure you follow me on social media using the buttons in the sidebar to see everything I share, and you can share your creativity with me as well! If you don’t want to miss out on any great tutorials, free printables, and other posts, follow me via email as well. You’ll get an email when I add a new post, and you’ll never get any spam!
Find out when new tutorials, printables, & other great posts are added!
On to the DIY Blog Hop!

I’m so happy to be joining these lovely ladies for another DIY blog hop! Make sure to stop by their blogs to see their amazing projects and tutorials!
This month’s theme: Easy DIY
Tarah from Grandma’s House DIY – Hanging K Cup Storage
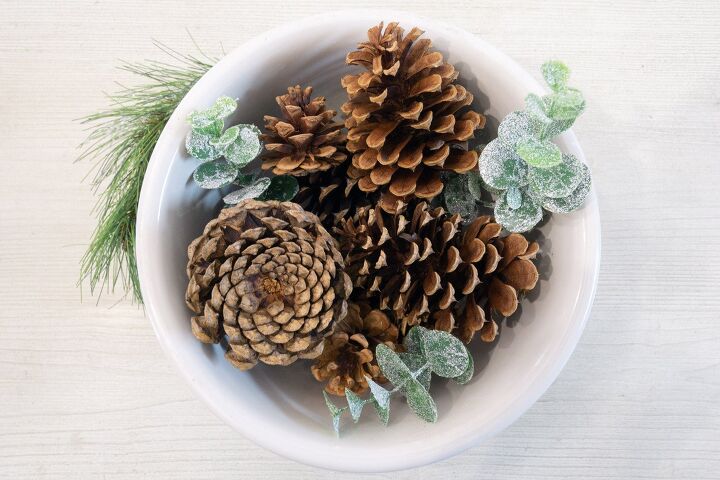
Amy from Health, Home, and Heart – Easy Scented Pinecones
If you’re one of my blogger friends or if you like to find great recipes, home decor, fashion ideas, gardening and other family-friendly ideas, check out my three weekly link parties. Happiness is Homemade runs from Sundays thru Thursdays, You’re the Star Blog Hop is open all month with weekly features posted on Mondays, and Traffic Jam Weekend runs from Thursdays at 5pm CST thru Sundays. Make sure you enter your email address above or in the sidebar to get an email reminder to come in and check it out!
Traffic Jam Weekend November 19, 2021
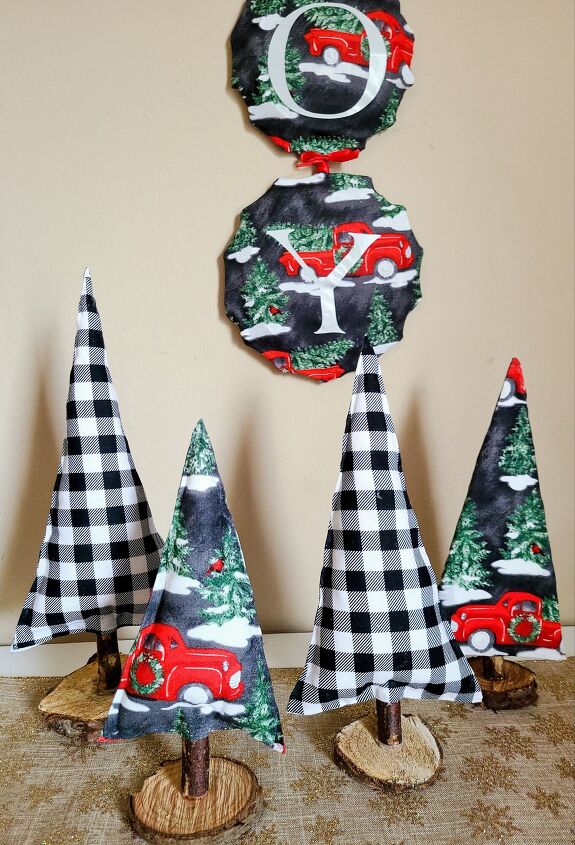
Fabric Christmas Tree: a No Sew TutorialNovember 18, 2021
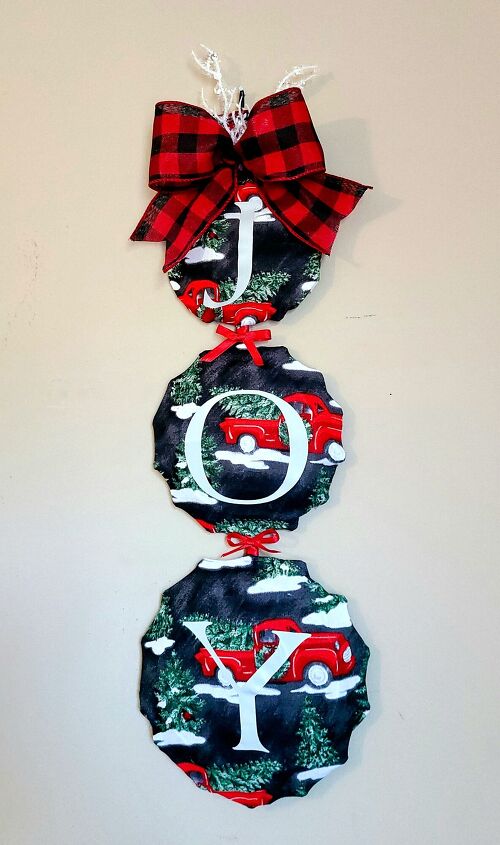
Dollar Tree Snowman Upcycle: Christmas Joy SignNovember 16, 2021

Happiness is Homemade November 14, 2021
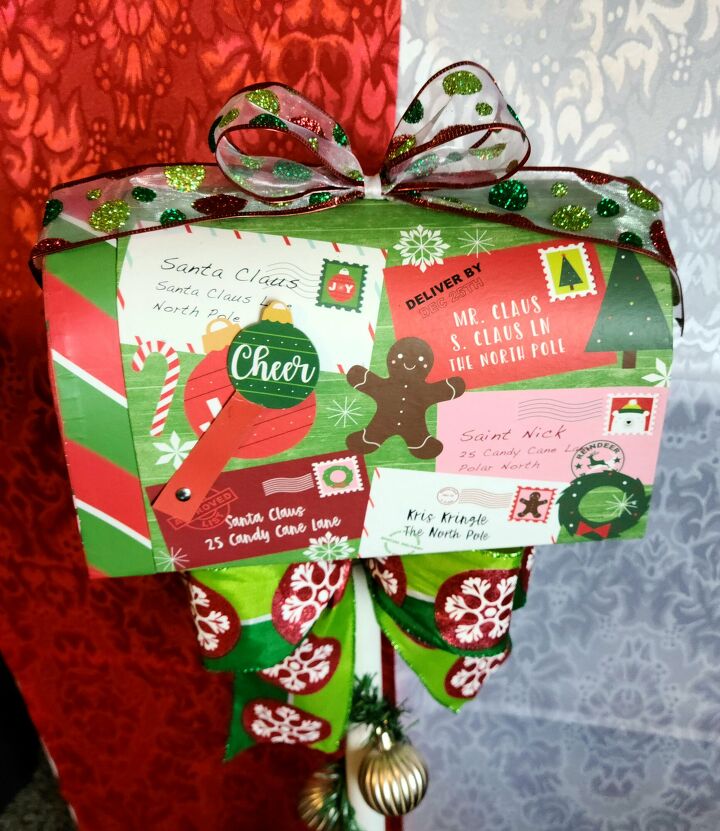
Dollar Tree Christmas Mailbox to Santa TutorialNovember 13, 2021

Traffic Jam Weekend Link PartyNovember 11, 2021

DIY Dollar Tree OrnamentsNovember 10, 2021
You’re the Star Link Party & Blog Hop: Creative Features WeekNovember 8, 2021

Happiness is Homemade November 6, 2021
Dollar Tree Christmas Sign DIY November 6, 2021

Scroll Wall Hanging TutorialNovember 4, 2021

Happiness is Homemade October 31, 2021

Halloween Movie Date NightOctober 30, 2021
Traffic Jam Weekend Link PartyOctober 28, 2021

Gratitude Pumpkin for ThanksgivingOctober 28, 2021
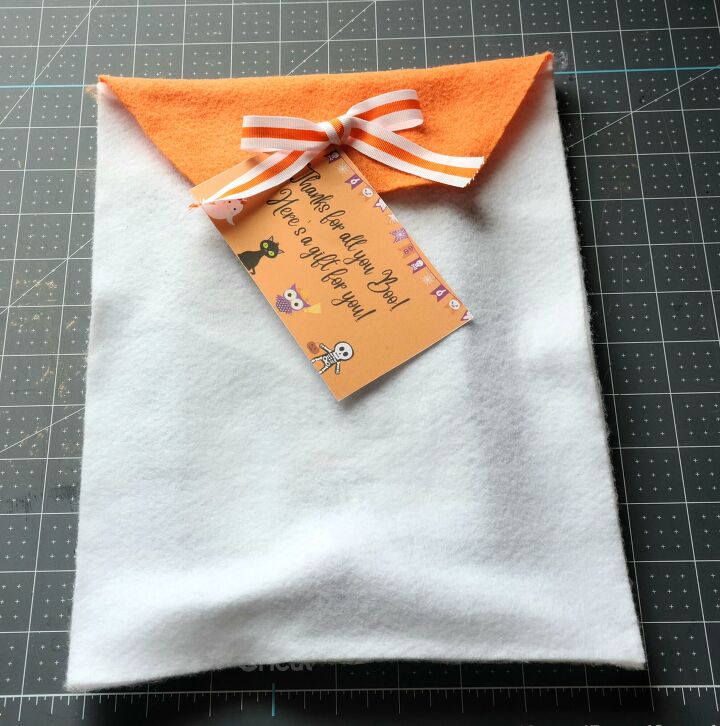
No Sew Felt Gift Bag TutorialOctober 26, 2021
You’re the Star Blog Hop: Home Feature WeekOctober 25, 2021
Happiness is Homemade October 24, 2021
Halloween Gift Idea with Free PrintableOctober 23, 2021
Manscaped: The Greatest Gift Your Hubby Never Knew He Needed!October 22, 2021
Resources for this project:
See all materials


Comments
Join the conversation
-
I used my cake plate. Could also use the dome to make a winter scene on the plate as well

-
Sooo pretty! As are the rest of your projects ❤️


Frequently asked questions
Have a question about this project?