


My Front Door Makeover: Simple and Affordable Ideas

Is your front door looking a little drab? Want to make a good first impression? Come see how we updated our front entry with a simple and affordable front door makeover.
For more simple and budget-friendly DIY project ideas, be sure to follow us on HomeTalk and visit our blog!
We’ve lived here for 12 years and have never painted our door.
Can you believe it? 12 years!!
It was definitely time to repaint our door!
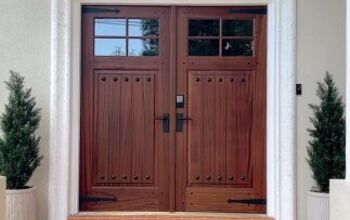
If that dang money tree in the backyard would start producing some cash I’d love to replace our front door with a solid wood door with seeded glass windows. Ahhhh…now wouldn’t that be dreamy?! Back to reality AnnMarie!
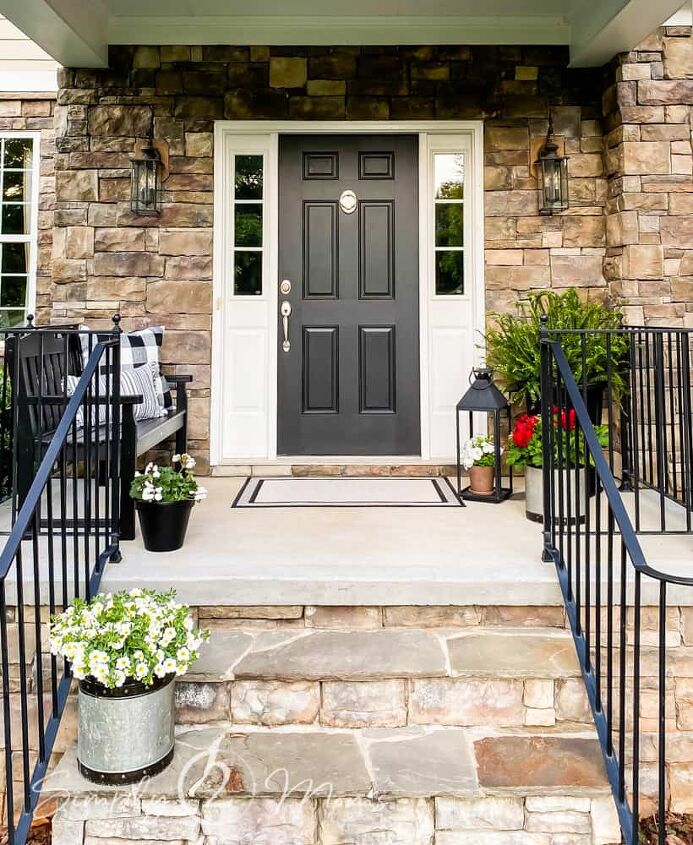
Since a new door isn’t in the budget a simple and affordable front door makeover was in order. Our small front porch was in need of a refresh but the first step was to give the front door a makeover.
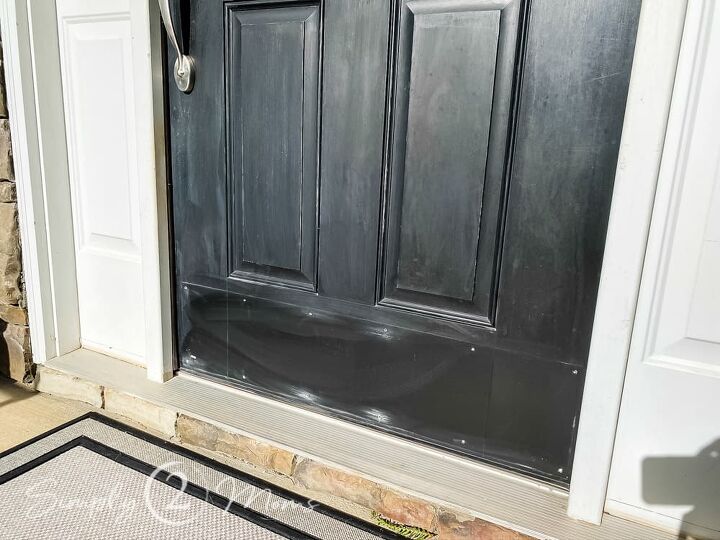
Before Front Door Makeover
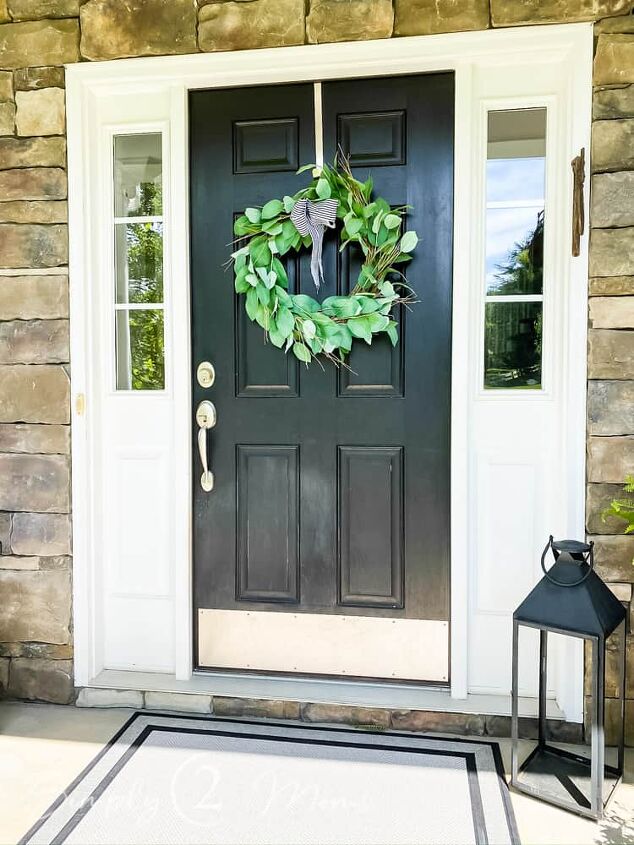
Even though our front door was in need of a new paint job, I really liked the black color so we didn’t even consider changing the color.
After removing the hardware I was really liking the clean look of the door without the kickplate at the bottom. A quick search on Pinterest was all I needed to confirm that I definitely wasn’t putting the kickplate back on. There were tons of photos of beautiful black doors and not one had a kickplate. Done…decision made! No more kickplate!
How to Repair Holes in Fiberglass Door
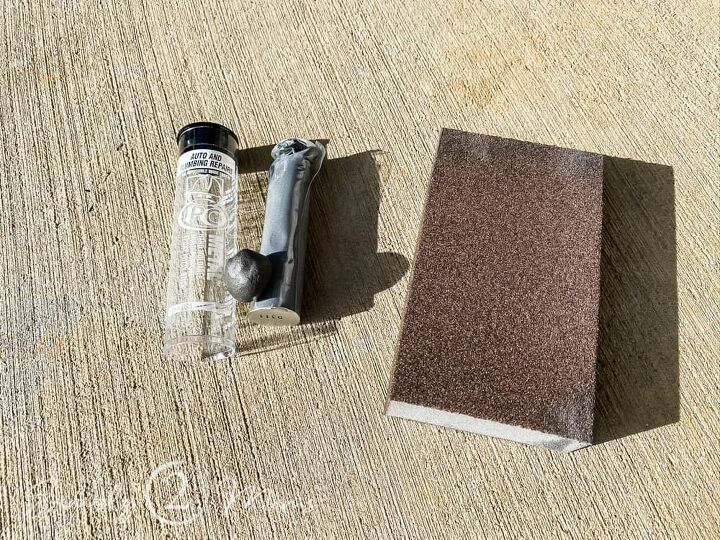
But after removing the kickplate we had a bunch of holes in the fiberglass door. I needed to figure out how I was going to repair all those holes. Off to the hardware store I went and found PC Metal Epoxy Putty.
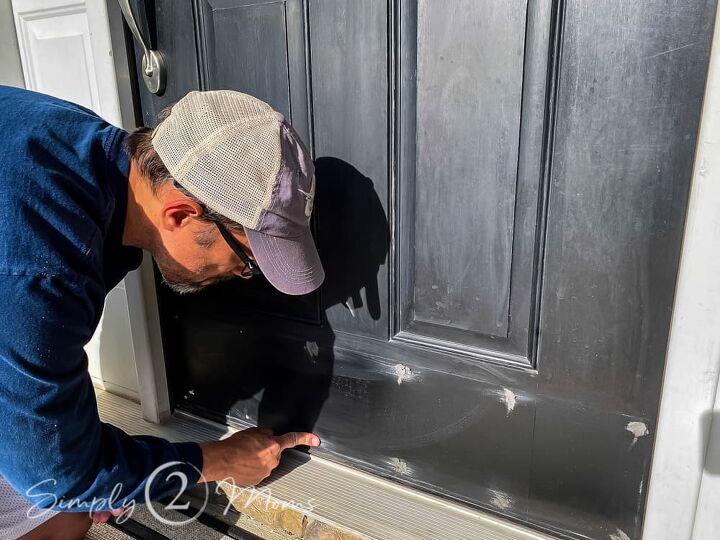
The epoxy putty made was super easy to use to fill in the holes. It’s hand moldable and there is no need for mixing or application tools. Easy Peasy!
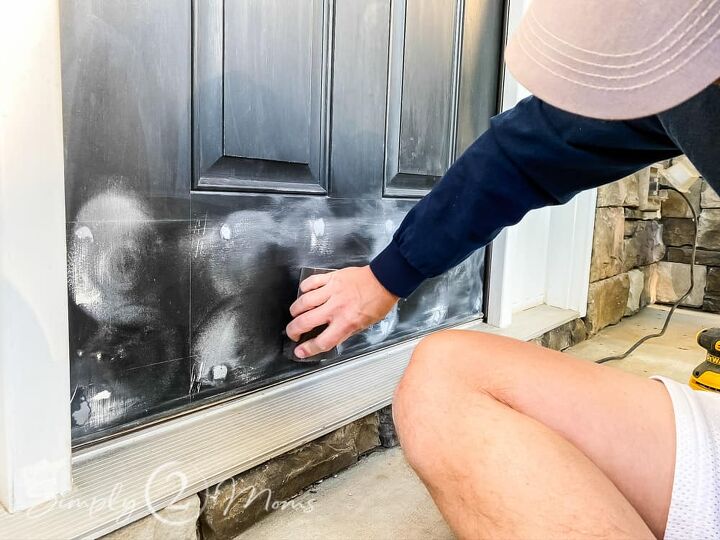
After the epoxy was dry we sanded the door in preparation for painting. We used our small palm sander for some of the spots but had to use a sanding block to get the holes at the bottom of the door.
How to Replace a Door Knocker
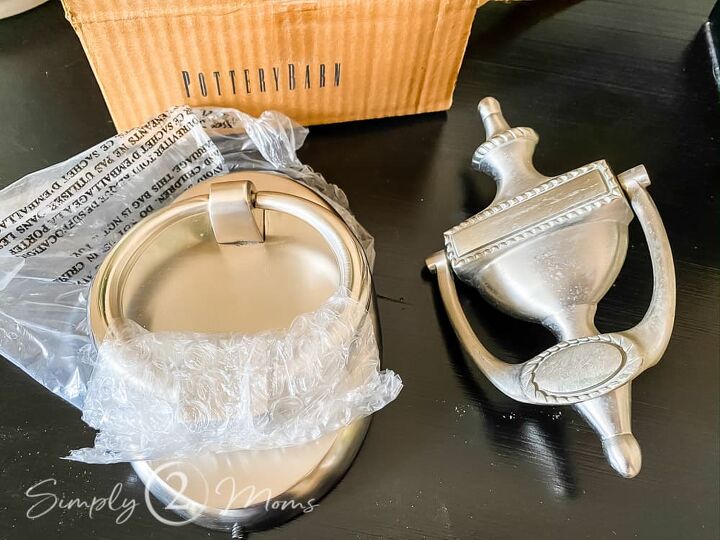
As I mentioned earlier we’ve been in our home for 12 years…do you want to guess how long the housewarming gift my sister gave us has been sitting unopened in a box in our garage?
Yup…12 years! Geez! I’m so bad. LOL!! But it was time to finally replace the traditional style door knocker with the custom gift we received.
We also used epoxy to repair the holes from the original door knocker. After all the holes from the kickplate and door knocker were repaired I wiped down the door with a wet cloth to remove the dust sanding left behind.
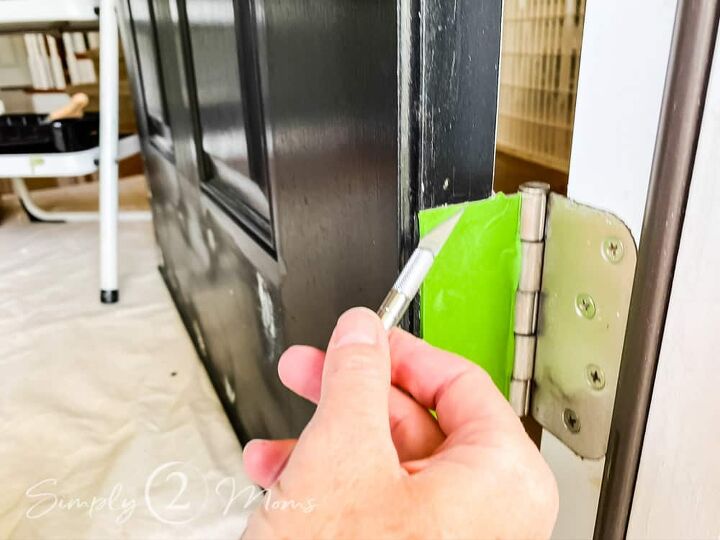
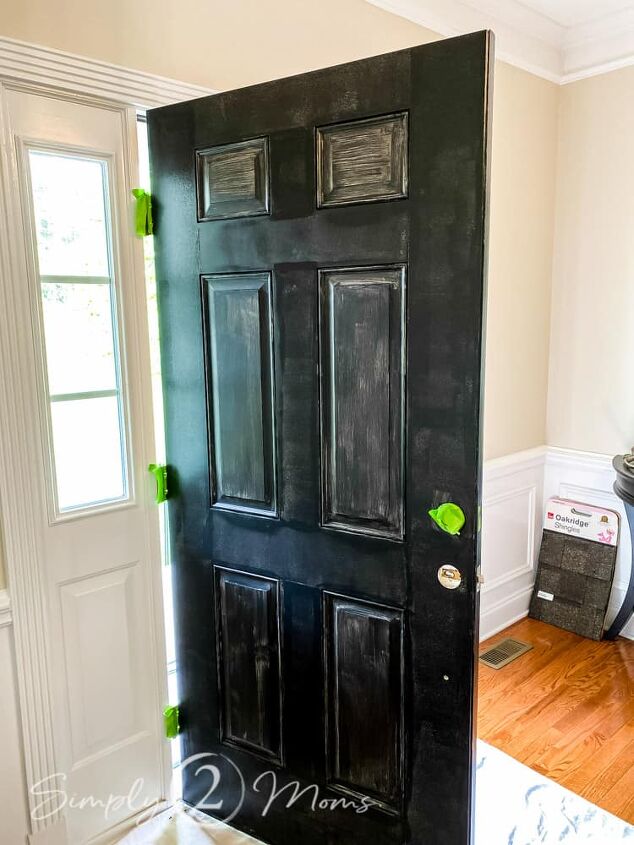
Although I removed the door handle and deadbolt hardware, I didn’t remove the door from the hinges since I had decided to leave the door up while painting. I covered the hinges with painter's tape and trimmed the excess tape with an xacto knife to protect the hinges while painting the door.
How to Paint a Front Door
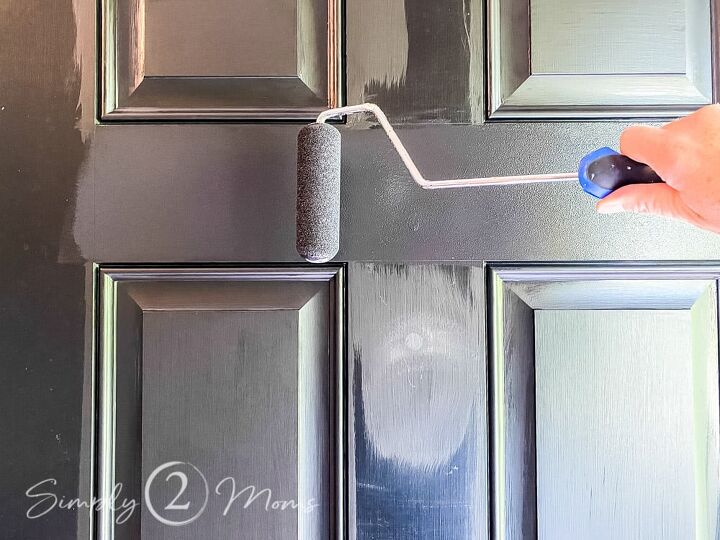
Did you know there is a method for painting paneled doors? Yup, it’s true…there’s an actual order you should follow when painting doors. If you use the recommendations it helps prevent both drips and brush marks…pretty cool right?! Check out Anne’s simple steps for painting doors to get all her awesome tips on our blog!
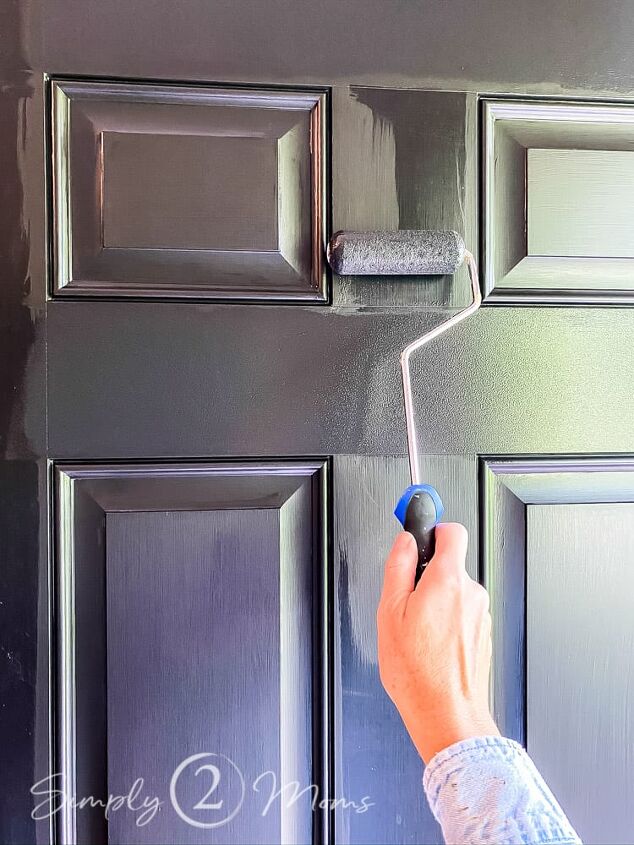
I chose the color Black by Benjamin Moore for our front door makeover. Seems like a good color choice right…but seriously there are so many shades of black. Some black colors have a blue undertone…some have a brown undertone. "Black" by BM is a true black without many undertones.

I used exterior paint in a low luster finish which provided the coverage I needed for outdoors.
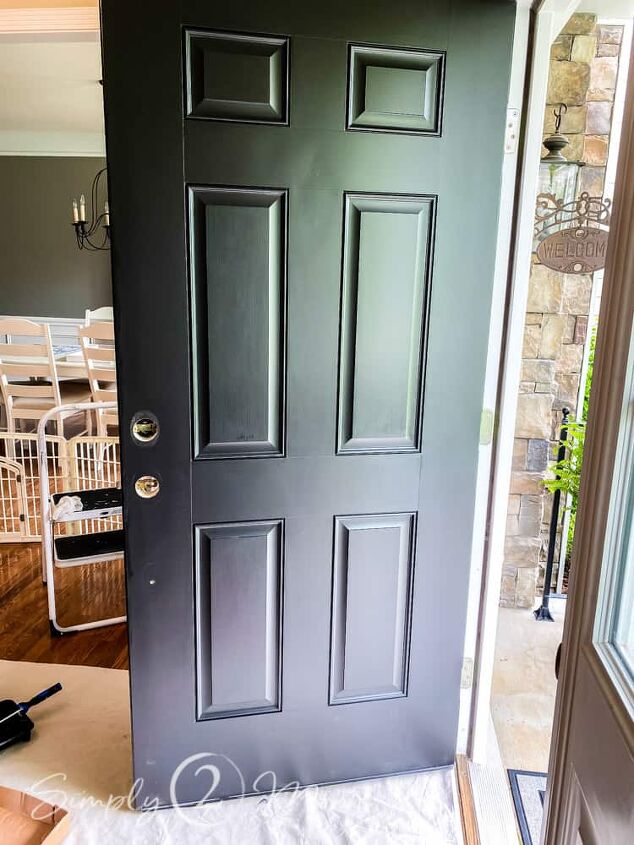
What About the Inside of the Door?
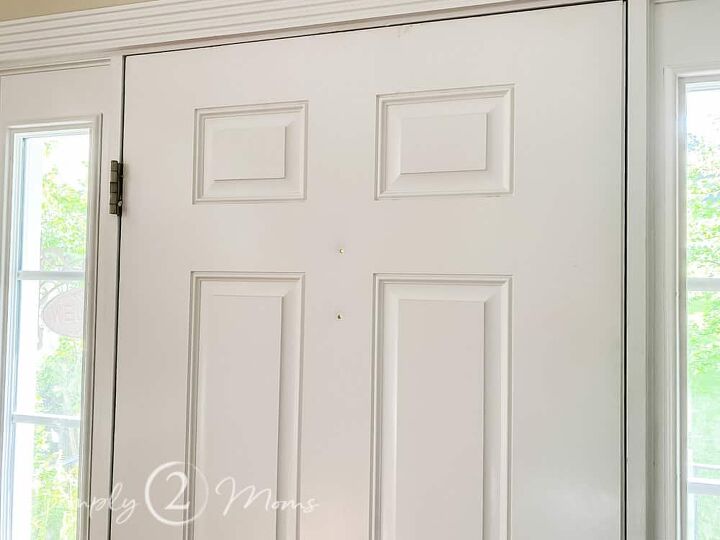
As you can see removing the old door knocker left holes through the entire door. Not only were there holes on the outside of our front door after removing the old door knocker, but there were also holes on the inside of the door too. No worries…I just filled those holes with the same epoxy I used on the outside of the fiberglass door.
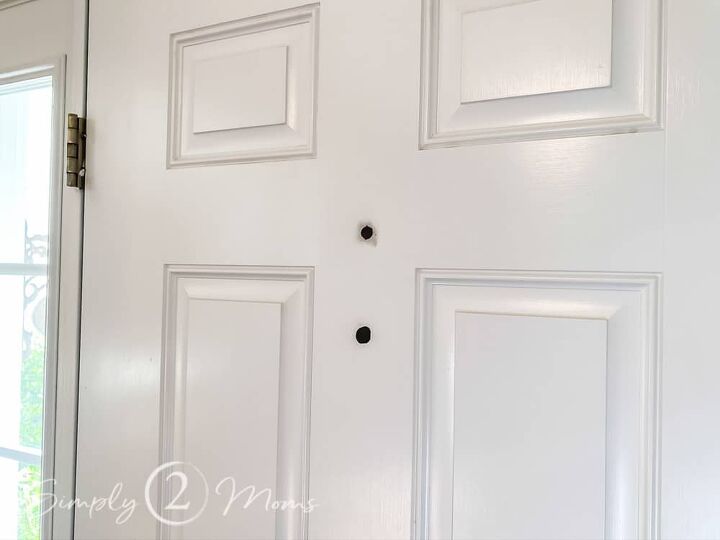
After filling those holes I realized that I now needed to paint the inside of the door too. I debated just grabbing some white interior paint and covering the inside of the door. But since I had been considering painting all our interior doors black since my sister did hers a few years ago and they look so good!
Now was my opportunity to at least start with the inside of the front door. I didn’t have interior black paint on hand so I just used the same exterior paint for the inside. It was just easy to keep it the same on both sides of the door.
I needed 3 coats of paint on the inside of the door since I was covering white.
But since the outside of the door was already black I only needed 2 coats out there.
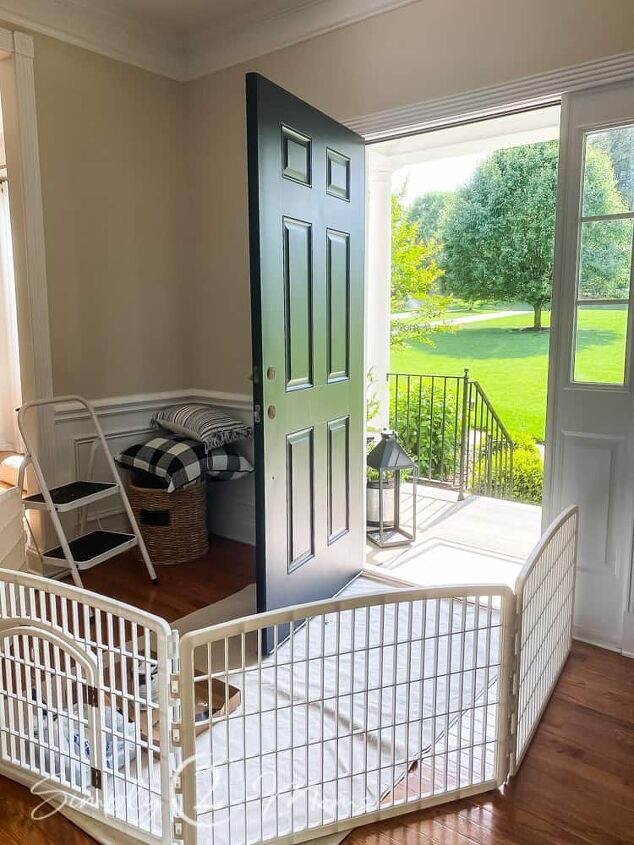
Here’s a fun look at how I kept our pups away from the door while I was painting. Always an adventure with pets!
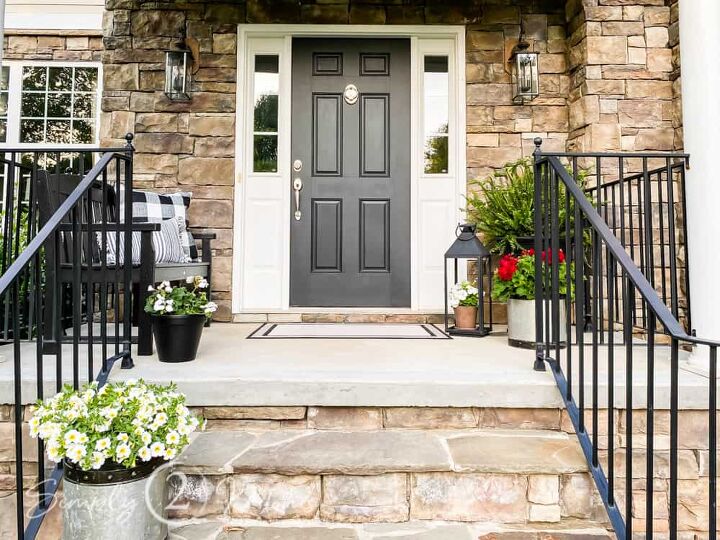
After Front Door Makeover
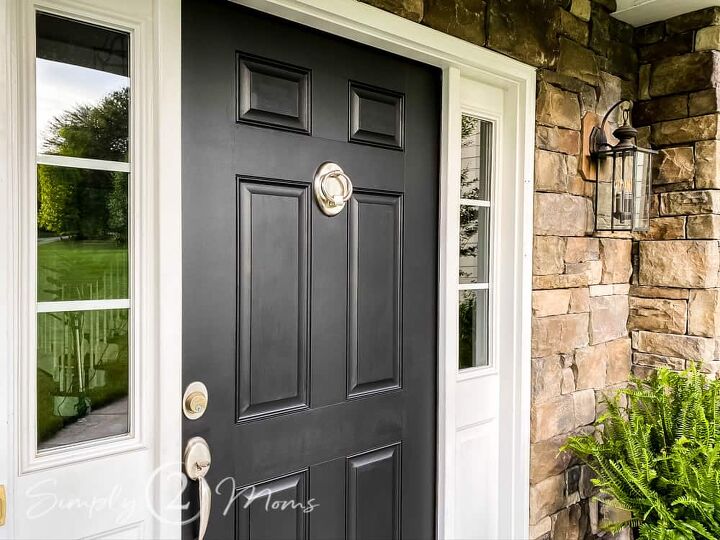
I’m loving the freshly painted door (no more scratches from the dogs)! And the updated monogrammed door knocker looks so pretty. Can’t believe it took us so long to hang it! And I’m really loving the clean look of the black door without the kick plate.
I hope you enjoyed my simple and budget-friendly front door makeover! It really takes just a few hours to freshen up your entry for a pretty first impression of your home.


Frequently asked questions
Have a question about this project?