


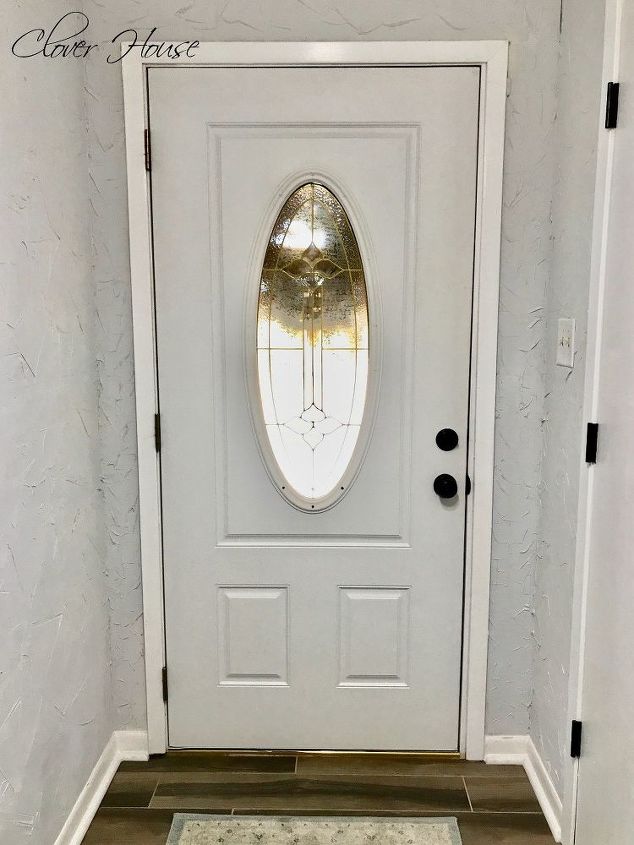
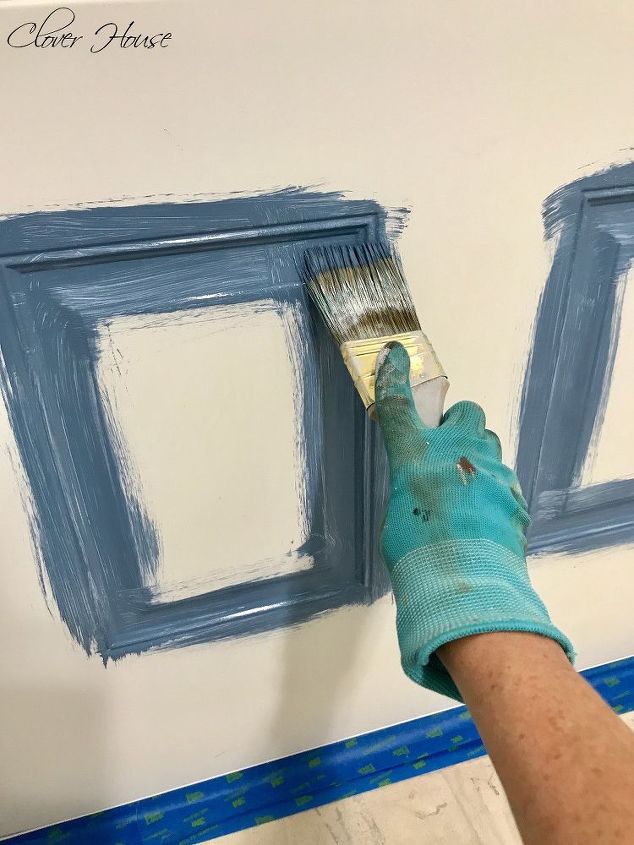
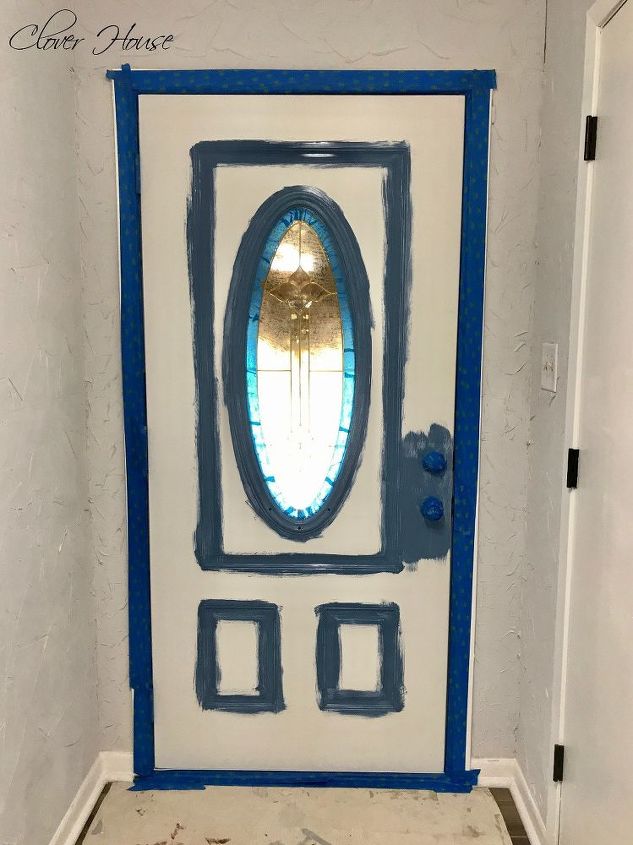
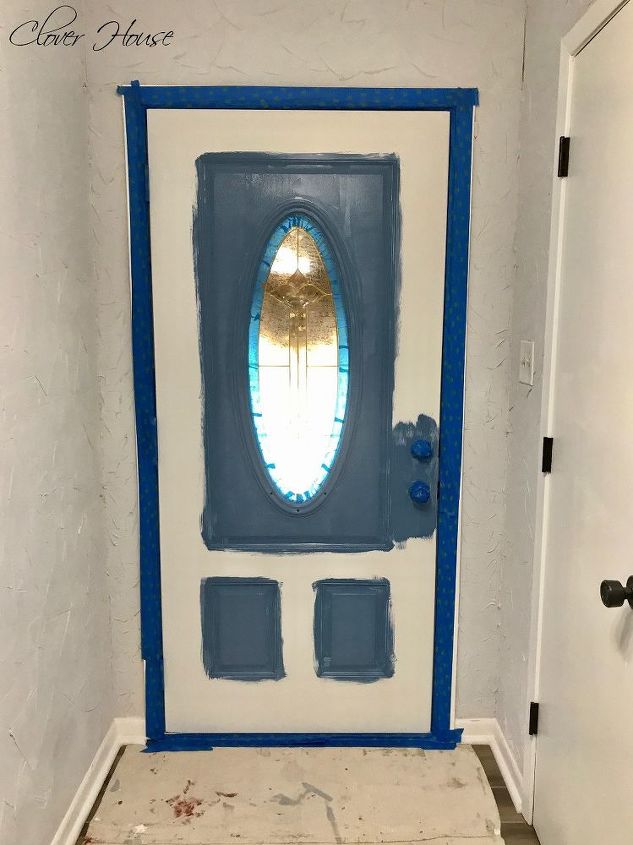
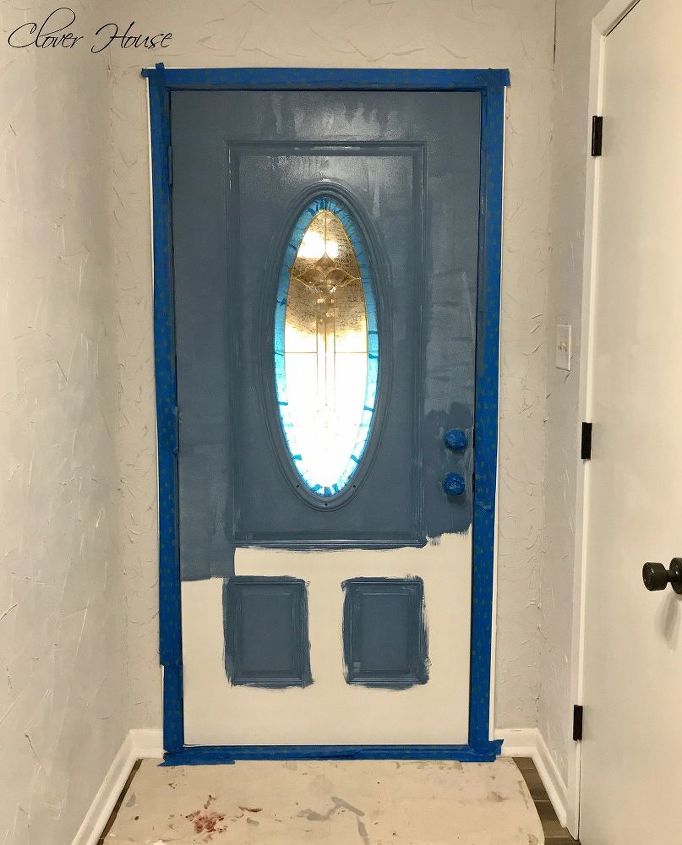
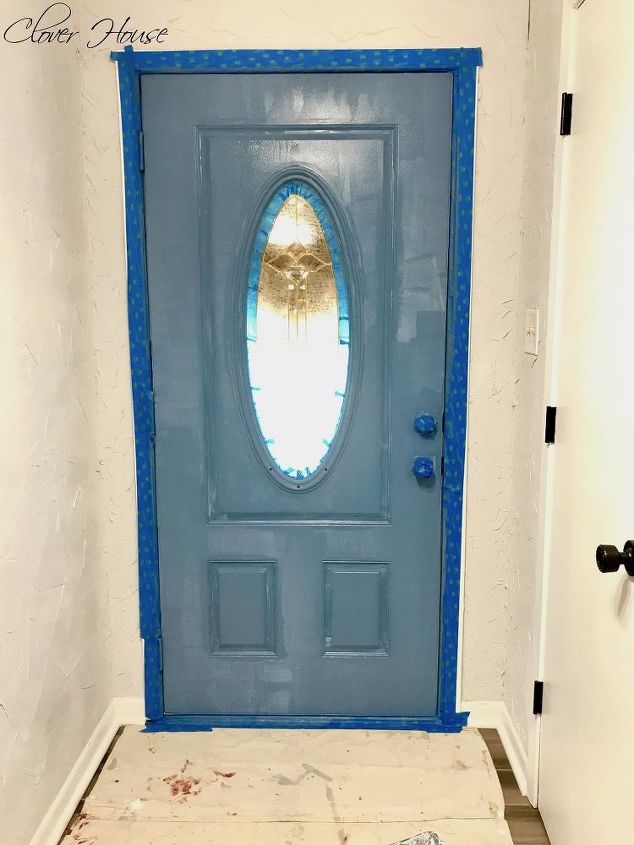
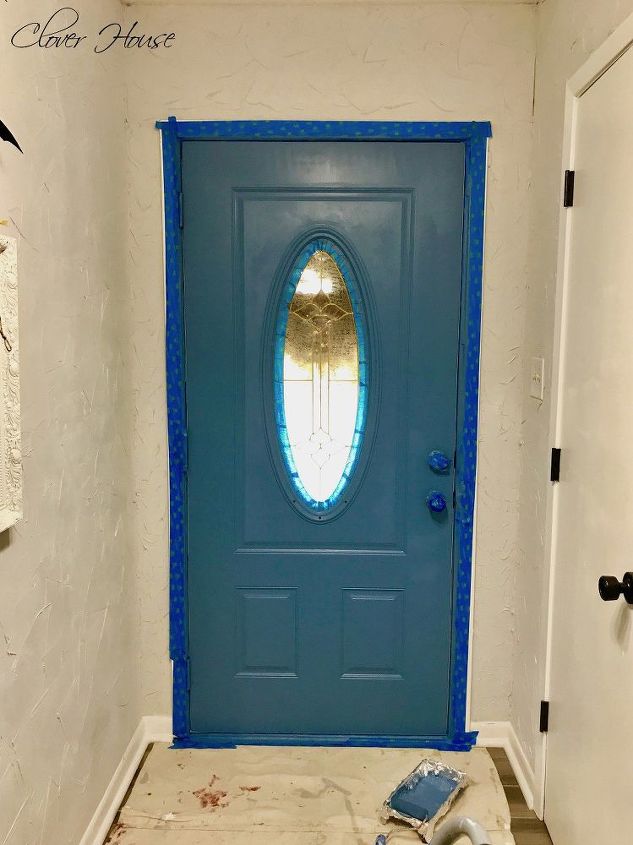
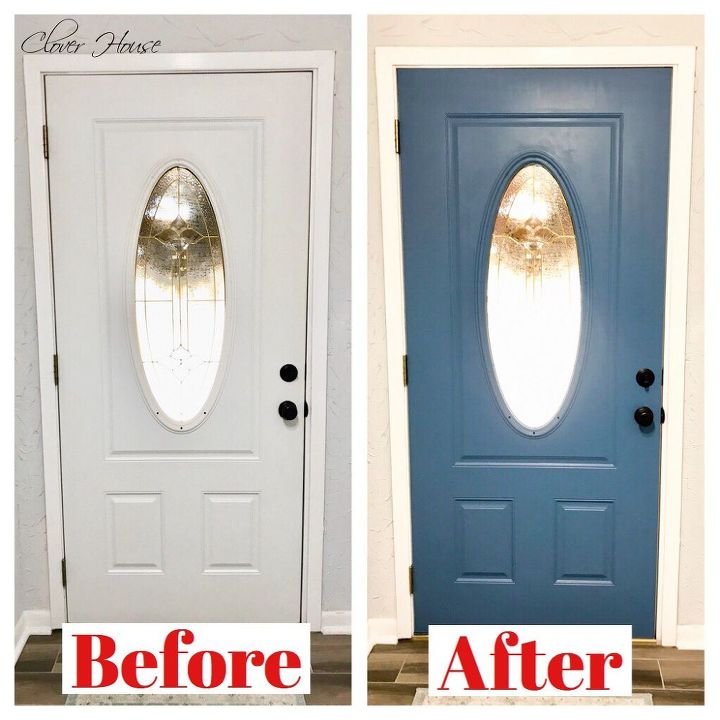
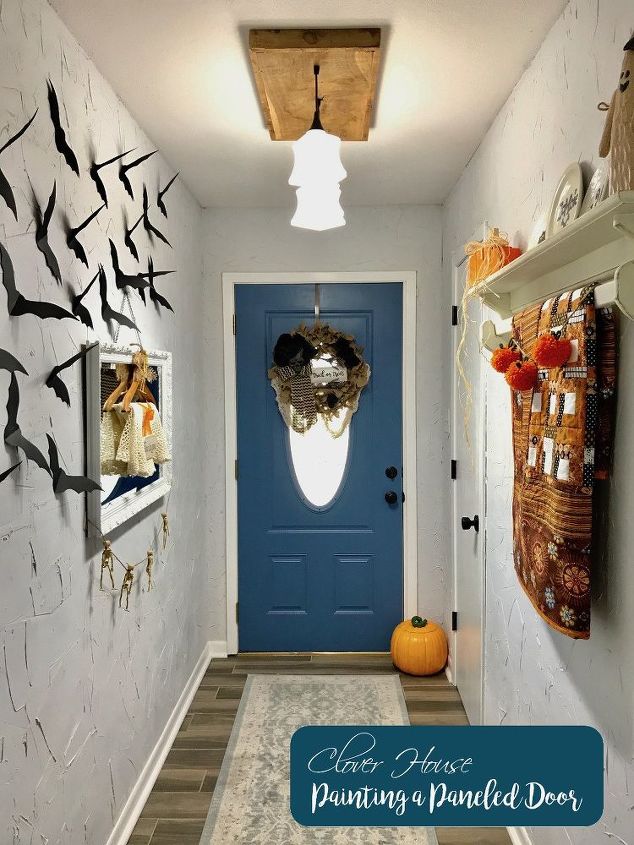
Painting a Paneled Door With a Window

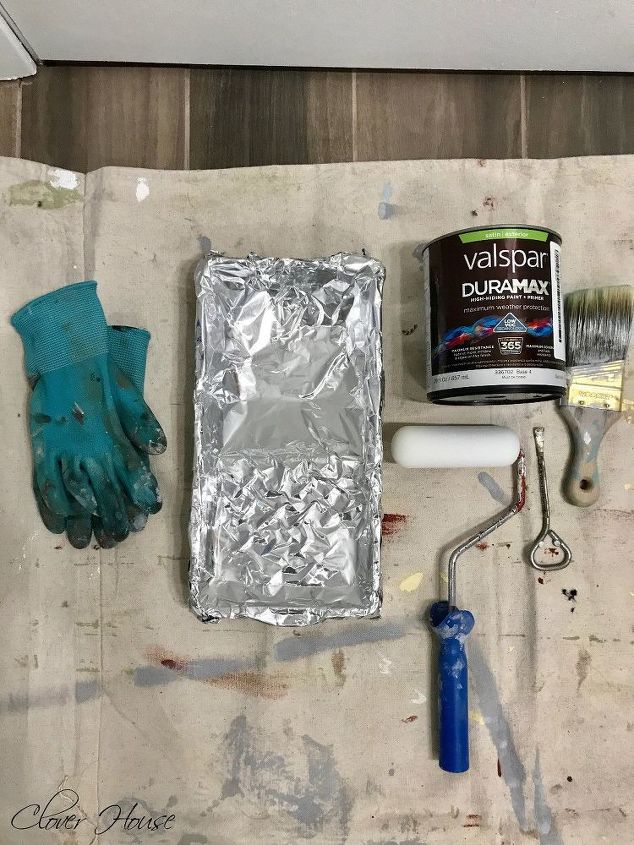
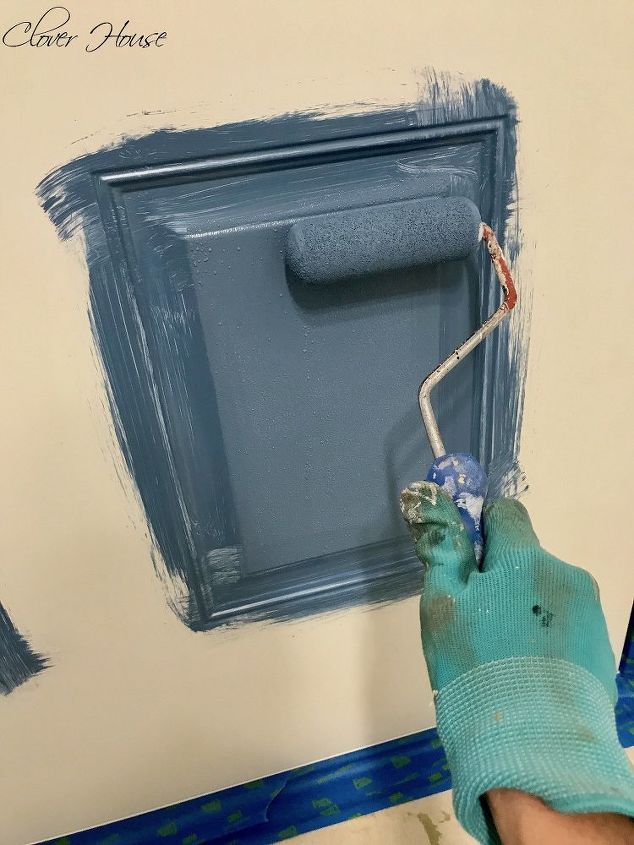
 Please visit our blog (link below) for the type of paint I chose and the color name.
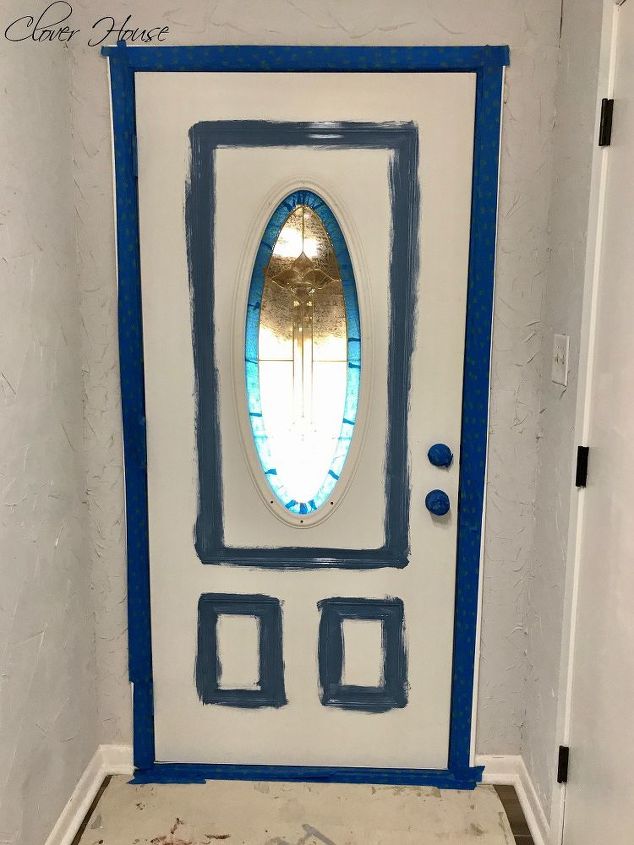
Comments
Join the conversation
-
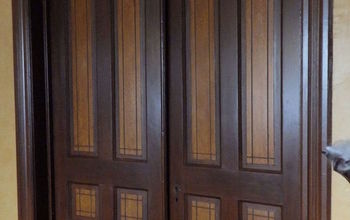
Looks nice. But I wonder if the two bottom squares and the oblong area around the window had been freshened up with some white or cream paint to give the door some more...
-
Actually, my son had the ingenious idea of painting my front door with a can of spray paint. He merely took it off the hinges, laid it across two ‘saw horses’, and sprayed it in our backyard. It took mere minutes. Since it had no windows, the only thing we had to tape off was the door knob, hinges, and deadbolt. It was dry probably in less than an hour as it was a sunshiny, warm day. It went from a white plain metal door to a beautiful, inviting red. It’s still looked great when I sold my house probably 7 or 8 years later. We just painted the street side of the door and it only took one can of paint. You could paint both sides with two are no more than three cans.


Frequently asked questions
Have a question about this project?
Did you lightly sand the door first?
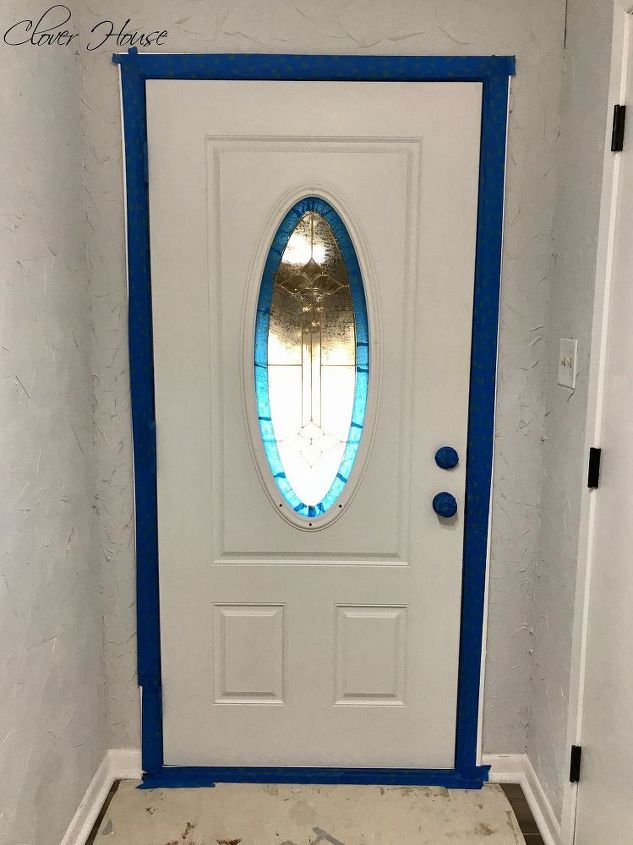
Do you have any specific tips on taping the oval window, I am pretty anxious about this? Also, on another door in the past the gold plating on my door knob came off and I am very worried about that. I have an expensive door knob that I am worried the tape will ruin. Do you have any advice?
Looks great! we are getting new siding next week and I don't want to paint the door yet because then I can truely decide what color options will work best! ( I'm leaning towards a red, but there are so many choices! Would I paint it the same way that is exposed towards the street without worrying about outside air and humidity affecting the drying or consistency?