


Easy DIY Farmhouse Shutters

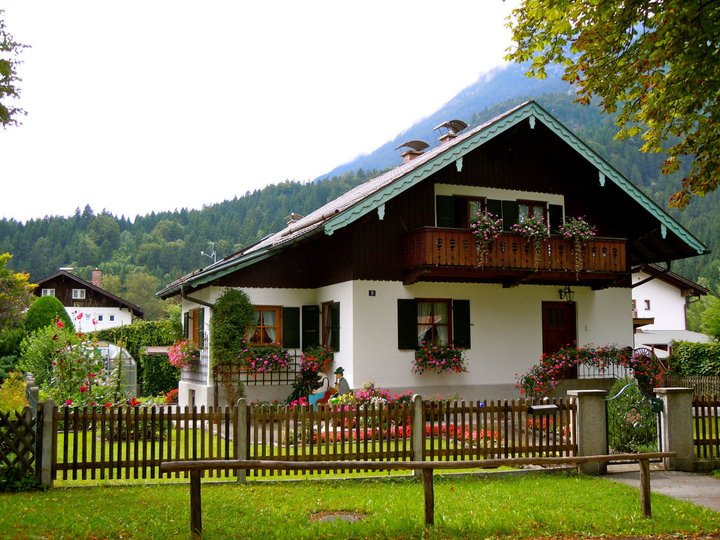
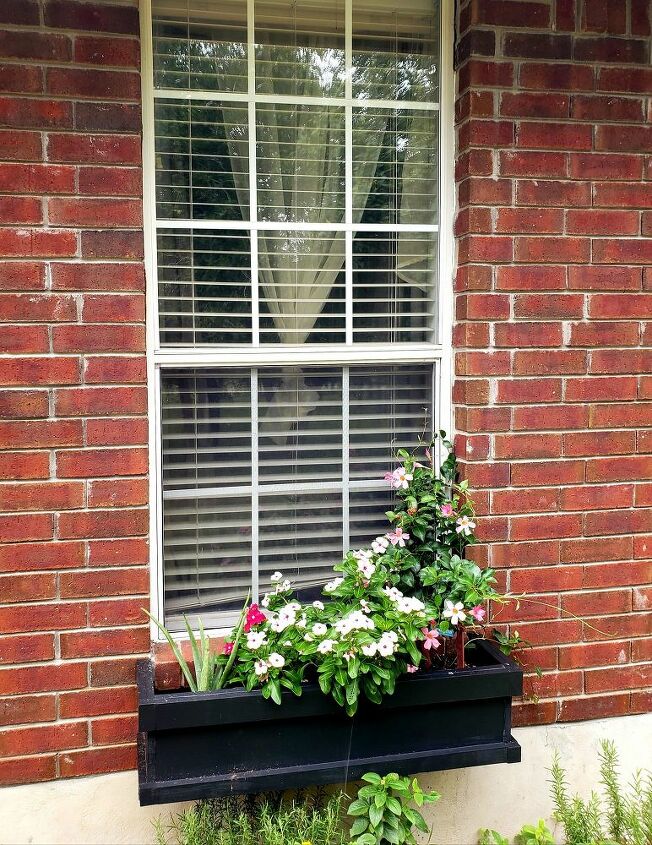
While I had picked up the window box planter bug in Europe, it really wasn't 100% fulfilled with just those window boxes. I needed the entire look - and that meant shutters! Browsing for shutters at Lowe's left me hesitant to make the purchases - they didn't look the way I was hoping and, if they did, they were $70 for a pair! So, as part of my summer curb appeal refresh project, I decided to tackle the build of these as well.
Hometalk Recommends!
I mean, you really can't get any cuter than this. I can't build Alpine mountains as the backdrop for my house and I can't bring the temperatures down from 105 degrees in the summer, but I CAN build shutters.
So here are the tools you will need for this project:
- Kreg Jig Pocket Hole System
- Kreg Jig Pocket Hole Screws @ 1 1/4"
- Sanding Sponges - Medium/Fine Grit
- C-Clamps
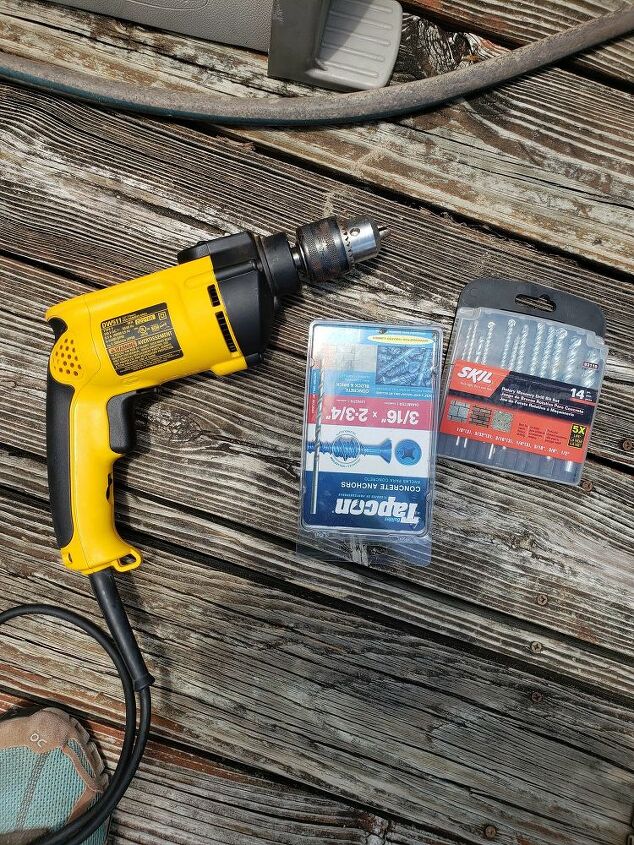
- Hammer Drill w/Masonry Bit Set
- Power Drill with Phillips Head Bit
- Hammer
- Miter Saw
- Measuring Tape
- Pencil
Step 1: Measure Your Windows
My windows were 71" tall, and I wanted the length of my shutters to match that, so all of my 1 x 4 boards were to be cut at 71". (6 per window).
Step 2: Cut Your Boards
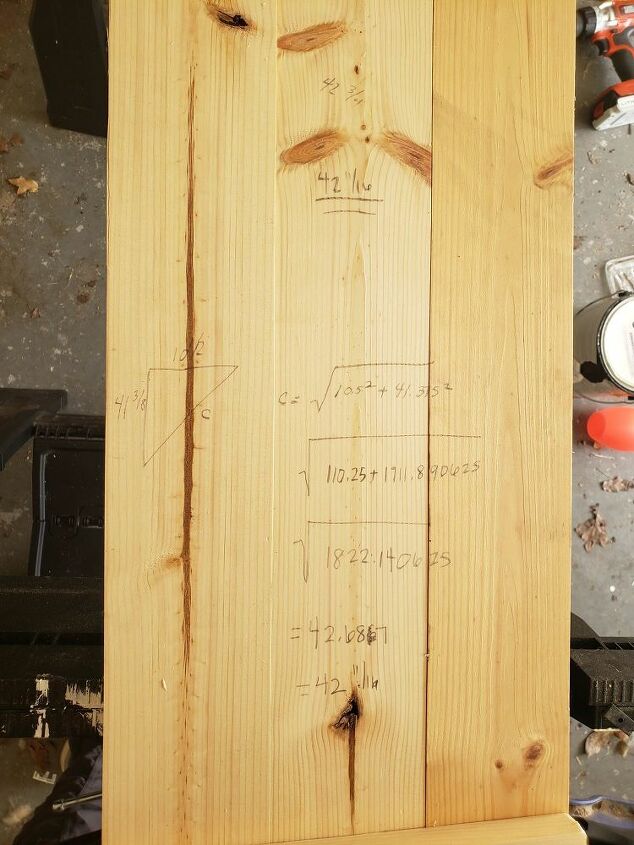
Cut your 1 x 4 boards to length for your particular windows. For the board and batten section, I really struggled - angles are definitely not my thing. The first section, the horizontal boards, were easy - 12" across, straight cuts.
The angled one, though - I tried to use some math to figure out how long it should be, which actually surprised me and worked.
As far as the angle, though, I had such a difficult time! My dad taught me a neat trick - which honestly I should have figured out on my own. Oh well!
You just hold the board that you are wanting to cut up to where you want it to go. Then, take a pencil and scribe the actual cuts - it's so easy!
For my shutters, it ended up being a 10 degree angle, 42 11/16" long.
Step 3: Assemble the Main Portion
Using the Kreg Jig Pocket Hole System, adjust your drill guide block to match the thickness of your materials - 1 x 4 boards are about 3/4" thick. Adjust the stop collar on your Kreg Jig Drill Bit so that the "step" matches the material thickness - again, 3/4". The step is the flat area right above the tip of the bit.
Drill your pocket holes so that the boards will join up to create the main portion of your shutter.
Using the 1 1/4" pocket hole screw and wood glue, assemble each shutter.
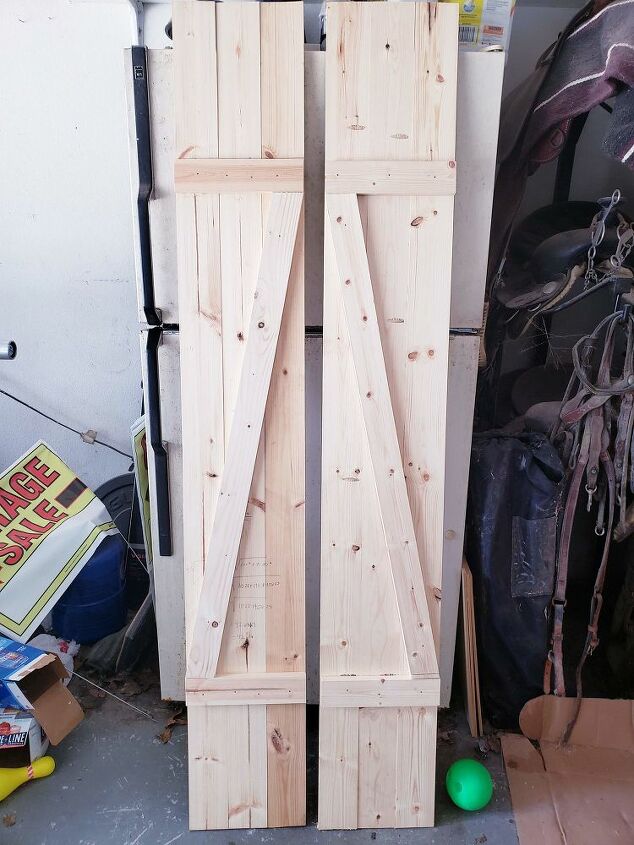
Step 4: Attach the Trim
With wood glue and C-Clamps, line the trim up. For my shutters, I went with 12" from the top or bottom of each shutter. Glue and clamp until dry so that the boards don't wiggle around when you drive the nails in.
When dry, use finishing nails to fasten the main shutter. If there is any spacing between the joints of the trim, use wood filler to disguise.
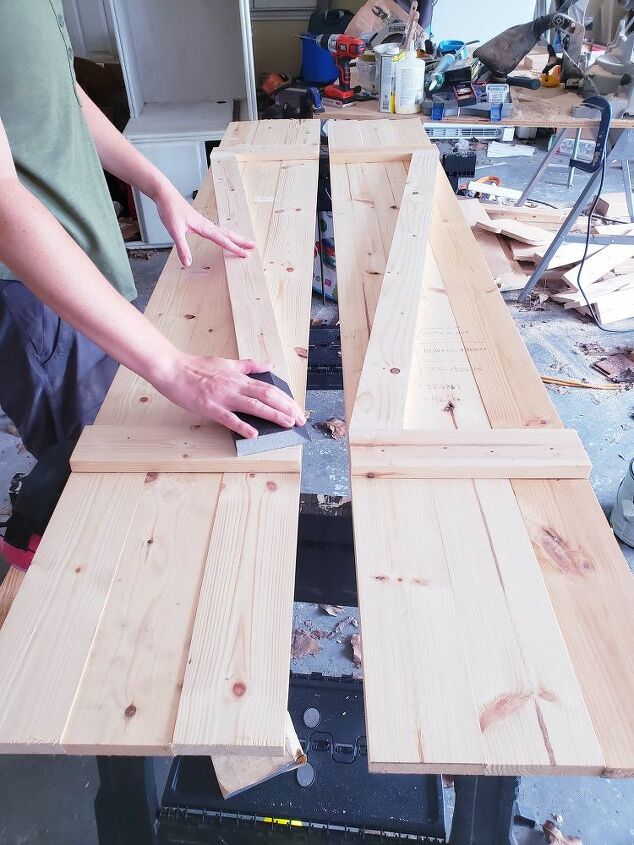
Step 5: Prep for Paint
Use wood fillwer to fill any blemishes or screw holes. Allow to dry before sanding the entire thing smooth.
Step 6: Paint
Using your exterior paint, paint all sides of the shutter. It may require more than one coat.
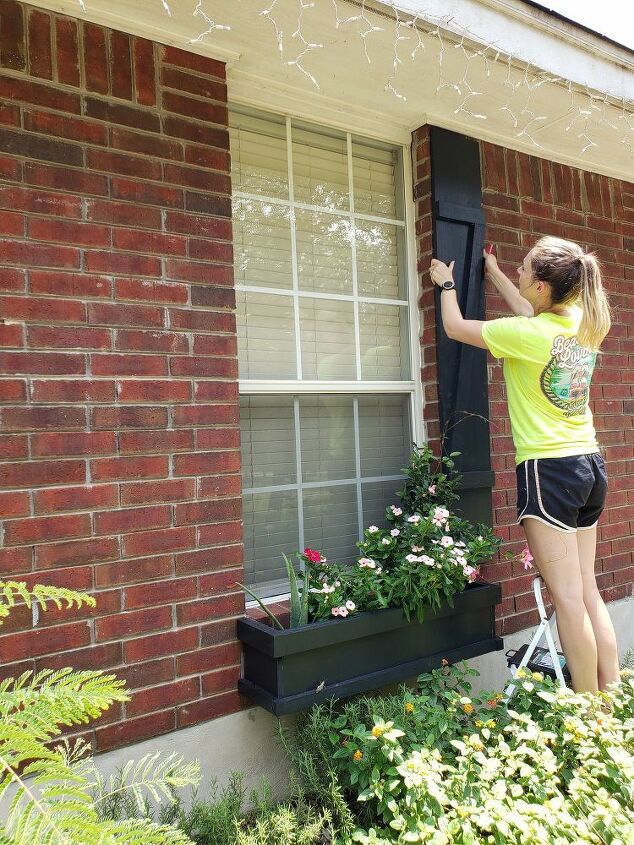
Step 7: Attach to the Wall
Here is another helpful hint - it is REALLY great to have two people on this part. Doing this on your own is not fun.
Hold your shutter up where you would like it to hang. I hung my shutters right at the edge of the brick. With a pencil, mark the sides because you will probably get tired of holding it up. When you take a break, you need to know where it sits!
Using the smallest masonry bit with your hammer drill, hold your shutter in place. Drill your pilot holes through the shutter and into the brick just slightly to mark where your holes should go.

Take the shutter down and, using the smallest masonry bit, drill all the way through the brick/mortar. Read the directions carefully on your concrete anchors, because it will tell you the size of masonry bit you should use to prep for the anchors.
Step up your bit size to the size indicated on your anchor box and drill it all the way through again, using the hammer drill.
When you have all of the holes drilled, hold the shutter up and fasten to the brick/exterior of your home using the anchors. This is also much better with two people!
Chances are, you have marked up your shutters quite a bit putting them up. Easy fix - touch up the paint!
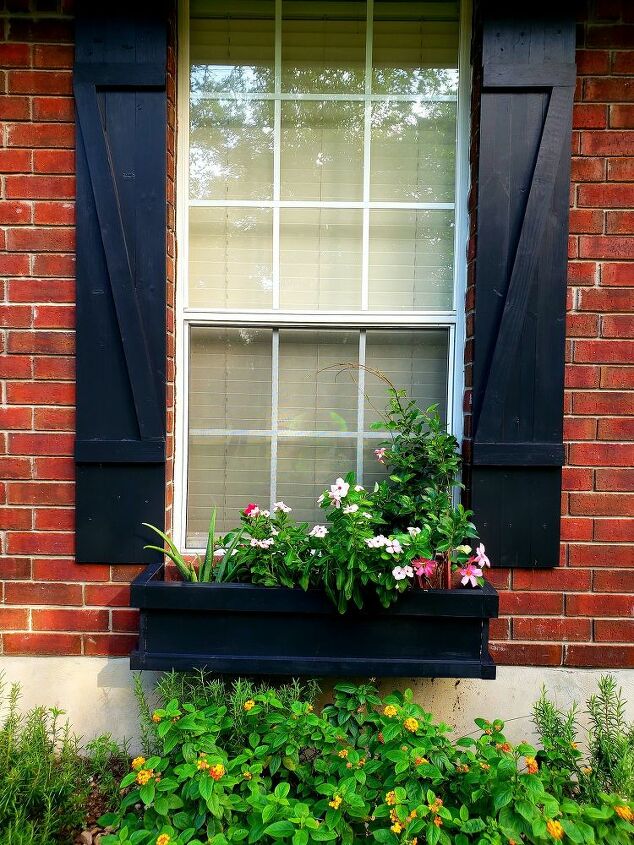
Now I have accomplished the full European look - way down here in Texas! I love them and it makes me happy to see these cute little shutters peeking at me through the trees as I drive up to the house. To see more of what I do, check out my Instagram account- breaking_down_the_box
Resources for this project:
See all materials


Comments
Join the conversation
-
I love the look of shutters. We took some of those panels (like you see on bi-fold closet doors) that we got at Habitat for Humanity, cheap! We cut them in half because they’re too tall, then the length was perfect. Spray painted them black and hung them. They look great!
-
Definitely an improvement. Shutters, light fixtures, plant material and other accents are the jewelry to your home. Looks nice. Paint job looks good too


Frequently asked questions
Have a question about this project?
I hope this isn't a dumb question, but down in San Antonio, don't you get storms when you could use the extra protection of functional shutters?
I'm guessing, but all it would need more are enough 1 x 4s to evenly cover the window, 4 - 6 sturdy hinges, a bar to lock them shut, and a small hook to hold them open with good weather. Since you've put in all that work already, would this be a small but useful step beyond?
Do the Europeans who inspired your project ever make their shutters protective against their weather?
Bottom line, you have created a GORGEOUS addition to the curb appeal and value of your home. Thanks for sharing!