


Farmhouse Kitchen Awning
5 Materials
$10
1 Hour
Medium
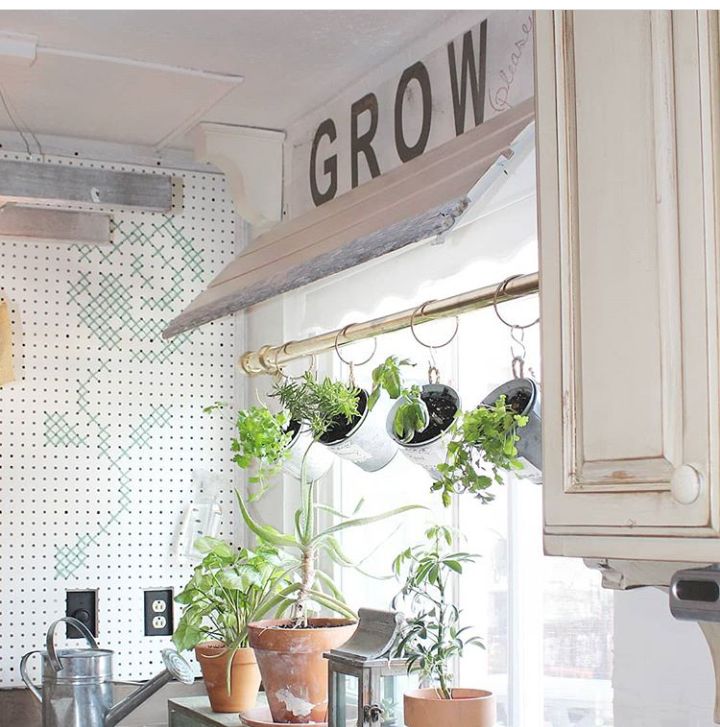
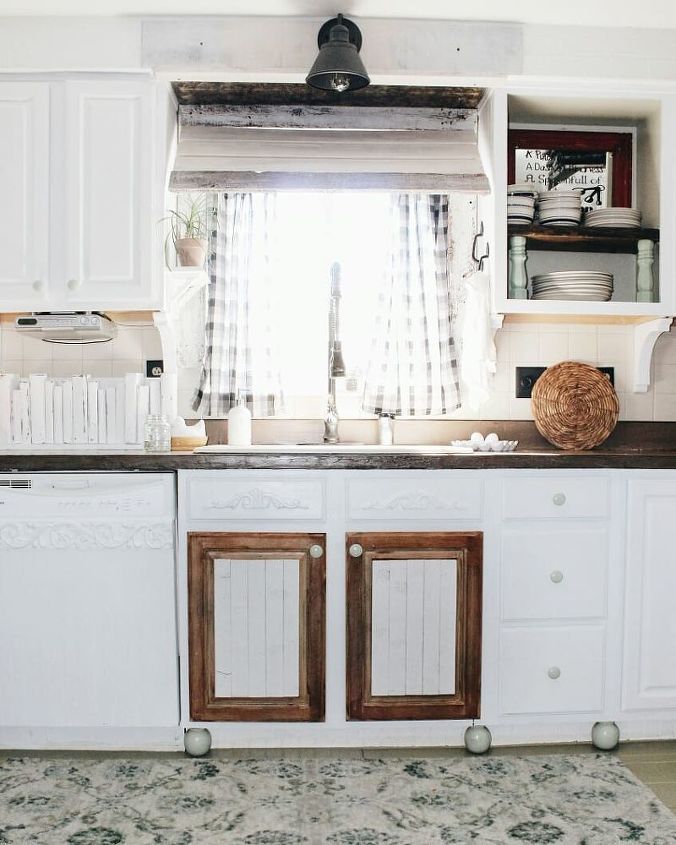
I made these farmhouse style awnings for my kitchen windows, but really they would be great anywhere - playroom, bedroom, etc.
Visit me at www.perfectlydestressed.com - to see more of my DIY ideas!
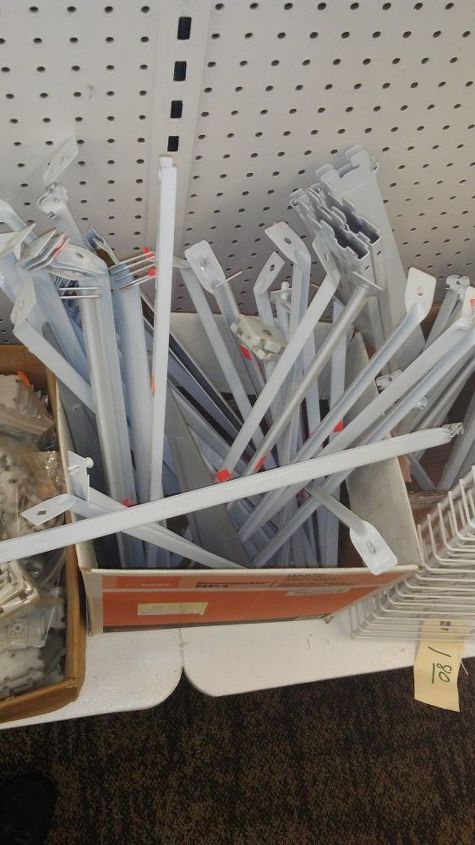
I started with 2 of these crazy inexpensive shelving support brackets. I found mine at the ReStore, but you can get a pack of 2 for under $6 at Home Depot. You will need 2 for each awning.
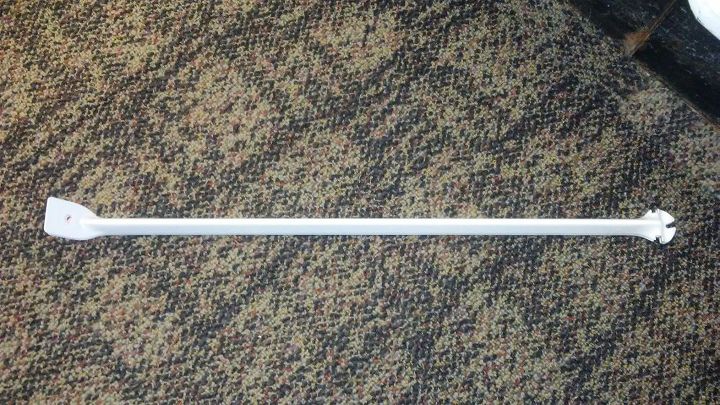
The bent end piece (the left end of the bracket in this picture) is what I used to attach the awning to the wall. It lets the awning hang at the perfect angle!
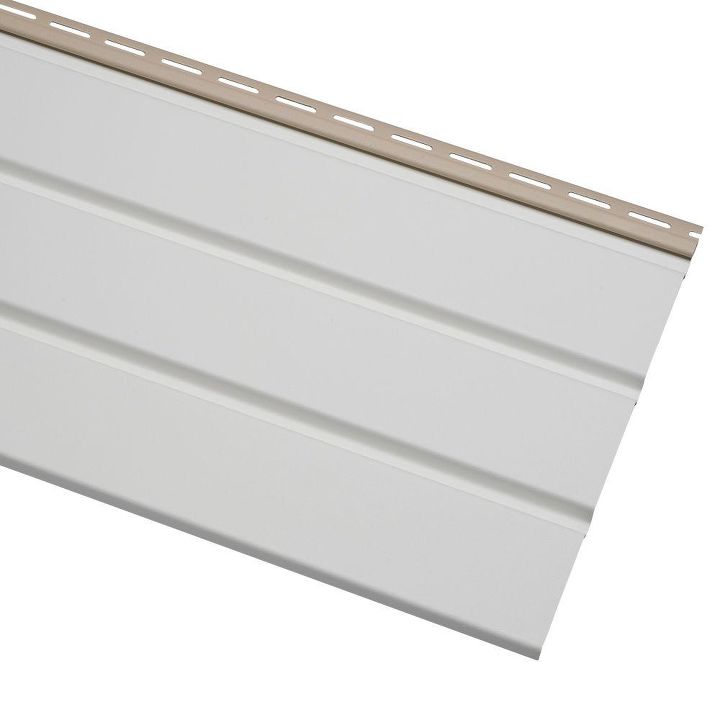
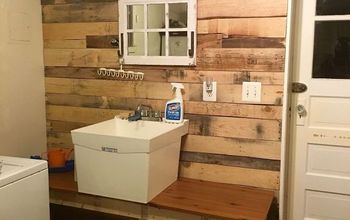
We had some extra pieces of white vinyl soffit left over from our front porch project, but it's inexpensive to buy new as well. I chose to use these because I really wanted the awnings to be lightweight and they were already the perfect width. I cut them lengthwise easily with a sharp utility knife.
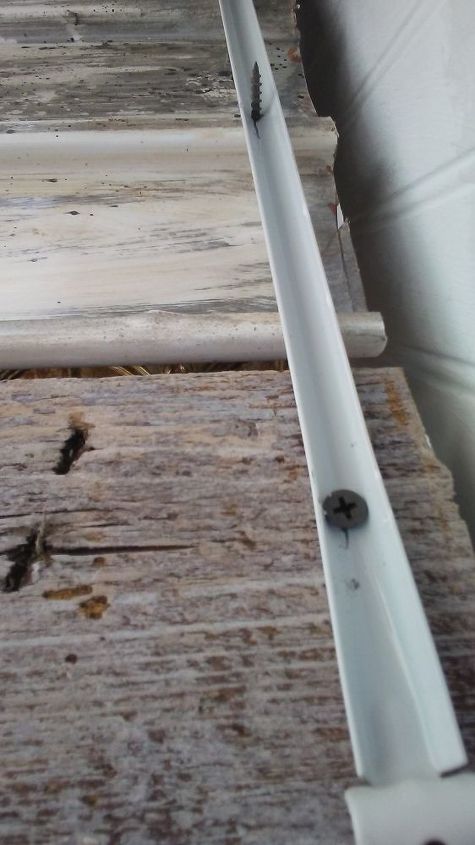
Because I was going for a Rustic/Farmhouse feel, I used some old screws and a few pieces of old fence post wood roughly painted white (just make sure you are using lightweight wood, as well) and cut to size for the top and bottom of the awning.
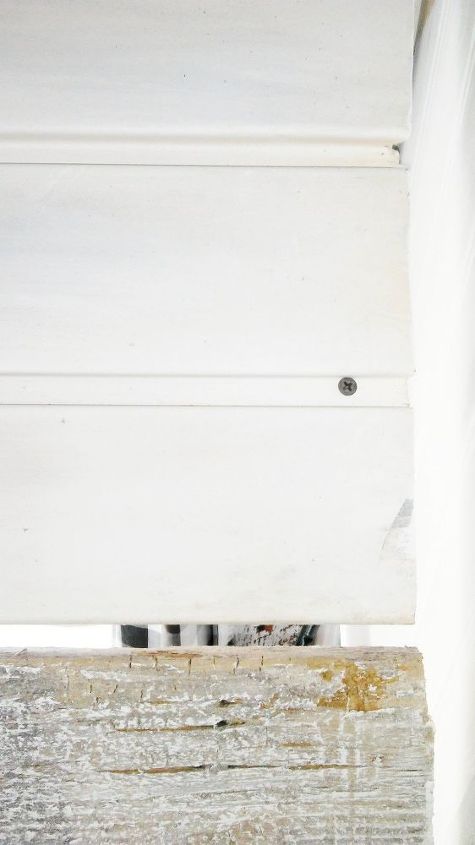
This is the underside of the awning (the picture was taken underneath). I screwed straight through the bracket and into the soffit as well as through the old wood pieces and the bracket.
In an attempt to save money, I used screws I already had so they were a bit too long for my project. But, you can't even tell that they stick out once the awning was hung as they stick out on the underside.
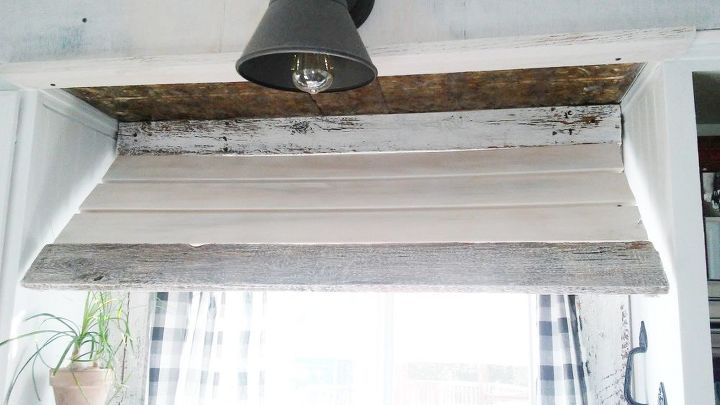
The old fence pieces help cover up the bracket piece attached to the wall as well as the bracket portion left in front of the soffit piece that was still visible.

Here is what the awning would look like without the scrap fence wood covering the exposed bracket ends.
I love the awnings and the marketplace-look they bring to my kitchen! They were simple enough to make, very easy to hang and bring such a unique feature to my space - I hope you love them too!
Resources for this project:
See all materials


Any price and availability information displayed on [relevant Amazon Site(s), as applicable] at the time of purchase will apply to the purchase of this product.
Hometalk may collect a small share of sales from the links on this page.More info

Want more details about this and other DIY projects? Check out my blog post!
Comments
Join the conversation
2 of 16 comments
-
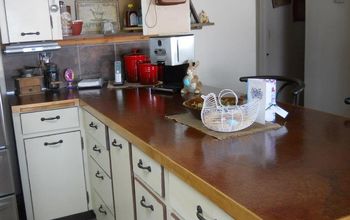
Love this look. The only thing I would do different is stain the bottom board to match the brown stain in the lower cabinets. I think it would tie it all together and make it stand out from the rest of the cabinetry. But honestly, great job! Terrific project!
-
Definitely a great job!!! Love the marketplace look as well.


Frequently asked questions
Have a question about this project?
I am definitely doing this awning! but you have got to point me towards how you did the front of your dishwasher! I am obsessed with it!
I used a bracket like this on my covered deck to hang hummer feeders and chimes. Might do similar in my kitchen. Thanks for the great idea 💡
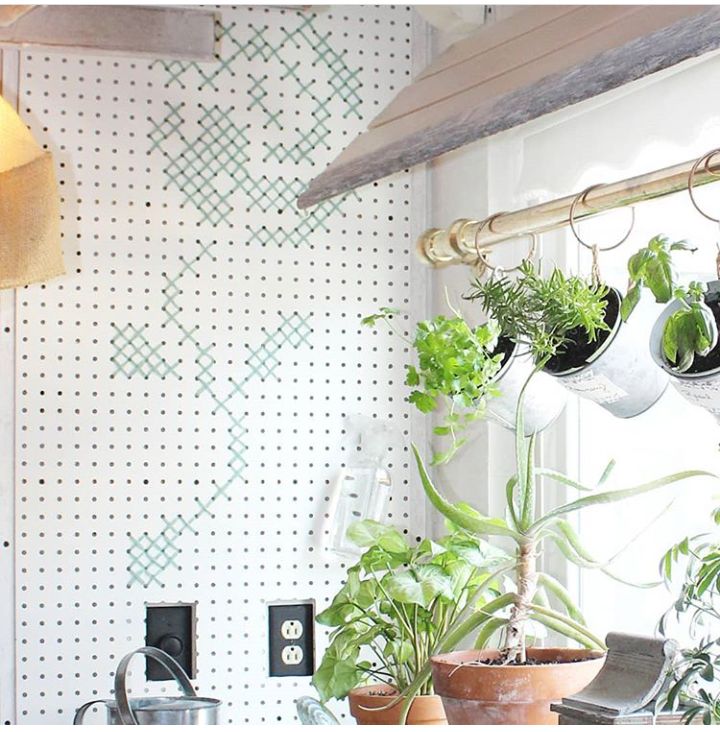
I really like the project, but what really caught my attention was the plants on the tension rod. Can tou tell me what you used for the rings, etc?