


Step-by-Step Christmas Centerpiece
Hi, I'm Liz from Simple Decorating Tips, a DIY and decorating blog. We're in the middle of renovating our newly purchased house, so as exciting as that is, it means very little Christmas decorating... Pretty much of all our stuff is packed away in storage, including Christmas decor. ( You can read all about our new Mid-Century house we're renovating into a Colonial Revival here!)

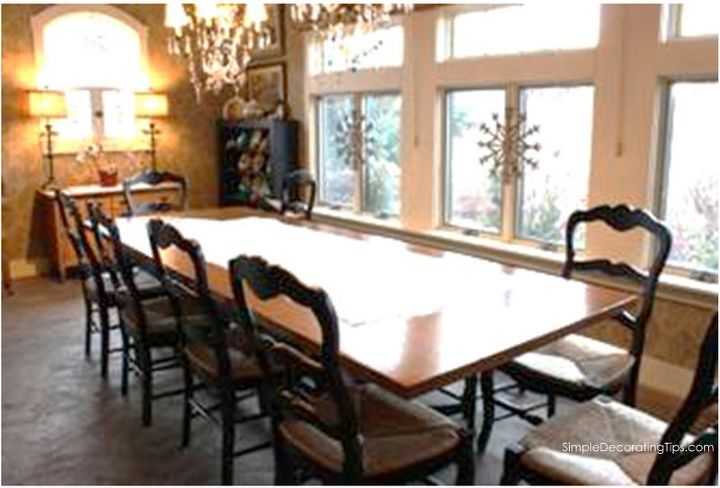
The dining room at our house in the country was huge! It was actually a garage that we converted to dining and living space.
Therefore there was plenty of space for a huge table.
I started this centerpiece by putting plastic sheeting on top of the table to ensure no tree sap dripped on the table.
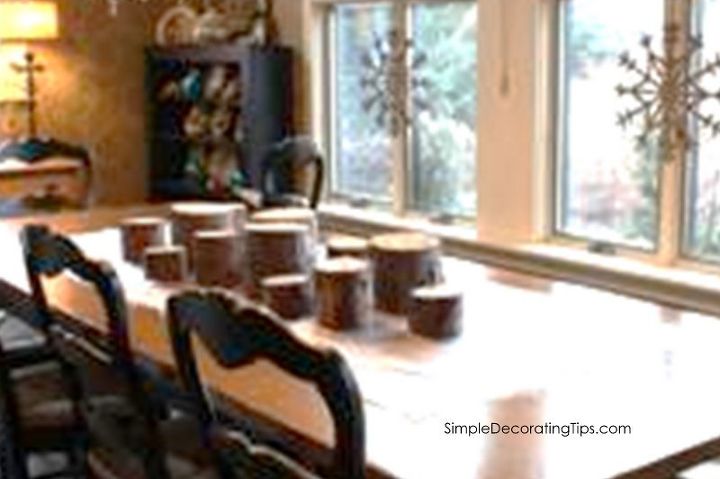
My husband cut several different sized little logs for this.
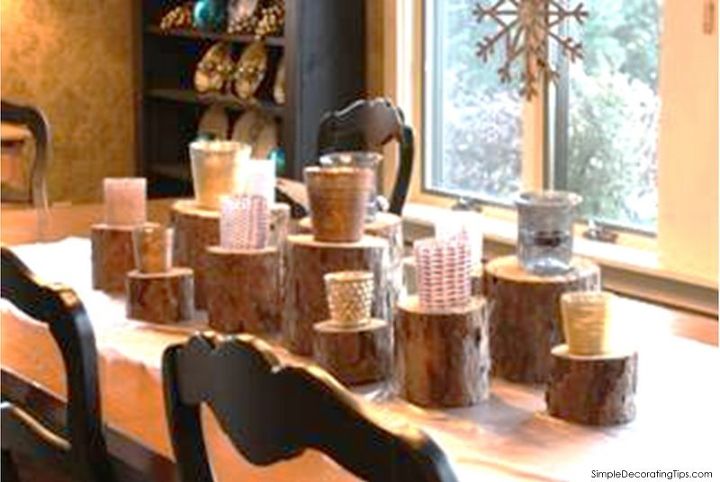
I added glass votive holders in different sizes and colors... all tan and grey and white though.

The Frosty Fern addition was a great addition to sit on some of the little logs too. I wrapped them in white paper and vintage ribbon.
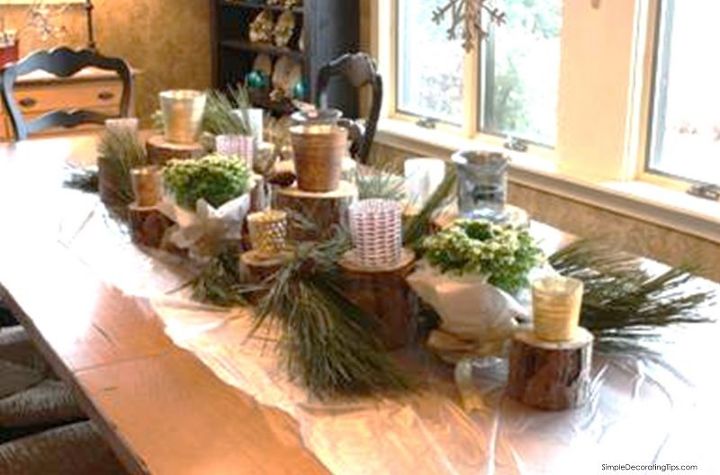
We cut some pine boughs to fill in.
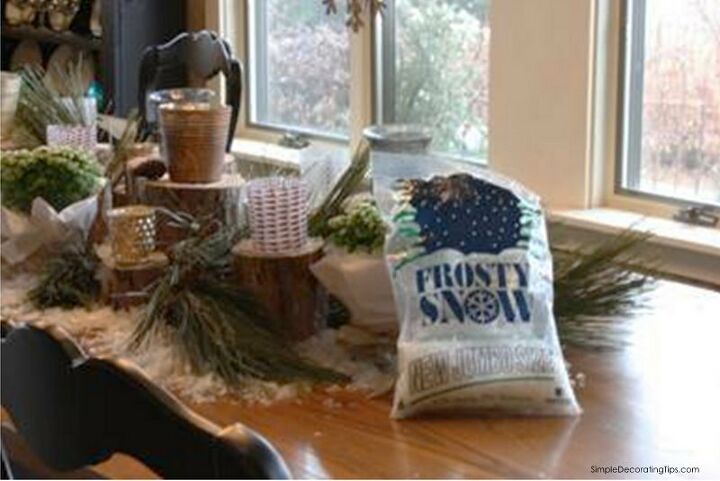
Then I trimmed back the plastic sheeting and 'let it snow'.
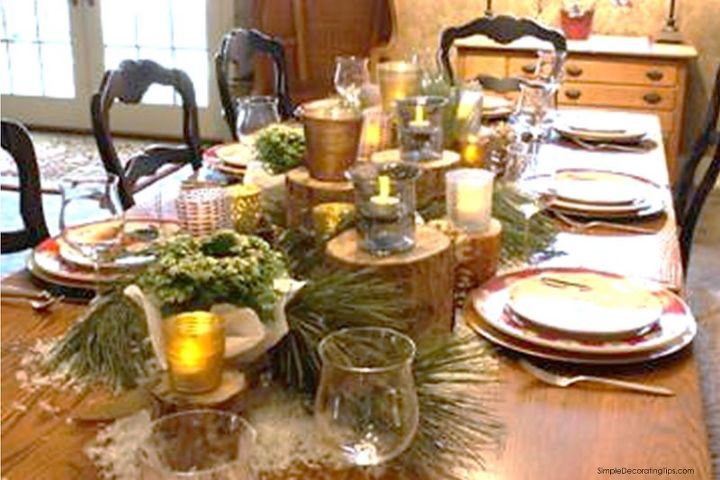
It was a beautiful Christmas centerpiece!
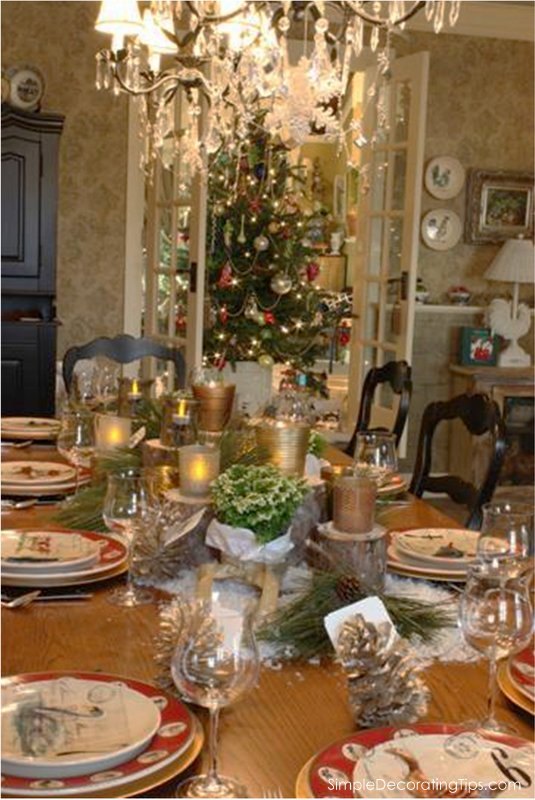
I loved how the french door addition between the dining room and living room was a great place to set the Christmas tree!
To read more Christmas decorating tips on my blog Simple Decorating Tips, click here!


Frequently asked questions
Have a question about this project?