


These Industrial Lights Are SO Simple To Make!!
Industrial lights are really on trend right now. I find simple is best when it comes to design and these lights couldn't be simpler. 2 blocks of wood and some cable. Here is how to make the industrial bedside lights.
Here is how easy they are to make!
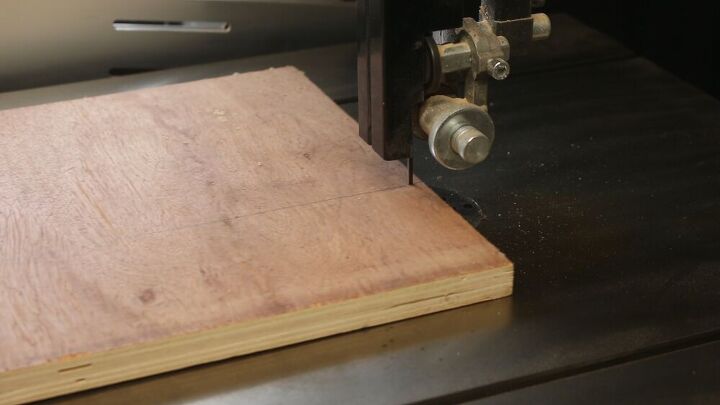
First thing I did was to cut the 18mm plywood back boards to size. I opted for 100mm wide so I cut that on my bandsaw. A table saw would be a better tool for this job but as the cut isn't crucial in anyway I used my bandsaw as it was already set up. You could cut this by hand too or perhaps ask your local DIY store to cut it for you too.
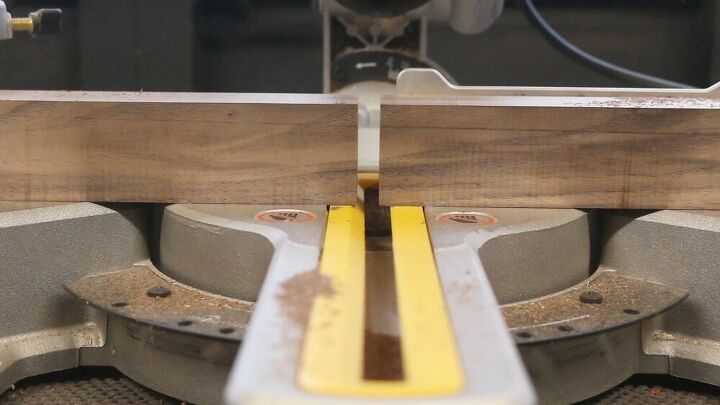
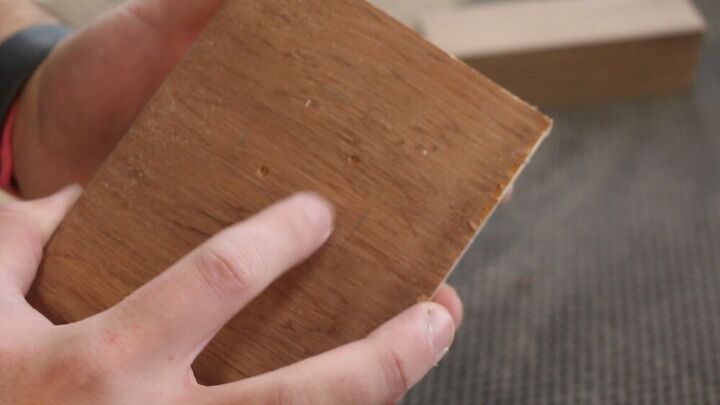
I used 43mm x 43mm Walnut for my light so with the width dimension cut its time to cut the Walnut and Plywood to length. I used my mitre saw for this but you could cut this by hand too. I cut the Walnut pieces to 150mm long. I cut the plywood pieces to 180mm long.

The Walnut pieces will get attached to the Plywood back panels using dowels. I only had 6mm dowels on hand so I had to drill 2 holes per piece. Ideally I would have used just 1 10mm or 12mm dowel in the centre of the pieces.
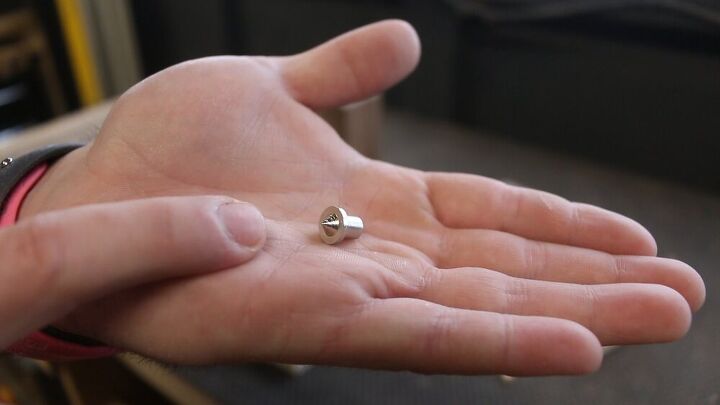
To make aligning the dowels easier I use Dowel Centre Pins. These sit on the holes drilled. They can then be used to leave an imprint on mating piece. In this case they leave an imprint on the plywood back panels. I can then drill holes where the marks are and know they will line up perfectly.
They can then be used to leave an imprint on mating piece. In this case they leave an imprint on the plywood back panels.
I can then drill holes where the marks are and know they will line up perfectly.
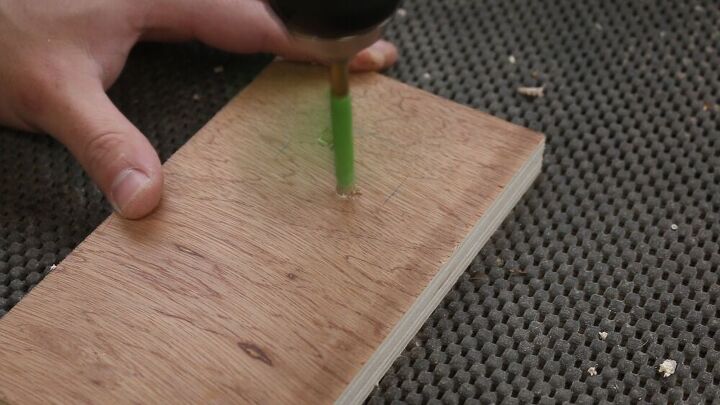
If I were using just 1 dowel I would just mark centres on the walnut and plywood pieces. I wouldn't need to use the dowel centre pins at all then.
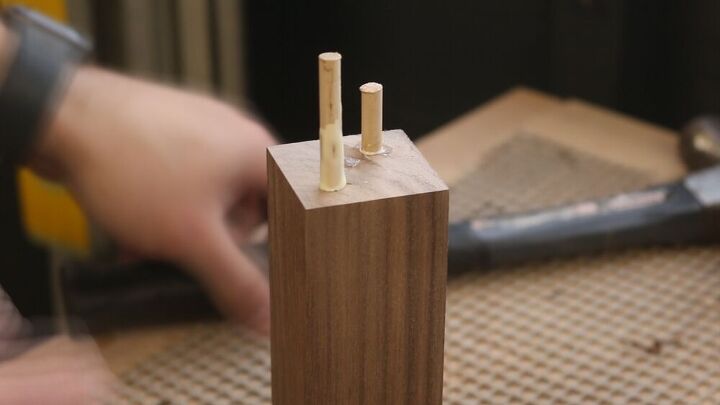
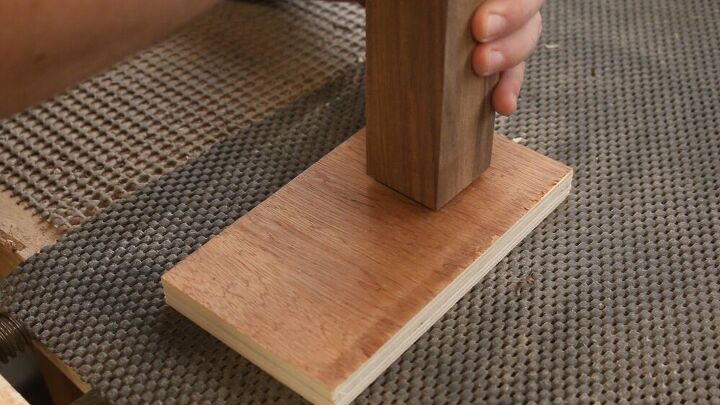
Now the wooden dowels can be glued in place.
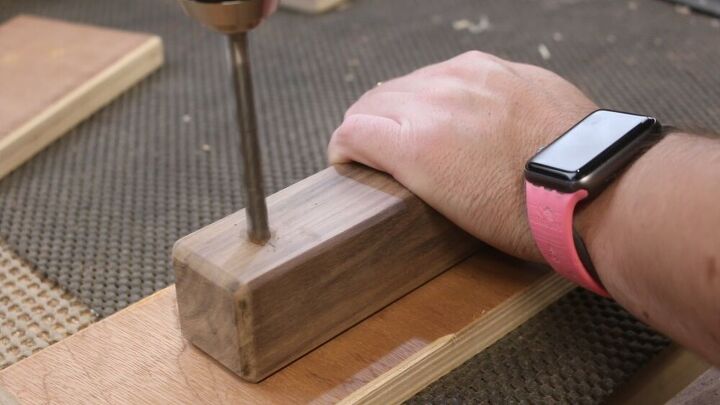
While the glue was drying on the dowels I used my router to add a 45 degree chamfer to the edges of the walnut. I could then drill a 8mm hole in the front and back of the walnut piece. This will be where the light cable gets threaded through later.
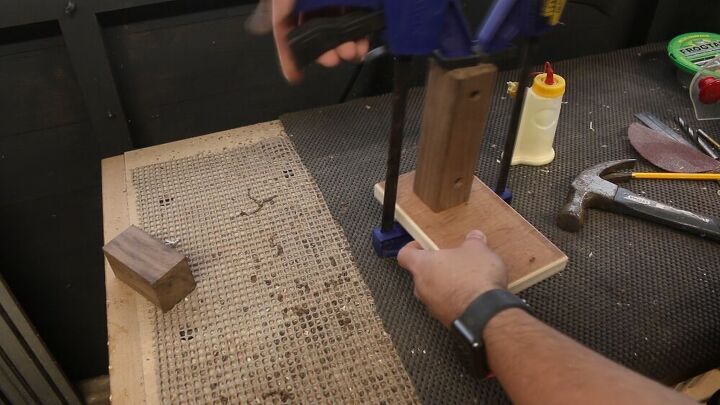
The piece can be joined together now using the dowels and wood glue. A couple of clamps hold them in place while the wood glue dries.
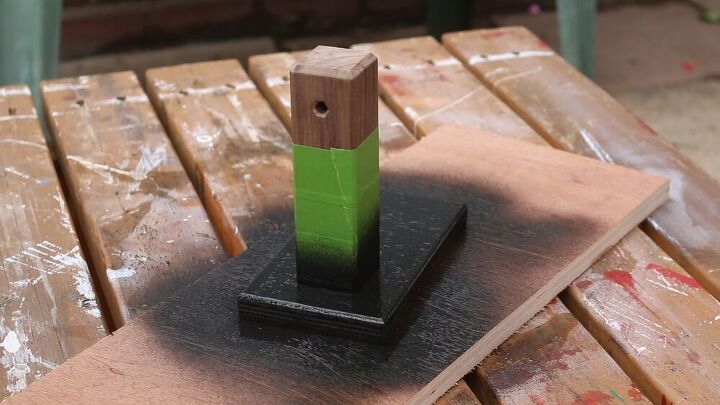
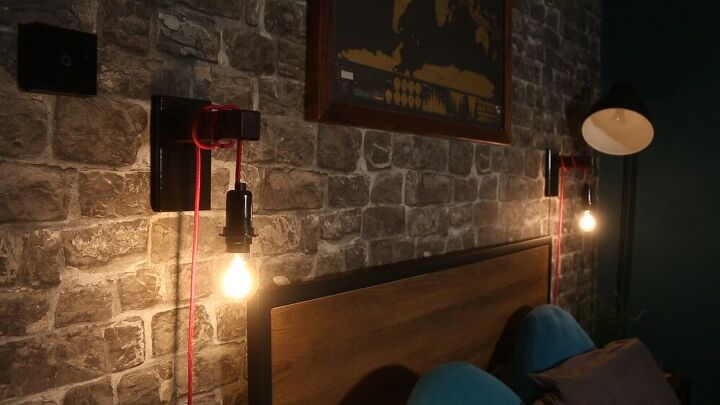
I wanted the back panels to look like metal so I sprayed them with hammered effect black paint. In hindsight I would have done this before gluing on the walnut but the painters tape did a good job at preventing overspray. Once the paint was dry I gave the lights 3 coats of spray lacquer, sanding between each coat.
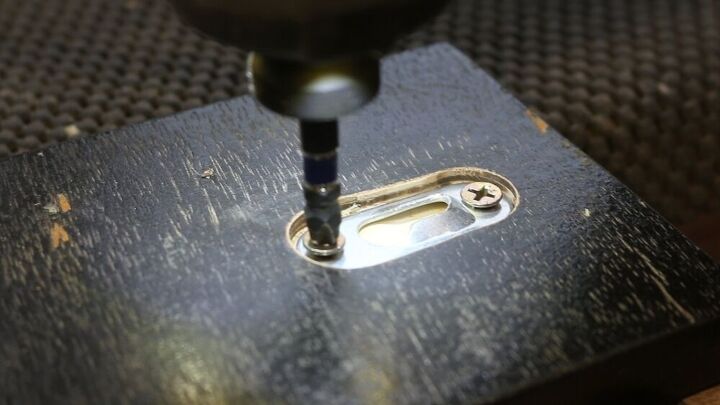
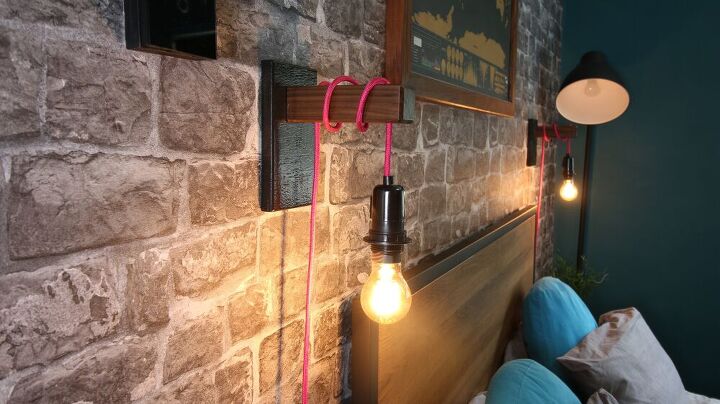
To hang the lights on the wall I used keyhole hangers. These are really strong fixings and really easy to install. They can be mounted just with screws but I prefer to route a small pocket for them to sit flush in the back. I use the router and a straight bit to do this. They can then sit in the pocket and get secured in place with a couple of screws.
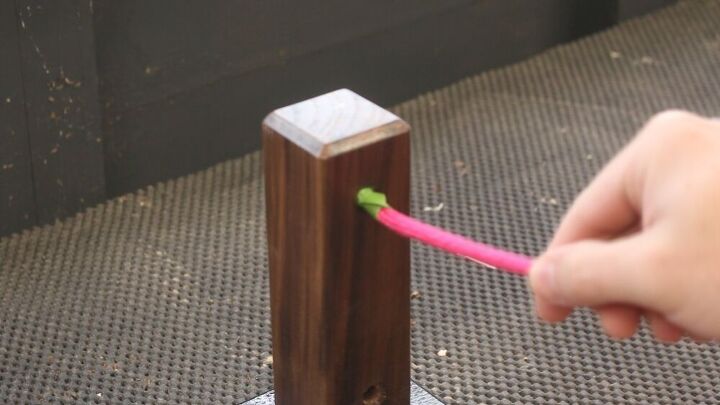
Now the wire can be threaded through the front hole. I added some painters tape to stop the cable sleeve from sliding back. I wrapped the cable around the walnut piece and then threaded the rest of the cable through the back hole.
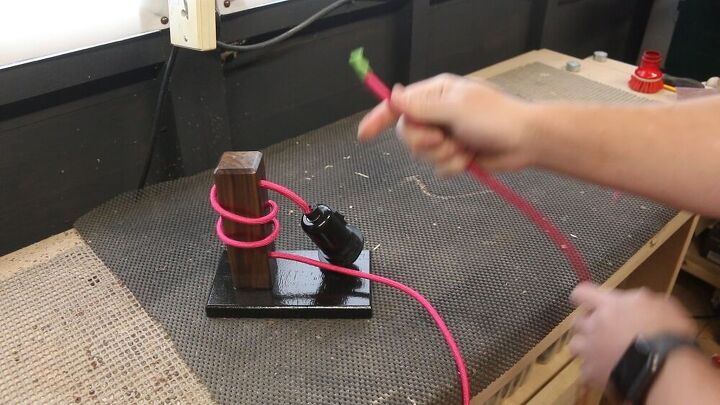
As you can see I also wired the lamp holder onto the front cable. This is really easy to do but I'm not an electrician so please do this at your own risk. Always consult an expert when it comes to electricity.
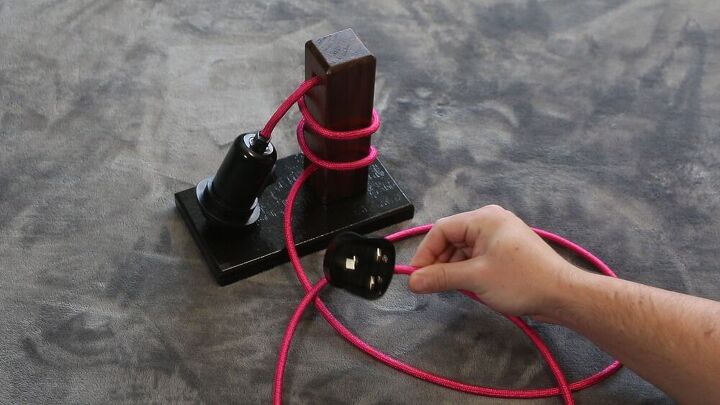
I then wired a plug on the other end of the cable. Again, consult an electrician if unsure about how to do this.
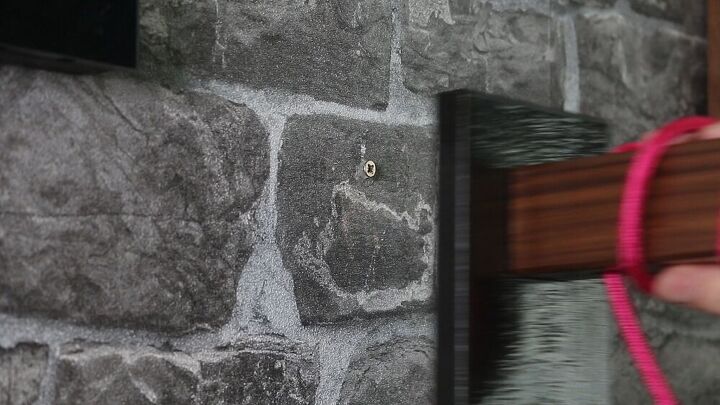
The keyhole hangers simply slide onto a single screw in the wall. When pushed down into place they offer a lot of strength. All that's left to do is plug them in and switch them on. I used Philips Hue bulbs so I can control them wirelessly too.
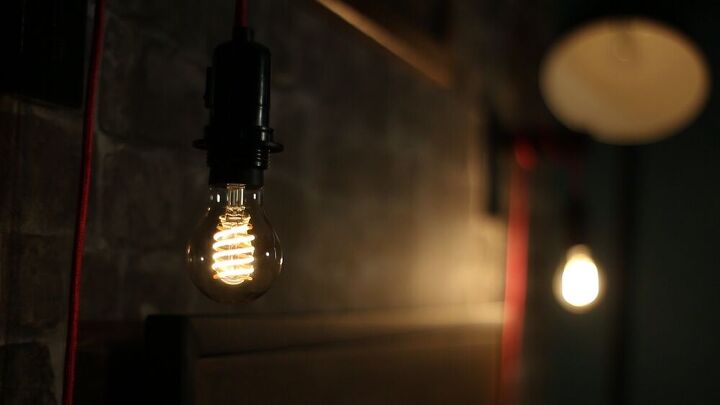
I really hope you like this project and give it a go for yourself. They're really simple to make and can be modified to suite your style and décor easily.


Resources for this project:
See all materials


Comments
Join the conversation
-
Brilliant!
-
Nice project.
I always enjoy a posting that describes how-to-do, but continues to point out that there are different was to get it done.
Well done.


Frequently asked questions
Have a question about this project?