


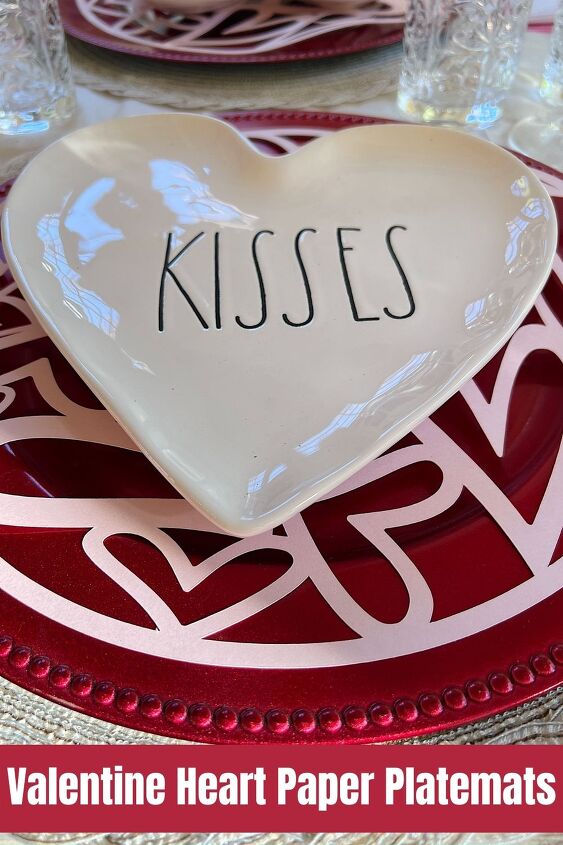
Valentine Paper Placemats (or Platemats?)
I am always looking for new ways to dress up a table. Today I created Valentine Paper Placemats that should be called a Paper Platemat!
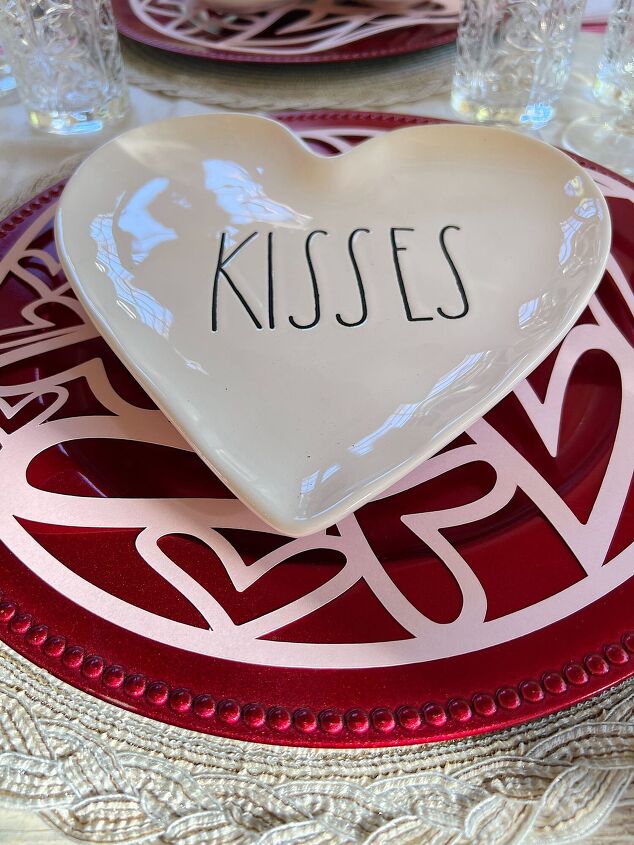
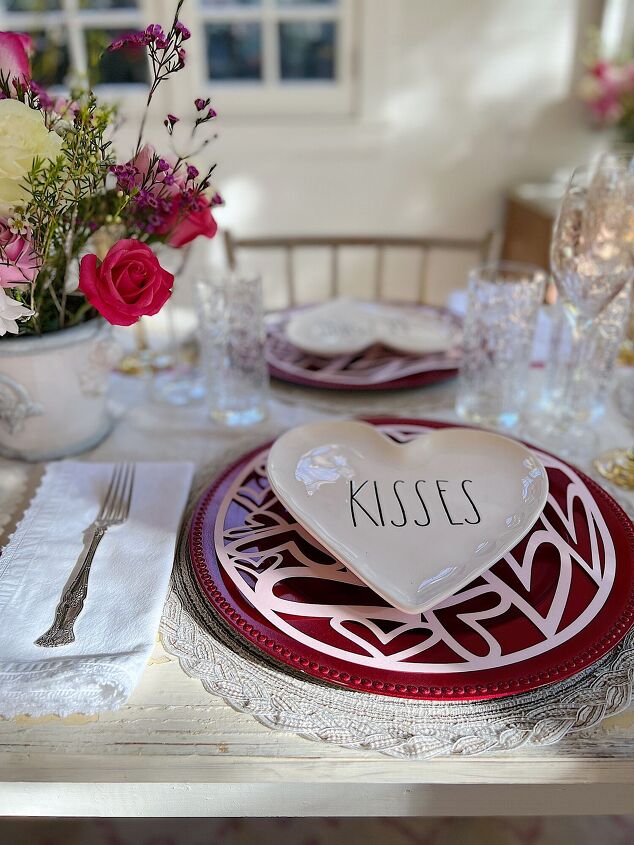
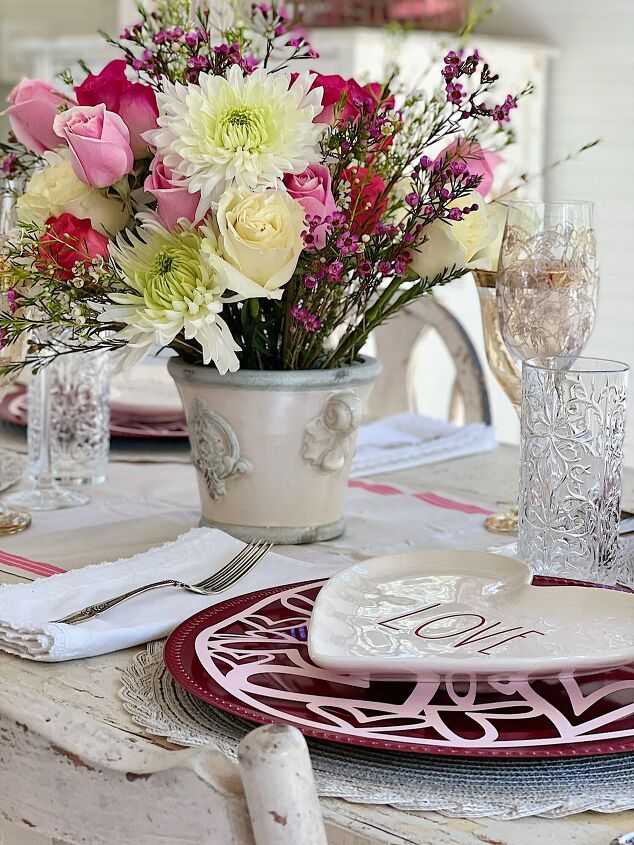
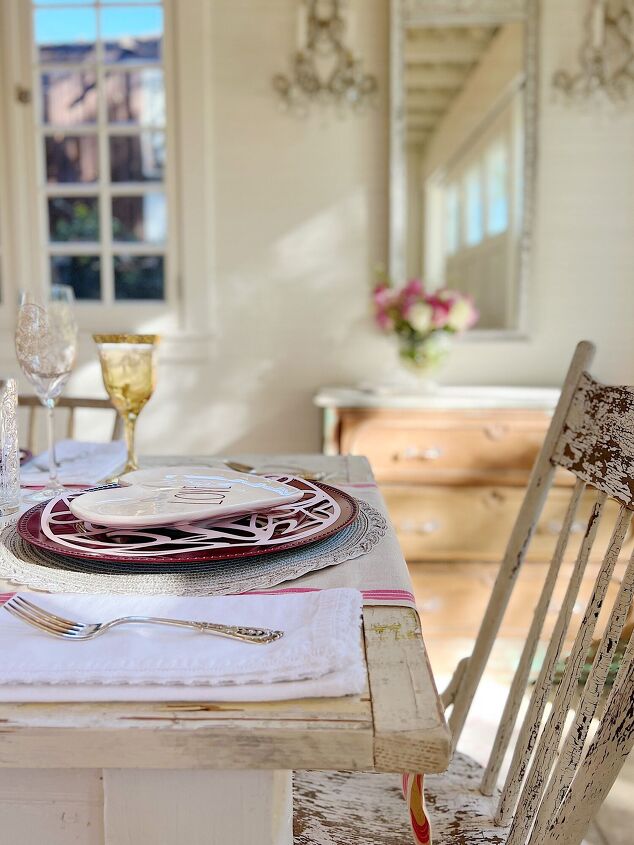
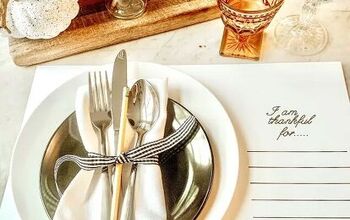
As you can see, I made a heart cutout that goes underneath the plate. It’s not really a paper placemat. Rather, it is a paper platemat. Right?

I created something new.
It’s called a Platemat. And that is not a typo.
A few months ago I was setting a table for my blog and I had an idea.
What if I made a placemat that actually went between the plate and the charger?
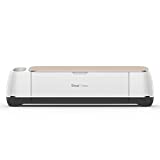
Something that would add some fun to a table and which I could make easily. I immediately knew I could make something on my Cricut. And then it came to me.
I wanted to make a cut out that was seasonal. which meant, of course, that I would have to make a different set every month!
I am not one who takes the easy path. Ever.
And here is the one for February.
(I know I forgot to share the one I made for January. But have no fear, I already have that one designed and will share it soon.)
I first called this a “placemat thingy” but knew I needed something better. So I went to a thesaurus and … well … unfortunately I had no luck.
Finally, I came up with the Platemat.
I love it.
From hereon, this placemat thingy will always be called a Platemat.
Made by yours truly.
So what do you think?
Can I just say that I love it?
Just so you know, I teamed up with my favorite bloggers and today we are all sharing a Valentine Days craft. Scroll to the bottom to see!
If you are enjoying my blog, you can sign up to receive my blog updates here. .
The first thing you need to do is go into the Cricut Design Space program and upload my Valentine Heart Platemat pattern. You can find the Valentine’s Day Heart Platemat design here.
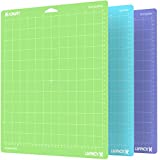
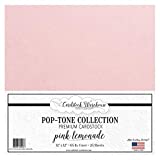
I used pink cardstock to cut the platemat. You will need 12″ x 12″ cardstock as the platemat measures 11.5″. Get as many sheets as you need, plus a few extra. Just in case you need to practice on one.
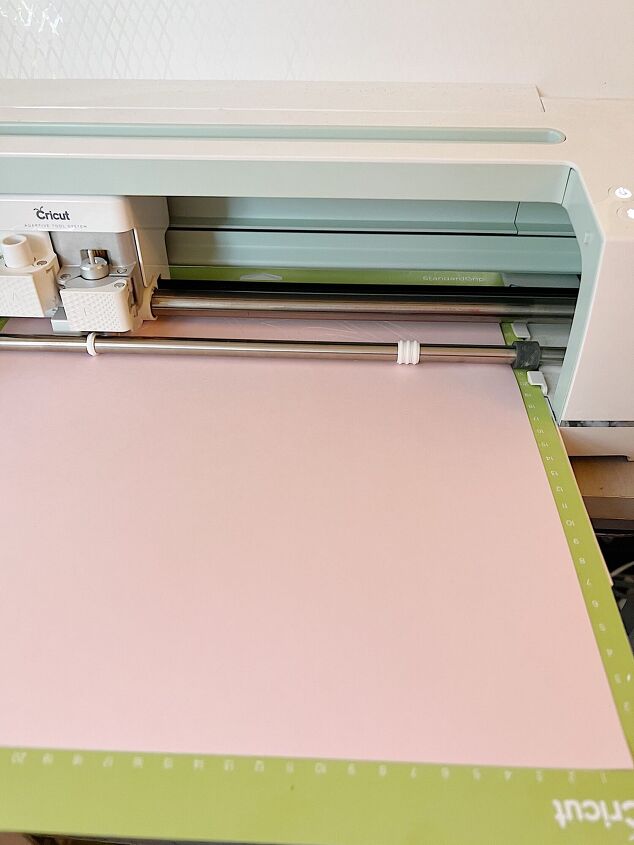
Place the cardstock on a cutting mat and put it in your machine. Set the cut to medium-weight card stock and press and go. The platemats cut very easily and look amazing. I want to make them out of cardstock foil too!
Don’t you think that would look incredible?
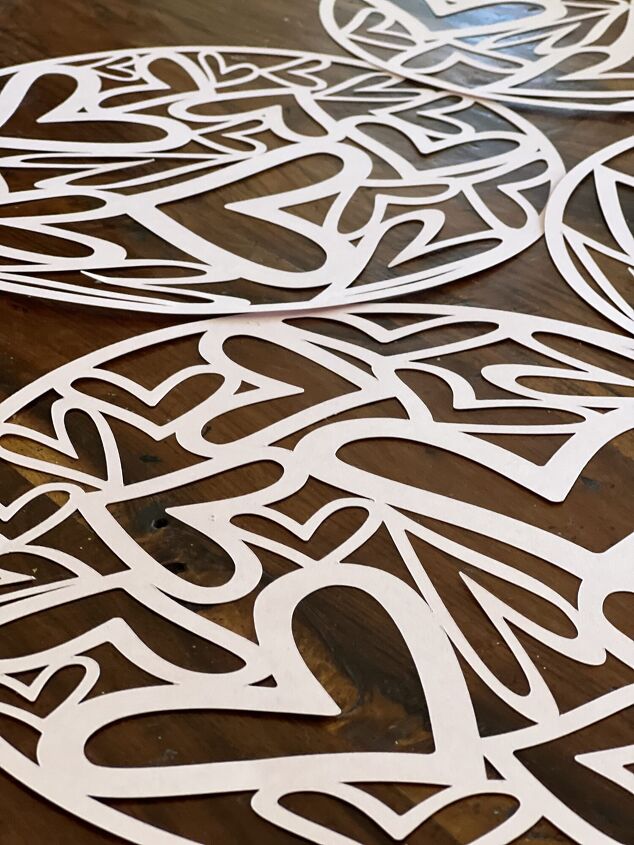
I made eight of them just to make sure I would have enough.
If you would like to use my template to make this heart template with a Cricut machine, click here.
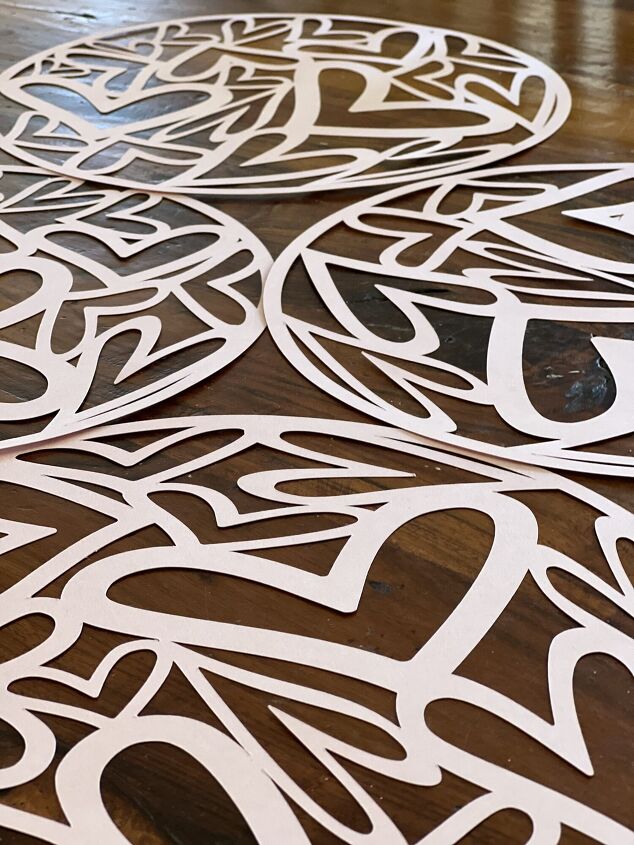
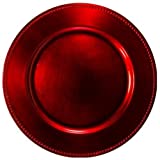
These platemats work with any sized plate. But a smaller plate shows more detail of the hearts on the platemat.
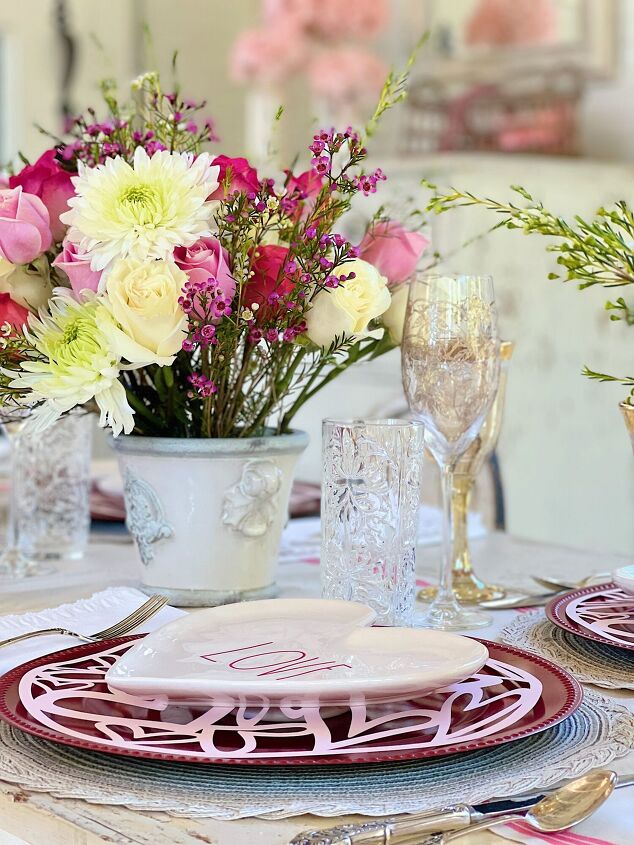
You also don’t need to use a charger. Of course, if you don’t then I guess my platemat should be called a placemat.
Hehe.
I love having the chance to talk with all of you about all of the things that I love.
I am now sharing a few Amazon Live broadcasts every week and I hope you will tap on the links to see what’s new.
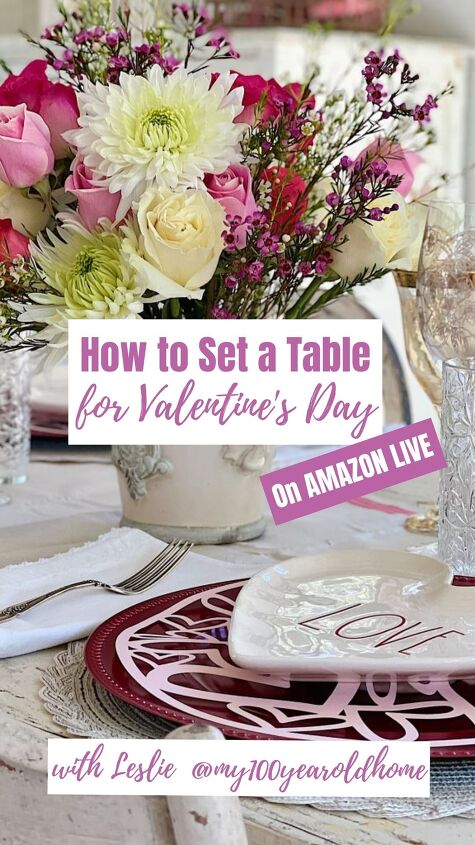
Looking for ways to set a fun and romantic table for Valentine’s Day? Click here.
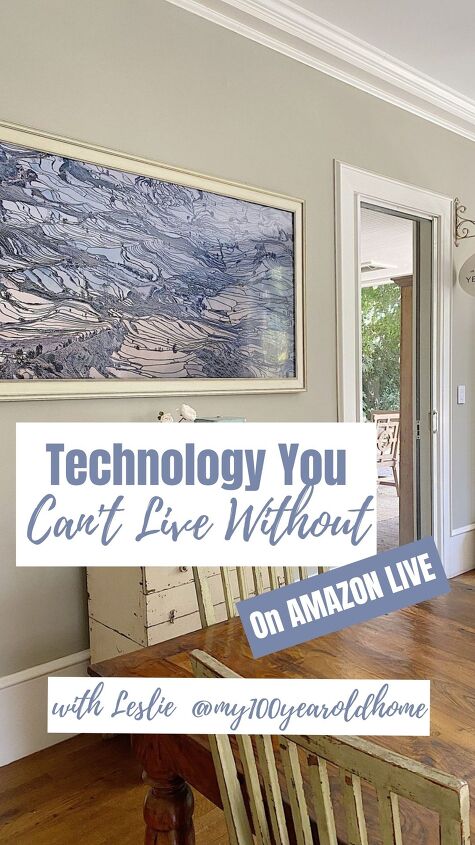
Are you curious about the latest tech items you need to know about? Click here.
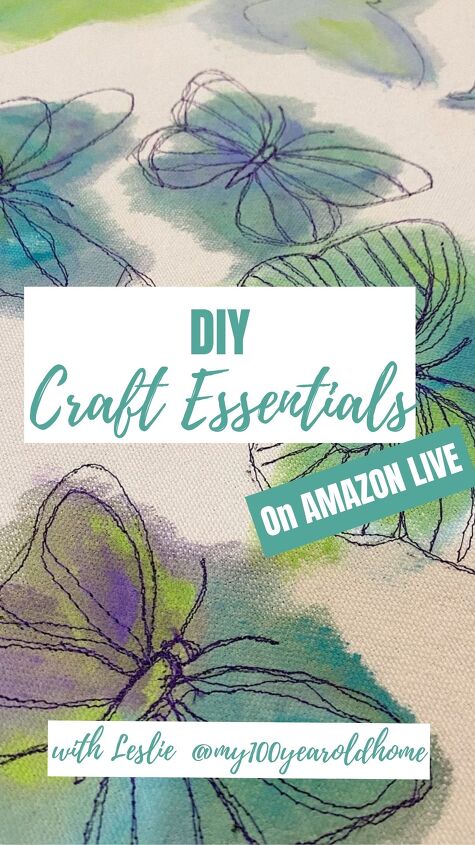
Want to see the items I use to make my crafts? You don’t need them all but some are essentials. Join me here.
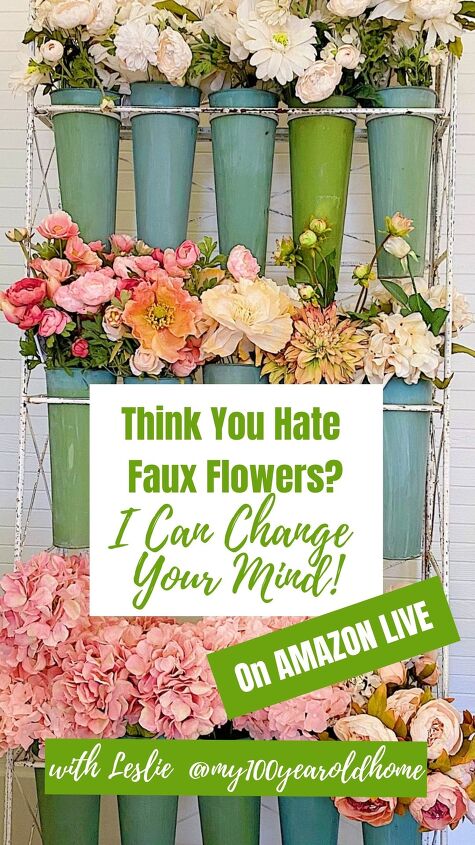
On this broadcast, I shared some of my favorite faux flowers and showed how to arrange them as well! Click here.

Are you looking to get in shape for the New Year? Here are some great items to help you get started. Click here.
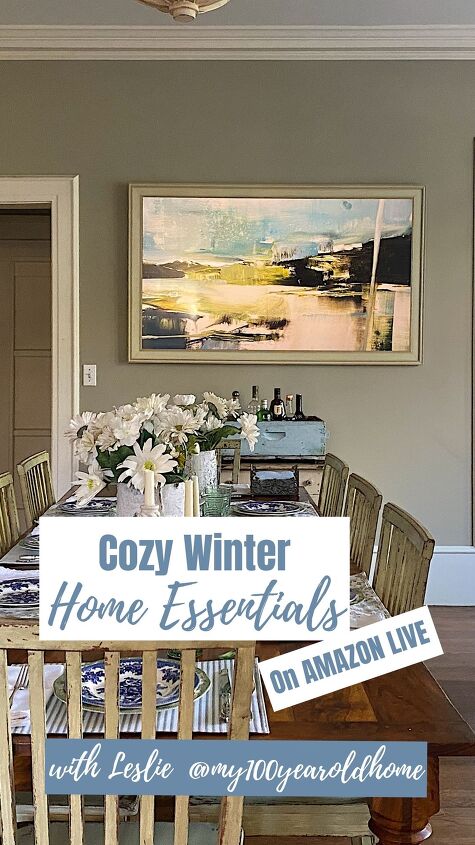
Do you want to make your home cozier for the winter? Here are some wonderful items to do just that! Click here.
I love having the chance to talk with all of you about all of the things that I love.


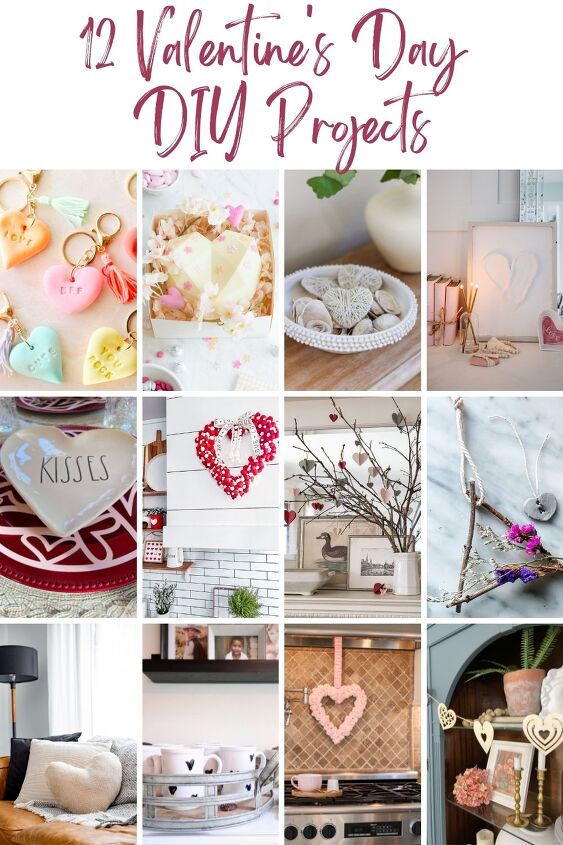
Pottery Barn Heart Shaped Pillow Knock-off // Craftberry Bush
DIY Wood Heart Garland // The Happy Housie
Rustic Twig Party Favors // Most Lovely Things
DIY Twine Wrapped Heart Filler // Zevy Joy

Breakable Chocolate Heart Tutorial // Happy Happy Housie
Air Dry Clay Heart Keychains // Modern Glam
Simple Hanging Paper Heart Tree // Sincerely, Marie
DIY Stucco Heart Wall Art // The DIY Mommy
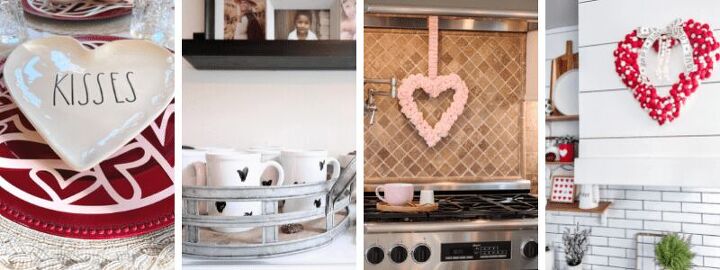
Valentine Paper Placemats (or Platemats?) // My 100 Year Old Home
Fingerprint Heart Mug // My Sweet Savannah
Easy & Affordable Valentine’s Day Wreat h // The Design Twins
Christmas Garland to Valentine Wreath // Tatertots & Jello
Pin the images below to your boards on Pinterest (just click the Pin button in the top left corner). You can also follow along with me on Pinterest!
For more real-time updates, follow me on Instagram @My100YearOldHome

ABOUT LESLIE
Welcome to My 100 Year Old Home. I started my blog so I could share my passion for entertaining, décor, cooking, and crafts. You will find all this and more right here. Read more…


Frequently asked questions
Have a question about this project?