


Light-Up Mason Jar Santa

Add a Santa (or Rudolph, or ...) "nightlight" to your holiday decor
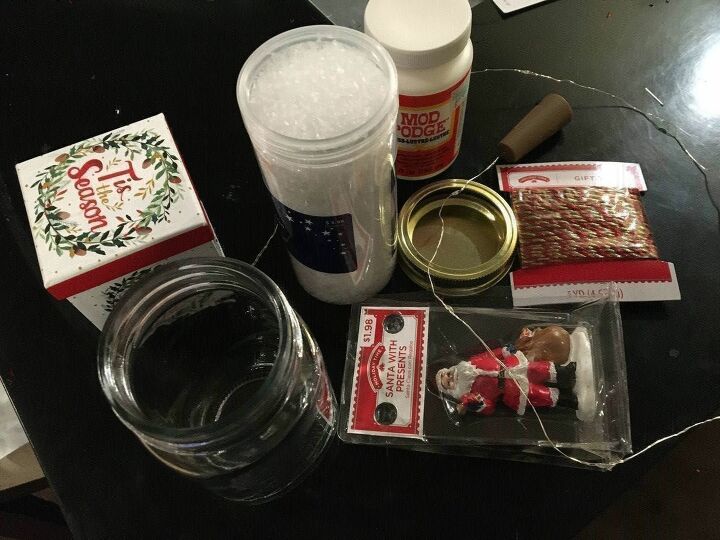
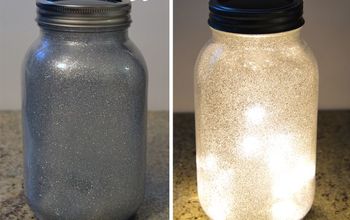
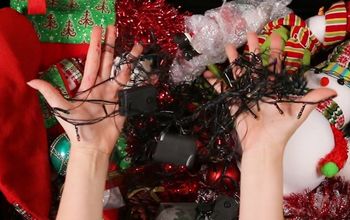
By now most of you know I LOVE LIGHTS! Tons more projects on the way, but I had to post this one before Christmas in case anyone wanted to try it before the end of the holiday season. Here are my materials pictured above. Note something new I'm trying: some "Cork Lights" from Amazon, originally intended for wine bottles. Since the mason jars are clear and not tinted, I tweaked my cork lights just a bit...
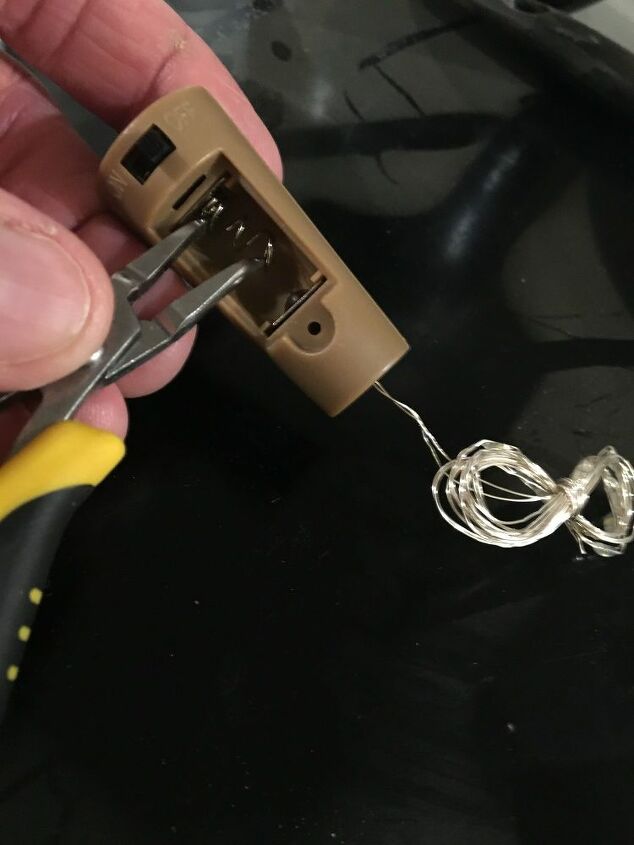
I thought the LEDs were too bright for this application, so BEFORE I straighted out the leads, or installed the lights, I stretched the spring in the cork/battery holder. Now the lights will run on two button cells instead of three. I think you'll approve of the change.
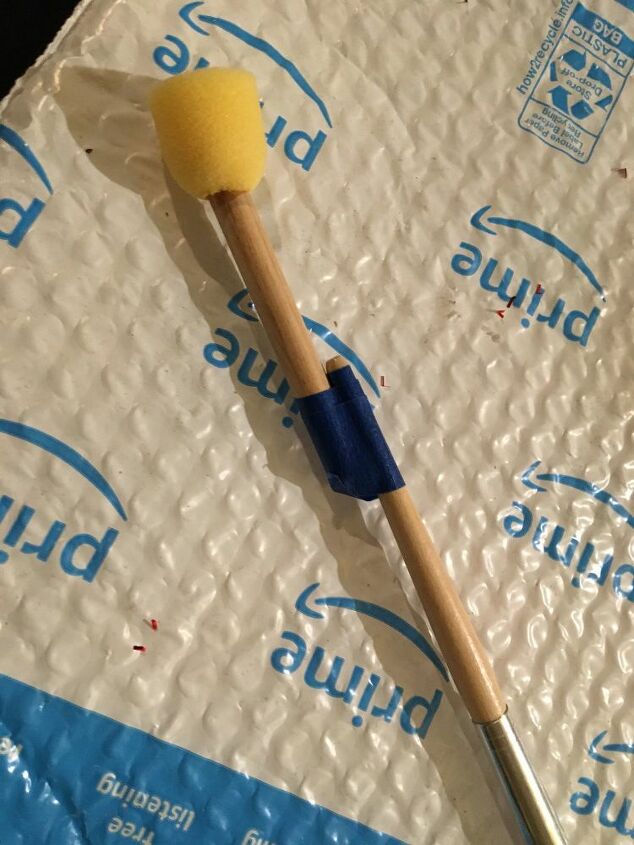
For reaching into the mason jar, I created this hi-tech long paint brush for glue etc. Note the recycled desk mat/table cover from Amazon 
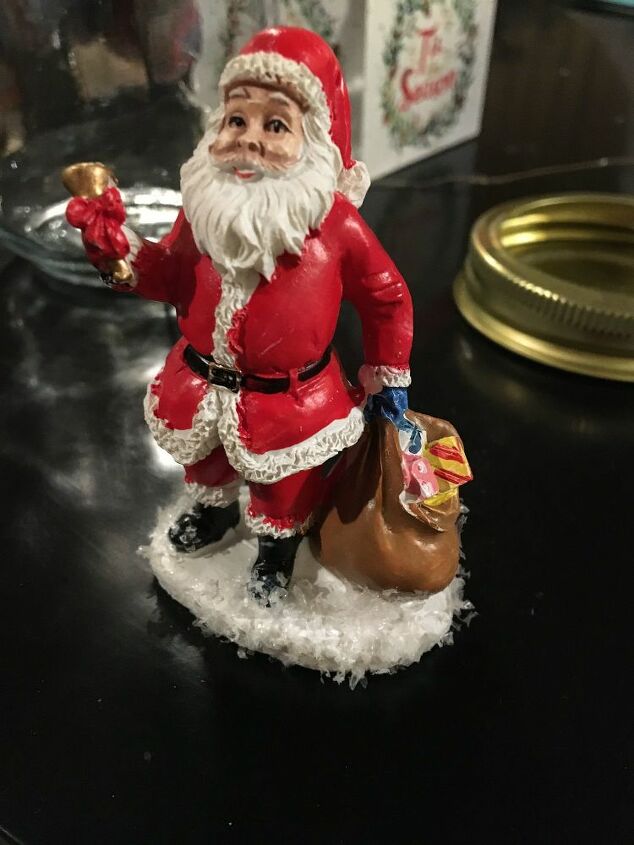
A quick coat of Mod-Podge around the base of my Santa Figurine and a pinch of fake snow to keep the plastic base hidden.
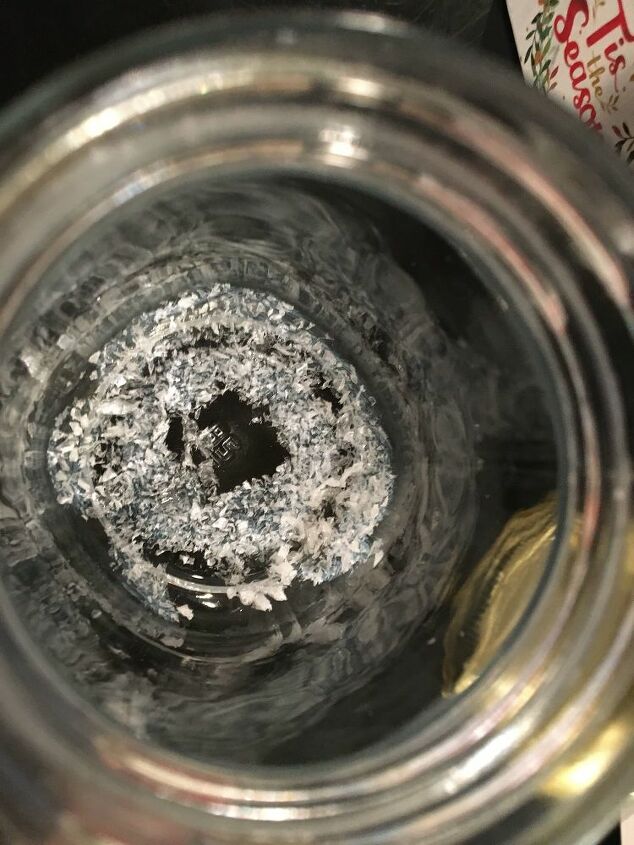
I also went around the inside bottom of the mason jar with some Mod-Podge and gave some of the snow a more permanent home.
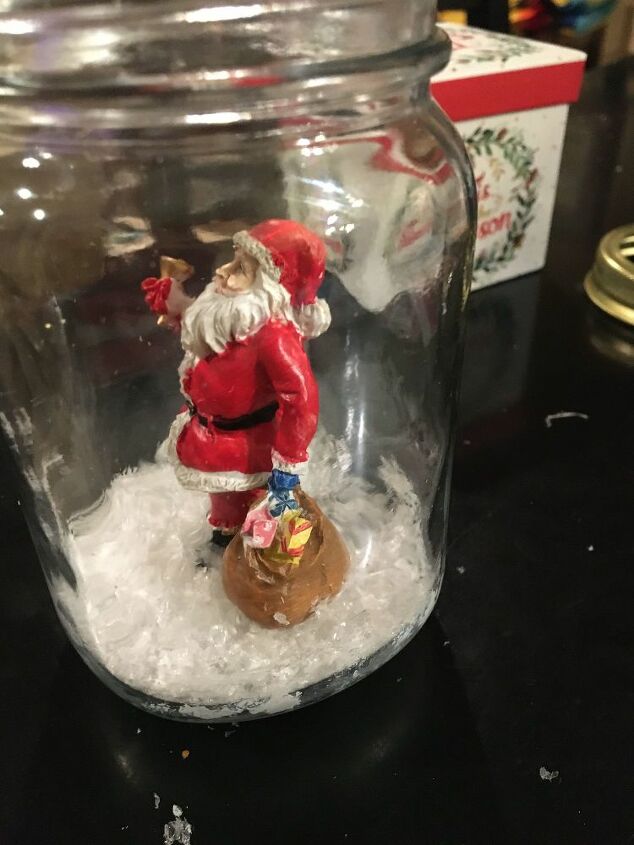
I dropped some hot glue into the bottom of the mason jar and placed Santa firmly into the bottom. I went back over the snow a few times with the sponge ever so lightly and got the snow to build up in layers. Not that It helps with the look, but thought it might be handy for storage.
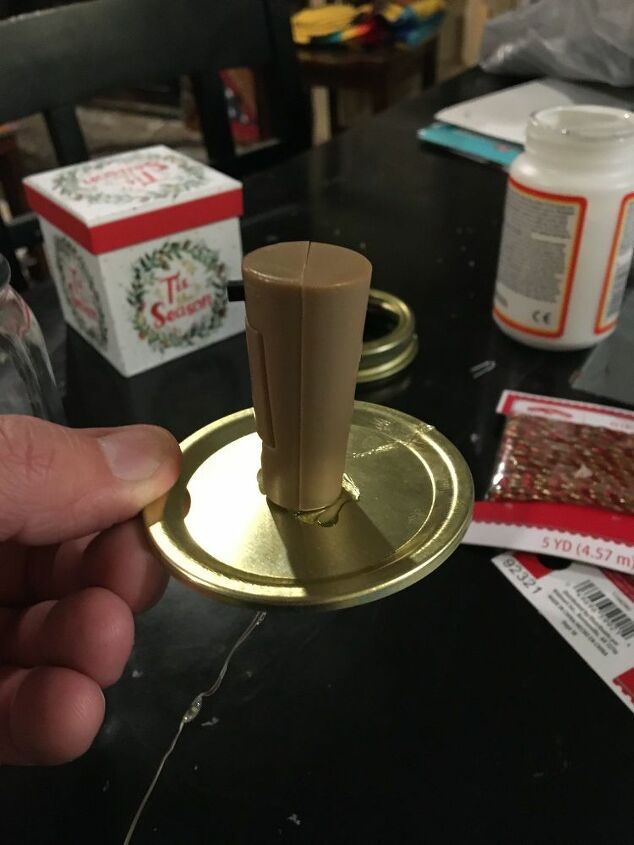
I drilled a 5/16" hole in a mason jar lid and fed the LEDs thru, and then hot-glued the cork to the top.
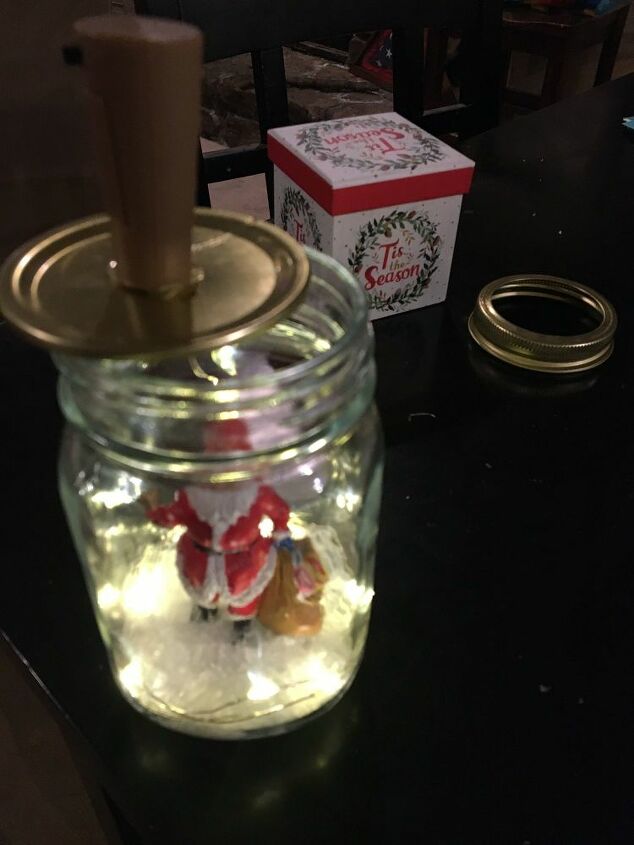
Turn the lights on, and slowly feed around the outside of the snow. Seeing them go in lit up makes it easier to place them and avoid clumps, tangles, etc. When they're all in secure the ring on top of your jar. This two piece lid make it easy to place the power lead BEHIND Santa.
But who wants to look at that cork? Keep reading....
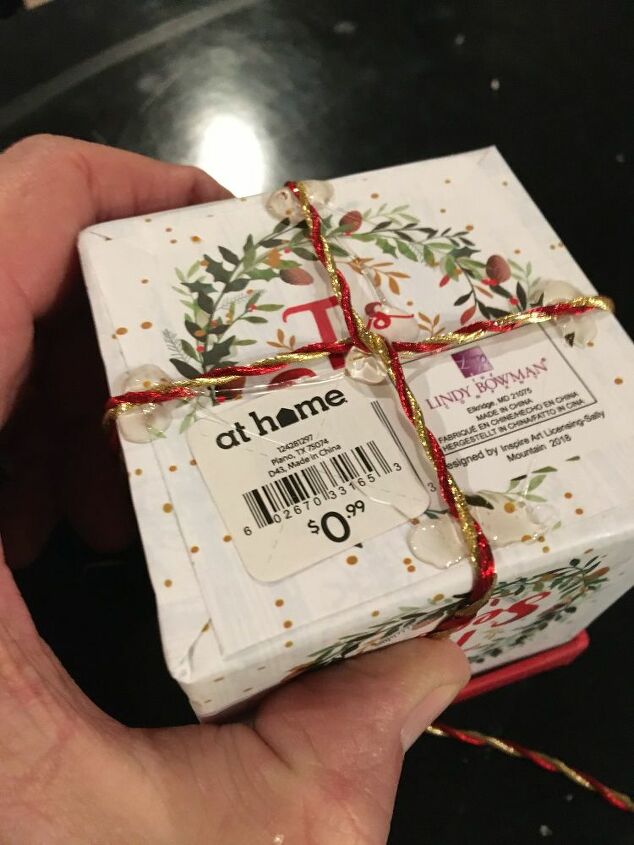
I got a $.99 box at the local "At Home" store and added some red and gold gift rope ( the gold made sense with the color of the mason lid). I secured it top and bottom, and along the bottom edges with more hot glue.
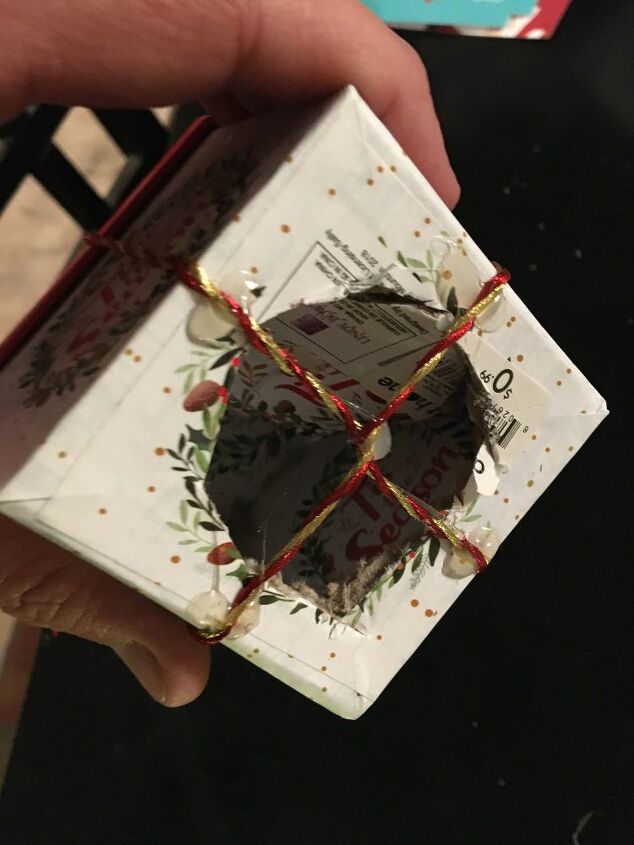
First I cut a hole in the bottom with a box knife, and after checking the gift rope, cut the rope out of the circle too.
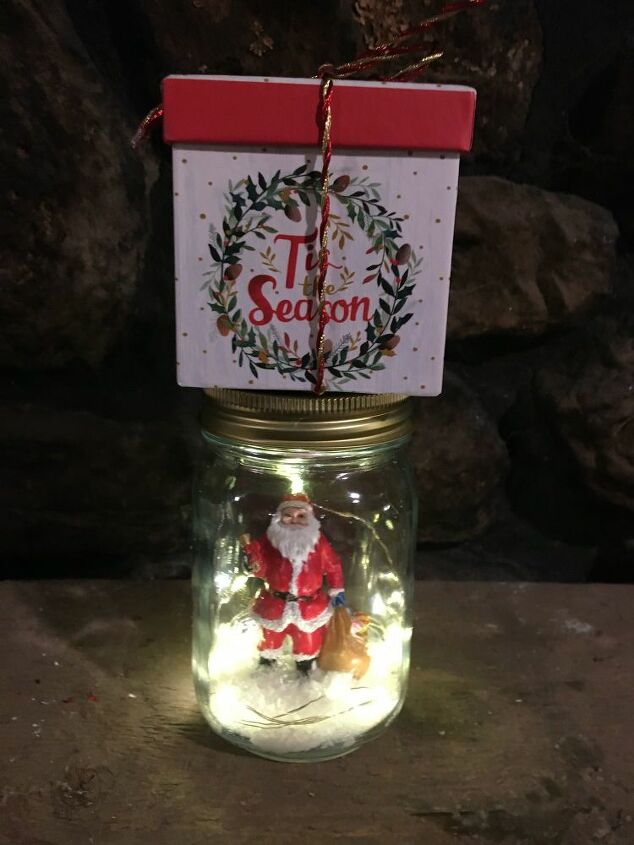
Set the box on top of your jar and you're done! Personally, I think this box is too big, but I didn't measure the cork/battery holder before I picked up the box. I'm on the lookout for a smaller box, hopefully one with red foil. Cost for assembly assumes you won't use up all $4 worth of Mod Podge on one jar, etc.
Holler if you you have any questions, and please comment if you have ideas that will make it easier for someone else to make. Merry Christmas and Happy Holidays to all my HT friends 

Resources for this project:
See all materials


Comments
Join the conversation
-
Well that's super cute!
-
Love this idea. I can see changing it up a bit, by putting plastic greens and holly in the jar too!!


Frequently asked questions
Have a question about this project?