


What Not To Do When Painting Upholstery
Stepping into this week like, new chair who dis. This months Love Your Home Challenge is a paint update project, so I knew I had a perfect excuse to try out painting a chair! If you are new to this little blog you should know I will try anything & be happy to share all of my failures with yall. This project had a few fails but in the end I am so happy with my brand “new” chair! So here is my list of what not to do when painting upholstery.

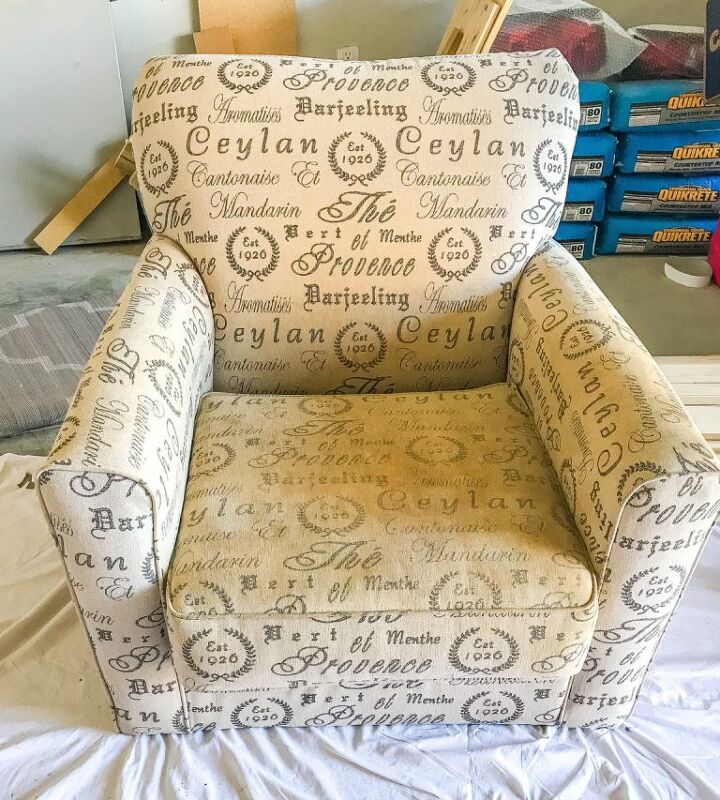
Start by giving your furniture a really deep cleaning. Do not skimp out on the vacuuming, I did, & I didn’t realize the mistake until it was too late. Some of the dog hair is not permanetly embedded in the chair, luckily for me it was only a small section on the back but still.
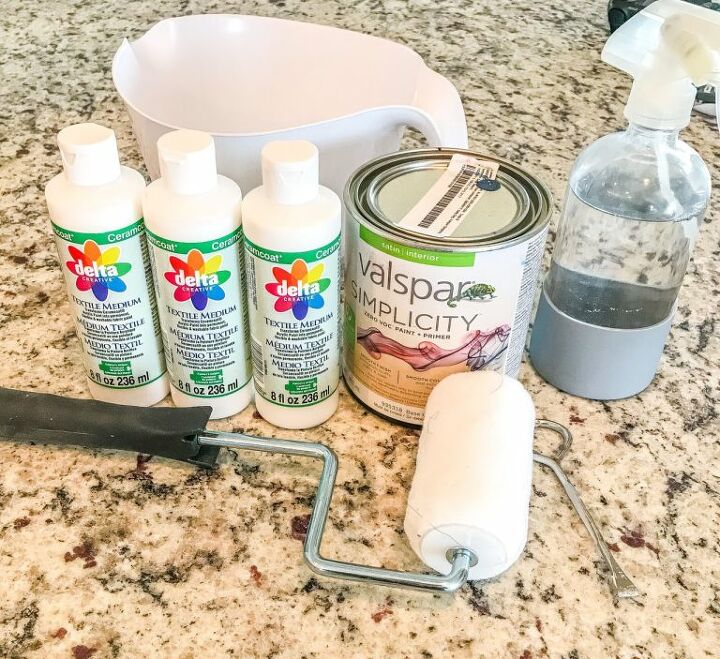
Next its time to mix up your paint. The formula I found that works best is: 1 part paint/2 parts medium/1 part water. I found that, that combination gave me the best consistency.

Now lets get down to the actual painting! This pretty blue is Salty Dog by Sherwin Williams, but I got it in the Valspar brand to save a little money. I used a combination of a brush & roller. You will need both, the brush is perfect for getting in the creases & the roller will make the rest go a lot faster.
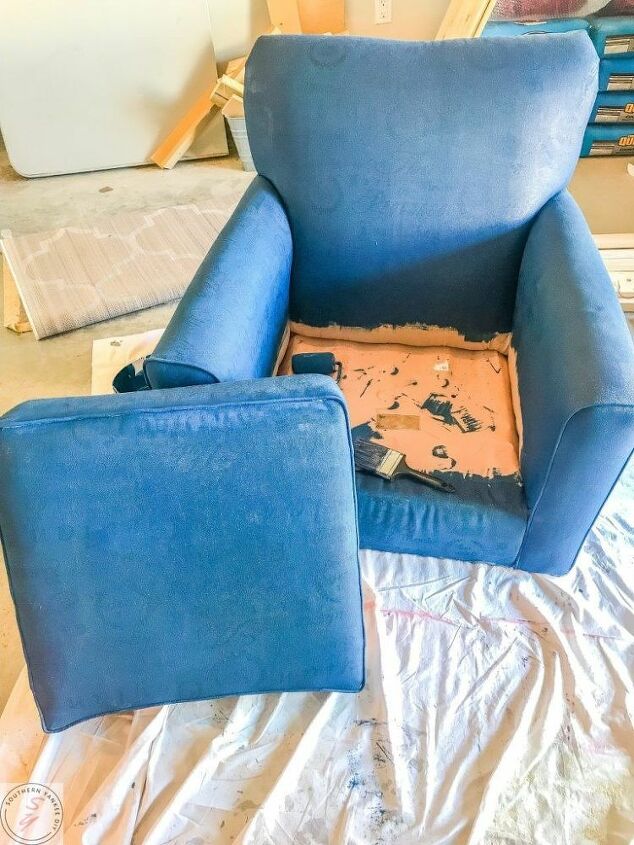
The first coat took me about an hour. You can see in this photo that it covered pretty well but some of the writing bled through so it definitely needed a second coat. I used the entire half gallon of paint on the chair, so if you are painting a larger piece definitely get a whole gallon.

While my second coat of paint was drying I moved onto the legs. They definitly needed a little TLC. Gold seemed like the perfect choice to accent the deep blue of the chair. Rust-oleum is my go to spray paint brand, I gave the legs 2 coats.

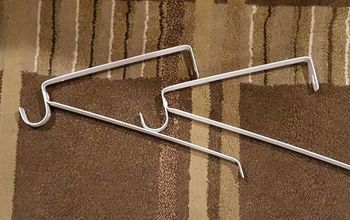
Once the chair was dry I moved it inside & attached the feet. Ta da an easy paint update that gave this chair new life! Unfortunately Justin is not a huge fan, if you follow along with us on Instagram you got to see exactly what he thought of my latest DIY!
Resources for this project:
See all materials


Comments
Join the conversation
-
I love it better than it looked before great job thanks for diy I'm chicken to try this on mine has a texture on my couch so I dont really know how it. would come out
-
Hi Holly,
You are taking the right approach to be cautious before just jumping into this project. Yes, some fabrics do not lend themselves as well to being painted. What is the fabric content of your chair? (Check for a label somewhere on the inside or underside.)


Frequently asked questions
Have a question about this project?
Does the chair smell like paint once it’s done?
I've seen this done. Want to try it! Most demos I've seen suggest a light sanding between coats of paint. Maybe this is more necessary with a more rough texture so the paint coats the fuzzy parts? I'm going to experiment😉
What is the medium you talk about?
Can you use this technique on leather?