


Outlet Cover With Fairy Garden Theme

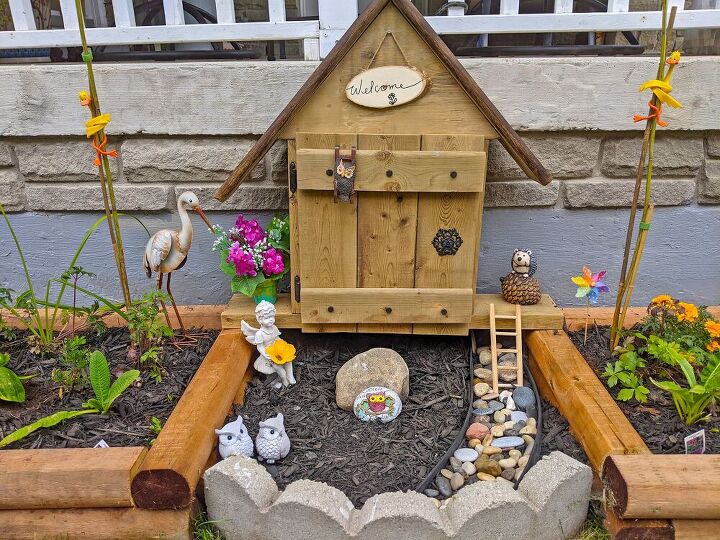
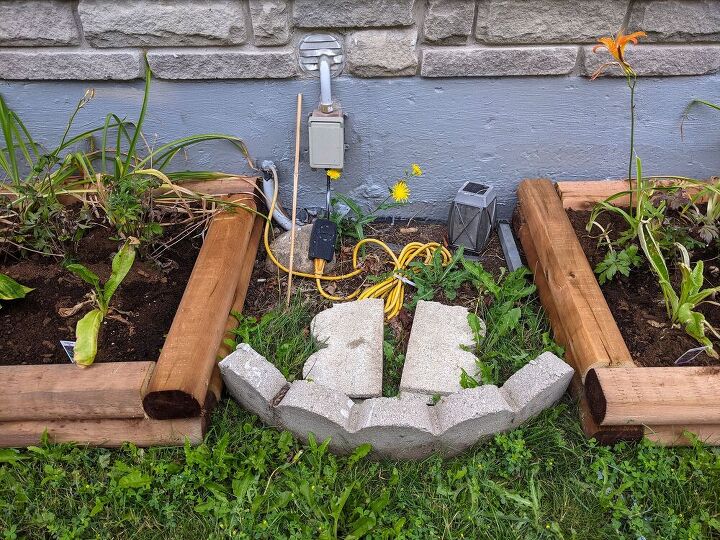
I recently built two flower beds beside our front porch. Because there was an electrical outlet in the center, I constructed a cover to go over it.
Hometalk Recommends!
In the winter months, when it snows at a certain angle, I need to dig out the snow around the outlet. I’ve always thought I should cover it somehow to keep it dry. And now that my new flower beds were in place, this seemed like a good time to do it.
I found a pile of scrap wood under our back deck and used it to build the cover. I didn’t want it sitting directly on the ground, as it would rot much faster, so I used the sides of my new flower beds as a ledge for the cover to sit on.
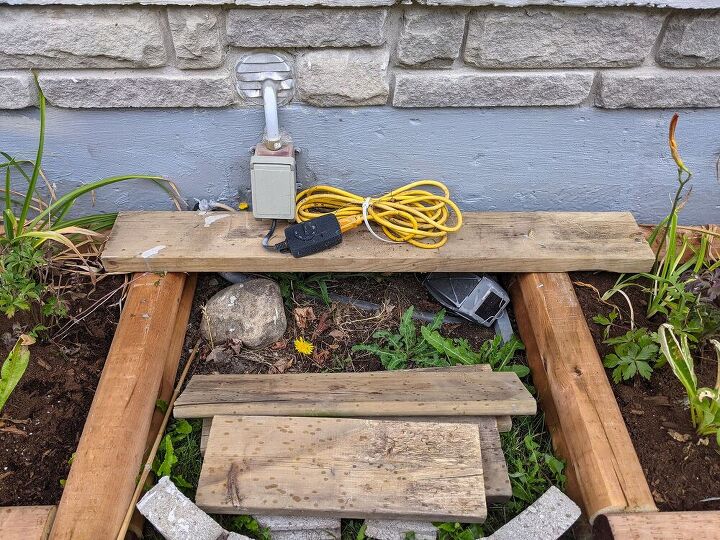
I cut the bottom board so it would sit flush with the inside of the garden ties I used on the beds. Then I loosely set up the cover to resemble a bird house, to get an idea of how to build it.
Because the wall of our house is not flat (it has the cement floor of the porch, stones below that and then the cement foundation of the house at the bottom), and I wanted it to sit flush, I cut my side pieces so they would fit perfectly under the lip of the porch slab.
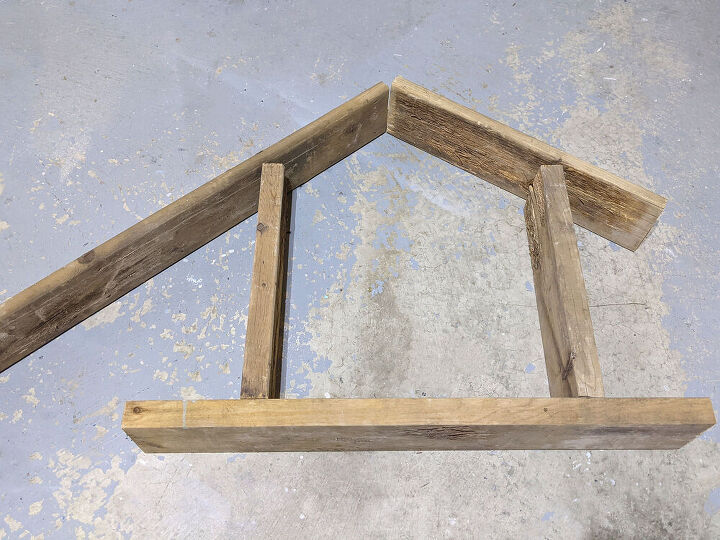
I trimmed the roof pieces; I cut one about ¾” longer (the thickness of the wood) as it would overlap the second roof piece.
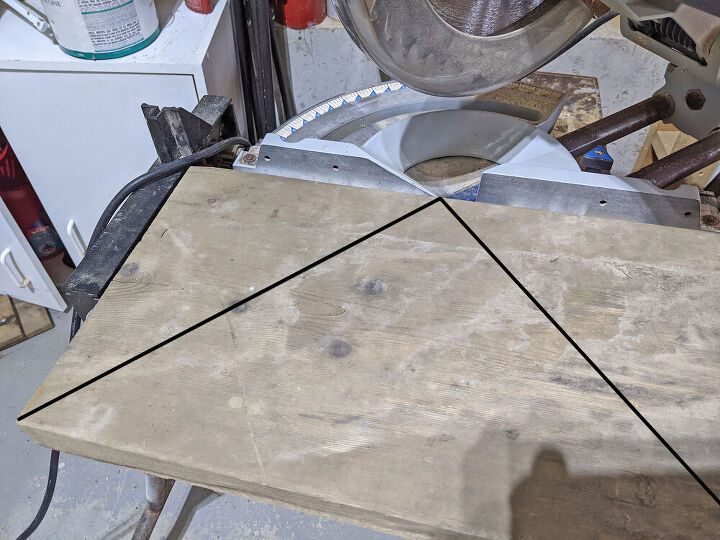
I had one larger piece of scrap wood that I cut into a triangle, using a miter saw, to use as the gable of the structure. I didn’t actually know when I did it that it was called a gable – google informed me. LOL
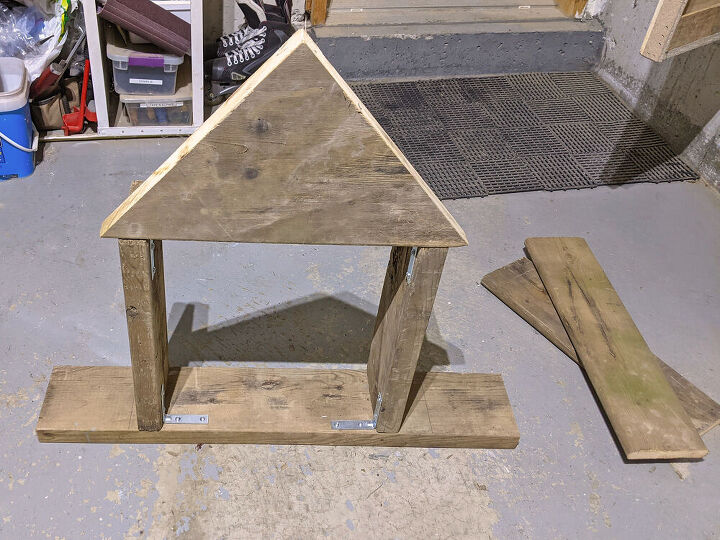
I gave all my pieces a light sanding and then screwed the sides to the bottom base and the gable, using 3” L brackets. I left a little space on the outside edges of the gable because with the roof attached it might prevent my door from opening and closing.
I also screwed up through the bottom board, into the bottom of the side pieces, for extra support.
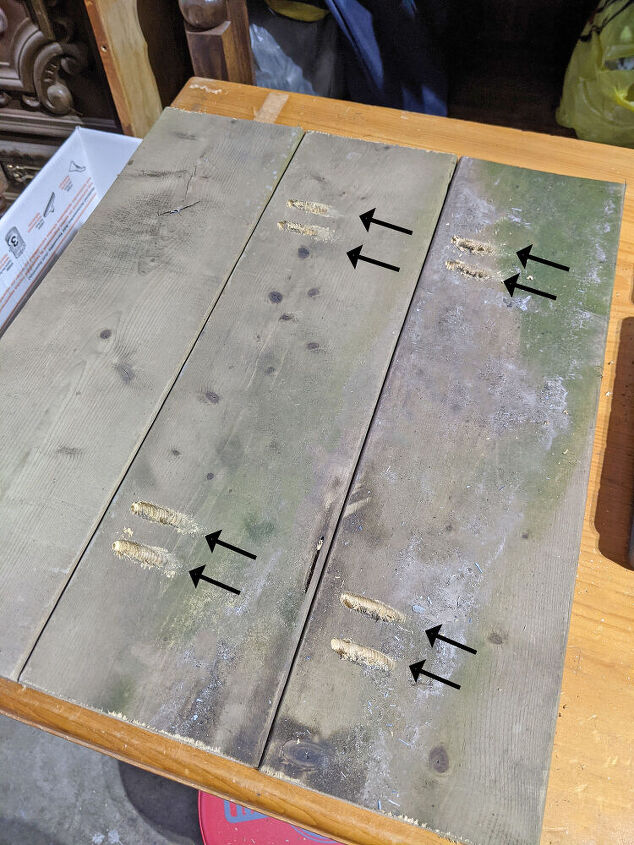
Next was to build the door. I didn’t have any more wide pieces of scrap wood, so I used three boards and joined them together using pocket screws. I also applied wood glue between each board.
Next was door hinges. This was actually the only thing I bought to construct the cover. They were $4.89. After some research (as I’m not familiar with hinges) I determined the type I needed are called semi-concealed. I screwed the hinges to the back of the door. Then I screwed them into the front face of the cover.
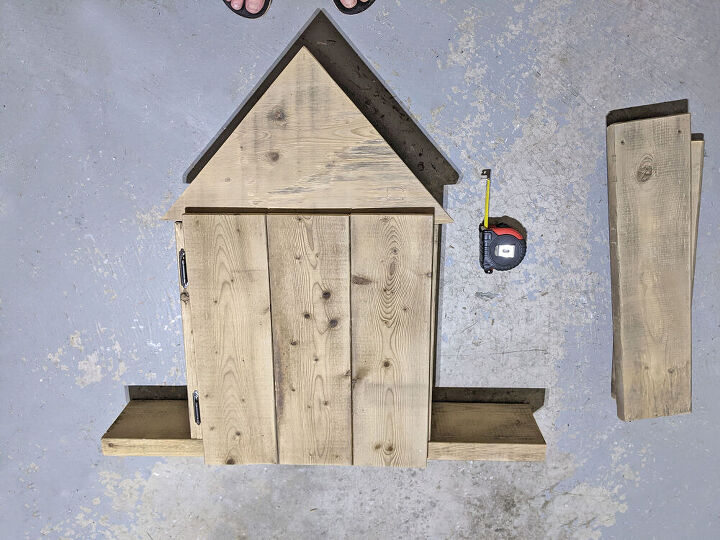
I placed what I had constructed on the ledge to finish it off. I added a door knob and a medallion, that I spray painted black to match the hinges.
Then I attached my roof using a brad nailer. I nailed into the gable and then into each other along the top.
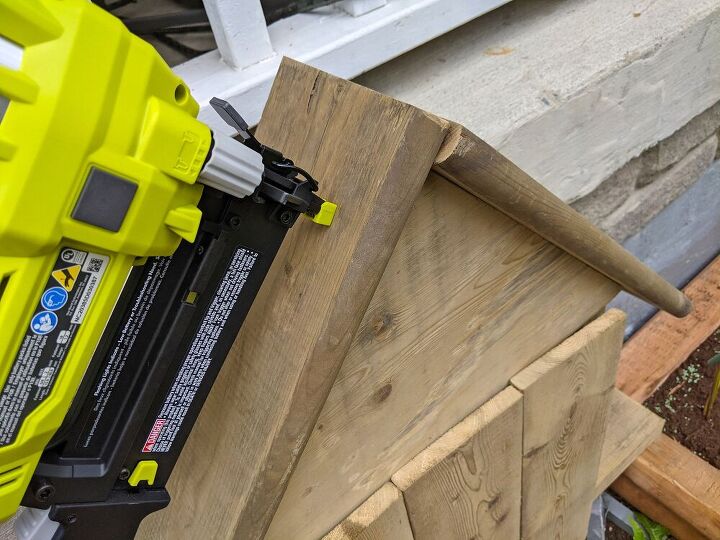
At this stage I stopped and was planning to decorate the following day.
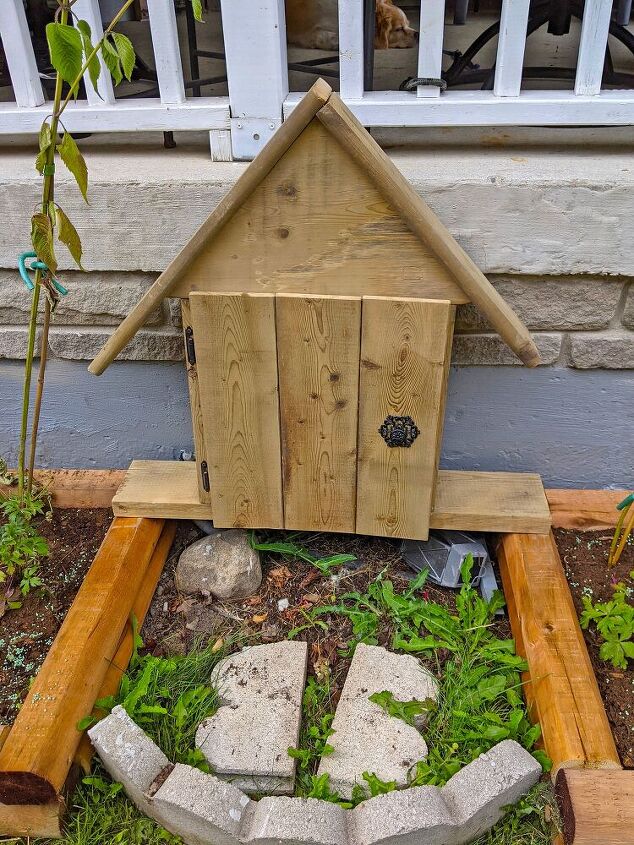
To following day, to my surprise, the door had warped and bowed outwards! I had assumed scrap wood under my deck for a minimum of eight years would have done whatever warping it would do by then. But I guess under the deck it was not exposed to sunlight. Either way, it did not look good!
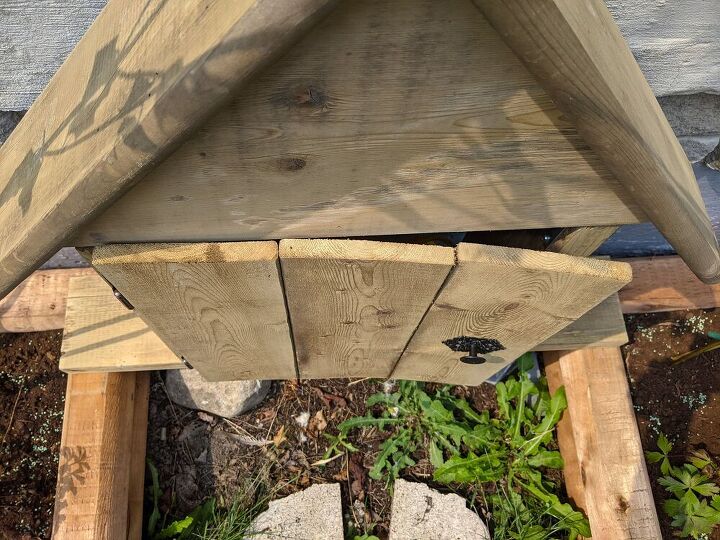
To solve this I cut two more boards, the width of the door, to strap it back into place. I considered using wood screws from the back so you wouldn’t see them, but it was really bowed out and I was worried the screws would pull away over time. Instead I used large bolts and added nuts inside the door. Once I had my holes drilled and everything all lined up, I removed the bolts and spray painted the heads black to match the other hardware. And the door is straight again! The nuts and bolts gave it a nice strong hold.
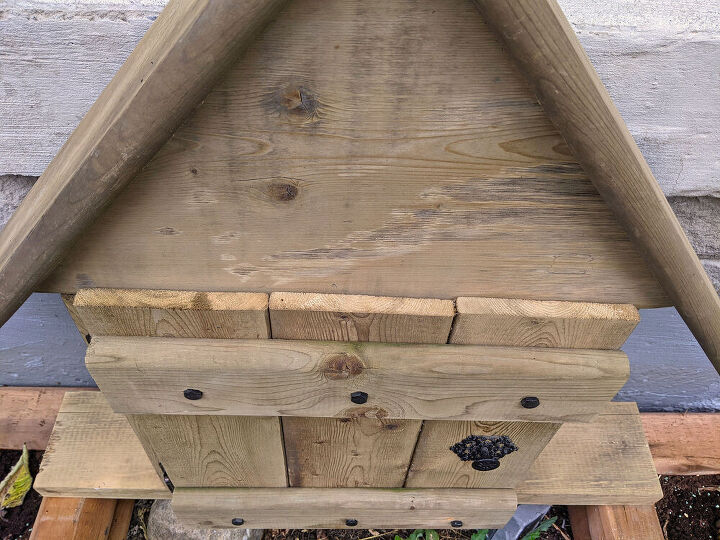
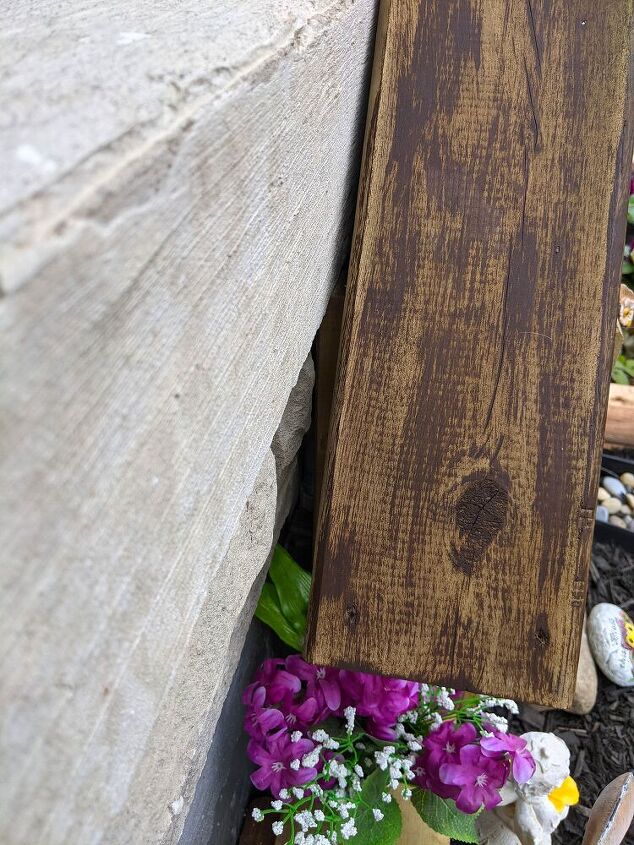
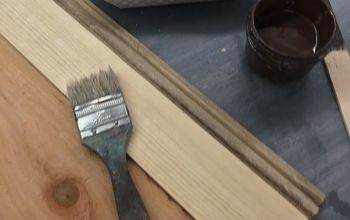
I was trying to think of something I could use on the roof to make it stand out from the rest. But couldn’t think of anything that I had on hand so I dry brushed it with dark walnut stain.
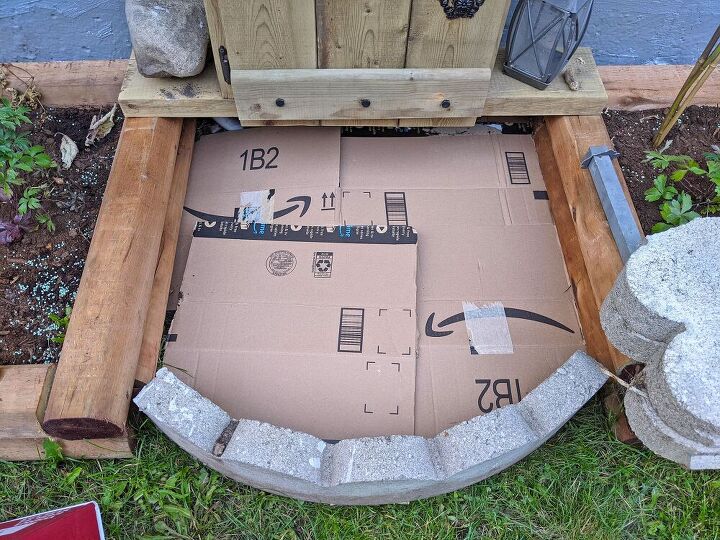
After it was done I removed the weeds and other stuff that was in front of it and added a layer of cardboard.
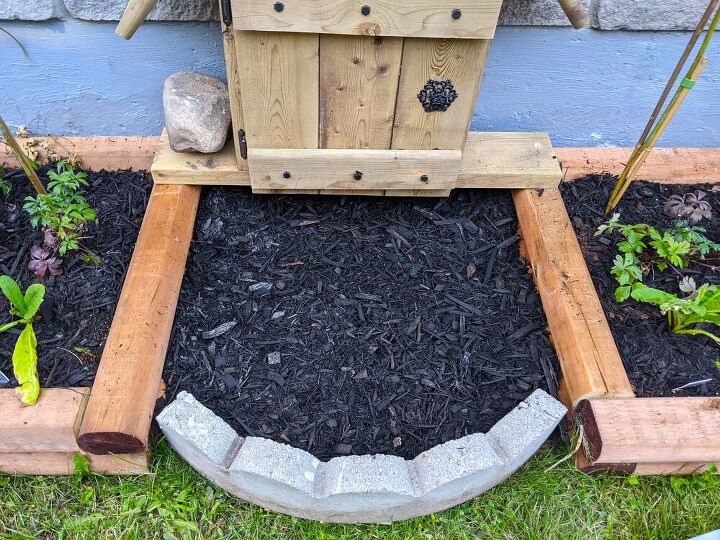
Then I filled it with black mulch.
Then the fun step began, my daughter and I decorated around it in a fairy garden theme. We mostly used stuff we found around the house and garden. But we did run to the dollar store and spent about $12 on random things my daughter picked out.
And done!
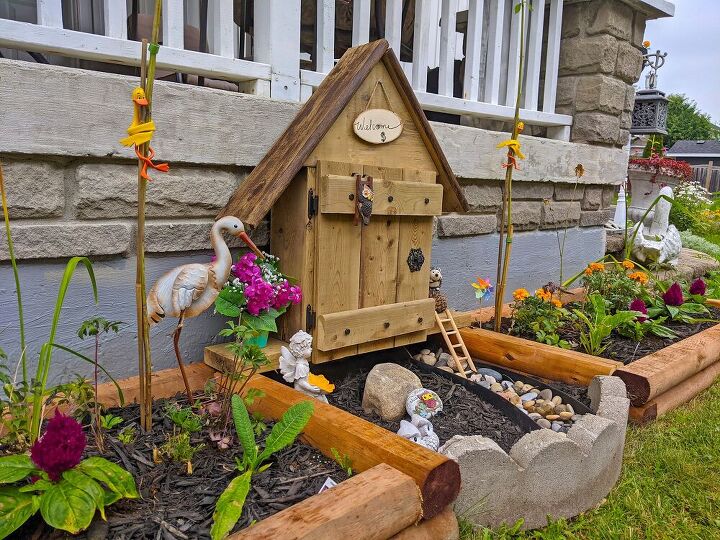
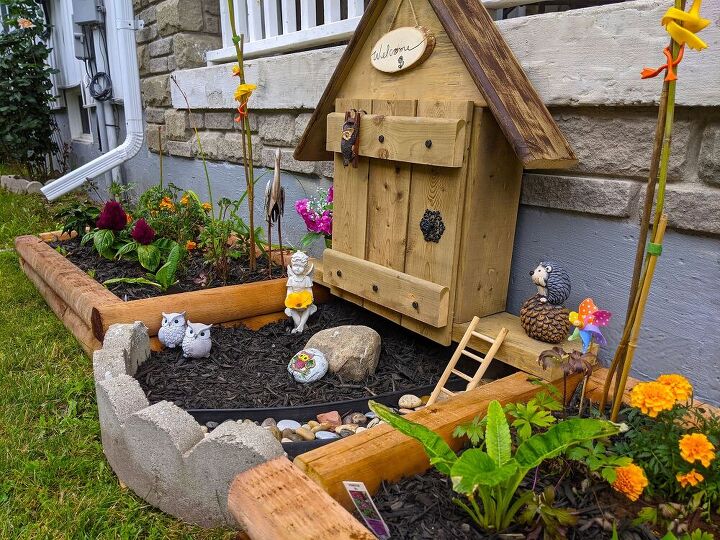
I think this project turned out pretty cute and really accents the new flower beds. I have a feeling we’ll build on the fairy garden theme as time goes on. If you have any ideas I’d love to hear them. :)

Resources for this project:
See all materials


Comments
Join the conversation
-
Your project turned out so cute. What a great way to hide and protect the plug from weather.
-
Sweet! I love it!




























Frequently asked questions
Have a question about this project?
Why not plant a pretty ground cover to soften the look? Or moss. Something that will be low-maintenance and not take over.
Love this so much! Great job! Where did you find those cute little ducks that are holding the plant to the stake? Toooooo cute!