


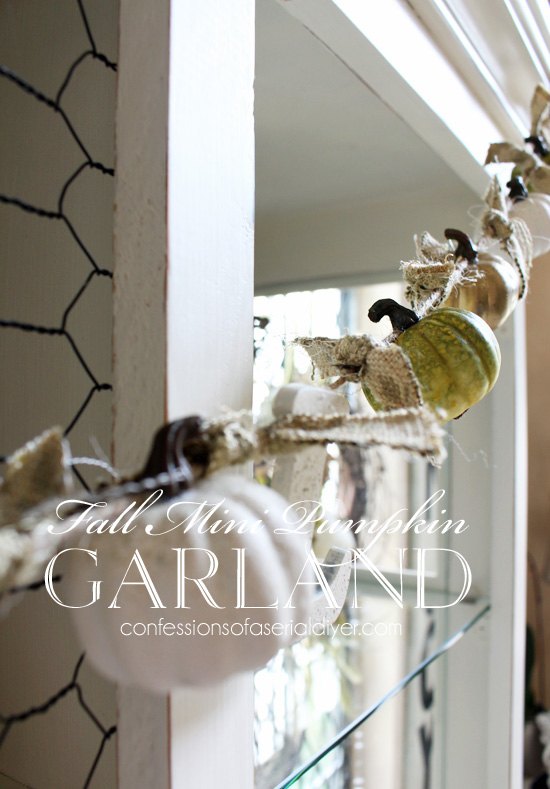
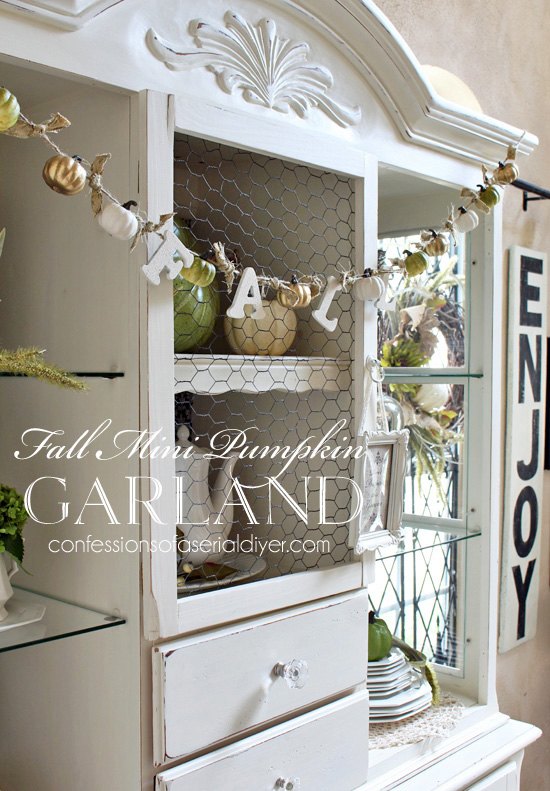
DIY Mini Pumpkin Garland
How about a sweet addition to your Fall decor? Today I'm sharing this cute mini pumpkin garland and how easily it came together.
Here's what you'll need...the mini pumpkins and letters came from Michaels:
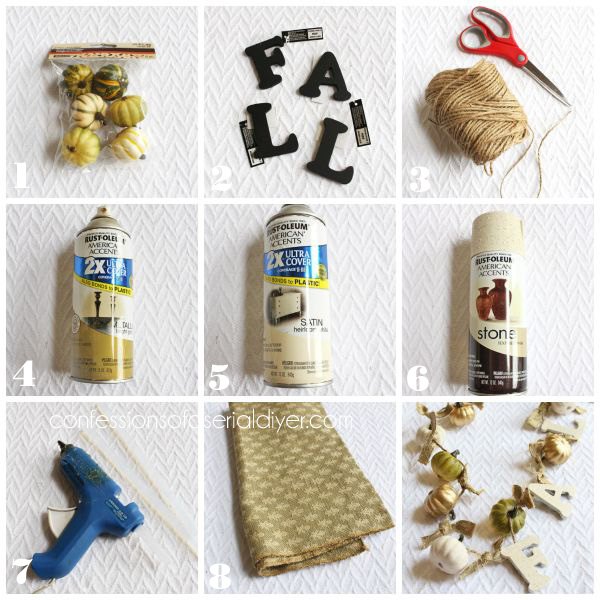
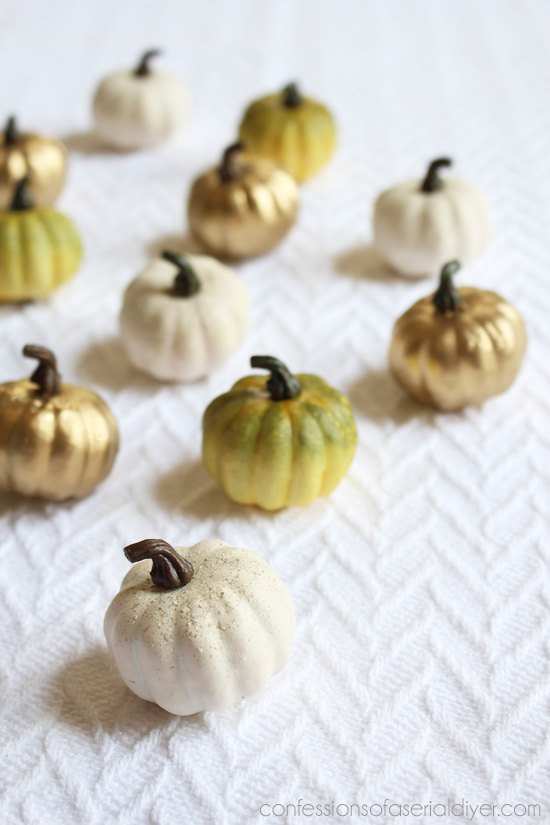
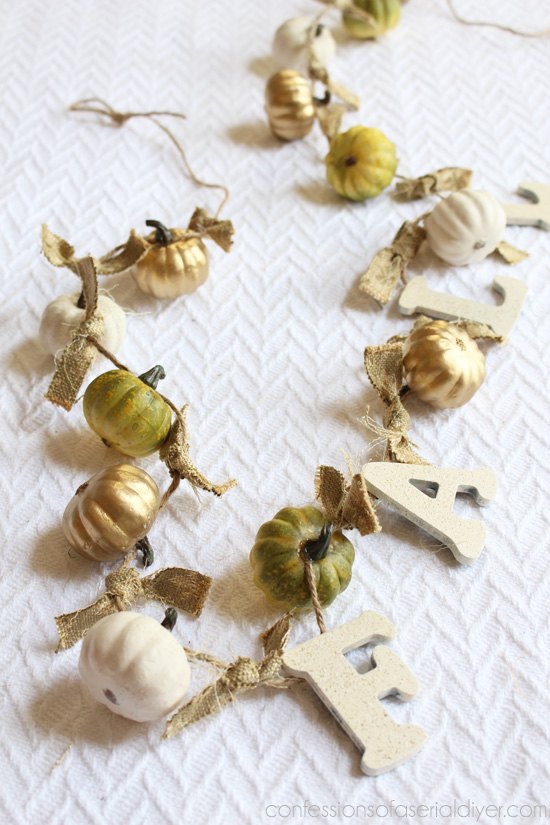
Remove the stems of the mini pumpkins and spray paint if desired. I used heirloom white and metallic gold, both from Rustoleum. The white ones got a touch of stone paint as well for texture. I kept the green ones as is:
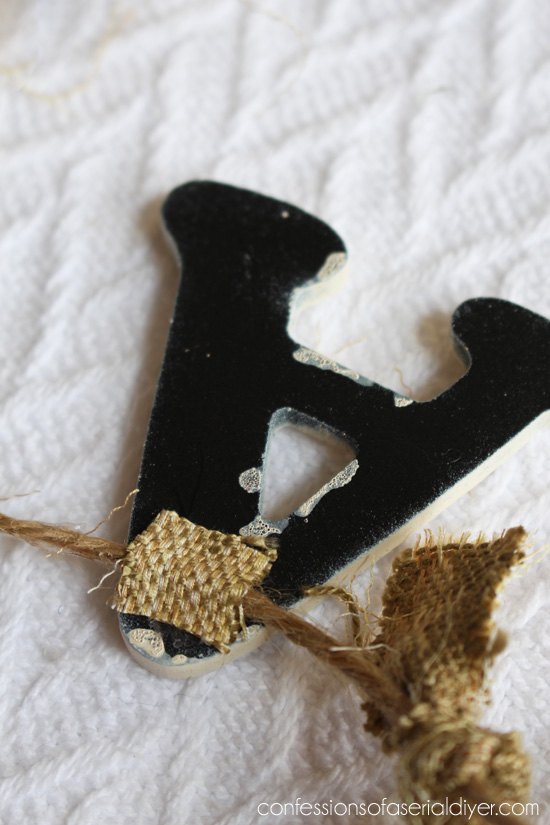
I painted the letters the same as the white pumpkins:

Then attach each letter with a small square of fabric and hot glue:
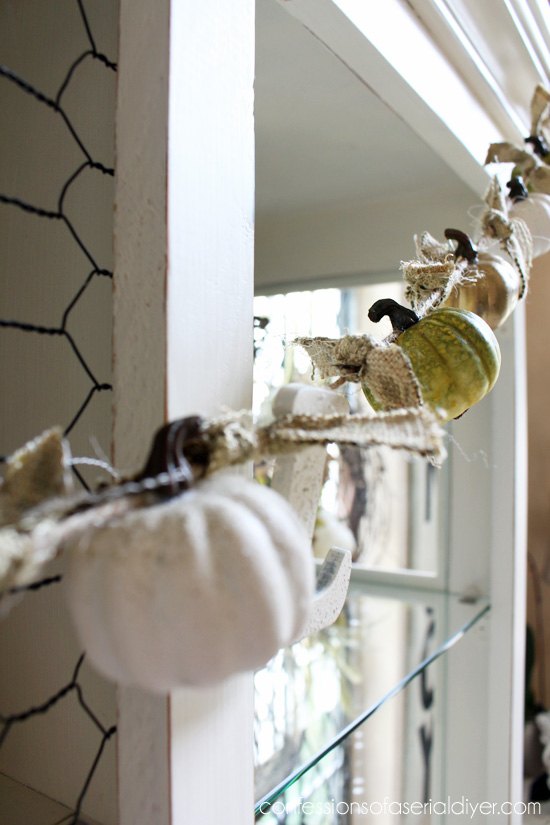
Attach the pumpkins with hot glue:

Cut the fabric into strips and tie them in between each pumpkin and letter:
That's it!
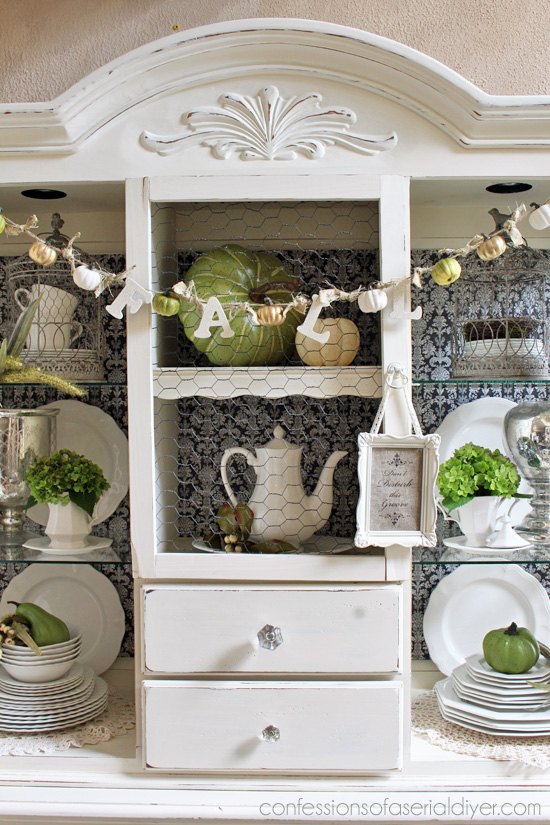
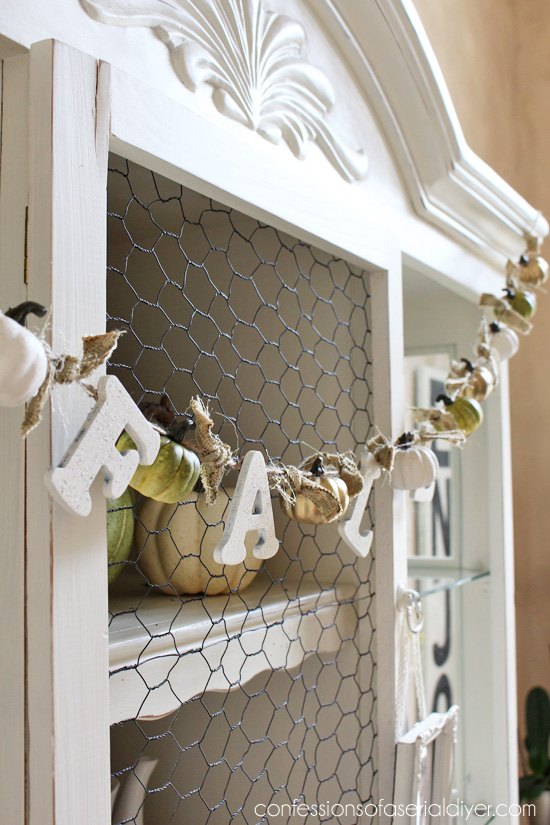
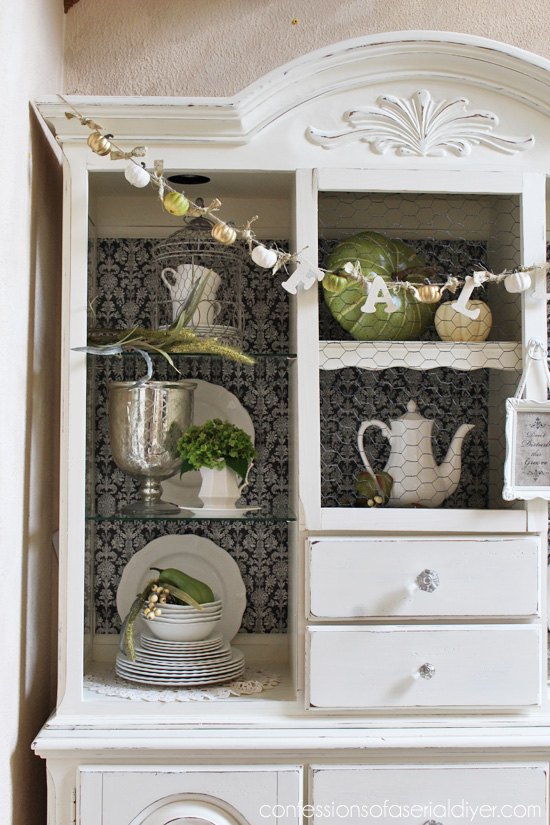
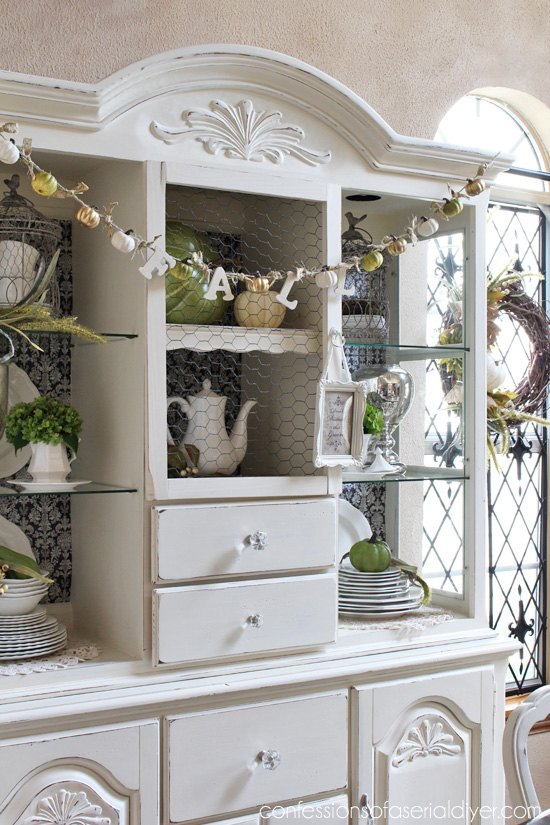
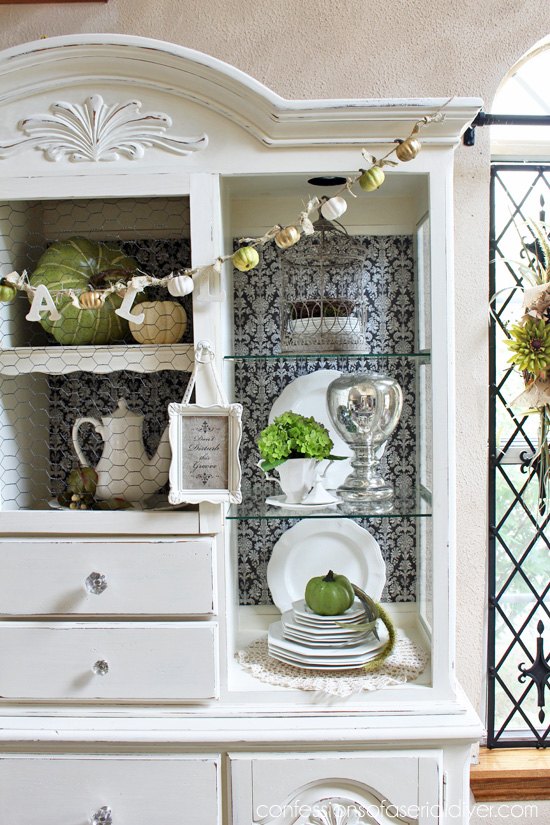
It's such a sweet addition to my Fall hutch!
Hope you enjoyed this quick and simple Fall project! I've shared a few more Fall projects you can see on my blog: www.confessionsofaserialdiyer.com :)

Want more details about this and other DIY projects? Check out my blog post!
Comments
Join the conversation
2 of 42 comments
-
Such a great project, really adds that Fall feeling. Love the neutrals and your hutch ! Thanks.
-
Love it !!!!! Easy ...light ...


Frequently asked questions
Have a question about this project?