


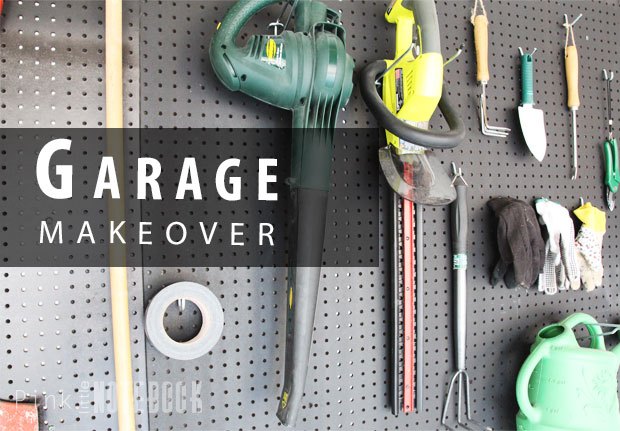
Garage Makeover - Before & After

by
Sabrina
Over the last few weeks, my hubby, Mike has been working away on a side project. He’s talked about doing this project since day one of moving in—scheming a bunch of ways to organize one of his spaces. That’s right, he wanted to refinish our garage.
Although we have a house full of incomplete spaces at the moment, Mike said he really wanted to do this project while the weather was still nice outside.
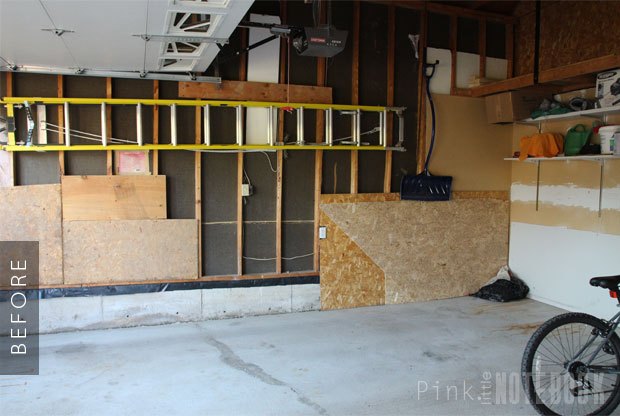
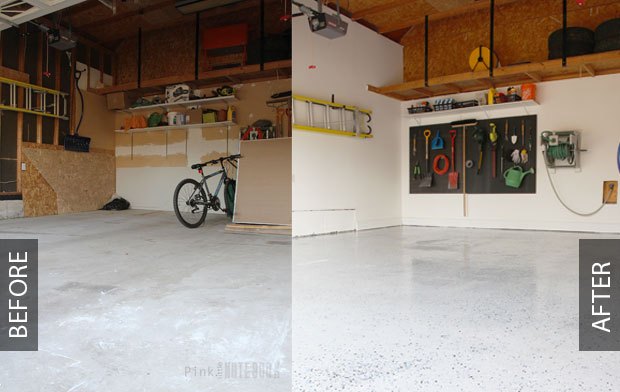
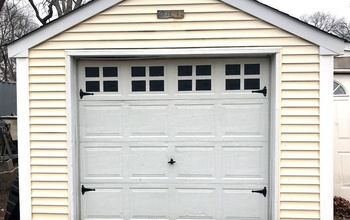
As I’m sharing some of the before pictures of the space, I really didn’t think our garage was in bad shape to begin with. Sure our things were disorganized and unkept. I agree our floors were stained and our open framing is not the most attractive but I always just thought “ah, it’s a garage”.
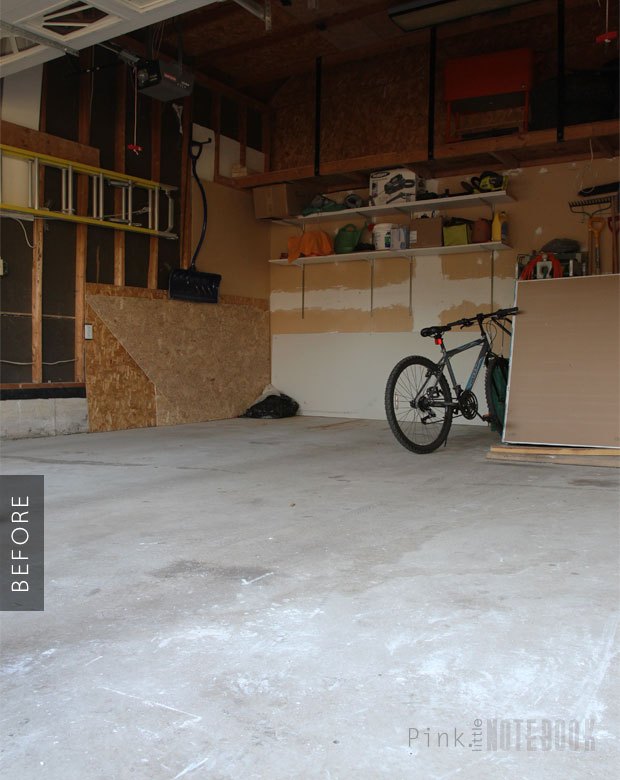
We mainly use our garage to store our vehicles and outdoor equipment. We tend to be minimal people so we don’t store or keep anything that we no longer need. And even with the stuff we do have in the garage, this was a great time for me to organize and purge anything brought over from our old house.
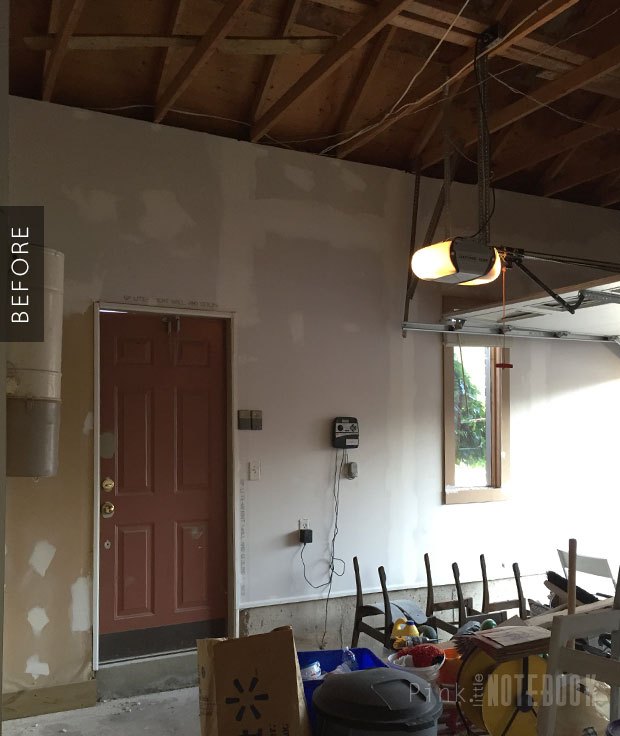
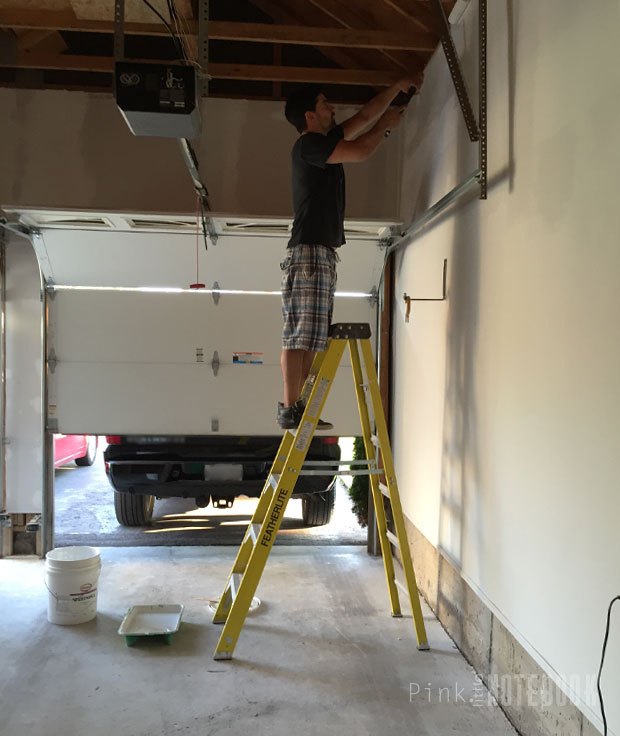
So over a couple of weekends, Mike with the help of Big Joe drywalled the entire space (minus the ceiling). We have great ceiling height so in the future if we ever need the extra space for our belongings, we can definitely build another level of storage.
And walla! This is what we ended up with . . .

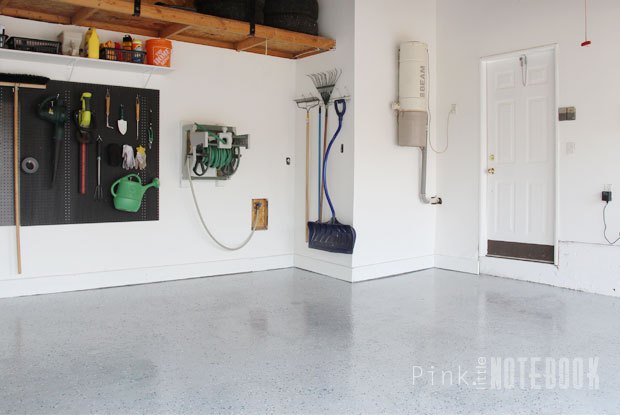
The floors were painted and sealed with RockSolid Floors® Polycuramine coating from Rust-Oleum. You can view the full tutorial right here.

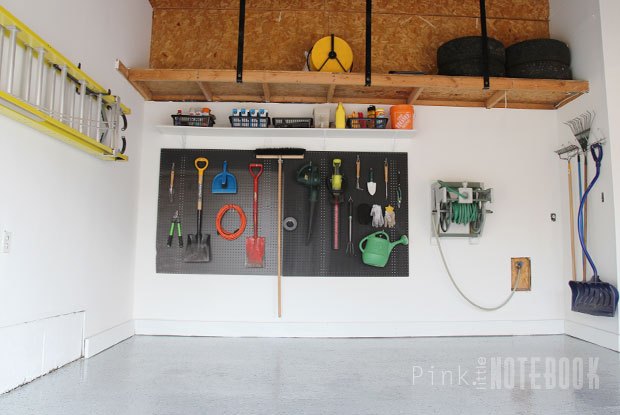
We added a peg board to make our gardening tools all visible. A shelf with baskets organizes all the other things that cannot be hung. The large built-in shelf that looks empty right now will eventually be storing all our backyard patio furniture.
For more images and details, please visit Pink Little Notebook's blog post
Want more details about this and other DIY projects? Check out my blog post!
Comments
Join the conversation
4 of 24 comments
-
Great project. Possible add on, paint the pegboard with blackboard paint. When dry, hang your objects. Use chalk to draw around objects so finding the right spot to put the objects after use is easier. You could also add notations with chalk. You can erase the chalk outline if you want to change out what you have hanging. Just an idea.
-
That is amazing! I wish I could wiggle my nose and have the same result! He did a beautiful job so don't dis the OCD-I need to use mine more effectively. Thanks for the suggestions-Maybe someday...


Frequently asked questions
Have a question about this project?
how was the pegboard mounted to the wall so there is a gap between the pegboard 7 dry wall to accommodate the hooks?
I've been wanting to this in my cellar but it has stone walls. Any suggestions on how to put something like this up on stone?
Hi what is measurements for the peg board and where did you find it