


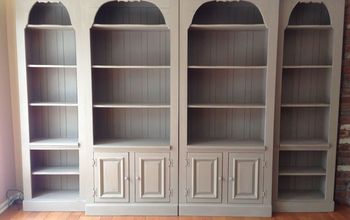
Bookcase Upcycling a Chalk Paint Shabby Chic Project
Lovely upcycling project on a very old bookcase - breathing new life, gorgeousness and usefulness into it. Simple project guide to the shabby chic paint technique.
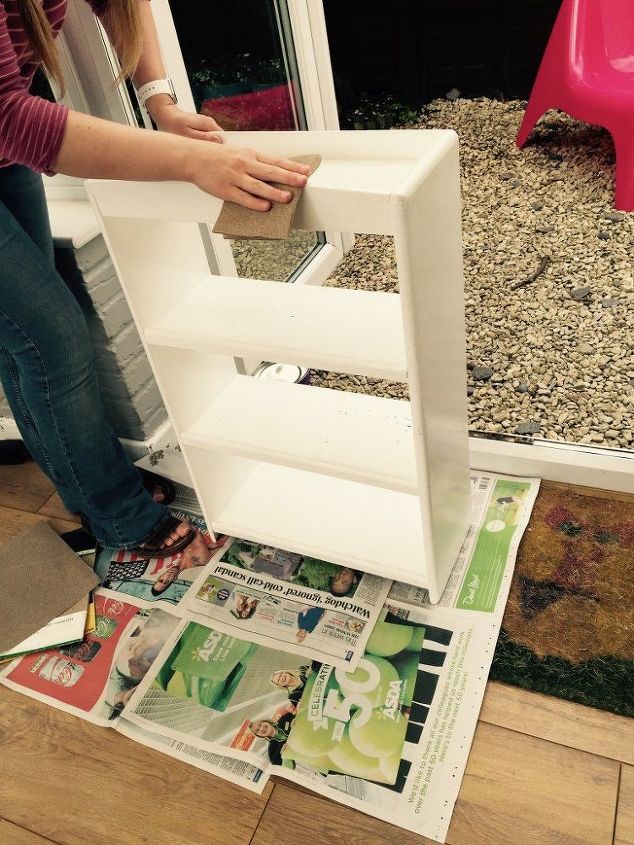
Prepare the furniture chalk paint can be used without sanding but I think you get a better finish if you sand down your surfaces first and it really doesn’t take a huge amount of time to do. Make sure you put down dust sheets or newspaper to catch the paint dust. Vacuum away any dust before starting to paint.
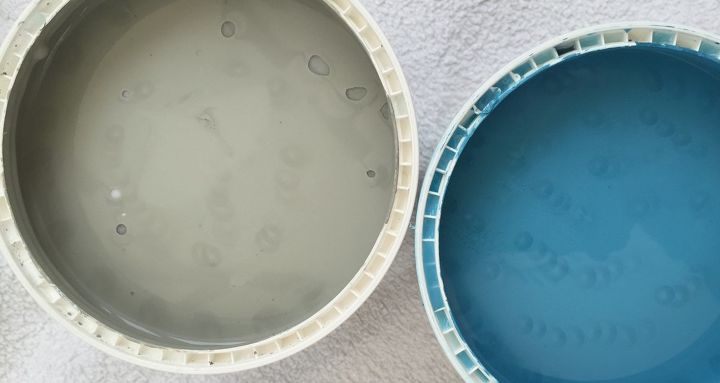
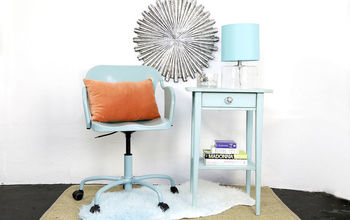
Choose co-ordinating paint colours.
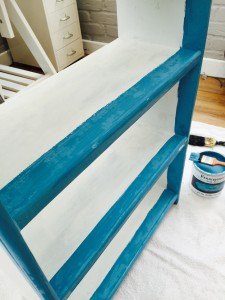
There’s two ways to do the shabby chic technique, you can either paint the furniture entirely in one colour, cover in another colour and then sand down gently over the whole piece of furniture to give a shabby look all over.
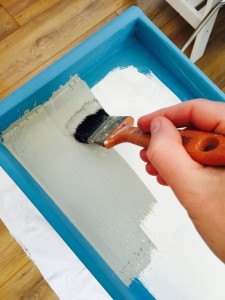
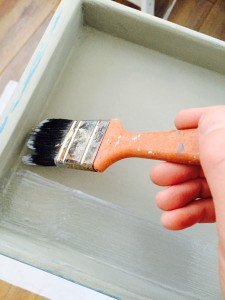
Do the first coat of the second paint colour. Allow this to dry. Chalk Paint dries quite quickly and it’ll be ready for you to paint the second coat within just an hour or so.
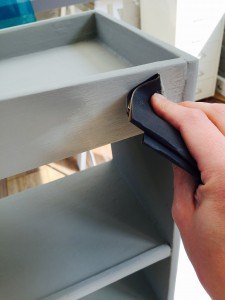
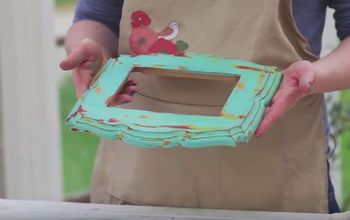
For this step we just need to remove some of the top coat of coloured paint to reveal the colour below and give the furniture a worn, shabby, loved look. We used a coarse sandpaper to do this, simply rubbing along the edges. Make sure you vacuum the chalky dust off the furniture before applying the varnish or the finish won't be lovely and smooth.
Apply the protective varnish.
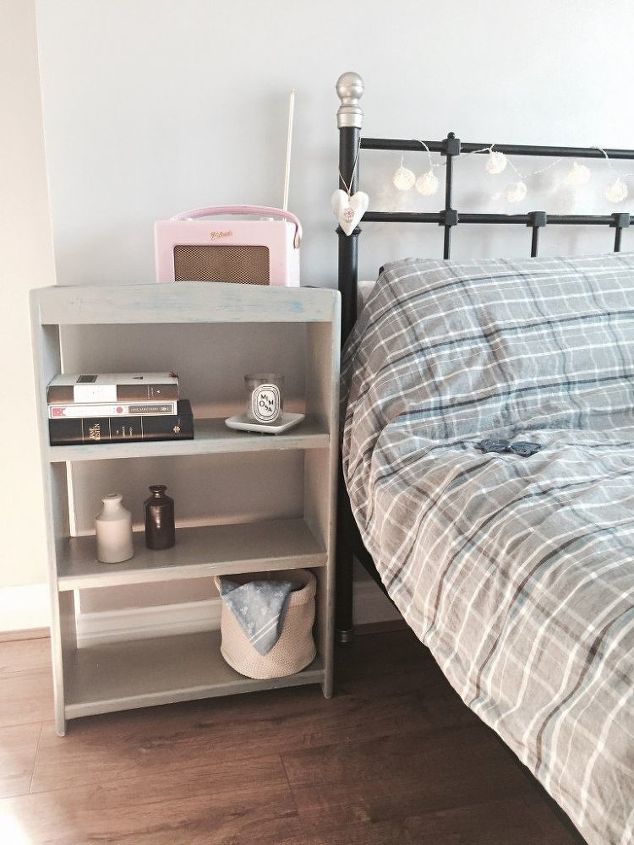
Now I just need to decide where to re-home my gorgeous bookcase.... in the bedroom?
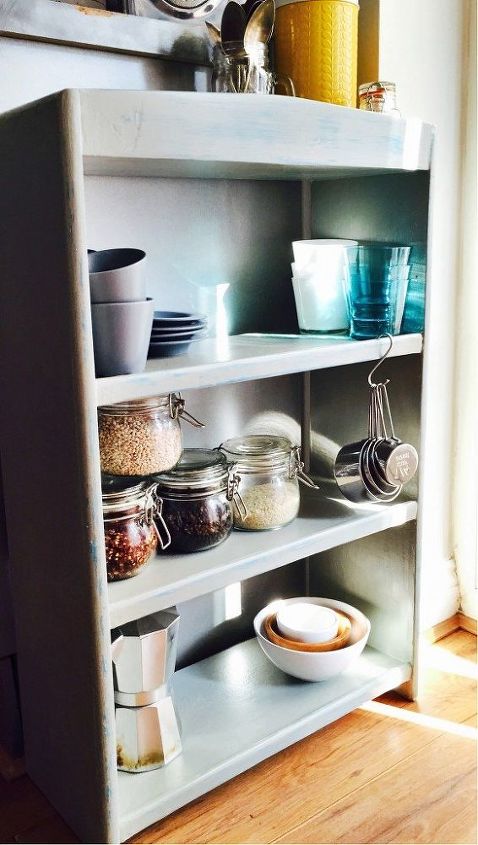
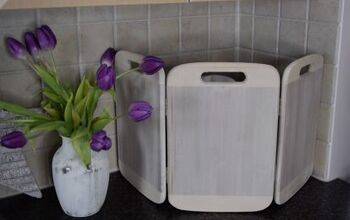
the kitchen?
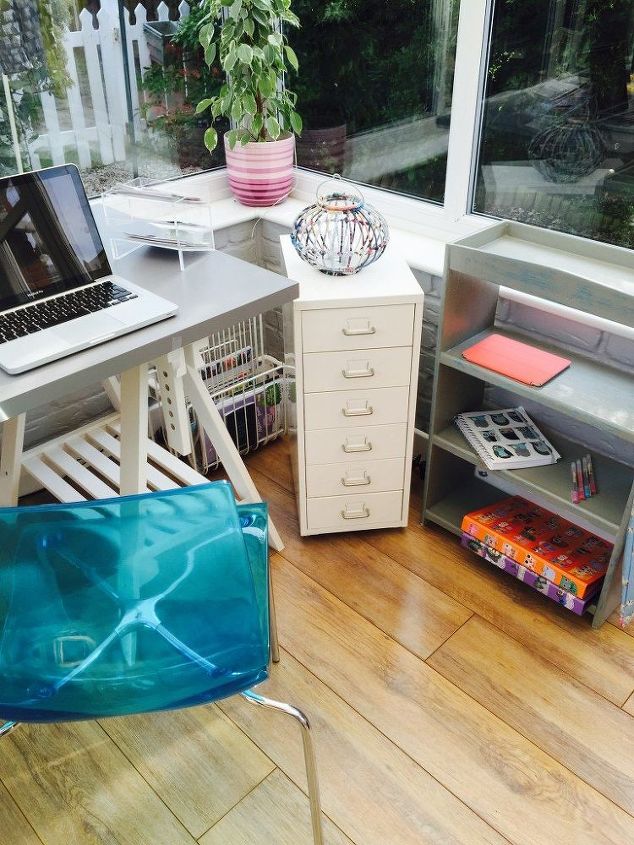
or the home office?

Want more details about this and other DIY projects? Check out my blog post!
Comments
Join the conversation
4 comments
-
wow, love the result and design of that shelf! The enclosed top is so cool!
-
Yes the possibilities are endless with bookshelves! I just posted my bookshelf I re-did and we use it as a throw-all spot by the front door and shoe shelf!


Frequently asked questions
Have a question about this project?